


































.png)
 简体中文

Even strong content can lose its impact through poor audio. Listeners quickly notice hiss, volume changes, and unclear vocals. These problems can affect podcasts, videos, and recorded voiceovers. Getting cleaner audio requires attention at two stages. Start by improving microphone settings before pressing record. After recording, correct any remaining issues through editing. This guide explains both stages in a simple sequence.

What Editing Microphone Audio Actually Involves
Microphone audio editing involves two separate stages. The first stage focuses on recording adjustments. These changes happen before or during recording sessions. The second stage involves editing audio through software. This takes place after recording has finished. Knowing the difference helps prevent common recording mistakes. Editing software can correct many ordinary audio problems. Poor recordings, though, cannot always be fully recovered.

Common microphone audio problems that editing can fix:
- Background hiss and HVAC noise
- Low-frequency electrical hum
- Uneven volume levels across a recording
- Plosive pops and wireless dropout artifacts
- Muddy, muffled, or harsh-sounding tone
- Minor clipping and digital artifacts
Phase 1: Edit Microphone Audio at the Source Before You Record
The most efficient path to clean audio begins before you open a software editor. Adjusting your microphone’s settings at the source reduces the corrective work required in post-production and, in many cases, eliminates entire editing steps altogether.
The Hollyland LARK MAX 2 wireless microphone system demonstrates this principle well. Its companion Hollyland App exposes per-transmitter gain control, AI Noise Cancellation, EQ adjustment, and voice tuning presets, all applied before the audio file is ever written. Combined with its 32-bit Float Internal Recording mode, these source-level controls mean you arrive at the editing stage with cleaner raw material and a significantly lighter workload ahead.
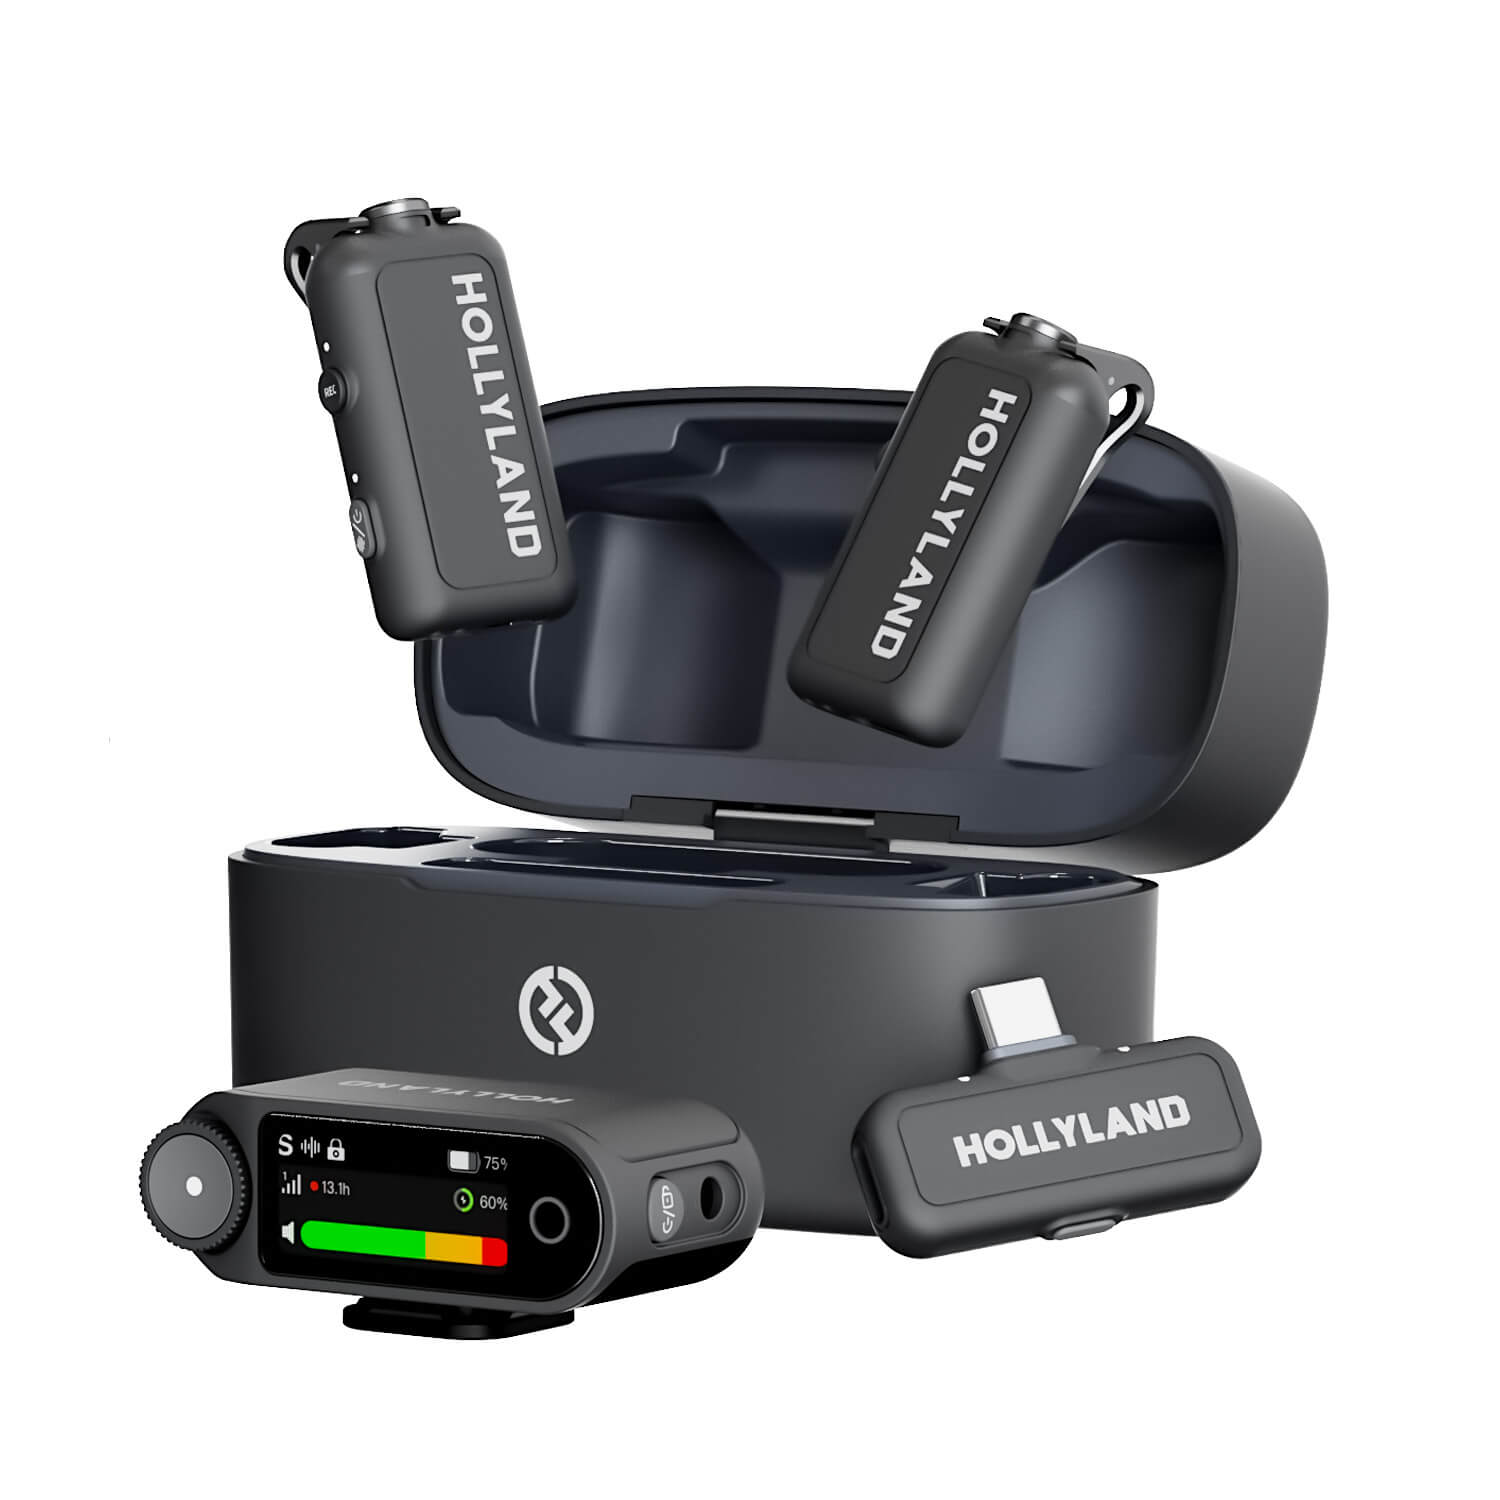
Hollyland LARK MAX 2 - Premium Wireless Microphone System
A premium wireless microphone for videographers, podcasters, and content creators to capture broadcast-quality sound.
Key Features: Wireless Audio Monitoring | 32-bit Float | Timecode
Set Gain Correctly to Prevent Clipping Before It Happens
Gain set too high causes clipping, a form of distortion where the audio signal exceeds the maximum recordable level. Clipped audio sounds crushed and harsh, and it is among the most difficult recording problems to repair in software. Accurate gain staging at the source is the single most impactful step you can take before any software editing begins.
How to set gain on the LARK MAX 2 using the Hollyland App:
- Pair the LARK MAX 2 transmitter (TX) and receiver (RX).
- Open the HollyAudio app and confirm that it recognizes the LARK MAX 2.
- Scroll down to the “Dynamic gain” section. Select Low, Medium, or High to let the system automatically optimize microphone gain. Alternatively, under the “Set gain to” section, adjust the gain slider for the connected TX to set the gain intensity manually for each connected Hollyland LARK MAX 2 TX.

- Check the LED indicator on the TX unit to confirm it is active and recording. If it is solid blue, it means your mic is connected.

- In the app, open the Internal Recording settings and confirm that 32-bit Float mode is selected.
About 32-bit Float Internal Recording: This mode stores audio with a dramatically wider dynamic range than standard 16-bit or 24-bit formats. If the input level runs higher than intended, the 32-bit Float file preserves transient information that would be permanently lost in a standard recording. You can recover the level later by reducing gain on the file in post, without any audible distortion. This effectively eliminates the need for de-clipping work in software.
Pro Tip: 32-bit Float acts as a reliable safety net, but accurate gain staging still produces the cleanest results. Set gain as precisely as you can and use the format as a backup, not a substitute for correct capture.
Enable and Configure AI Noise Cancellation on the LARK MAX 2
Ambient noise is one of the most time-consuming problems to address in post-production. The LARK MAX 2’s built-in AI Noise Cancellation processes audio at the hardware level, separating voice from background noise before the file is saved. Enabling this during capture can significantly reduce or eliminate the noise reduction step in software entirely.
Steps in the Hollyland App:
- Open the Hollyland App and navigate to the LARK MAX 2 device screen.
- Locate the Noise Cancellation toggle (NC Level) and switch it on.
- Adjust the NC slider to manually adjust the noise cancellation level.

- Check the TX unit’s LED indicator. If it is solid green, it means the noise cancellation is active.

- Record a short test clip and review the waveform. Quiet sections between speech should show minimal background noise and a visually clean baseline.
When a recording already has most of its ambient noise removed at the hardware level, any software noise reduction applied later can use a much lighter setting, typically 3 to 6 dB rather than 10 to 15 dB. Lighter processing preserves natural voice quality and avoids the watery, robotic artifacts that aggressive noise reduction can introduce.
Apply Voice Tuning and EQ Presets for a Cleaner Tone at Capture
The LARK MAX 2’s Camera RX includes EQ presets that shape your recording’s tonal character before the file is created, reducing the amount of manual EQ work needed in post-production.
Steps:
- Once the LARK MAX 2 transmitter and Camera receiver are paired, press the control knob to open the menu.

- Rotate the wheel and go to the “Mic Settings” option.

- Navigate to the EQ option and tap to select it.

- Choose from the available EQ presets, such as Hi-Fi, Low Cut, and Vocal Boost.

If you are recording two or more speakers simultaneously, the Hollyland LARK M3 supports four independent recording tracks with custom voice tuning per track, making it a practical alternative for multi-person scenarios where each voice requires different tonal treatment.

Hollyland LARK M3 - 32-Bit Float Mini Microphone
An ultra-compact 9g wireless microphone system featuring 32-bit float recording and 4-channel scalability for professional, zero-distortion sound.
Key Features: 32-Bit Float Recording | Up to 4 TX & 4 RX | 300m Range
Choose Your Post-Production Software
With your recording file ready, you will need software to complete the editing process. The four tools below cover the most relevant options for content creators at different budgets and workflows.
| Tool | Cost | Platform | Best For | Key Features |
|---|---|---|---|---|
| Audacity | Free | Windows, Mac, Linux | Beginners, podcasters, voiceover | Noise reduction, EQ, compression, normalization |
| Adobe Audition | Subscription | Windows, Mac | Professionals, advanced cleanup | Spectral repair, adaptive noise reduction, multitrack |
| GarageBand | Free | Mac, iOS | Mac users, podcasters | Noise gate, EQ, compression, Smart Controls |
| DaVinci Resolve Fairlight | Free | Windows, Mac, Linux | Video editors working in one app | Noise reduction, EQ, dynamics, video timeline integration |
The workflow steps in Phase 2 use Audacity as the reference tool because it is free, cross-platform, and covers every technique in this guide. The same sequence applies in the other tools listed; only the specific menu locations and control names differ.
Phase 2: The Core Post-Production Editing Workflow
With your audio file imported into Audacity, work through the following five steps in the order shown. Each step targets a specific category of audio problem. If you completed Phase 1 with source-level adjustments on your mic, some steps, particularly noise reduction, will require only a light touch rather than heavy correction.
Step 1: Remove Background Noise and Hum
Broadband hiss (a constant, wide-frequency static sound) and low-frequency hum (an electrical buzz typically at 50 or 60 Hz) are both addressable using Audacity’s Noise Reduction effect.
Steps:
- Find a section of your recording that contains only background noise with no speech. Click and drag to select that section.

- Go to Effect > Noise Removal and Repair > Noise Reduction and click Get Noise Profile. Audacity analyzes the selected section and learns the characteristics of the background noise.


- Select all audio (Ctrl+A on Windows, Cmd+A on Mac).
- Return to Effect > Noise Removal and Repair > Noise Reduction and set the Noise Reduction slider to between 6 and 12 dB. Avoid pushing beyond 15 dB, as higher values introduce audible artifacts.
- Click OK and listen carefully. If the voice sounds hollow, robotic, or watery, reduce the Noise Reduction value.
Note: If you recorded with the LARK MAX 2’s AI Noise Cancellation active, your file may already be largely clean. A light pass at 3 to 6 dB is usually sufficient, or you can skip this step if the background noise level is already acceptable on review.
Step 2: Apply EQ to Shape Tone and Improve Clarity
EQ (equalization) adjusts the volume of specific frequency ranges within your audio. For voice recordings, the goal is to remove problematic low-end content and improve speech intelligibility in the mid-range.
Steps:
- Select all audio.
- Go to Effect > EQ and Filters > Filter Curve EQ


or
Effect > EQ and Filters > Graphic EQ in Audacity.

- Apply a high-pass (low-cut) filter to roll off frequencies below 80 to 100 Hz. This removes low rumble from HVAC systems, footsteps, and handling noise without affecting the voice.
- If the audio sounds muffled or lacks presence, add a gentle boost of 2 to 3 dB in the 2,000 to 5,000 Hz range. This is where speech clarity and intelligibility are concentrated.
- If the audio sounds harsh or grating, apply a narrow cut of 2 to 4 dB somewhere in the 3,000 to 8,000 Hz range. Sweep slowly through that range while listening to find the specific frequency causing the problem.
- Make small adjustments and preview frequently. Large EQ changes tend to introduce new problems rather than solve existing ones.
Note: A useful starting point for podcast and voiceover EQ: high-pass filter at 80 Hz, a +2 dB presence boost at 3 kHz, a gentle +1 dB air boost at 10 kHz, and a slight cut at 400 to 600 Hz if the voice sounds boomy or nasal.
Step 3: Use Compression to Even Out Volume
A compressor automatically reduces the volume of loud passages and brings quieter passages closer to the same level. For voice recordings, this makes audio easier to follow and more consistent across a full session where speaking distance or energy may have varied.
Steps:
- Select all audio.
- Go to Effect > Volume and Compression > Compressor in Audacity.

- Set the following starting values:
- Threshold: -18 dB (the level above which compression engages)
- Noise Floor: -40 dB
- Ratio: 3:1 (gentle compression well-suited to voice)
- Attack time: 0.20 seconds
- Release time: 1.0 second

- Check the Make-up gain checkbox so the compressed output is automatically brought back up to a usable level.
- Click Apply and review the waveform to make sure peaks are smoothed out.
- Lower the Threshold for more compression, or raise the Ratio for stronger leveling. Avoid over-compressing, which makes audio sound flat and lifeless.
Step 4: Normalize to Hit Target Loudness
Normalization sets the overall loudness of your finished audio to a consistent, platform-appropriate level. For content publishing, loudness normalization targeting LUFS (Loudness Units Full Scale) is the most relevant standard, as it reflects perceived average loudness rather than just a single peak value.
Recommended loudness targets by platform:
| Platform | Target Loudness | Peak Ceiling |
|---|---|---|
| Podcast (Apple, Spotify) | -16 LUFS | -1 dBTP |
| YouTube | -14 LUFS | -1 dBTP |
| General voiceover delivery | -18 to -16 LUFS | -1 dBTP |
Steps in Audacity:
- Select all audio.
- Go to Effect > Volume and Compression > Loudness Normalization.

- Choose Perceived loudness (LUFS) from the measurement dropdown.
- Enter your target LUFS value for the intended platform.

- Click Apply.
- Optional: To prevent clipping, select the Limiter effect instead. Go to Effect > Volume and Compression > Limiter. Then choose Soft Limit in the limiter settings. Standard peak normalization may change your average loudness.
Step 5: Remove Clicks, Pops, and Mouth Noise
Some recording flaws may need individual corrections later. These include wireless signal glitches, mouth clicks, and heavy breathing.
Steps:
- Find the damaged area. Zoom in until individual waveform samples become visible. Clicks and dropouts appear as narrow spikes. These marks look different from ordinary speech patterns.
- Highlight the affected section. Select the spike and nearby clean audio. Keep the entire selection below 128 samples. At 44.1 kHz, this equals less than 3 milliseconds.
- Fix the click. Open Effect > Noise Removal and Repair > Repair. For longer flaws, select the Draw tool (F3). Manually smooth the waveform at the sample level. For low-frequency pops from “P” or “B” sounds, apply a high-pass filter instead. Find it under Effect > EQ and Filters > Filter Curve EQ.
- Reduce sharp consonant sounds. Apply a cross-platform de-esser plugin. This helps soften harsh “S” and “T” sounds. Suitable options include the free MuseFX DeEsser through Muse Hub. Another option is Techivation T-De-Esser 2.
- Remove unwanted sounds between sentences. Select long breaths or mouth noises during pauses. Press Ctrl+L on Windows or Cmd+L on Mac. Alternatively, replace those sections with room tone. This keeps pauses sounding natural.
- .
The Signal Chain: Why Editing Order Matters
The sequence of the five steps is not arbitrary. Each process affects the audio in ways that directly influence how the next process performs. Applying steps out of order can reduce quality or introduce new problems that require additional correction.

- Noise Reduction first: Compression applied to a noisy file amplifies background noise during quiet passages, making it more audible. Remove noise before any dynamic processing.
- EQ second: Frequency shaping applied after noise removal sculpts a clean voice signal. EQ before compression also ensures the compressor responds to a correctly balanced frequency spectrum rather than boosting problem frequencies.
- Compression third: Volume leveling after EQ means the compressor reacts to the corrected tonal balance. Compressing before EQ can cause inconsistent behavior, particularly if there is excess low-end energy driving the compressor unevenly.
- Normalization fourth: Final loudness is set after compression because compression itself changes the dynamic range and average level. Normalizing earlier would simply be overwritten by the compression step.
- Cleanup last: Clicks, de-essing, and mouth noise removal are done on the finished-sounding audio, giving you an accurate reference for what actually requires attention before export.
Export Your Edited Audio in the Right Format
Choose your export format based on where the audio is going:
- MP3 at 192 kbps: Suitable for podcast uploads, social media, and online distribution where file size is a consideration.
- WAV at 48 kHz / 24-bit: The standard for video delivery. Use this when sending audio to a video editor or exporting a file to be mixed into a video project.
- FLAC: A lossless compressed format for archiving master files without the storage footprint of uncompressed WAV.
If your source recording was captured in 32-bit Float via LARK MAX 2’s Internal Recording mode, export the final file at 24-bit. This step-down produces no audible quality loss and ensures compatibility with all standard delivery and distribution platforms. In Audacity, go to File > Export and select your preferred format from the dropdown.
Frequently Asked Questions
What is the best free software to edit microphone audio?
Audacity is the strongest free option for most users. It runs on Windows, Mac, and Linux and includes all the core tools needed for voice editing: noise reduction, EQ, compression, and normalization. GarageBand is an excellent free alternative for Mac and iOS users. If you are editing audio alongside video footage, DaVinci Resolve Fairlight is also free and works well for that combined workflow.
How do I remove background noise from microphone audio without losing voice quality?
Keep noise reduction gentle instead of applying maximum settings. Reduce background noise by approximately 6 to 12 dB. Add a high-pass EQ filter around 80 to 100 Hz. This removes unwanted rumble from the lower frequencies. Place noise reduction before compression in your effects chain. Microphones with hardware AI Noise Cancellation may already produce cleaner audio. For example, the Hollyland LARK MAX 2 minimizes background noise. Its transmitted audio usually needs only slight noise reduction. You may not need additional noise reduction at all. This changes when editing raw internal 32-bit float backups. Those files may require separate noise reduction adjustments.
Why does my microphone audio still sound bad after editing?
Some problems cannot be fixed in software. Heavy room reverb, physical proximity to a loud noise source, and severe clipping caused by excessive gain are all beyond what standard editing tools can fully correct. Recording in 32-bit Float avoids the clipping issue entirely, since the wider dynamic range preserves audio that standard formats would permanently distort. If post-processing is not producing the results you need, revisit the source-level adjustments covered in Phase 1.
Conclusion
Clean microphone audio depends on both stages working together. Adjusting the source reduces the need for later corrections. This includes gain control, noise cancellation, and voice tuning. These changes limit problems before software editing begins. A five-step editing sequence corrects the remaining audio issues. Follow noise reduction, EQ, compression, normalization, and cleanup. Apply these steps in the listed order for consistent results.
