.png)
 简体中文

Are you having any sort of Discord stream audio problems? Don’t worry, we’ve got you. We know that getting your audio right is important for a smooth streaming experience, whether as a beginner setting up your first stream or an experienced streamer troubleshooting persistent sound issues. In this guide, you’ll learn how to share game audio on Discord, configure your microphone and screen-sharing settings, and fix common Discord audio issues on Windows and macOS. Let’s get your audio sound up.
The Right Way To Share Your Audio On Discord
If you want to ensure your viewers hear your game audio perfectly from the very first second, you need to know the correct way to share your screen. Here is a step-by-step guide on how you can rightly configure your broadcast parameters every single time you want to stream.
Step-By-Step Walkthrough
- Step 1: Create a Server: If this is your first time using Discord, you will have to create a server. To do that, check the far left of Discord for a big plus sign. Click on it.

You’d get a pop-up asking you to either create your own server, start from a template, or join a server with an invite. Select ‘Create My Own’. Name it and hit Create.
- Step 2: Find a Channel: Your Server should now show on the far left side. Click on it and look for Voice Channels. In the top right of the Voice Channels tab, there will be a plus sign to create a channel. Click that.

Select Channel Type: Voice, name the channel, and hit Create Channel.

- Step 3: Click to Join: Now the channel you created should appear under the Voice channel tab.

Double-click on it; you will hear a connection chime, and you might get a message asking you to allow microphone access. Make sure to allow the microphone.
- Step 4: Share your screen: Once you are connected, four icons will appear in the channel. Can’t find it? Look at the bottom left corner of your screen, just above your username. The second one says ‘Share screen’. Click on that.

- Step 5: Pick Applications: Once you have shared your screen, a window will pop up with three choices at the top: Applications, Entire Screen, Devices. Pick applications and avoid screens so Discord can stream only the specific application’s audio.
- Step 6: Share Screen: Under Applications, find the window showing the game you want to stream. If you don’t see your game in the list, close the window and open your game for a while before clicking the Share Your Screen button again. Click on the game: In the Applications list, click on the picture of the exact game or web browser you want your friends to see.
- Step 7: Share Stream Audio: A new part showing your game will appear. Move your cursor over it so you can see the three dots at the bottom left. Click it. A pop-up will appear. Make sure ‘Share Stream Audio’ is ticked.

- Step 8: Test Your Mic: Now check the server room for the three dots icon next to the red disconnect button. Click it and hit the ‘Voice and Video Settings’.

A new window showing your microphone and speaker will appear. Carry out a mic test to make sure Discord can stream your own voice.
NOTE: Remember that Discord streams audio directly from the selected app, not your microphone or computer system sounds.
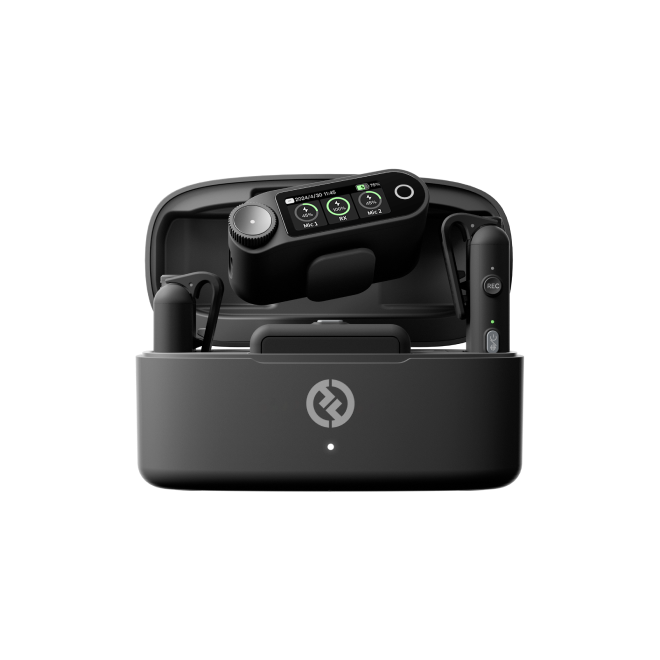
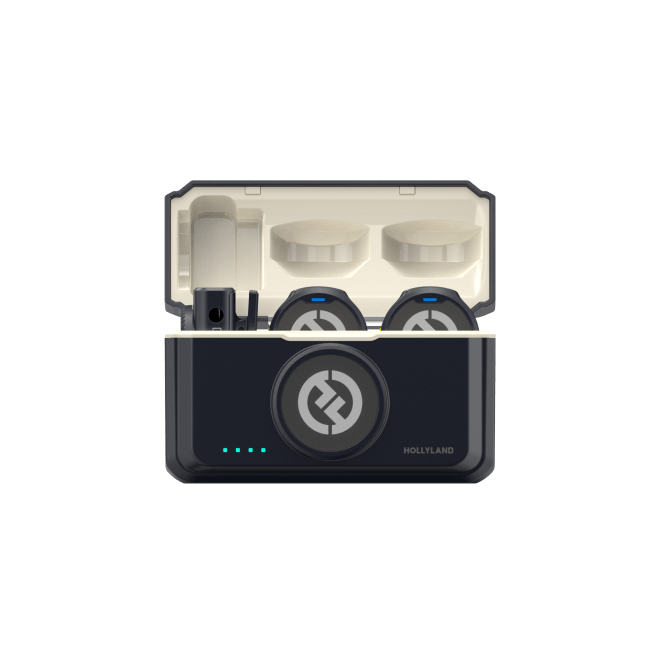
Pro Tip: For professional-grade stream audio that easily blocks out background noise, we highly recommend upgrading to the LARK A2 wireless microphone. Its plug-and-play functionality makes it the perfect pairing for Discord.
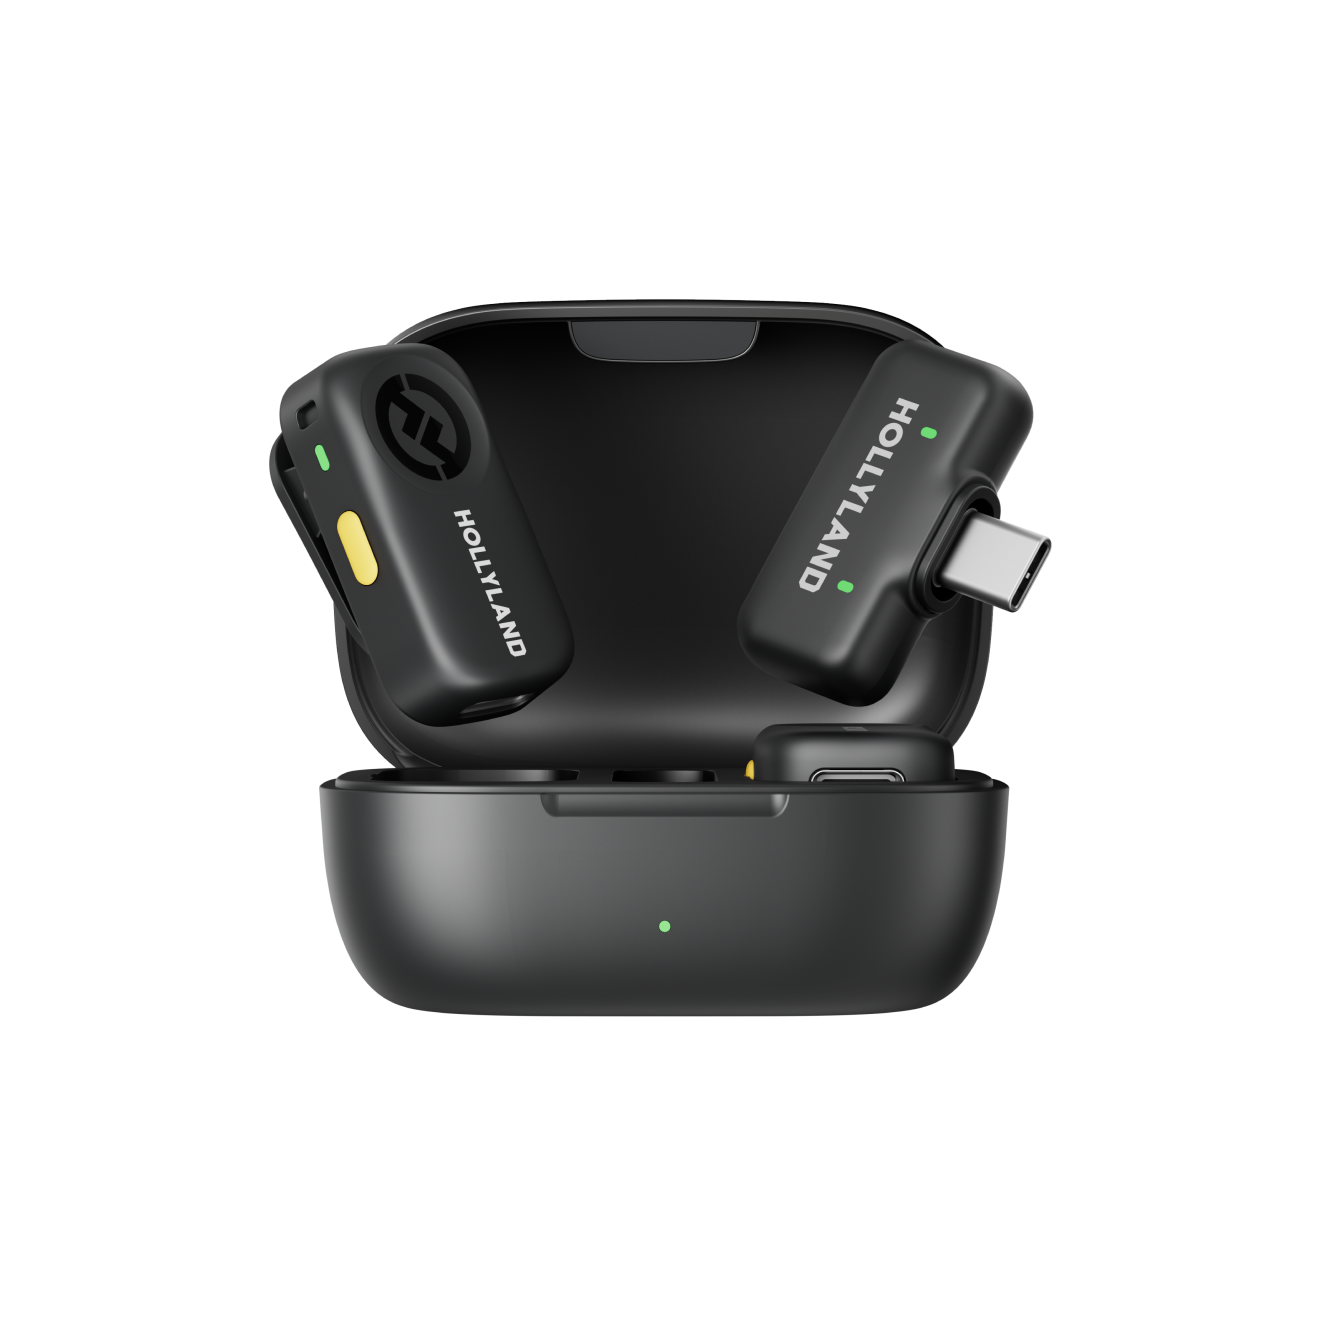
Hollyland LARK A2 - Clip-on Microphone
An ultra-light 8.5g wireless microphone engineered for effortless mobile recording, featuring smart AI noise cancellation and studio-grade sound.
Key Features: 8.5g Clip & Go | AI Noise Cancellation | 42 Hours Battery

- Step 9: Configure Stream Quality: return to the game window in your server room, right-click it, and click on ‘Stream Quality ‘. Under Frame Rate, click 30, and under Resolution, click 720p.

NOTE: This keeps the video neat and tidy; choosing higher numbers can make your computer run too slowly. If your computer struggles, your stream audio will get choppy and cut out.
- Step 10: Go Live: Hit the blue Go Live button at the bottom right of the setup. Look for the green LIVE badge next to your name in the voice channel list. If you see it, then that means you are broadcasting smoothly.
Three Quick Fixes If Your Stream Is Completely Silent
If you have followed all the setup steps perfectly and your viewers still can’t hear anything, then here are three quick fixes you can try first.
Restart Discord As Administrator
Can’t your audience hear the game audio? It is possible that you launched your game client or launcher like Steam or Epic Games before opening Discord. That would give the game higher system privileges than Discord and prevent Discord from touching or capturing audio from your game.
How to fix it:
- Completely close Discord by right-clicking the icon in your system tray (bottom right of your taskbar) and choosing Quit Discord.
- Find your Discord desktop shortcut.
- Right-click the shortcut and select Run as administrator.

- Click Yes on the Windows prompt.
- Start your game and try streaming again.
Add Your Game To Registered Games
If you picked Screens instead of Applications because your game didn’t appear in Applications, Discord would be unable to pick your game audio. To solve that, you must manually force-feed the game’s background process to Discord so it can attach the stream audio code.
How to do it:
- Open your game so it is running in the background.
- Open Discord and click the User Settings gear icon at the bottom left.
- Scroll down the left sidebar to the Activity Settings section and click Registered Games.

- Click the blue “Add it!” text link.
- Choose your game from the dropdown menu and click Add Game.
Confirm The Problem Is Not From Your Viewers
When one or two specific friends in the voice channel insist your stream is completely mute and other people in the same cell can hear you game perfectly fine, it might not be you. Your friends may have accidentally turned down or muted your specific stream volume in the past, or their Discord client defaulted their stream viewer settings to 0%.
How to check:
- Ask your viewer to hover their mouse over your stream window.
- Have them look at the bottom left of the stream player to see if their Volume Slider is dragged to zero or muted.
- Ask them to right-click your username in the voice channel to ensure their User Volume slider for you isn’t turned down.
- If multiple people can’t hear you, the issue is yours; if only one person can’t hear you, it’s theirs.
These fixes should help you quickly solve common configuration issues.
Specific Platform & App Barriers
Sometimes, your audio issue might not be a Discord problem. It might be more about a specific app restriction, or operating system privacy walls. Here is how to break through these specific app barriers:
Minecraft & Fullscreen Games
Discord mostly struggles to capture sound from games running in exclusive fullscreen mode.
The Fix: Go into your game’s video settings and switch the display mode to Windowed or Borderless Windowed.
Pro tip: For many PC games, pressing Alt + Enter on your keyboard will instantly toggle the game between fullscreen and windowed modes.
Web Browsers
Browsers like Chrome, Edge, and Firefox use a feature that blocks video/audio capture to prevent movie piracy. The moment your graphics card starts to process the media stream directly, that security wall is triggered.
The Fix:
1. Go to your browser settings and search for Hardware Acceleration.
2. Toggle the switch to OFF.
3. Restart your browser.
Alternative: If the browser still blocks the feed, try using the official app for Netflix/YouTube instead of a browser. Also make sure to always stream using the Discord desktop app rather than the Discord web version.
Mac Users(macOS Permissions)
Apple’s built-in sandbox security treats audio recording as a privacy threat. So macOS would block third-party applications from recording system audio by default.
The Fix:
1. Open your Mac’s System Settings and go to Privacy & Security.
2. Click on Screen Recording and ensure the toggle for Discord is turned ON.
3. Next, open Discord, go to Voice & Video settings, scroll down to Screen Share, and click the button to install the required Discord Audio Capture driver extension.
Advanced Discord Fixes If Nothing Else Is Working
If standard app settings and basic permissions toggles haven’t restored your sound, your streaming issues might be much deeper than you think. Use these last resort system overrides to force a clean connection
Get Out of The Discord Surround Sound Trap
High-end gaming headsets often use advanced 5.1 or 7.1 virtual surround sound so as to provide spatial, multi-channel gaming noise. But Discord’s audio engine is built for 2-channel stereo sound. So Discord gets confused trying to process all the audio channels, resulting in dead silence.
The Fix:
Press Win + R, type mmsys.cpl, and hit OK. Right-click your headset hardware device, select Configure Speaker, then switch the audio layout back to Stereo.

NOTE: Turn off any special spatial sound or Dolby Atmos options inside your active game’s internal audio settings menu.
Solve Audio Drivers’ Conflict
If your PC has outdated or corrupted audio drivers, they can prevent Discord from interacting cleanly with your sound card. Also, third-party sound software like virtual voice changers, soundboards or virtual audio cables can take over your computer’s default audio routing paths. In summary, Discord would get confused by the multiple devices.
The Fix:
Right-click the Windows Start button and select Device Manager. Expand the Sound, video and game controllers section. Right-click your main audio device, select Update driver, and choose Search automatically for drivers. Restart your PC when finished.
Clear Discord Cache
Over time, Discord stores temporary files that can become corrupted. If that corruption happens during an app update, it can cause permanent glitches in Discord’s audio capture.
The Fix:
First, close Discord completely from your taskbar. Press Windows Key + R, type %appdata% into the box, and hit Enter. Locate the Discord folder, select it, and delete it entirely.
Next, open the Run box a second time, type %localappdata% into the prompt, and delete the Discord folder there as well. Once that is done, restart Discord and log back in.
Frequently Asked Questions
Q: Why does my Discord stream audio sound full of static or choppy?
A: The reason your game audio is crackling or lagging could be as a result of high CPU or network congestion. Lower your stream quality settings to 720p at 39fps. Then go to Discord User Settings: Voice and Video. Scroll down to Quality of Service. Once done, turn off Enable Quality of Service .
Q: Why can my friends hear themselves echoing when I stream?
A: If your friends hear an echo of themselves speaking while you stream, your headset might be the problem. Go to Discord User Settings: Voice &Video, scroll down to Voice Processing, and turn on Echo Cancellation. Better still, get a dedicated microphone like the LARK A2 that would reject background headset bleed.
Q: Why does my game audio get extremely quiet whenever I start speaking?
A: Discord sometimes automatically lowers your volume due to its Attenuation feature. To fix, open Voice and Video settings again, scroll down to the Attenuation, and make sure the percentage slider is at 0%.
Q: Why do I lose stream audio completely when using an HDMI capture card?
A: Because you are using a capture card to stream, Windows is forced to route the console’s audio stream directly to your monitor’s speakers. So to solve that, download a free digital audio repeater tool like OBS Studio. Set the capture card audio settings in OBS to ‘Monitor and Output’ so Windows plays the console sound through a virtual desktop track that Discord can easily capture.
Conclusion
Getting your Discord stream audio working correctly requires more than simply clicking Go Live. You may have to configure application sharing properly, enable stream audio, test your microphone, and select suitable streaming quality settings. If problems persist, try checking viewer volume, registering your game, adjusting application permissions, switching fullscreen modes, and troubleshooting audio drivers or corrupted cache files to help restore sound. Remember to test both your game audio and microphone before every stream to catch issues early. With the right settings and troubleshooting steps, you can minimise audio disruptions and deliver a smoother, clearer Discord streaming experience. Have a good streaming experience!