.png)
 简体中文

Introduction
Clear audio keeps audiences engaged with your recorded content. A portable mic makes capturing professional-sounding audio much easier. It works perfectly for solo recordings and group conversations. But you can’t expect great audio quality just after plugging in the mic. Choosing suitable equipment and adjusting input levels matters.
Proper microphone placement also plays an important role. These small details can noticeably improve your recording quality. Down here, we have covered portable microphone setup, placement, and practical tips. It also shows recording consistent audio across different environments.
What Counts as a Portable Microphone?
Handheld Wireless Mics
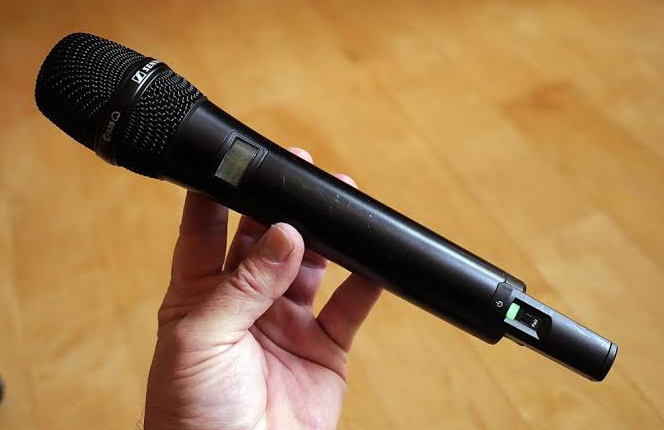
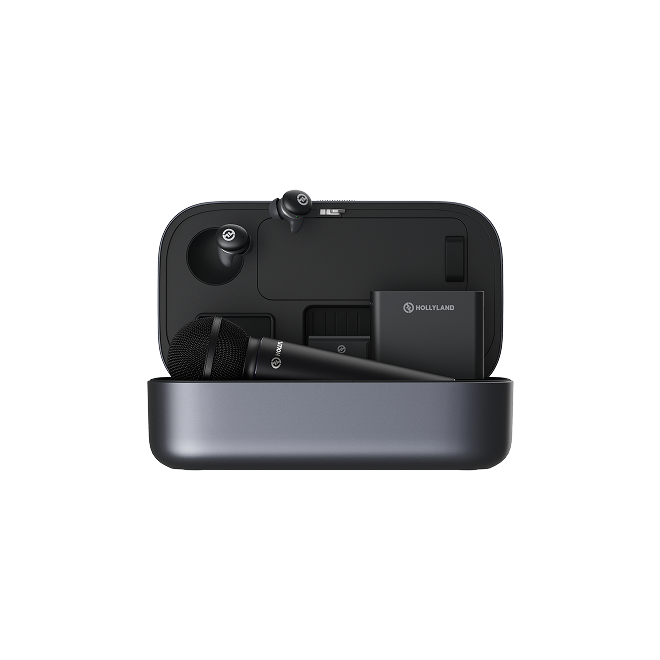
This is a common mic you find at almost every event. All major components are assembled into a single structure. It includes a mic capsule, battery, and radio transmitter. Everything stays inside a single handle without cables.
Its cordless design makes moving around much easier. The built-in battery also removes the need for external power. Moreover, its lightweight body makes handling more comfortable. As a creator, you can hold it easily, move it, or pass it around. That’s why it’s commonly used during live events.
Clip-on Lavaliers
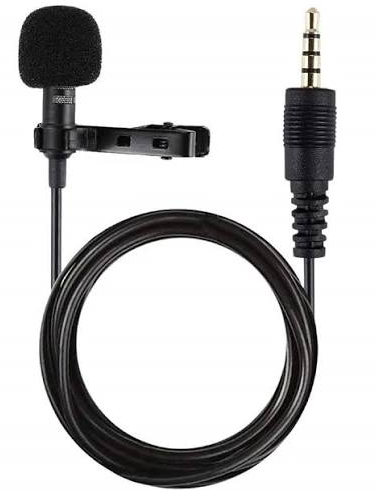
Clip-on lavalier microphones are small. They attach directly to clothing. They capture voices without requiring users to hold anything. Their lightweight, wireless design makes them easy to carry.
Most weigh less than an ounce and fit easily into pockets. Many also include small charging cases for convenient storage. Connecting them to smartphones is simple through plug-and-play support.
Shotgun Mics
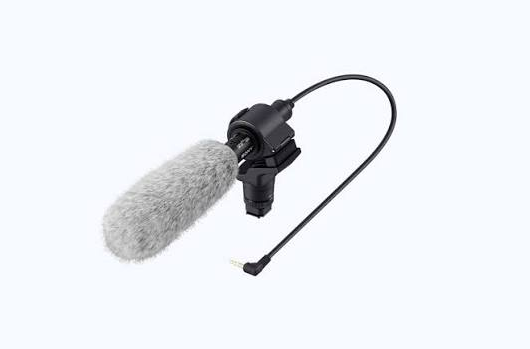
A compact shotgun microphone picks up sound from specific directions. Its interference tube helps block unwanted sounds from the surroundings. The lightweight design also makes carrying it around easier. Setup takes little time thanks to its compact build. Simply connect it to smartphones or mirrorless cameras directly.
All-in-One Wireless Systems

An all-in-one wireless system brings three components together. These have:
- A built-in microphone
- A transmitter (sometimes more than one transmitter)
- A receiver
All three come pre-paired in one complete package. This category also has a compact, lightweight design that makes carrying it simple. Battery-powered operation also removes the need for external power. Also, its clip-on design avoids bulky additional equipment.
How to Set Up a Portable Microphone
Getting your portable microphone ready takes a few simple steps.
Pairing and Powering On
First, give the transmitter and receiver enough battery power. The transmitter picks up your voice during recording. The receiver then passes that audio to your device. This could be a phone, camera, or computer. Some wireless mics arrive paired and ready to use. So, there’s no need for much setup beforehand.
After charging, turn on both units and watch their lights. They usually give a quick idea of the connection status. A steady light often means everything is connected. A blinking light may mean they’re trying to pair. These signals aren’t the same across every microphone. If you’re unsure, take a look at the user manual.
Connecting Your Device
Once the mic is on and ready, connect it to your recording device. The connection you need depends on a few things. Check the receiver, available ports, and included cables first.
- USB-C: Newer phones, tablets, and laptops often support USB-C audio. If your receiver has a compatible USB-C plug, connect it directly. This keeps extra cables out of your recording setup.
- 3.5mm audio jack: Cameras and some computers have a 3.5mm input. Pick a cable that matches your device’s input. Cameras commonly use TRS, while some computers need TRRS.
- Cold shoe mount: Recording with a camera? A cold shoe mount can hold the receiver securely on top. Just remember, mounting it doesn’t connect the audio. You’ll need a suitable cable for that.
Setting Input Levels

Start talking at your usual volume and watch the audio meter. You’ll find it in your camera or recording app. If it keeps hitting red, turn the input gain down. That red zone can mean clipping and distorted audio. If the meter barely moves, bump the gain up. Keep adjusting until your voice sounds clear and balanced.
Also, test your loudest speaking volume before recording. Record a quick clip and listen through your headphones. Check for weird distortion, background noise, or audio dropouts. Make sure your voice doesn’t sound too far away. A quick test now can save the whole recording later.
Steps to Set Up a Portable Mic Like the Hollyland LARK M3
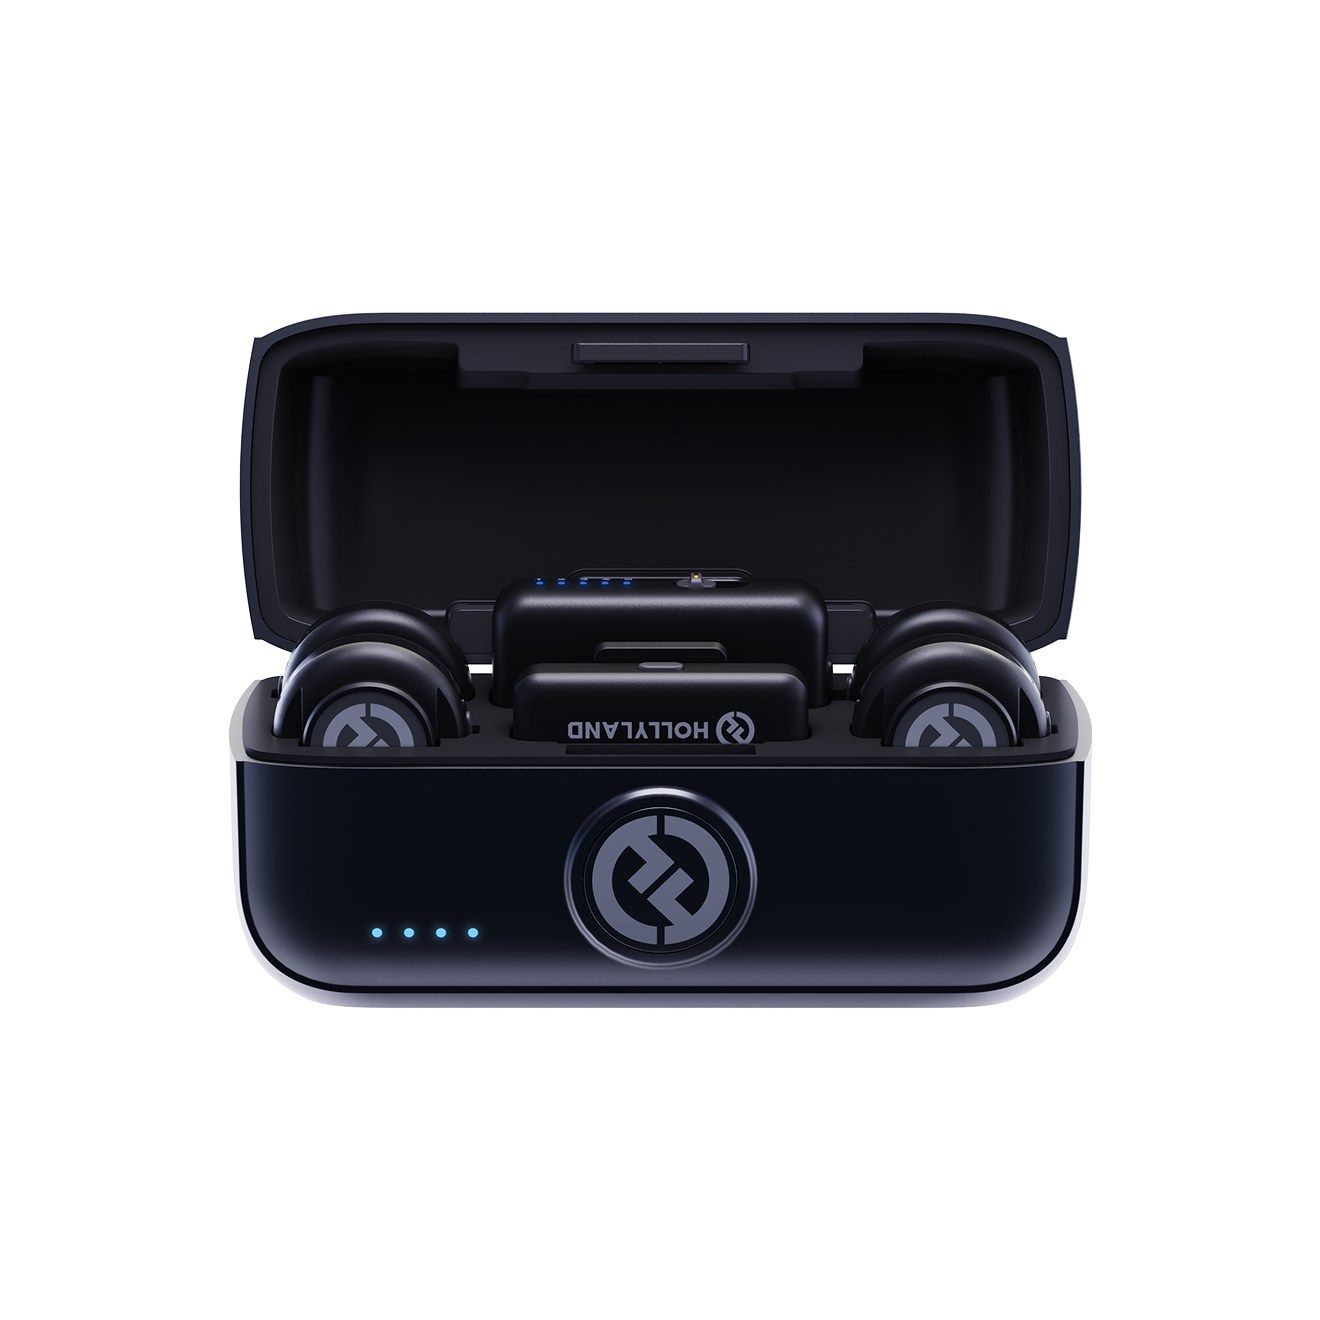
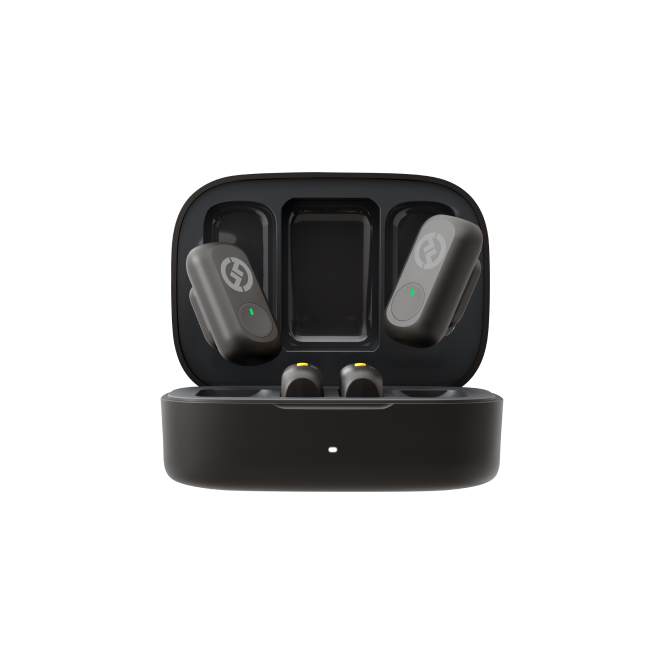
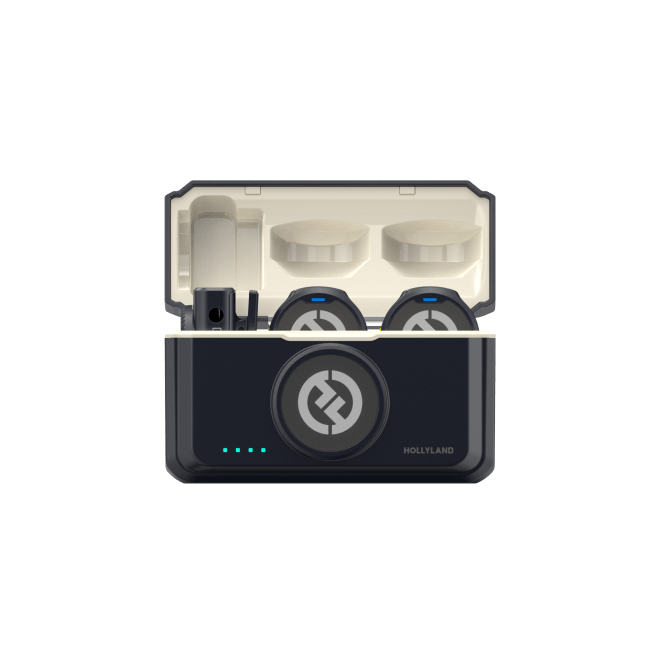
Hollyland LARK M3 - 32-Bit Float Mini Microphone
An ultra-compact 9g wireless microphone system featuring 32-bit float recording and 4-channel scalability for professional, zero-distortion sound.
Key Features: 32-Bit Float Recording | Up to 4 TX & 4 RX | 300m Range
1. Unbox all the contents of the LARK M3.

2. Plug the mobile USB-C receiver into your phone.

3. Clip the transmitter securely to your T-shirt or collar.
4. The transmitter and receiver ship pre-paired from the company.

5. Open a recording app and enjoy clean audio recorded through LARK M3.
For advanced settings of LARK M3, download and install the HollyAudio mobile application.
How to Position a Portable Mic for Best Audio
Lavalier and Clip-On Mics

Clip the lavalier mic around the middle of your chest. Keep it about 6 to 8 inches below your chin. Angle the mic slightly upward toward your mouth. A 45-degree position helps keep your voice clear. It also picks up consonants without making them sound dull.
Clothing noise can mess with an otherwise clean recording. A few small adjustments can help keep things quiet:
- Secure the cable: Leave a small J-shaped loop below the clip. This gives the cable some slack during movement. So, pulling on the wire won’t affect the mic.
- Keep clothing in place: Clip the mic onto a stable clothing layer. Loose fabric can rub against the mic during recording. Use surgical tape, such as Transpore, to hold folds.
- Add a soft layer: Hiding the mic under clothing needs extra care. Place moleskin or sticky foam behind the capsule. This creates a buffer between fabric and microphone.
Handheld Portable Mics

Keep the mic around 15 to 20 centimeters from your mouth. That’s roughly six inches during normal speaking. Hold it at a slight 45-degree angle. Aim it toward your chin, not straight ahead. This helps direct strong P and B sounds away. Those bursts can hit the capsule and cause unwanted noise.
Handling the mic properly also makes a difference. Try these simple habits to avoid extra noise:
- Hold it in the middle: Keep your grip around the handle’s center. This gives you better control while recording.
- Leave the grille uncovered: Don’t wrap your hand around the mic’s top. Doing so can affect how it picks up sound. It may also create harsh, unwanted resonance.
- Don’t grip the bottom: Keep your hand away from the handle’s base. Some wireless models have their internal antenna there.
Two-Person and Interview Setups
Recording two people doesn’t have to mean complicated equipment. Dual-transmitter kits come with two separate wireless mics. Both transmitters send audio to one shared receiver. This setup avoids needing a separate audio mixer. You also won’t need complicated breakout cables.
Before recording, switch the receiver to Split or Stereo mode. Avoid using Mono if you need separate speaker tracks. Host A will appear on the left audio track. Guest B will appear on the right audio track. This makes editing much easier after the recording. You can adjust each person’s volume separately. You can also apply noise filters to one speaker. The other person’s audio won’t be affected.
Best Use Cases for Portable Microphones
Portable mics are no longer just specialist recording equipment. They’ve become a regular part of modern content creation. They make it easier to capture clean audio anywhere.
- Solo Content Creation and Travel Vlogging: Filming alone doesn’t mean carrying lots of equipment. A lightweight mic keeps your setup simple while traveling. You can record outdoors without losing clear dialogue.
- Outdoor Interviews and Event Coverage: Busy places can make recording audio difficult. Think crowded trade shows, busy streets, or windy parks. A suitable mic helps keep voices clear around distractions.
- Fitness and Tutorial Videos: Some videos involve plenty of movement during recording. Workout demos and cooking tutorials are good examples. Hands-free audio lets creators move without holding a mic. Their voices remain clear, even when facing away.
The Hollyland LARK M3 offers flexibility across these setups. Its system supports combinations of up to 4 transmitters. It can also connect with up to 4 receivers. This setup works for different recording arrangements. One host can send audio to multiple cameras. A four-person panel can also record separate tracks.
Tips for Getting Consistent Audio in Any Environment
Recording conditions can change quickly, especially when filming outdoors. A few simple adjustments can help keep audio clean. Pay attention to your surroundings and microphone placement.
- Handling Wind Noise: Place clip-on mics high on your chest. Keep them around 15 to 20 centimeters below your chin. Your body can help block some incoming wind. A furry windshield also helps reduce sudden gusts.
- Recording in Loud Places: Busy streets and crowds can easily affect recordings. AI noise cancellation helps reduce these unwanted background sounds.
The Hollyland LARK M3 offers three adjustable noise cancellation levels (10 dB / 15 dB / 20 dB). It also records at 48 kHz with 32-bit float audio. Its maximum SPL reaches 125 dB, helping capture loud sounds without clipping.
- Keeping the Transmitter Secure: Loose clothing can rub against the mic. This creates unwanted noise whenever you move around. Attach the mic somewhere away from moving fabric seams.
The Hollyland LARK M3 uses lightweight 9-gram transmitters. Its magnetic mounting system also keeps the mic securely attached. This helps during workouts or other active recordings.
- Monitoring Audio While Recording: Don’t wait until editing to check your audio. Keep an eye on levels while recording. The Hollyland HollyAudio app displays individual audio channels, giving you more control over audio levels.
Also, when multiple LARK M3 receivers connect, the system assigns them different roles. One becomes the Primary Receiver, while others become Secondary Receivers. The Primary Receiver controls transmitter settings like noise cancellation and mute. Secondary Receivers can monitor the transmitter’s status without changing anything. This lets everyone keep track of the same audio setup. It also prevents accidental setting changes during multi-camera shoots. . This helps creators monitor each speaker separately.
FAQs
How do I stop my portable microphone from buzzing or clipping?
Poor grounding or electrical interference may cause buzzing. Keep your mic away from routers and electronics. Plug everything into a grounded surge protector. For clipping, keep input gain around 50% to 80%. Audio peaks should stay between -12 dBFS and -6 dBFS. Hardware limiters and 32-bit float recording also help prevent distortion.
Why is my phone not detecting my wireless receiver?
Your phone might not recognize the receiver because of compatibility issues. Thick cases, metal accessories, and magnets can block connections. Make sure the receiver lines up properly with your phone. Weak adapters below 10W can also cause problems. Older Qi standards might prevent wireless charging from starting.
How do I make my native camera app use an external portable mic?
Some Android phones need USB OTG turned on manually. Head into Settings and enable the USB OTG connection. Then open your camera app and switch to video mode. Check its settings for an External Mic option. iPhones usually handle connections automatically without extra steps. Some Android phones hide manual controls inside video settings.
Why is my portable mic silent even when turned on?
A powered-on mic doesn’t always mean audio is coming through. The transmitter and receiver might have mismatched frequencies. Nearby 2.4 GHz Wi-Fi or Bluetooth can interrupt signals. Low batteries can also stop proper audio transmission. Check microphone permissions, input gain, and physical mute switches. Any of these could be causing the silence.
Which cable connects a portable mic to phones versus DSLR cameras?
DSLR cameras usually need a 3.5mm TRS cable. Look for two black rings around its connector. Phones with headphone jacks generally need TRRS cables. These have three black rings for separate audio connections. Newer phones need USB-C or Lightning audio adapters. Pair one with a compatible TRRS cable for recording.
Conclusion
Using a portable mic shouldn’t be a stress to get clean audio. But if you’re still finding it hard to capture good sound, you might be lacking a few things, like a proper setup, smart placement, and knowing your environment. Check your connections, battery, and input levels before recording. Also, position the mic correctly and monitor the sound. These habits help record clear and consistent audio across different settings. That’s why solo creators heavily rely on the Hollyland LARK M3‘s compact design and features. For regular two-speaker recordings, the Hollyland LARK A2 is also a great choice.
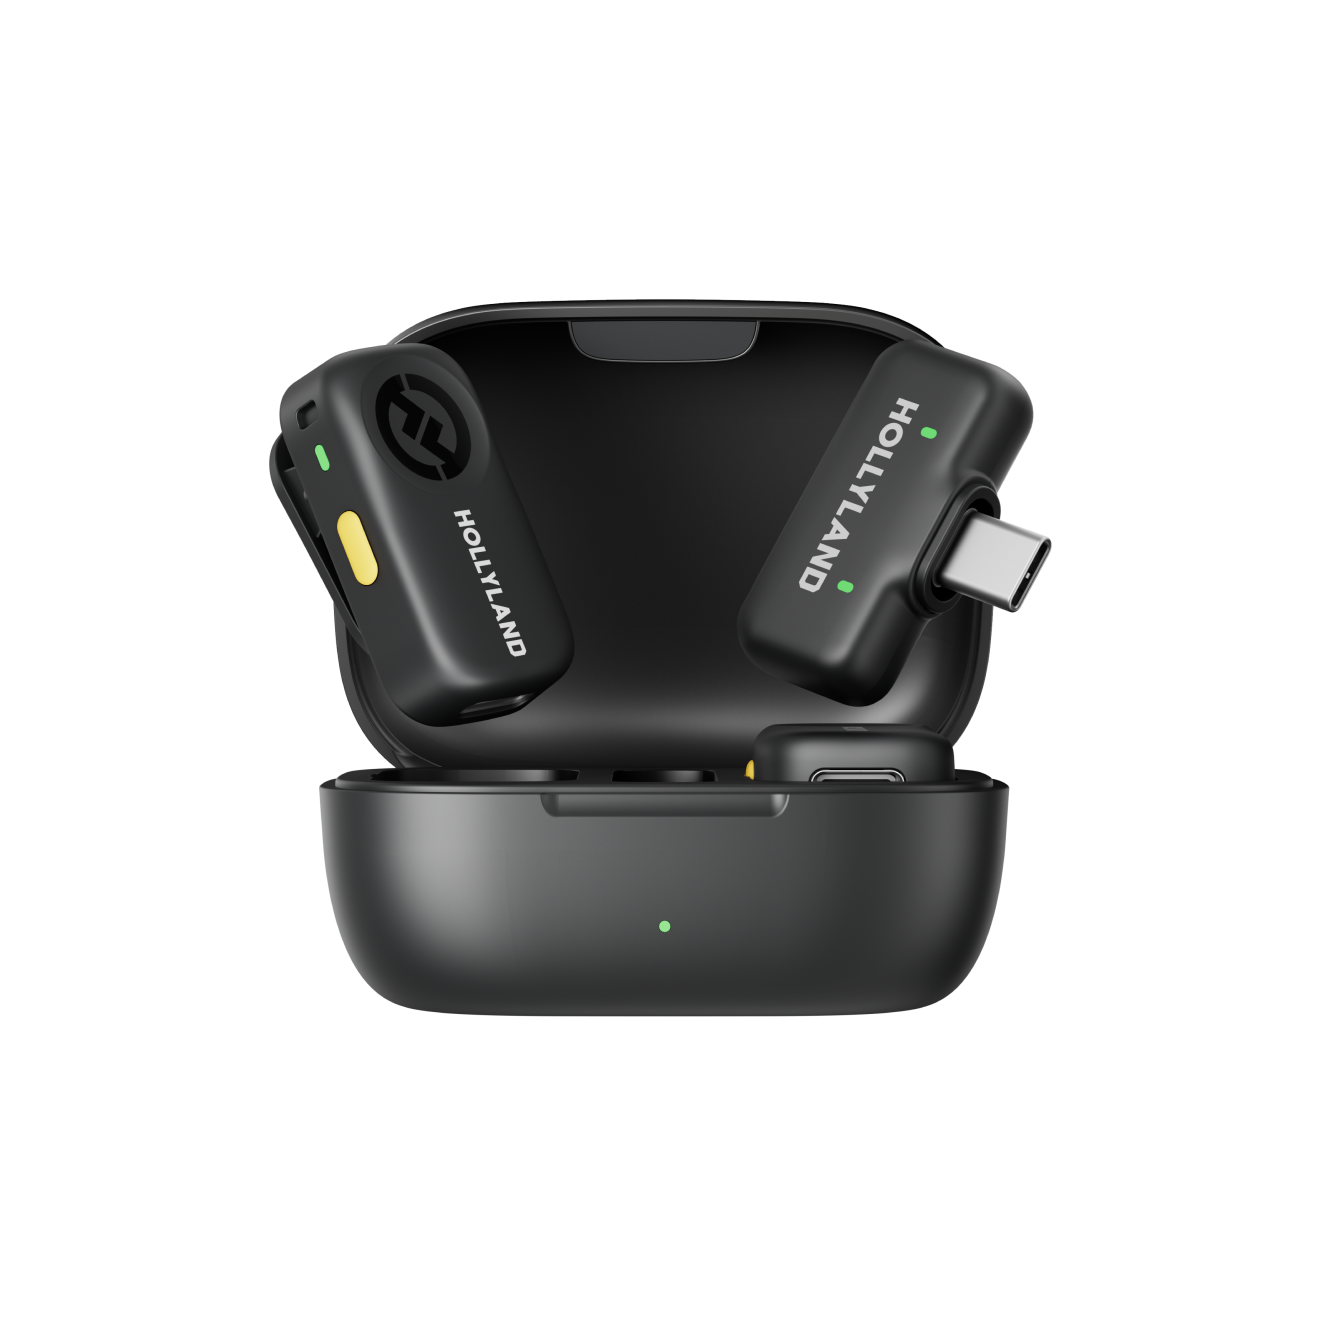
Hollyland LARK A2 - Clip-on Microphone
An ultra-light 8.5g wireless microphone engineered for effortless mobile recording, featuring smart AI noise cancellation and studio-grade sound.
Key Features: 8.5g Clip & Go | AI Noise Cancellation | 42 Hours Battery