



































.png)
 简体中文

A pulsing or throbbing microphone sound can be difficult to diagnose. It may seem like hardware damage, but settings often cause it. This article explains the possible causes behind this audio problem. These include cycling noise cancellation and low wireless transmitter batteries. You’ll also find a specific solution for each cause. Hollyland wireless microphone users will find a separate diagnostic section.

What Does a Microphone Pulsing Sound Actually Sound Like?
A pulsing audio artifact is rhythmic and repeating. It sounds like the volume is breathing, pumping, or slowly wobbling rather than holding steady. A regular swell-and-duck pattern on the waveform that is timed to a processing cycle or an interference event.

It is distinct from:
- Steady hum or buzz: Typically a ground loop or power line interference
- Random crackling or dropout: Usually a loose connection or hardware fault
- Constant white-noise hiss: Caused by excessive gain or a high noise floor
If your audio has a regular, rhythmic quality, you are in the right place.
Why Is My Microphone Making a Pulsing Sound? (Common Causes)
A pulsing artifact nearly always traces back to one of six root causes. Read each one and consider which matches the timing, environment, and equipment in your recording.

Noise Cancellation Pumping
AI and DSP noise cancellation algorithms work by continuously estimating the background noise floor and subtracting it from the signal. When the algorithm is set too aggressively, it over-suppresses during quiet moments and releases too quickly when a voice returns. The result is a rhythmic breathing or pumping artifact that is most noticeable during natural pauses in speech. This is one of the most common causes for wireless mic users who have noise cancellation turned on at a high setting.
AGC (Automatic Gain Control) Cycling
AGC is designed to keep output volume consistent by automatically adjusting input gain. In quiet environments, it steadily raises the gain to compensate for silence, then dips sharply when the speaker starts talking, only to climb again during the next pause. This creates a repeating swell-and-duck pattern that sounds like pulsing, particularly in room-ambient recordings where there is a meaningful volume difference between speech and silence.
RF Interference or Wireless Dropout Pattern
Wireless microphones operating on the 2.4 GHz band share spectrum with Wi-Fi routers, Bluetooth devices, and USB 3.0 peripherals. When the channel is congested, the system experiences rhythmic packet loss or signal collisions. Unlike random dropout, this type of interference produces a more regular pulsing or modulation pattern because the interference source itself operates on a fixed cycle.
Power Supply or Ground Loop Instability
USB bus power is shared across all devices on the same hub or controller. When a high-draw peripheral cycles on and off, it can cause oscillating voltage drops that introduce a pulsing artifact into a USB microphone. In AC-powered audio chains, a ground loop between two devices can introduce oscillating electrical noise at a fixed rate, often at multiples of 50 Hz or 60 Hz.
Low or Unstable Battery (Wireless Mics)
As a wireless transmitter battery depletes, its RF output power becomes inconsistent. The transmitter can no longer maintain a clean, stable signal to the receiver, producing an amplitude-modulation effect that sounds like fluttering or pulsing audio. This artifact typically starts subtle and worsens progressively as the battery continues to drain.
Over-Compression or Noise Gate Misfire
A compressor set with too low a threshold and too fast a release will repeatedly trigger and release on dynamic speech, producing an audible pumping effect. A noise gate set too close to the ambient room noise level will open and close rapidly as background noise fluctuates. Both issues are common when hardware or software processing is applied with default settings that were not matched to the recording environment.
How to Fix a Pulsing Sound from Your Microphone
Each fix below addresses a specific cause mentioned earlier. Wireless mic users should first check noise cancellation settings. They should also check the battery level. These two issues cause most reported pulsing problems.
Reduce or Disable Noise Cancellation
- Identify where NC is applied. Check your hardware mic settings, any companion app, and your recording or communication software (OBS, Zoom, Teams). More than one layer may be active simultaneously.
- Lower the NC intensity before disabling it entirely. Many systems offer a Low / Medium / High / Off option. Moving from High to Low often eliminates pumping while retaining useful noise rejection.
- Record a 30-second dry test clip with NC fully off and compare it to the clip with NC active. If the pumping disappears with NC disabled, the algorithm was the source.
Disable AGC in Software or Device Settings
- On Windows 11, go to Sound Settings → Microphone Properties. Under the Recording tab, double-click your microphone, go to the Advanced tab, and uncheck “Allow applications to take exclusive control.”


Open your microphone properties and select the Levels tab. For USB mics, set the main level to 100%. Keep Microphone Boost at 0 dB unless needed. If your 3.5mm microphone sounds too quiet, increase Microphone Boost slightly. Raise it until the signal sounds clear. Avoid settings that add too much background hiss.

- Open your microphone’s driver or companion software and look for an “Automatic Gain Control,” “Auto Level,” or “Smart Gain” toggle. Disable it.
- Set a fixed manual gain so that normal speech peaks between -18 dBFS and -6 dBFS on the input meter. Normalize loudness in post-production rather than relying on AGC during capture.
Switch Wireless Channel or Reduce RF Interference
- Move your transmitter and receiver away from Wi-Fi routers, Bluetooth devices, and USB 3.0 hubs. A USB 3.0 hub in particular radiates significant 2.4 GHz interference; keeping the receiver at least one meter away helps considerably.
- Access the channel or frequency menu on your wireless receiver and select a different channel. Re-pair the transmitter after switching.
- If pulsing only appears at the edge of your operating range, reduce the distance between transmitter and receiver or reposition to maintain a direct line of sight without physical obstructions.
Fix Power and Ground Loop Issues
- Plug the USB microphone into a different port. On desktop computers, rear USB ports connect directly to the motherboard and tend to deliver more stable power than front-panel ports.

- Disconnect other USB-powered peripherals sharing the same hub, then retest. If pulsing stops, bus power contention was the cause. A powered USB hub with its own AC adapter resolves the issue permanently.
- For AC-powered audio chains involving an interface, mixer, or monitor, insert a DI box on the signal path or use a balanced cable run to break the ground loop between devices.
Charge or Replace the Wireless Mic Battery
- Check the battery level indicator on the transmitter or in the companion app before recording. If the battery falls below 20%, charge it before recording. Avoid charging during setup.
- Charge via USB-C until the LED confirms a full charge with a solid, non-blinking light. Do not begin high-stakes recordings with a partial charge.
- If the battery drains unusually fast or the indicator jumps erratically, inspect the USB-C charging contacts for debris or damage, and check whether a firmware update addresses battery reporting accuracy.
Adjust Compressor or Noise Gate Thresholds
- Set the noise gate slightly above your room’s background noise level. Usually, 1 to 3 dB higher is enough. For example, your room may measure around -50 dBFS. In that case, set the gate between -48 and -47 dBFS. This blocks quiet background hum while allowing your voice through.
- Slow the compressor’s release time to 100–200 ms on speech material. This prevents the gain from snapping back too quickly and generating the audible pump.
- Use a mild compressor with a 2:1 to 4:1 ratio. Set a smooth knee to balance everyday speech levels naturally. This helps maintain your voice’s natural volume changes. Keep a high-ratio limiter, set to 10:1 or higher, for protection. Place it near the end of your signal chain. It catches unexpected digital peaks and prevents clipping.
Diagnosing and Fixing Pulsing Sound on a Hollyland Wireless Microphone
The Hollyland LARK MAX 2 serves as the main example here. Its companion app provides several controls that kind of help overcome or mitigate pulsing. These include AI Noise Cancellation level and manual gain. The app also offers wireless channel selection. Follow these steps in order before suspecting hardware damage.
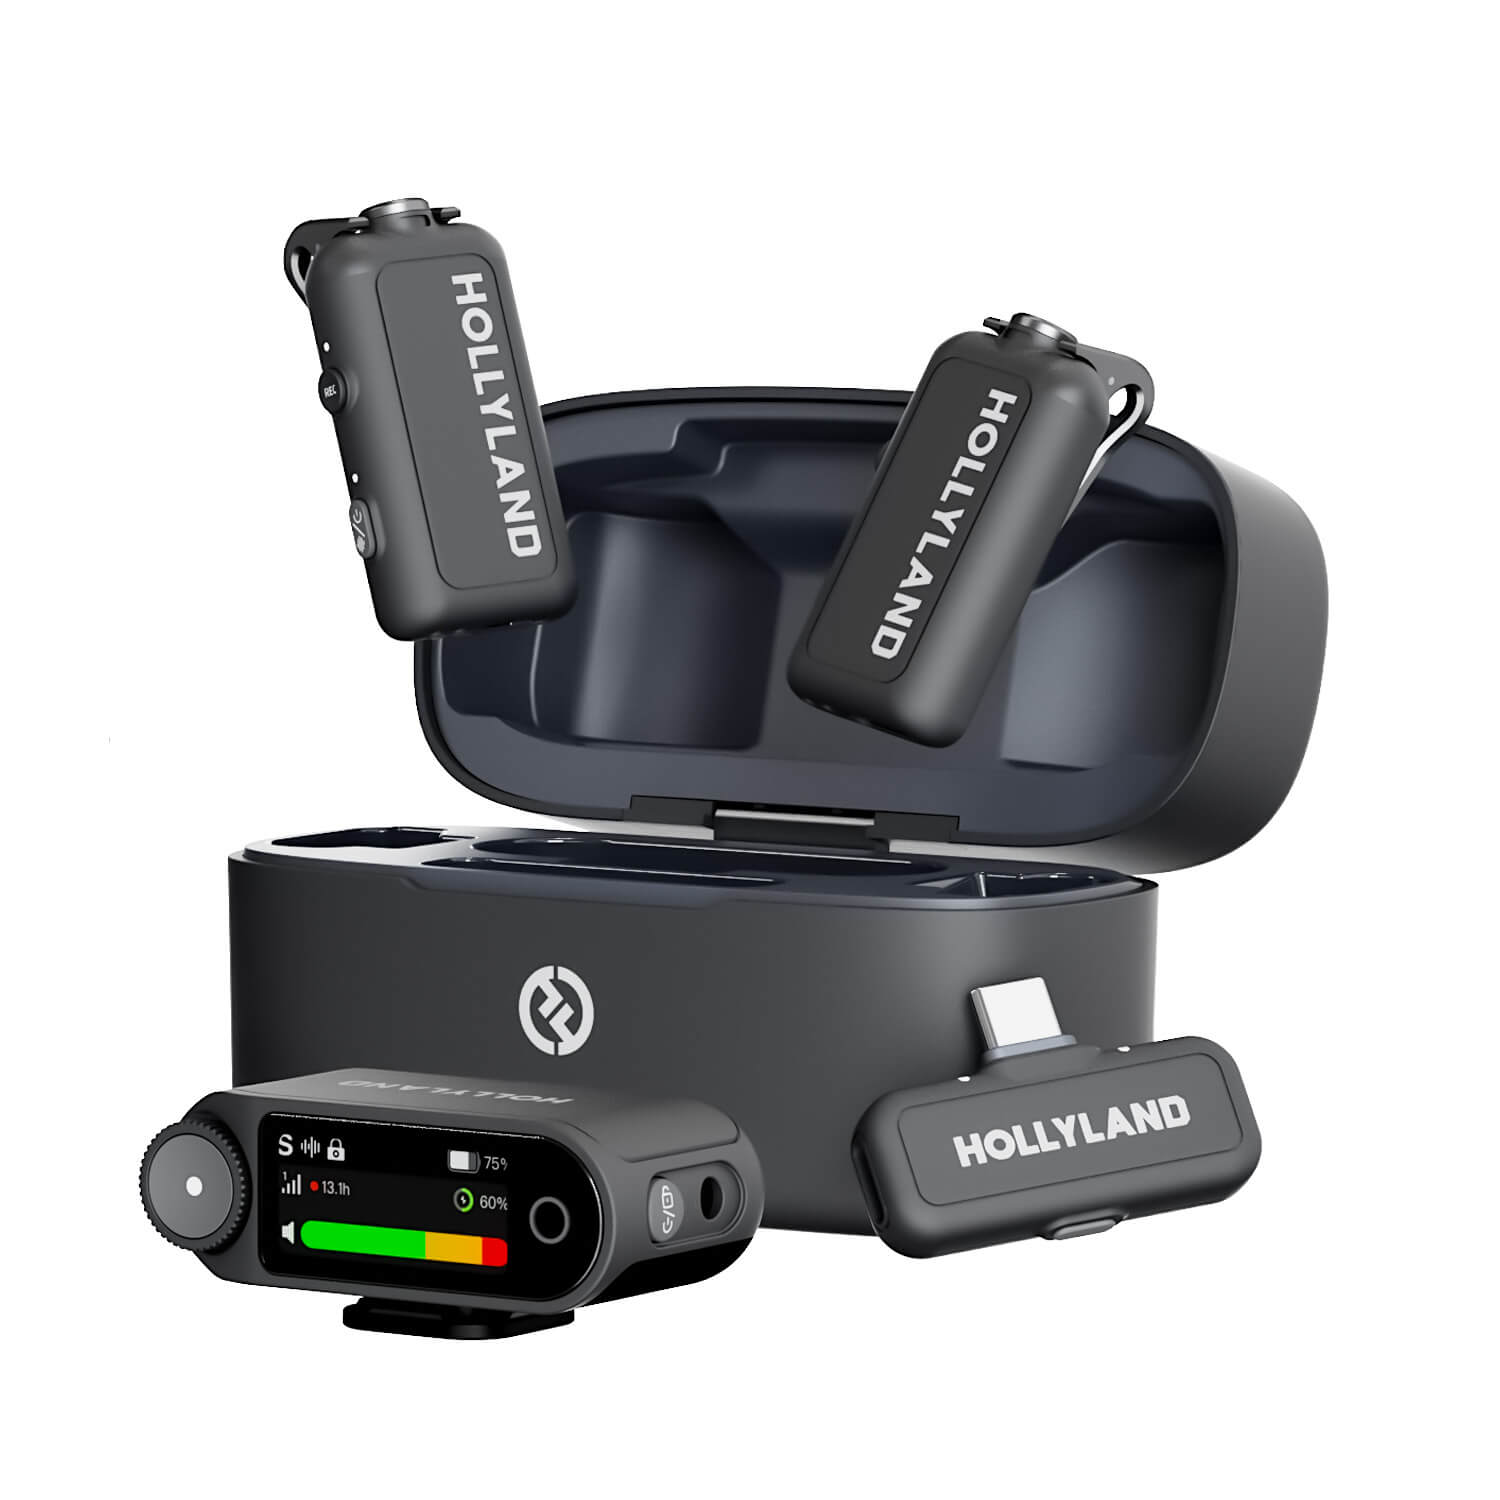
Hollyland LARK MAX 2 - Premium Wireless Microphone System
A premium wireless microphone for videographers, podcasters, and content creators to capture broadcast-quality sound.
Key Features: Wireless Audio Monitoring | 32-bit Float | Timecode
Step 1: Read the LED Indicators Before Adjusting Settings
Before opening any app or changing any settings, decode what the hardware is already telling you. On the LARK MAX 2 transmitter, the LED communicates its current state directly:
- Solid blue = paired and transmitting normally
- Fast blinking blue = Unit is searching for pairing, RF connection is unstable or lost

Step 2: Adjust AI Noise Cancellation Level in the HollyAudio App
- Open the HollyAudio App and confirm the LARK MAX 2 receiver is connected.
- Navigate to the Noise Cancellation (NC Level) toggle and turn it on.

- After toggling on the NC Level option, the slider will become active. Adjust the slider to increase or decrease the intensity of noise cancellation.

- Record a 30-second test clip at the new setting.
- Review the waveform in your editing software. A clean waveform without the regular swell-and-duck pattern confirms NC was the source.

Step 3: Check and Set Gain Manually (Disable AGC Behavior)
- Confirm that the LARK MAX 2 TX and RX are paired, and open the HollyAudio app.
- On the main screen, scroll down to the “Dynamic Gain” section.
- Select High, Medium, or Low gain options to allow the mic to adjust the gain automatically.
- To manually set gain, adjust the slider for the connected TX, such as Mic 1 and Mic 2, under the “Set gain to” section. For a mic positioned 15–30 cm from your mouth, 0 dB is a reliable starting point; adjust based on your input meter readings.

- Avoid the highest gain settings. High sensitivity makes the transmitter more reactive to background noise, which causes the NC algorithm to cycle more aggressively and increases pumping risk.
Pro Tip: The LARK MAX 2 supports an onboard recording feature that records a 32-bit float backup audio. Even if your primary channel shows pumping artifacts, the 32-bit Float internal recording may have captured usable audio at a level where NC cycling was less audible. Check both tracks in post before deciding a recording is lost. You can begin and stop onboard recording by pressing the REC button on the LARK MAX 2 transmitter.

How to Prevent Microphone Pulsing Sound
These habits eliminate pulsing before it affects a recording:

- Always charge wireless mic transmitters to full before a session; never record below 20% battery
- Set noise cancellation to Low or Medium by default and only increase it in genuinely noisy environments
- Avoid AGC anywhere in the signal chain; set a fixed input gain during recording and normalize loudness in post-production
- Keep wireless transmitters on a clear 2.4 GHz channel and away from Wi-Fi routers, USB 3.0 hubs, and Bluetooth devices
- Use a powered USB hub or a dedicated audio interface for USB microphones to stabilize bus power delivery
- Do a 60-second test recording before every session and review the waveform for pumping patterns before shooting full content
Frequently Asked Questions
Q: Why does my microphone pulse only when I stop talking?
This is the classic signature of noise cancellation pumping or AGC cycling. When you pause, the NC algorithm detects the drop in signal and aggressively suppresses background noise; when speech returns, it releases. Reducing NC intensity or disabling AGC eliminates the pattern. Also check whether your recording software applies its own noise suppression layer on top of the mic’s hardware settings.
Q: Can a pulsing sound be caused by the recording software, not the mic?
Yes. Zoom, Teams, and OBS can change your microphone audio automatically. Their noise suppression and gain settings operate separately from your microphone’s controls. The same issue can occur in DAWs with added compressors or noise gates. Turn off these effects and plugins, then make a test recording. If the pulsing stops, one of those settings caused it. Switch the effects back on individually to find the source.
Q: Does a pulsing sound mean my microphone is broken?
Not necessarily. In most cases, the cause is a setting or an external factor. Noise cancellation, AGC, gain levels, wireless interference, and low battery can all cause pulsing. You can usually correct these issues through a few adjustments. Actual microphone damage tends to sound different. You might hear random crackling, sudden signal loss, or no audio at all. A steady, repeating pulse usually points to another cause.
Conclusion
The first step is checking whether the pulsing follows a steady rhythm. Then consider what might be causing it. Common causes include noise cancellation, AGC, wireless interference, power issues, low battery, or excessive compression. Once you identify the likely cause, make the necessary adjustment. Often, changing just one setting is enough to stop the pulsing.
