
.png)
 简体中文

Grainy webcam video can ruin video calls and livestreams. Poor lighting often causes this problem, not faulty camera hardware. This means fixing the issue usually costs nothing. This guide explains several ways to improve webcam quality. Start by moving a lamp, then adjust exposure settings. Hardware upgrades are another option if other fixes fail. Follow these steps in order to reduce most visible grain.
Why Your Webcam Looks Grainy and What’s Actually Causing It
Webcam grain happens when the camera boosts a weak signal. When the sensor receives too little light, it raises its gain. Gain means the camera’s internal electrical signal amplification. This makes the picture brighter but also increases signal imperfections. As a result, tiny specks and visual noise appear across the image.
Think of it like turning up the volume on a barely audible audio recording. The signal gets louder, but so does every background hiss and crackle underneath it. Gain works the same way with image data. The lower the available light, the more gain the camera applies, and the worse the grain becomes.
Several factors make this problem worse:
- Small sensor size. Most built-in laptop cameras and budget webcams use sensors smaller than 1/3 inch. A physically smaller sensor collects less light per pixel, which means more gain is needed to produce a bright image even in a reasonably lit room.
- Auto exposure modes. When a webcam is set to automatic exposure, it defaults to producing a bright image at any cost. In imperfect lighting, that means constantly pushing gain upward.
- Heavy digital zoom. Digital zoom crops the sensor area and upscales the result. That upscaling process magnifies noise alongside image detail.
- Video compression. Apps like Zoom and Microsoft Teams compress your video stream at reduced bitrates. When your source signal already contains grain, the compression codec reinforces those noise patterns and makes them more pronounced inside a call.
Understanding the root cause matters because it tells you what to fix first. If your room is dim, no software filter fully compensates. If your room is adequately lit but your camera is still running auto gain at maximum, a simple settings change solves it in minutes.
Fix 1: Improve Your Lighting (The Highest-Impact Change)
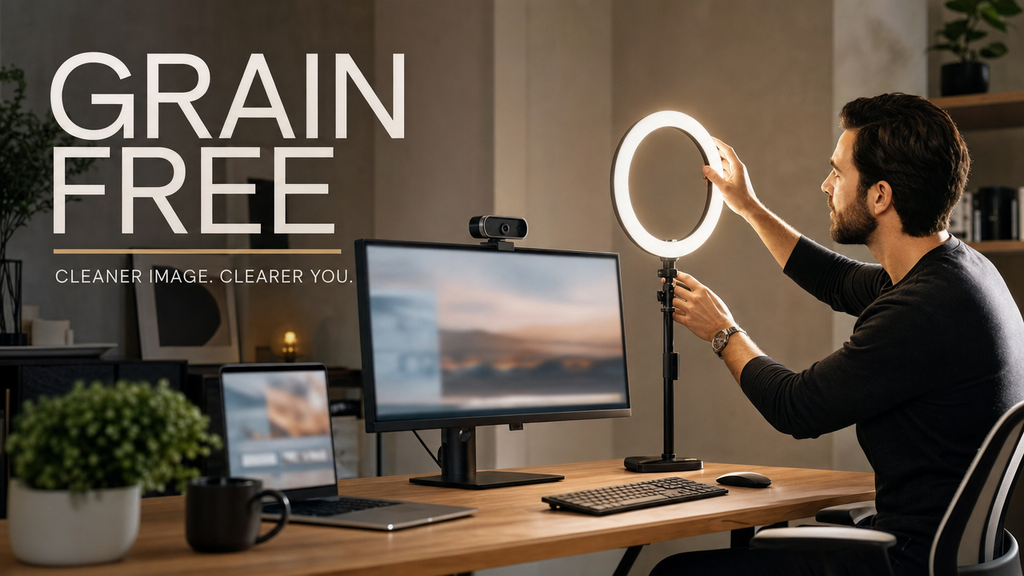
More light on your face is the most effective grain fix available, and it often costs nothing. When the sensor receives more light, it reaches a clean exposure at a lower gain level. Lower gain produces a cleaner image. No software adjustment comes close to the impact of a simple lighting change.

The most common lighting mistake is placing a light source behind you. When a window, lamp, or TV shines behind you, your face looks darker. The camera adjusts exposure for the brighter background, leaving your face underexposed. Your face ends up dark, the camera boosts gain to bring it up, and grain appears on the most important part of the frame.
Step-by-step lighting setup:
- Identify your key light. This is your single brightest light source: a window, a desk lamp, or a ring light.
- Position it in front of you, at or slightly above eye level. Your key light should face your face, placed between you and the camera.
- Angle it 30 to 45 degrees off-center for slightly dimensional lighting, or keep it centered directly behind the camera for flat, even illumination.
- Diffuse it if possible. A lampshade, a sheer curtain over a window, or a sheet of white paper placed in front of a bare bulb softens the light and reduces harsh shadows.
- Reduce competing backlight. Close blinds behind you or dim ceiling lights at your back. Removing the competing exposure gives your key light full control over the camera’s metering.
Ring lights vs. softbox panels: Ring lights are affordable and deliver even frontal illumination. A small LED softbox or a desk lamp bounced off a white wall produces a more natural look with softer shadows. Either is a meaningful upgrade over ambient or overhead room lighting alone.
Note: Simply moving an existing lamp from beside you to in front of you can cut visible grain dramatically in a typical home-office setup. This single step resolves the problem in the majority of cases.
Fix 2: Adjust Exposure and Gain in Your Webcam Settings
Once your lighting is improved, verify that your camera is not undermining that improvement by running gain in auto mode. Automatic exposure modes raise gain whenever the image looks slightly underexposed, which can still happen even in good light if your background is brighter than your face.
The principle: lower gain equals less grain. Lower gain also means a darker image, which is why you address brightness through lighting first and then reduce gain to match.
On Windows (System Settings):
- Press Win + I on your keyboard to open Settings.
- Click Bluetooth & devices in the left sidebar.
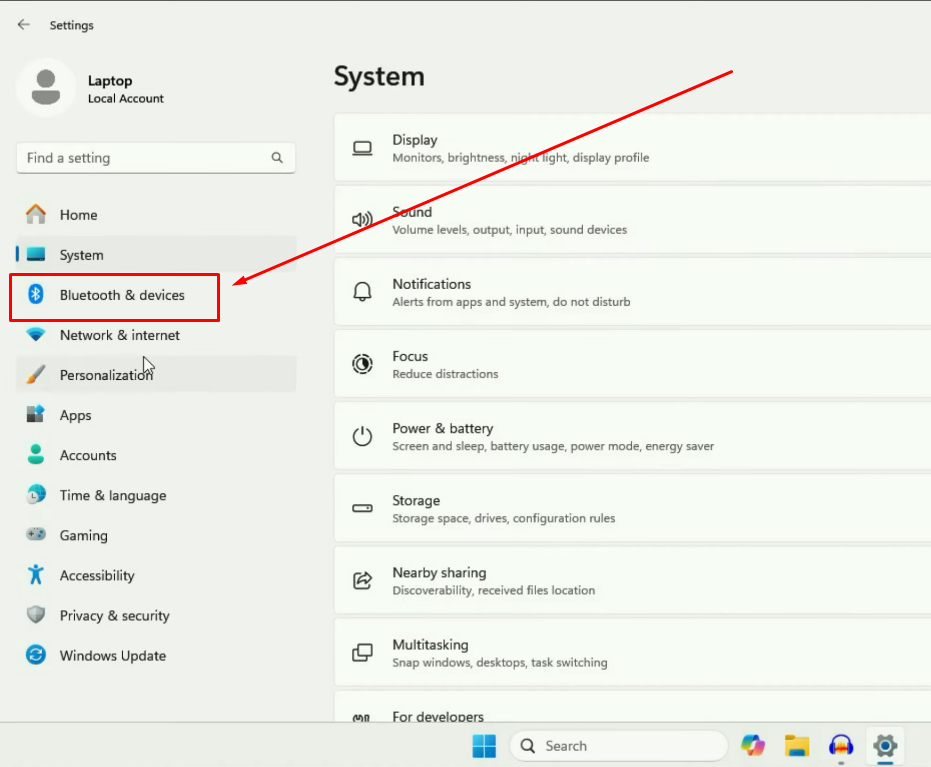
- Select Cameras on the right side.

- Choose your connected webcam or integrated camera from the list.
- Adjust available imaging controls such as brightness, contrast, sharpness, and saturation.

On macOS:
- macOS does not expose deep manual webcam controls through native apps in most configurations.
- Use your webcam’s companion app if one is available, or install a third-party tool such as Webcam Settings (available on the App Store) to access manual exposure and gain controls for most UVC-compatible webcams.
In OBS Studio:
- Select or add your Video Capture Device source.

- Click Properties.
- Click Configure Video to open your webcam driver settings. The window usually has Camera Control and Video Proc Amp tabs.

- Under Camera Control, uncheck Auto beside Exposure. Lower the Exposure slider until motion looks smooth and grain decreases.

- Open Video Proc Amp and uncheck Auto beside Gain. Set Gain to zero or its lowest available level. If the image gets darker, improve your room lighting instead of boosting software brightness.
- Click Apply, then OK to save your settings.
Pro Tip: After adjusting exposure settings, check the preview inside your video conferencing app, not just the local camera preview. Compression from apps like Zoom adds noise on top of what the camera produces, so settings that look clean locally can still appear grainy inside a call. Adjust your settings until the call preview looks right.
Fix 3: Use Software Noise Reduction Filters
When your environment limits how much lighting you can add, software noise reduction can reduce residual grain in real time. These tools treat the symptom rather than the cause, so use them after optimizing light and exposure, not instead of it.
Options by platform:
- OBS Studio: OBS does not include a native visual noise reduction filter for video. To reduce webcam grain during live video, try NVIDIA Broadcast if your PC has an RTX GPU. Its AI noise removal filter can clean the camera feed before it enters OBS. Another option is community-made OBS Shader Filters. These filters smooth images directly inside OBS. Keep the effect level low to preserve image clarity. Strong filtering can make the picture look blurry and unnatural.
- Zoom: Go to Profile image > Settings > Video & effects and enable Touch up my appearance. This applies light skin-smoothing that also subdues surface grain on skin tones.
- Google Meet: Check Settings > Video > Visual effects for available enhancement options.
- Microsoft Teams: Check Settings and more (three-dot menu) > Settings > Devices > Camera for video enhancement toggles. Availability varies by platform version.
Software noise reduction works by averaging similar pixel areas within or across frames. Aggressive use introduces softness and can make fine detail look smeared. Use the minimum setting that visibly reduces grain and rely on the lighting and exposure fixes above for anything more significant.
Fix 4: Check Your Resolution and Avoid Heavy Digital Zoom
Resolution and zoom settings have a smaller but real effect on grain. Shooting at your webcam’s native resolution — 1080p on a 1080p camera — delivers a cleaner result than upscaling from a lower resolution. Dropping to 720p and relying on software to fill in a 1080p frame adds softness and can amplify noise in the process.
Digital zoom is the bigger concern. Zooming past 1x on any webcam crops the sensor area and enlarges the remaining pixels. That upscaling brings noise with it at increased scale. If you need to appear closer to the camera, physically move the camera forward rather than reaching for the zoom control.
Note: In low-light conditions, running at 1080p/60fps can produce more grain than 1080p/30fps. The shorter shutter duration at 60fps means each frame captures less light. If grain is unavoidable in your current lighting, dropping to 30fps gives the sensor slightly more light per frame and can reduce visible noise without any other changes.
Using the Hollyland Lyra to Eliminate Grain: Hardware and Settings Walkthrough
The fixes above can improve video quality on any webcam. Remember, every camera has its limits in low light. A very small sensor may struggle when lighting is poor. Changing light positions or applying software filters cannot fully correct this issue.
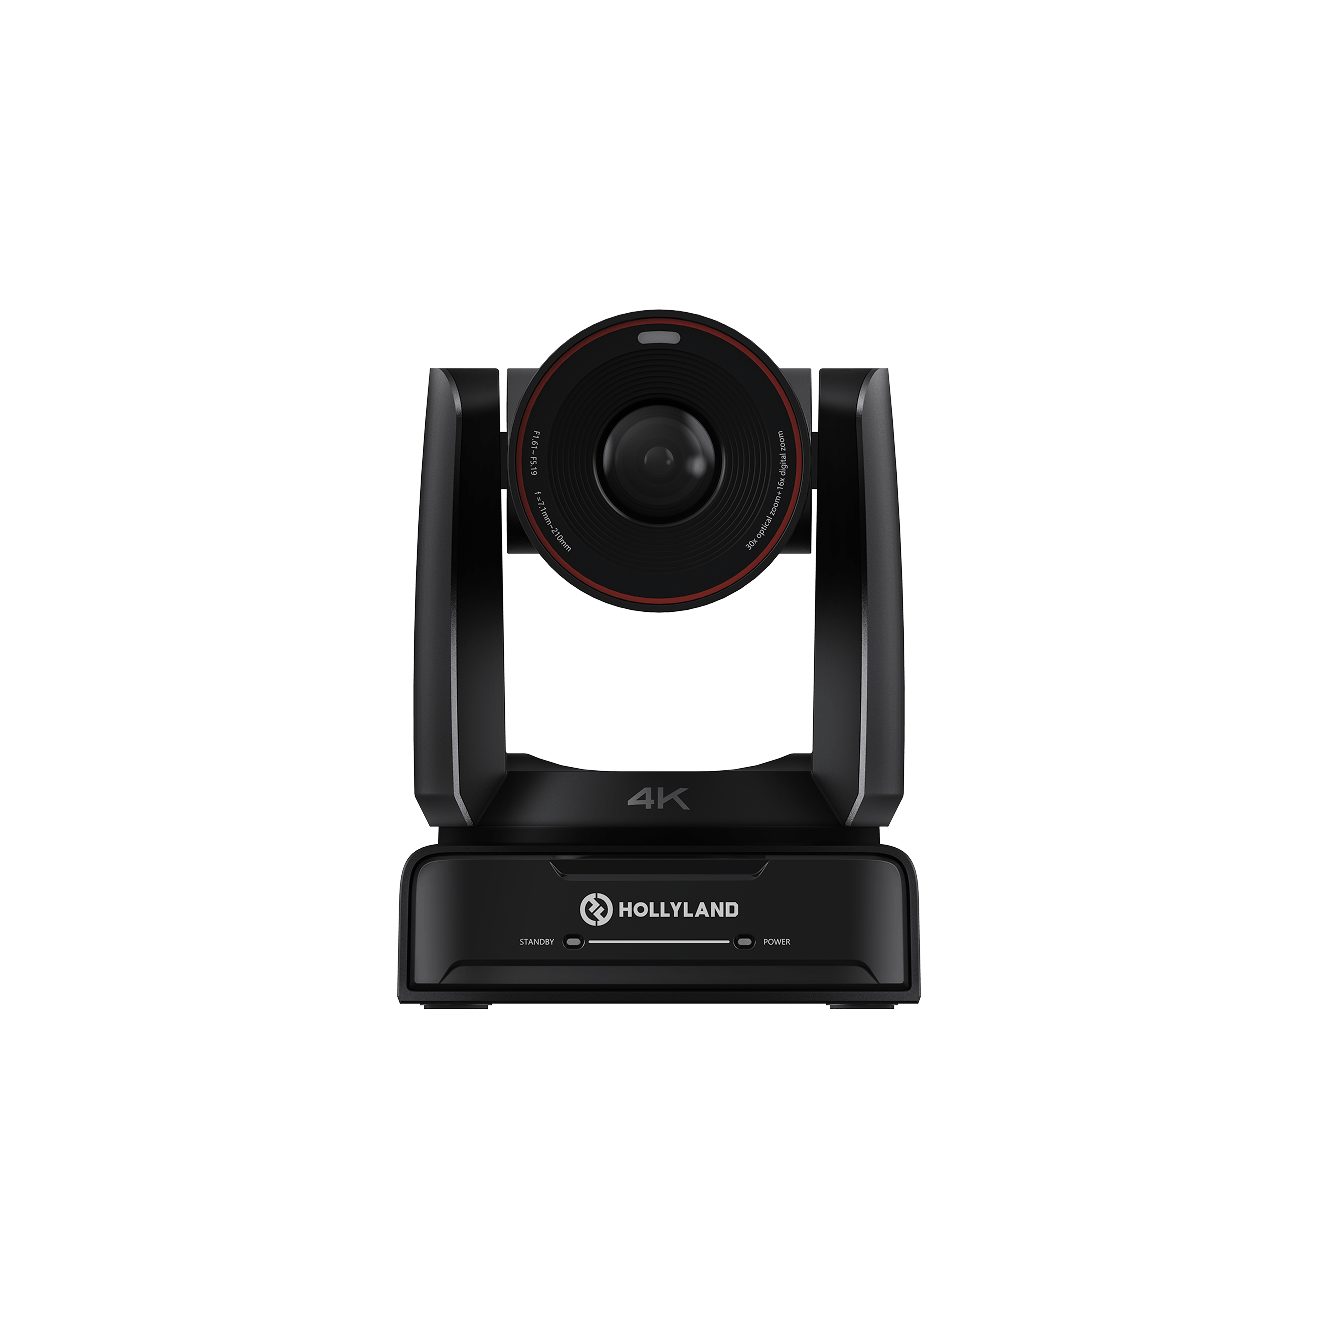
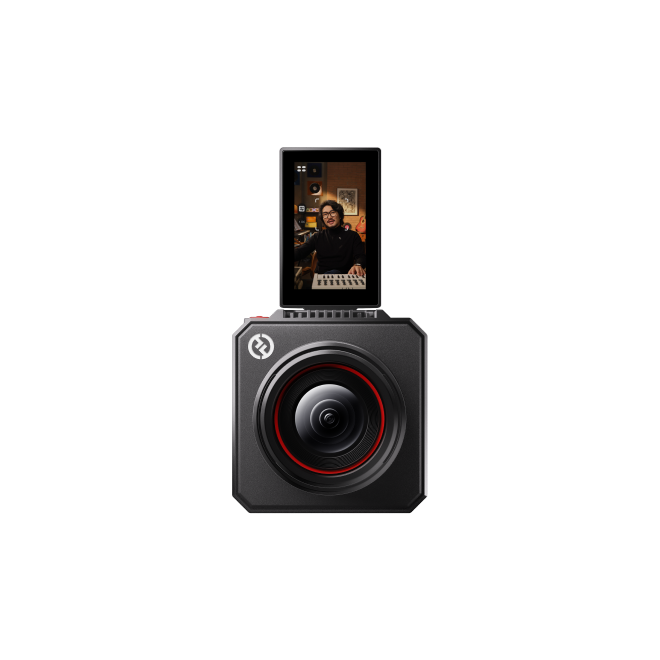
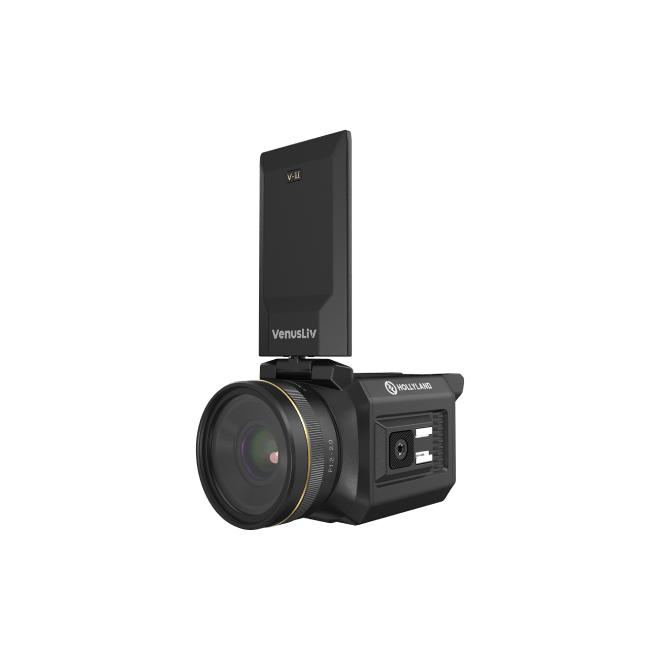
The Hollyland Lyra is built around a 1/1.5-inch CMOS sensor with an F/1.8 aperture — a significantly larger sensor and wider aperture than the 1/2.9-inch or smaller sensors found in most consumer webcams. A larger sensor captures more light per pixel, meaning the camera reaches a clean exposure at much lower gain. The F/1.8 aperture compounds that advantage by letting in more light with each frame. In practical terms, the Lyra can produce clean footage in lighting conditions that would push a typical compact webcam into visible grain.
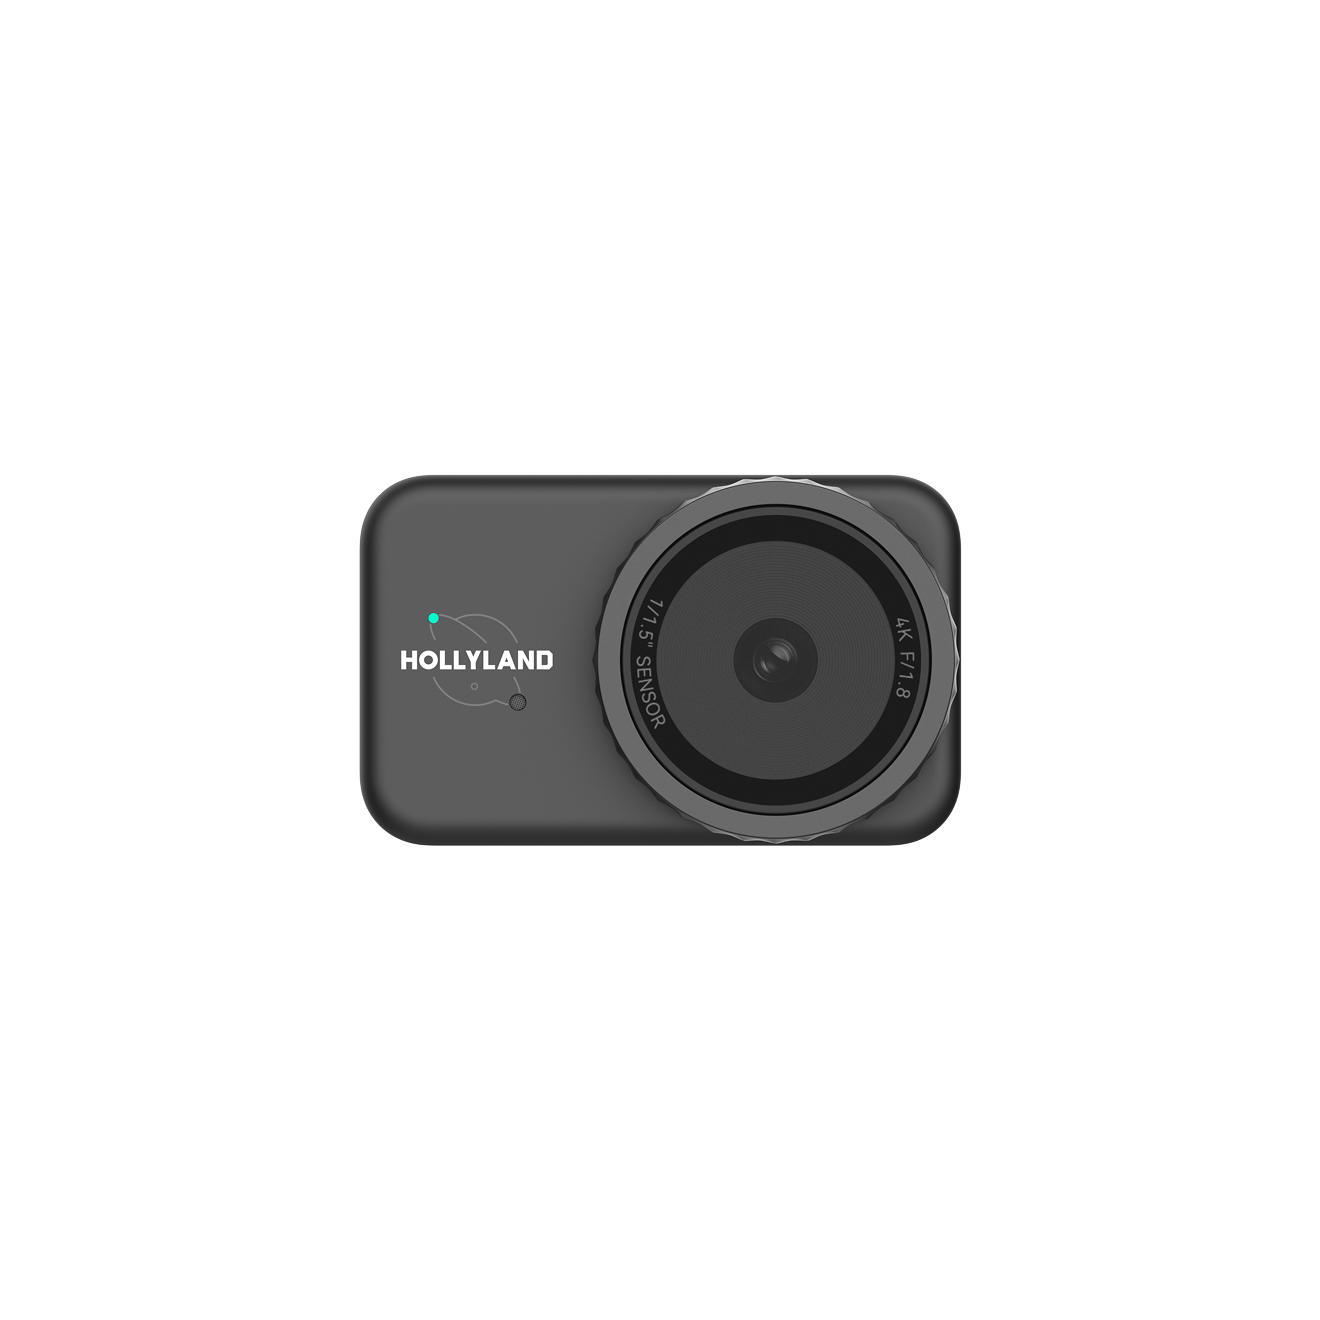
Hollyland Lyra - 4K AI Webcam
A flagship 4K AI webcam featuring a large 1/1.5″ CMOS sensor, smart auto-framing, and studio-grade 48 kHz/24-bit audio for effortless streaming and conferencing.
Key Features: 1/1.5″ CMOS & 4K30 | AI Tracking & Auto Framing | 48 kHz/24-bit Audio
After hardware setup, the HollyStudio companion app lets you fine-tune the image output to minimize any remaining noise.
Setup and grain reduction walkthrough:
- Connect via USB-C. Plug the Lyra into your computer’s USB-C port and confirm the LED indicator shows a steady green. No driver installation is required on current Windows or macOS.


- Open HollyStudio. Launch the app and confirm the Lyra appears as the active device in the device selector panel.
- Adjust the Exposure Slider. On the Image Control page, look for the Exposure (EV) slider. This is the primary in-app action for reducing grain. It can help recover perceived brightness without re-introducing gain.
- Set White Balance to Manual. Match the color temperature to your light source: approximately 5600K for daylight and around 3200K for tungsten or warm bulbs. Incorrect white balance can push the camera into compensatory gain adjustments that worsen grain.

- Select your Video output resolution. Just above the preview screen, locate the Resolution dropdown. Click to open it and choose 1920×1080 at 60fps under limited or moderate light, or 3840×2160 at 30fps in well-controlled lighting to use the full 1/1.5-inch sensor area for the cleanest 4K output.

- Confirm Zoom is set to 1x. Any zoom above 1x crops the sensor and concentrates existing noise. Keep digital zoom at its minimum unless there is a specific compositional reason to use it. In the HollyStudio app, you can control zoom in or zoom out by using the Focal Length slider on the Image Control page.

FAQs
Why does my webcam look grainy even in a well-lit room?
The problem may come from a small or low-resolution camera sensor. Strong automatic sharpening or backlighting can also cause grain. If your light source is behind you, move it forward. Then open your webcam settings or companion app. Switch to manual exposure and lower the gain (ISO), if available. Also confirm that digital zoom is off — even 1.5x zoom introduces visible noise. A dirty or scratched lens can reduce the light reaching the sensor, so a quick lens wipe is always worth checking first.
Does lowering my webcam resolution reduce grain?
It can help in some cases, but it is not the best solution. Lowering resolution from 1080p to 720p does not increase sensor light intake. Instead, it reduces the final image size, which may hide some grain. This also causes a loss of sharpness and fine details. Better lighting and lower camera gain target the actual cause. Try these adjustments first before reducing your webcam resolution.
Why does my webcam look grainier on Zoom or Teams than in the camera preview?
Video conferencing apps compress your stream at lower bitrates to manage bandwidth. Compression codecs group similar pixel areas into blocks and average them together. When your source video contains grain, those noise patterns get locked into the block structure and appear more pronounced after encoding. Starting with a cleaner source signal reduces how much compression amplifies it.
Can I fix webcam grain without buying new hardware?
Yes, in most cases. Better frontal lighting resolves most grain issues at zero cost. Manual exposure and gain settings address what lighting cannot. Software noise reduction handles residual cases. Hardware matters only when the sensor is physically too small to perform in your available light. At that point, no software fix can fully compensate for the sensor’s physical limitations.
Conclusion
Better webcam footage starts with proper lighting around you. Then adjust exposure and white balance to reduce unnecessary amplification. If grain still appears, try a software noise filter. Consider buying another camera only if nothing helps. In many cases, these changes cost absolutely nothing. If your webcam still struggles, its sensor may be responsible. The Hollyland Lyra has a larger 1/1.5-inch sensor. Its F/1.8 aperture also helps capture more light. These hardware specifications can help where software adjustments fall short.