



.png)
 简体中文
简体中文 
Ever opened TikTok, and you’re ready to go live, but the “Go LIVE” button is just not there? Well, it happens more often than you think. Going live is one of the fastest ways to connect with your audience in real time. It feels direct and immediate. But TikTok does not let everyone stream right away. There are a few requirements you need to meet first. Once that is sorted, the setup becomes simple.
This guide shows you everything step by step. You will check your eligibility, adjust your settings, improve stream quality, and fix common issues new creators usually run into.

TikTok Live Requirements: What You Need Before Going Live?
If the LIVE option isn’t showing up in your app, there’s almost always a specific reason. TikTok gates access to live streaming behind a short list of eligibility criteria. Run through this checklist before anything else:
- Age requirement: You must be at least 18 years old. TikTok enforces this based on the birthdate entered when your account was created.
- Follower count: Most accounts need a minimum of 1,000 followers to unlock the live feature. This threshold exists to ensure a base level of audience before a creator goes live.
- Account standing: Your account must be in good standing with no active policy violations or community guideline strikes. Accounts under restriction may lose access to LIVE temporarily.
- App version: You must be running a current version of the TikTok app. Outdated versions sometimes hide or disable features that are otherwise available to your account.
- Regional availability: TikTok Live is not available in every country. Requirements may also vary slightly by region, and TikTok adjusts eligibility criteria periodically.
How to Set Up TikTok Live: Step by Step
The full live setup process takes under two minutes once you know where everything is. These steps apply to both iOS and Android — the interface is nearly identical across both platforms.
Step 1 — Open the TikTok Camera
Tap the “+” (Create) button at the center of the bottom navigation bar. This opens the standard TikTok camera interface, the same one you’d use to record a regular video or Story.
Step 2 — Select the LIVE Tab
At the bottom of the camera screen, you’ll see a row of mode options: Photo, Video, Templates, and others. Swipe through this row until you find LIVE. Tap it to enter live stream setup mode.
Note: The LIVE tab only appears once your account meets TikTok’s eligibility requirements. If you don’t see it after scrolling through all available modes, return to the requirements checklist above before proceeding.

Step 3 — Configure Your Live Title and Cover
Before going live, TikTok prompts you to add a title and a cover image. Both are worth doing carefully:
- Title: You have up to 32 characters. Use this space to clearly describe what your stream is about. Specific titles (“Answering your skincare questions LIVE”) perform better than vague ones (“Going live now!”) because they tell potential viewers exactly what they’ll get.
- Cover image: You can select an existing photo from your camera roll or capture a new one on the spot. A clear, well-lit image that represents your stream topic helps attract viewers browsing the LIVE feed.
Step 4 — Choose a Topic / Category
TikTok allows you to assign your stream to a topic category — options typically include things like Daily Life, Q&A, Music, Gaming, Beauty, and more. Choosing the right category improves how your stream is surfaced to viewers browsing TikTok’s LIVE discovery feed, so take 10 seconds to pick the one that genuinely fits your content.
Step 5 — Set Moderation and Privacy Options
Before you tap Go LIVE, review the moderation settings. Tap the settings or filter icon on the pre-live screen to access:
- Comment filters: Enable automatic filtering for offensive words and spam. TikTok has a built-in keyword block list you can also customize.
- Age restriction: If your content is intended for adults, you can restrict the stream to viewers 18 and older.
- Allowed commenter settings: You can limit who can comment (e.g., only followers, only friends) to reduce unwanted interactions during your first stream.
Setting these before you go live is much easier than trying to manage them mid-stream in front of an audience.
Step 6 — Tap “Go LIVE”
Once your title, cover, category, and moderation settings are in place, tap the Go LIVE button. The stream starts immediately — there is no countdown.
As the creator, you’ll see your camera view with a real-time viewer count, a live comment feed scrolling on screen, and a control bar at the bottom for managing the stream. Viewers joining your stream see your video feed full-screen with comments overlaid. You’re live.

TikTok Live Settings You Should Configure First
Getting the stream started is step one. Getting it set up properly is step two — and most first-time creators skip this part entirely. After your first stream, or during a low-traffic moment, explore these additional settings through the TikTok LIVE Center.
- Q&A Mode: Enables viewers to submit questions that appear as a pinned prompt on screen, making it easier to run structured Q&A sessions without losing questions in the comment scroll.
- Pinned Comments: During a live, you can pin a specific comment to the top of the feed — useful for posting your topic, a call to action, or a link to your products.
- Co-Host Feature: You can invite another TikTok creator to join your stream via a split-screen format. This is a strong engagement tool and a way to tap into a co-host’s audience simultaneously.
- Fundraiser or Goal: If applicable, TikTok allows creators to add a donation goal or highlight a supported cause, which appears as a banner during the stream.
- LIVE Center Analytics: After each stream ends, LIVE Center provides data on peak viewership, total watch time, new followers gained, and engagement rate. Review these after every live to understand what’s working.
Equipment Tips for a Better TikTok Live Stream
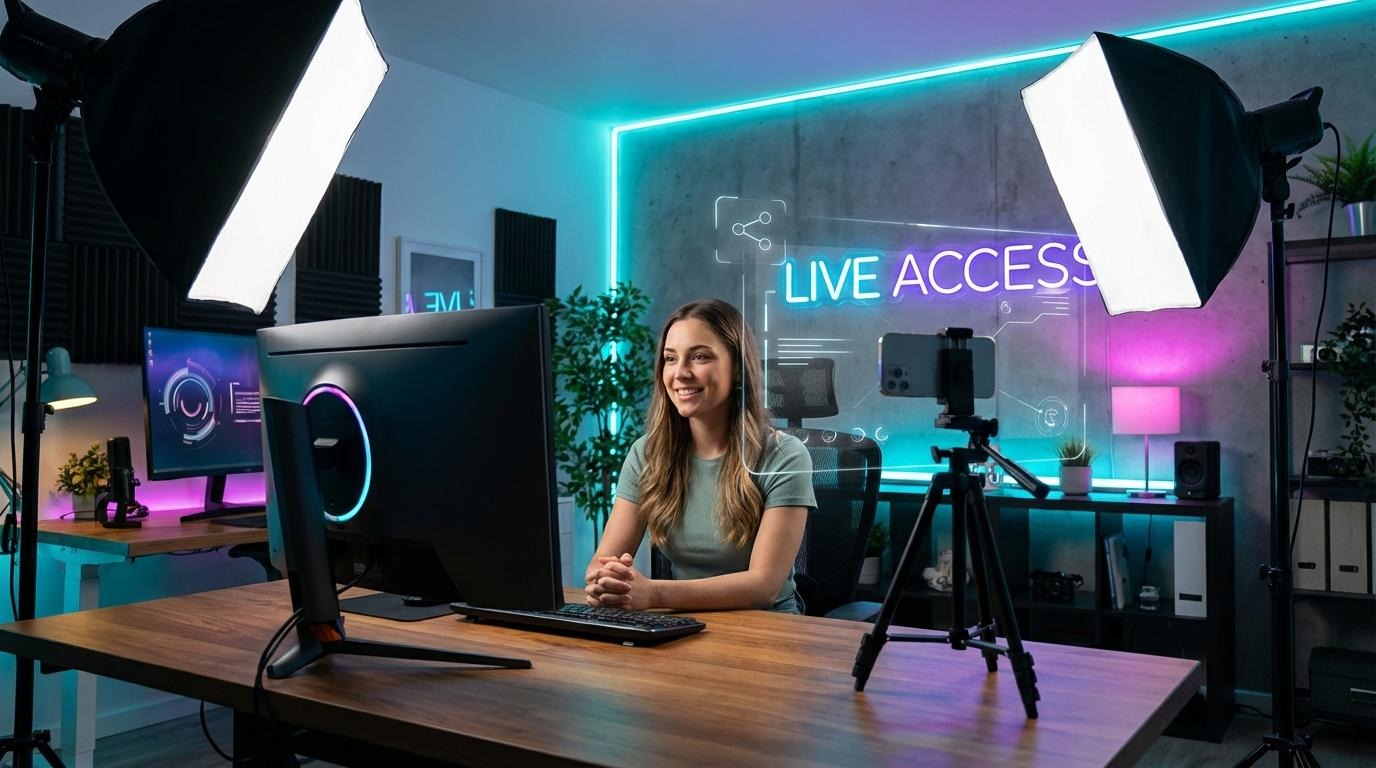
You don’t need a production studio to run a quality TikTok Live, but a few inexpensive upgrades make a significant difference in how professional your stream looks and sounds.

Phone Placement and Stabilization
Holding your phone while streaming makes for shaky, unpredictable framing. Use a phone tripod or a desk mount to hold the camera steady at eye level. Eye-level framing reads as more confident and easier to watch than an angled or tilted shot. If you’re streaming while moving — at an event or outdoors — a phone gimbal reduces motion blur considerably.
Lighting
Lighting is the single biggest visual upgrade you can make with minimal cost. A simple ring light placed in front of you, slightly above eye level, helps remove harsh shadows. It also gives your face a more even and natural look. Viewers often connect this lighting style with more polished creators. Contrarily, natural window light works well too if you face toward the window, not away from it. Also, avoid overhead room lighting as your only source; it creates unflattering shadows under the eyes.
Audio Quality
This is where most new streamers lose viewers without realizing it. Your phone’s built-in microphone is designed for calls, not streaming — it picks up room echo, HVAC noise, keyboard sounds, and anything else in the environment. On a live stream, that background noise is constant and distracting, and it signals low production value even when your video looks fine.
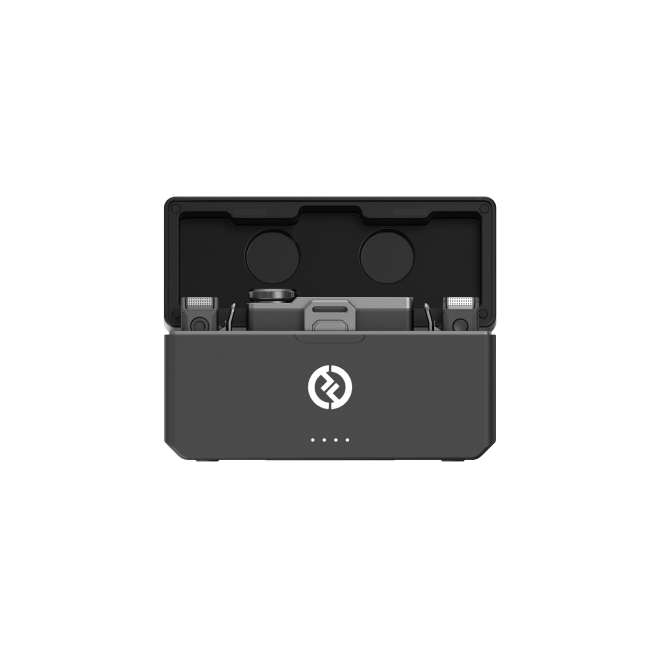
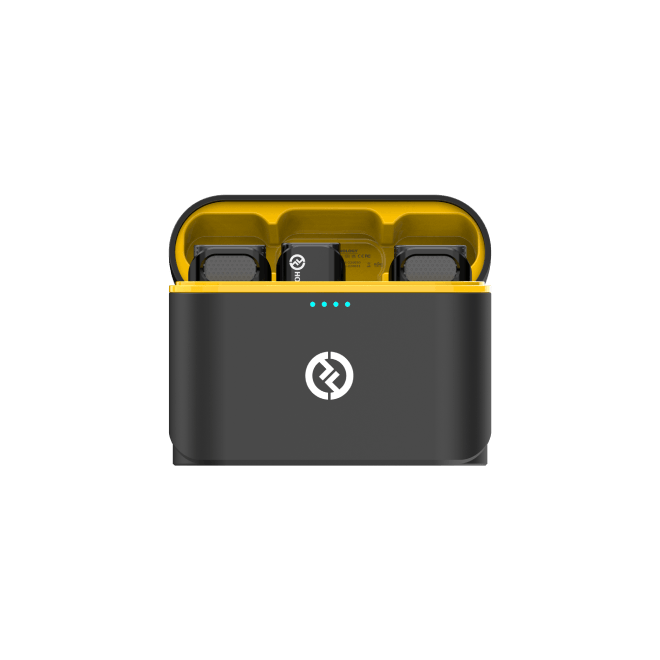
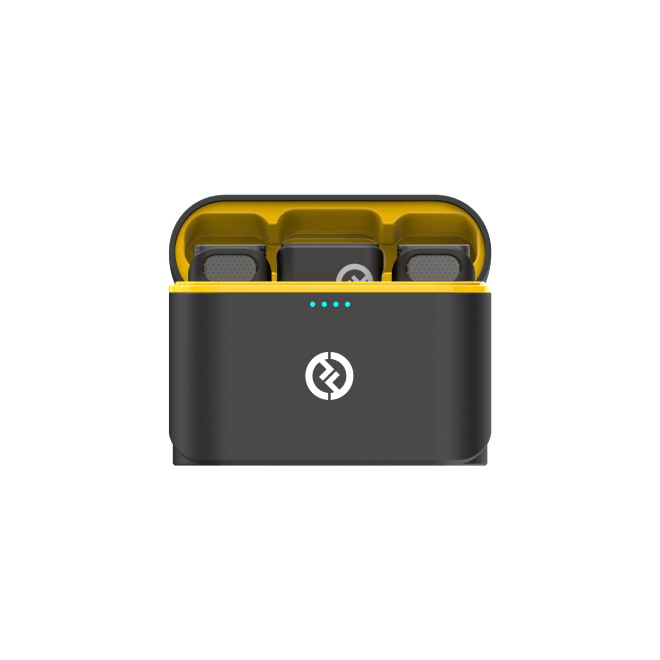
A compact clip-on wireless microphone solves this immediately. The Hollyland LARK M2 is a strong fit for TikTok LIVE. It weighs just 9 grams, so it sits on your collar or shirt without being obvious on camera. The 40-hour battery life means it won’t quit mid-stream, even during longer sessions. For creators going live from home, at events, or outdoors, it removes the most common audio complaint without adding complexity to your setup.
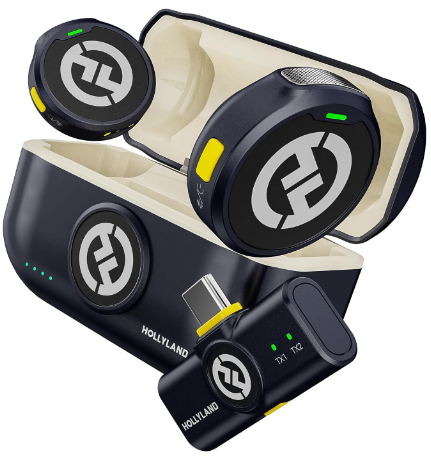
Hollyland LARK M2 - Mini Lavalier Microphone
An incredibly lightweight and compact wireless button microphone that captures high-fidelity audio.
Key Features: 9g Button Size | 48 kHz/24-bit | 40 Hours Battery
Pro Tip: Test your audio before going live by recording a 30-second video in the space you’ll be streaming from. Play it back with headphones to hear exactly what your viewers will hear. If you can hear room noise or echo, relocate or add a microphone before starting.
Troubleshooting Common TikTok Live Setup Issues
- “Go Live” button is missing: The most common cause is an unmet follower requirement or age gate. Also check whether you’re running the latest version of the app — update it via the App Store or Google Play and relaunch TikTok. Regional restrictions can also prevent access with no in-app notification.
- Stream keeps dropping: A weak or inconsistent internet connection is the primary cause. Switch to a 5GHz Wi-Fi network if possible, or ensure you have a strong 4G/5G signal. Close all background apps before starting your stream to free up bandwidth and processing power.
- Audio sounds echoey or distant: This is your phone’s built-in microphone responding to room acoustics. Moving to a smaller, softer-furnished room helps, but an external clip-on microphone is the most reliable fix.
- Black screen on live: TikTok needs camera access to function. Go to your phone’s Settings > Apps > TikTok > Permissions and confirm camera access is enabled. Restart the app after granting permission.
Frequently Asked Questions
How many followers do you need to go live on TikTok?
Most accounts require a minimum of 1,000 followers to access TikTok Live. You must also be at least 18 years old. Both requirements must be met simultaneously — having 1,000 followers won’t unlock the feature if your account age is under 18. TikTok may adjust these thresholds by region, so check your local requirements if the standard criteria are met but the feature is still missing.
Can you set up TikTok Live on a desktop or PC?
TikTok Live is primarily designed for the mobile app, and the standard setup process described in this guide is app-only. Desktop live streaming is possible through third-party RTMP software using TikTok’s streaming key feature, but this is an advanced configuration that goes beyond the scope of this guide. Most creators, especially beginners, should start with the in-app mobile method.
Why can’t I see the LIVE option in my TikTok camera?
The most common reasons are an unmet follower count, being under 18, an outdated version of the TikTok app, or a regional restriction. Start by updating the app and verifying your eligibility. If you meet all requirements and the tab still doesn’t appear, contact TikTok support through the app’s Help Center, as account-level flags can occasionally prevent access.
How long can a TikTok Live stream last?
TikTok does not publish a firm maximum stream duration. In practice, streams that drop below active engagement thresholds for extended periods may be ended by the platform. Most creators plan sessions between 30 minutes and 2 hours, which tends to keep engagement consistent. Longer streams are possible but require sustained viewer interaction to maintain visibility in the LIVE feed.
Can you schedule a TikTok Live in advance?
Yes. TikTok allows creators to schedule a LIVE event through the TikTok LIVE Center, giving followers advance notice so they can plan to attend. Scheduled events appear on your profile and can be promoted through your regular content in the days before the stream. This is particularly useful for creators planning interviews, product launches, or structured Q&A sessions.
Conclusion
Start by confirming your eligibility. Then go through the six setup steps and hit go live, even if everything does not feel perfect yet. Most first streams are not smooth, and that is completely normal. You learn more by running a live session than by only preparing for it.
After that, shift your focus. Work on keeping viewers engaged once they join. Also, use LIVE Center analytics to understand what is working and what is not. Over time, both will help you grow a stronger audience on TikTok LIVE.