



































.png)
 简体中文

Have you noticed a small switch labeled “Low Cut” or “HPF”? You may wonder what this little switch actually does. Well, many podcasters and vloggers often ignore this setting completely. Others switch it on without knowing what happens. This guide explains its function and when to turn it on. You’ll also learn where to find it on newer wireless microphones. Some models control this setting through their companion apps..
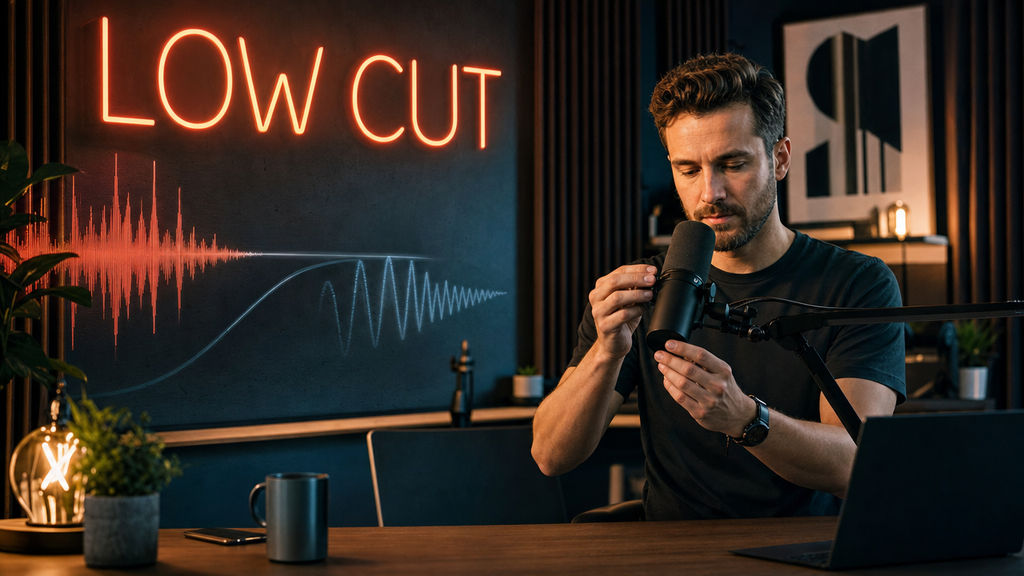
What Does a Low Cut Switch on a Microphone Do?
A low cut switch activates a built-in high-pass filter (HPF). It lowers sounds below a chosen frequency level. Common settings include 80 Hz, 100 Hz, and 120 Hz. The filter reduces these lower sounds at a set rate. Meanwhile, higher frequencies pass through with gradually less reduction.
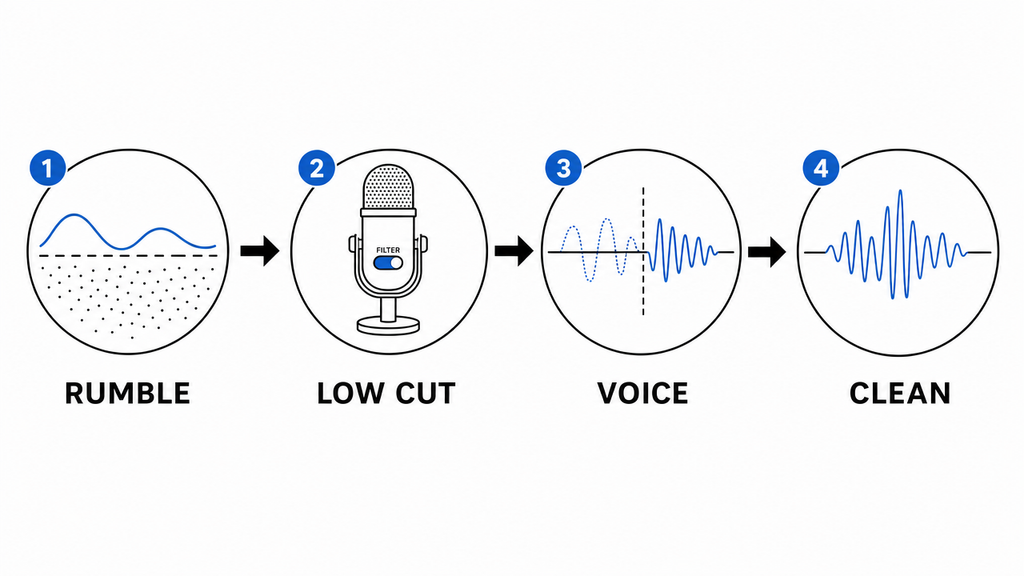
People often use “low cut” and “high-pass filter” to mean similar things. Both terms describe reducing lower frequencies in an audio signal. But a high-pass filter is the exact technical term. It means higher frequencies pass above a selected point. Low-cut simply describes removing unwanted low sounds.
Turning on this switch reduces deep, low-frequency noise. Examples include machine rumble, air conditioner hum, and foot taps. These sounds can add unwanted noise to recordings. Bass guitars, drums, and warm vocals also contain low frequencies. Choose the cutoff level carefully to protect these sounds. Or else, your recording may lose some fullness.
How the Low Cut Switch Works (The Short Version)
Let’s understand this with a short example. When you record a song in a DAW, it has different layers or stems of musical pieces, as well as the vocals. So each audio track can have different frequencies. Therefore, when all these tracks are layered together, they may all possess various frequencies. And they all contribute energy across a wide frequency range.
But in all of this group, unwanted sounds from the environment come in. For example, the air conditioner, horns and traffic sounds, and floor vibrations. These sounds usually have energy lower than 80 to 120 Hz. Likewise, a male with a low or deep vocal tone and bass instruments also have low frequencies.
So the question is, how to reduce them? On a hardware level, applying a low cut filter can mitigate bass noise at an early stage. It actually decreases rumble before the sound is recorded. What you get as a result is voices or melodies clear and easy to understand. Additionally, it is wise to set the cutoff not too high for deep voices. The same should be applied to bass instruments.
| Cutoff Frequency | Primary Noise Removed |
|---|---|
| 80 Hz | Distant HVAC rumble, mic stand vibration |
| 100 Hz | Light wind noise, room resonance |
| 120 Hz | Handling noise, foot traffic, proximity effect bloom |
When to Turn the Low Cut Switch On
For most spoken-word recording scenarios, turning the low cut switch on is the right call. Here are the specific situations where it consistently delivers cleaner audio:
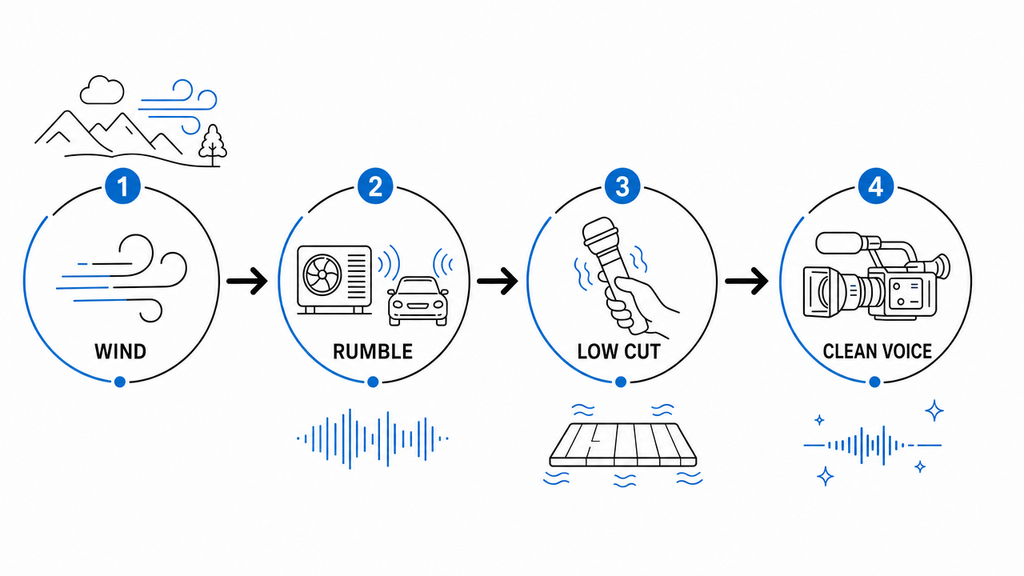
- Outdoor and location shooting with wind present. Wind against a mic capsule generates powerful low-frequency turbulence that the low cut filter removes before it reaches the recording chain.
- Interviews in rooms with HVAC or ambient traffic. Air conditioning systems and road traffic contribute constant low-frequency rumble that builds beneath a recording over time. The filter keeps the noise floor clean.
- Handheld use where handling noise is unavoidable. Every grip shift or hand movement on the mic body sends vibration toward the capsule. Filtering at 100 Hz or higher catches those low thuds and thumps before they register.
- Run-and-gun on-camera recording. Moving while recording means you cannot control the environment. The low cut switch acts as a safety net against whatever acoustic irregularities the location introduces.
- Live stage vocal reinforcement. Stage monitors and floor vibrations contribute to a muddy low end. The filter helps vocal clarity cut through the mix without reducing the voice’s intelligibility.
For podcasts, interviews, and vlogs, treating low cut as a default-on setting is a reasonable starting position.
When to Leave the Low Cut Switch Off
The low cut switch is not universally beneficial, and using it in the wrong context will degrade your recording. Here are the scenarios where it should stay off:

- Recording bass instruments. Bass guitar, kick drum, upright bass, and the lower registers of cello or piano have fundamental frequencies that fall squarely in the 80 to 120 Hz range. Engaging the filter cuts into the instrument’s core tone, not just the noise floor.
- Recording piano or orchestral instruments with a wide frequency range. The lower octaves of a grand piano extend well below 100 Hz, and a low cut filter will thin out those registers in ways that are difficult to recover in post.
- Capturing intentional proximity effect. When a vocalist works close to a directional microphone on purpose, the natural bass boost that results is part of the sonic aesthetic. Filtering it out works against the artistic intent.
- Recording in a well-treated studio. If you are in an acoustically controlled space with no HVAC noise, vibration, or traffic, the low end of your signal is likely already clean. Filtering a clean signal removes tonal information you did not need to lose.
The low cut switch solves a specific problem. If that problem does not exist in your recording environment, leave the switch off.
Where the Low Cut Switch Lives: Physical vs. App-Based Controls
On traditional condenser microphones and shotgun microphones, the low cut switch is a physical rocker, slide, or toggle built directly into the microphone body. It is usually labeled “Low Cut,” “HPF,” or represented by a filter symbol showing a sloping frequency curve. Finding it is a matter of scanning the mic body near the capsule or along the barrel.
Modern wireless clip-on microphones take a different approach. Because compact transmitter units do not have the surface area for dedicated hardware switches, the same functionality is exposed through a companion smartphone app. Some manufacturers have also included the Low Cut filter as one of the options in the receiver’s menu. This is why many users who own a wireless lavalier or clip-on mic report not being able to find “a switch” on the device itself. The control exists, but it lives in software rather than on the hardware body.
How to Use the Low Cut Filter on the Hollyland LARK MAX 2
The Hollyland LARK MAX 2 is a professional wireless clip-on microphone system that manages its audio processing settings through its Camera receiver (RX) unit, as well as the HollyAudio app.
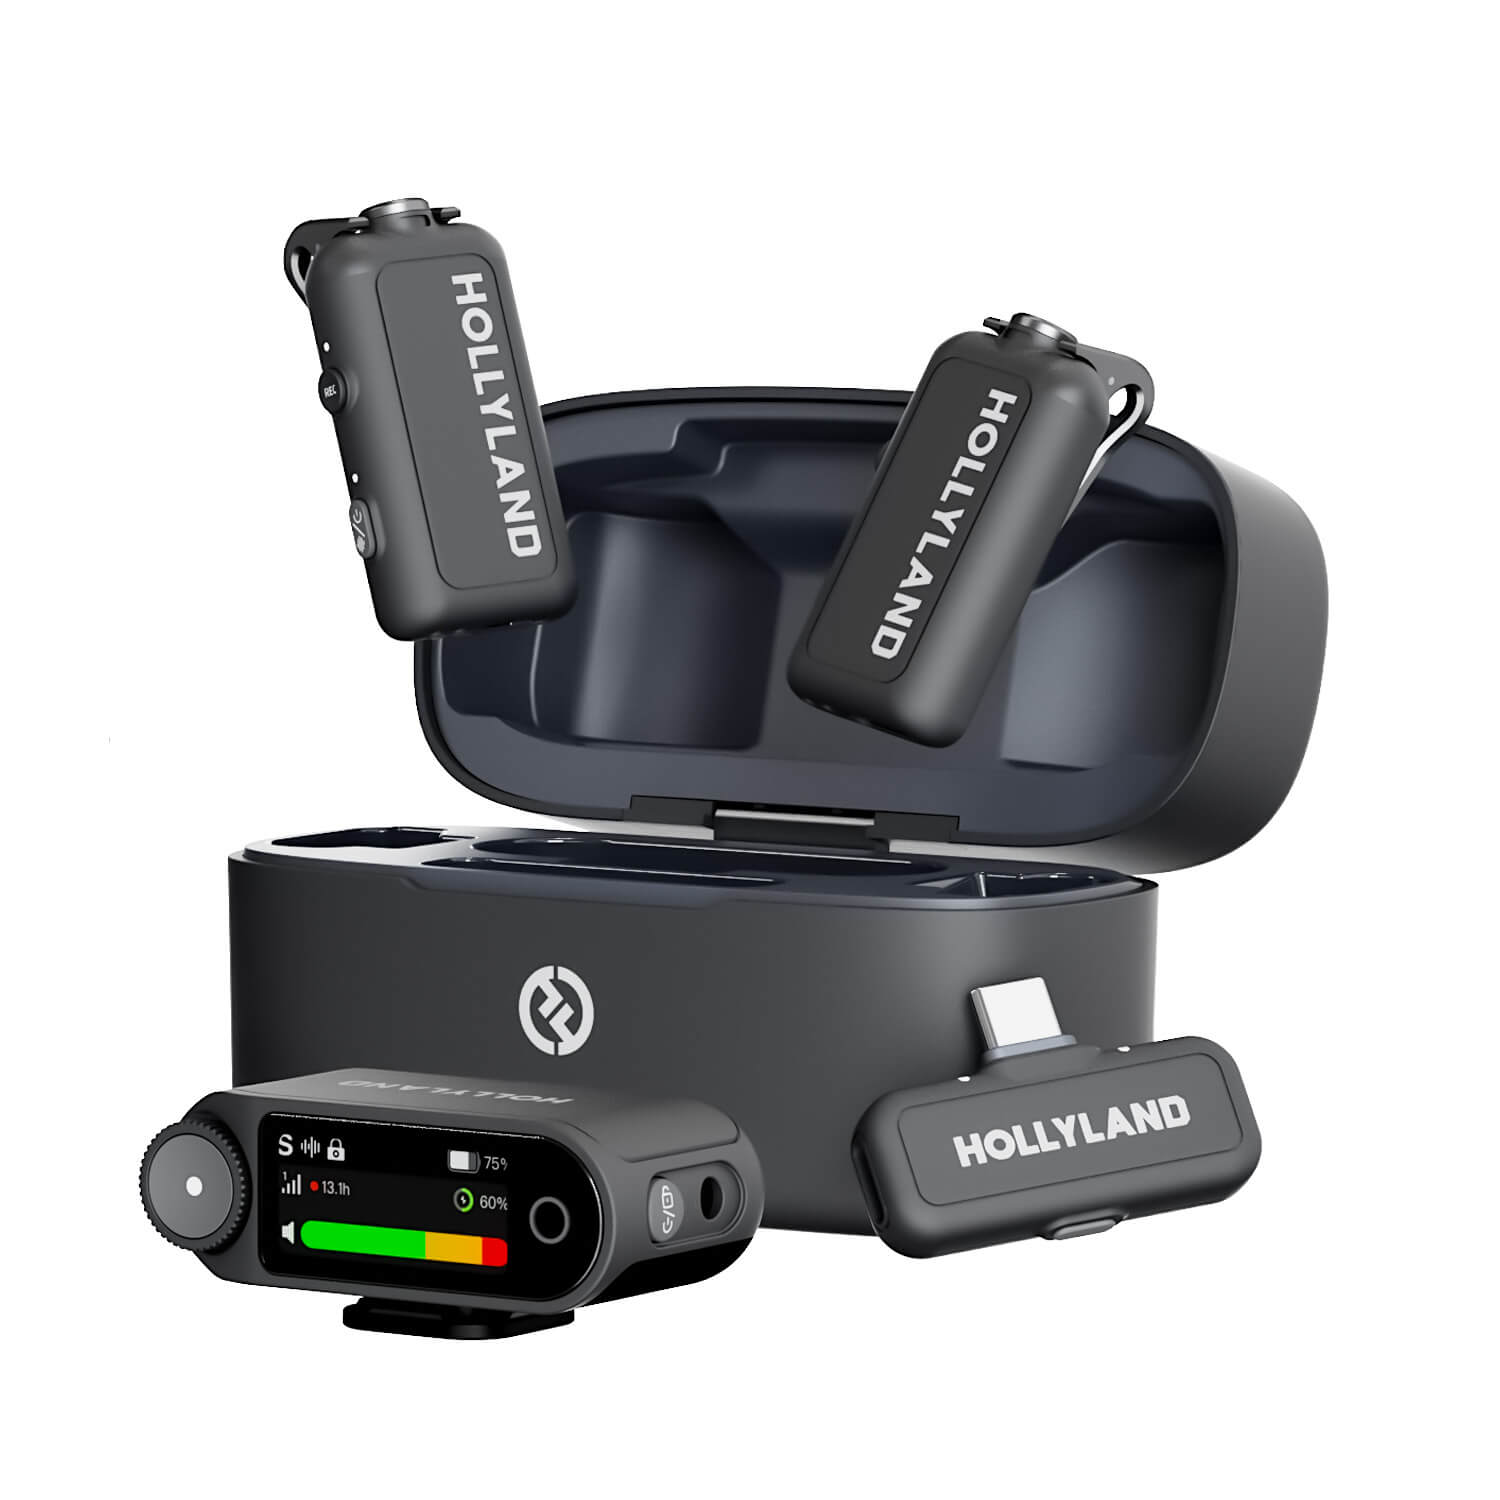
Hollyland LARK MAX 2 - Premium Wireless Microphone System
A premium wireless microphone for videographers, podcasters, and content creators to capture broadcast-quality sound.
Key Features: Wireless Audio Monitoring | 32-bit Float | Timecode
So follow the steps below to access and apply low cut switch in the Hollyland LARK MAX 2.
Before starting, confirm that your LARK MAX 2 transmitter (TX) is powered on and connected to the Camera receiver (RX). The LED indicator on the TX unit should display a solid blue light, confirming an active wireless link between the two units.
- Press the control knob once on the Camera RX to enter the main menu.
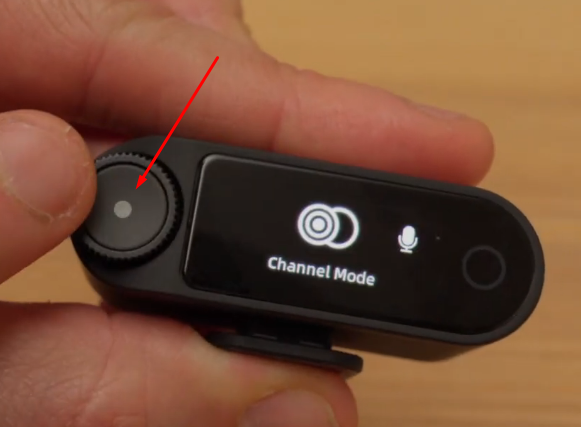
- Then rotate the control knob dial and select Mic Settings.

- Inside Mic Settings, find and tap the EQ option.

- From the three EQ modes, select Low Cut.

Note: The LARK MAX 2 records internally in 32-bit float format. This means the original, unfiltered audio is preserved in the onboard backup recording even when the low cut filter is active at the transmitter level. If the setting turns out to be too aggressive for the material, you have a clean source file to work from in post-production.
Low Cut Switch vs. In-DAW High-Pass Filter: Quick Comparison
A common follow-up question is whether you can skip the switch entirely and apply a high-pass filter inside your editing software instead. The short answer is yes, but source-level filtering is generally the better approach when noise is significant. Applying the filter at the microphone means that low-frequency noise never enters the recording chain, never competes for gain headroom, and never risks overloading the preamp stage. In-DAW filtering remains useful for fine-tuning or when you want to preserve the unprocessed source as a safety. When the noise is severe, such as heavy wind or loud HVAC, handling it at the source produces a cleaner, more reliable recording.
Frequently Asked Questions
Q: Is a low cut switch the same as a high-pass filter?
Yes, they are the same function with different labels. “Low cut” describes what the filter removes from the signal; “high-pass” describes what it allows through. Manufacturers use both terms, and you will find both on different microphone bodies and app interfaces. If you see either label, you are looking at the same control.
Q: Should I leave the low cut switch on all the time?
When recording speech, leaving it on is usually a safe choice. This applies to podcasts, vlogs, interviews, and similar content. Music recording needs a little more attention, though. Instruments like bass guitars, kick drums, and pianos produce strong low frequencies. Keep the switch off when recording these instruments. Or else, the filter may remove part of their natural tone.
Q: Does the low cut switch affect voice quality?
A setting between 80 and 100 Hz usually keeps voices clear. Most speakers won’t notice much difference in vocal clarity. Deep male voices can reach frequencies as low as 85 Hz. At this range, the filter mostly removes sub-bass rumble and handling noise. This helps reduce unwanted noise without affecting speech clarity. Since filters reduce frequencies gradually, a 100 Hz setting may slightly thin out very deep voices. At 120 Hz or higher, deeper voices can lose noticeable body and warmth. So, listen to your audio while adjusting the filter.
Q: How do I find the low cut setting on a wireless microphone if there is no physical switch?
Start by checking the receiver’s touchscreen menu or companion smartphone app. Most modern wireless mics provide digital audio settings through these interfaces. With the Hollyland LARK MAX 2, Low Cut appears among three EQ modes. The other two options are Hi-Fi and Vocal Boost. You can select Low Cut directly from the receiver’s EQ menu.
Q: What cutoff frequency should I use outdoors?
120 Hz is the standard recommendation for outdoor recording in windy conditions, as wind turbulence generates strong low-frequency energy in that range. For indoor or controlled environments with only mild ambient noise, 80 to 100 Hz is sufficient and preserves more of the natural signal.
Conclusion
The low cut option makes more sense once you understand its purpose. Turn it on when recording podcasts, vlogs, interviews, or outdoor videos. It also helps when wind, HVAC noise, or handling vibrations affect recordings. During music recording, leave it off to preserve the low frequencies. The same applies to treated studios where bass is part of the intended sound. On wireless clip-on systems like the LARK MAX 2, you control Low Cut through the Camera receiver (RX). Check out the full Hollyland LARK MAX 2 feature set for more audio control options.
