.png)
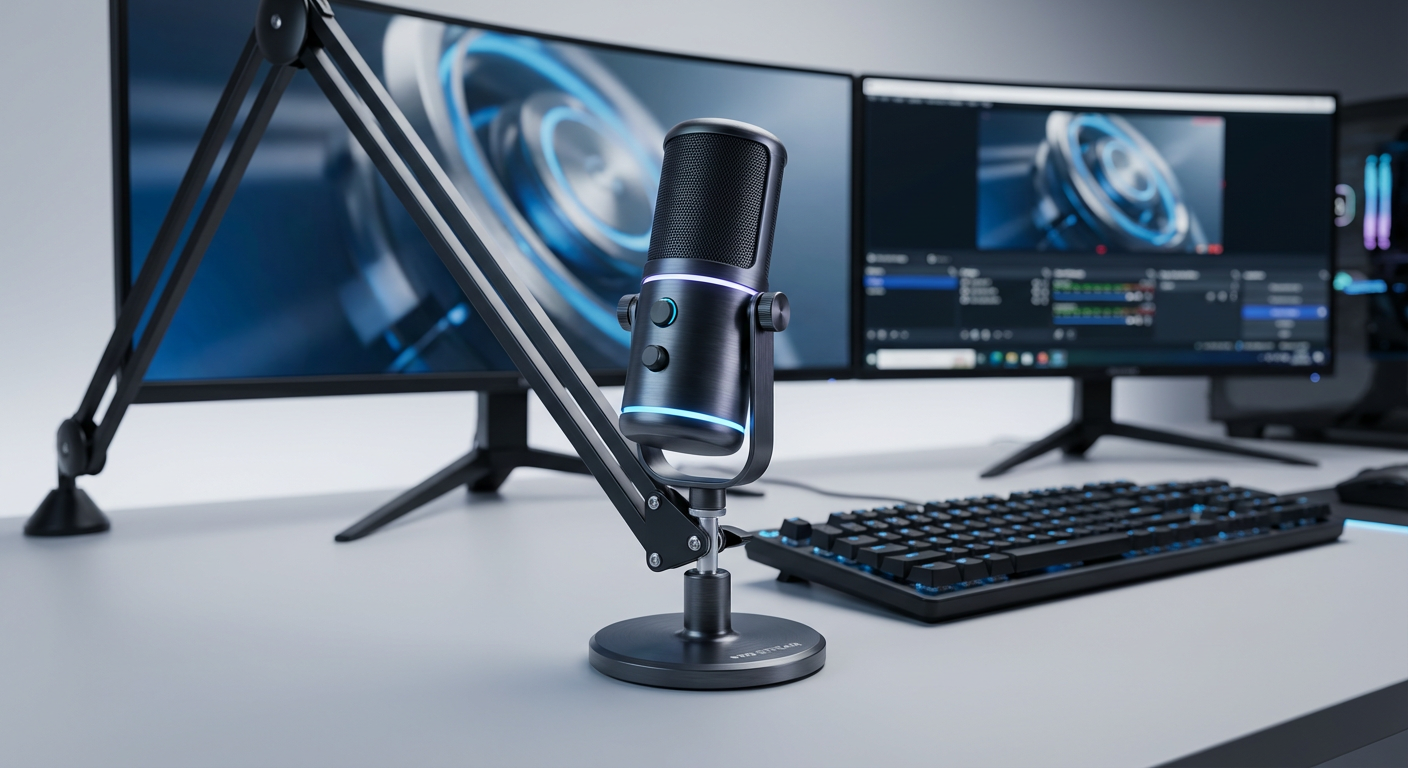
The most essential thing for a streamer is their streaming setup, with the microphone being at the top of the list.
The right mic and audio settings can help you maintain the best audio quality, keeping your viewers engaged with your streaming videos. Here’s a detailed guide on how to ensure sound clarity during streaming by focusing on the setup.
Picking the Right Microphone for Streaming
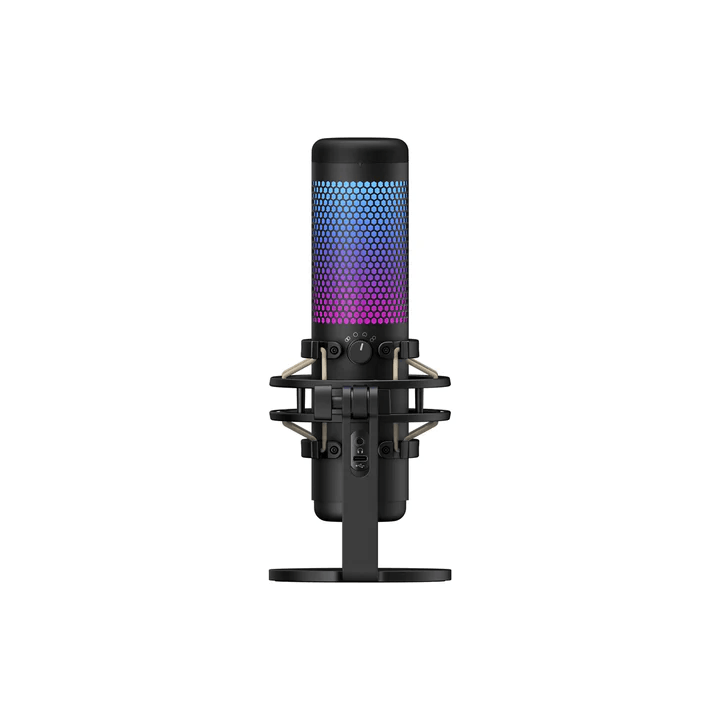
Choosing the right microphone for streaming is the foundation to attain the best audio quality in your videos. Streamers typically use desk microphones for this purpose as they are easy to set up and are affordable.
Wireless mics are also gaining popularity in the gaming world due to their flexibility. With these microphones, you can move freely while achieving high-quality audio output. This makes them an ideal choice for dynamic content creation.
For example, the Hollyland Lark M2S can be the perfect wireless microphone for streaming purposes. Its logo-free, compact design ensures that it remains discreet without interfering with your look of the day. With its stable titanium clip-on feature, you don’t have to worry about losing the mic.

Hollyland LARK M2S - Wireless Hidden Microphone
An ultra-discreet wireless microphone featuring a clip-on transmitter for an “invisible” fit.
Key Features: No-Logo Fit | Ti+ Design | 48 kHz/24-bit
Invest in a Mic Boom Arm or Stand
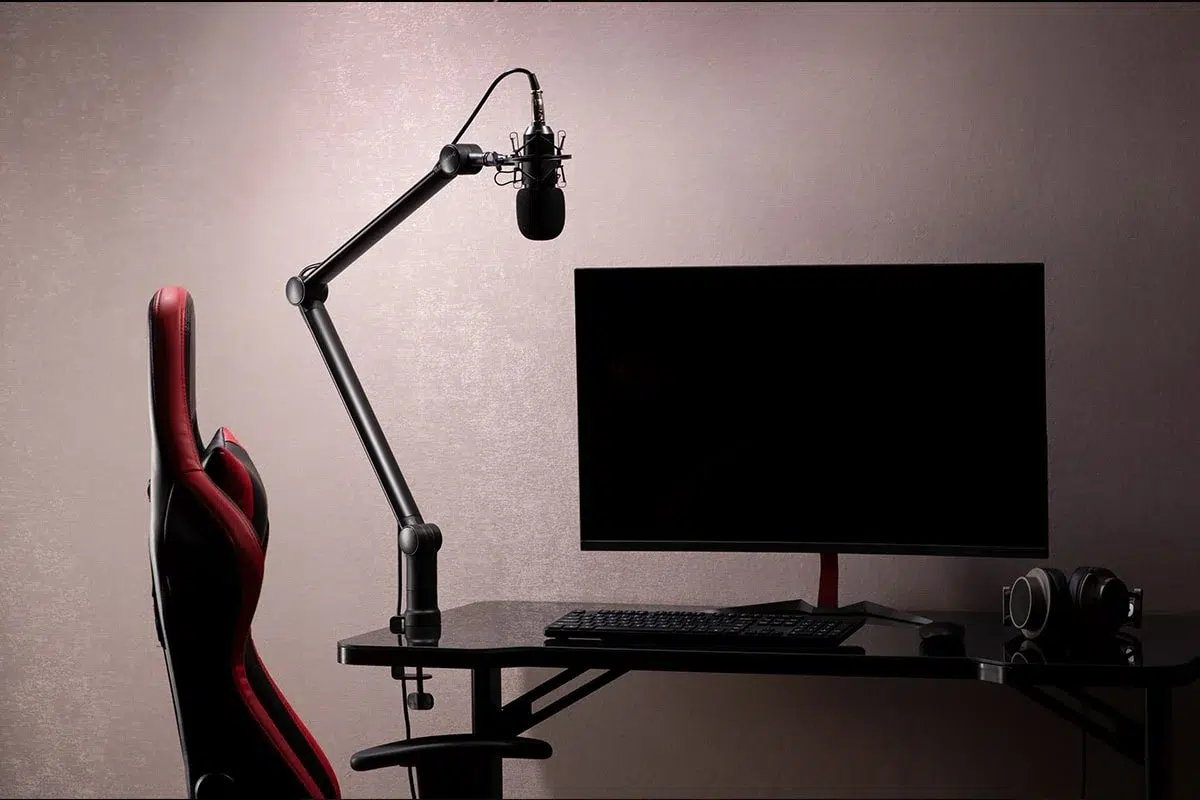
Microphone placement plays a key role in transmitting audio. Ideally, it is suggested to set the microphone a few inches away from your mouth. Typically, the distance is 2–6 inches for dynamic mics and 4–8 inches for condenser mics.
This optimizes the audio clarity, maintains a low gain, and reduces background noise. For correct positioning, you can use a mic boom or a desk stand. These tools not only maintain an appropriate distance but also help minimize vibrations and accidental bumps to the microphone.
Boom arms are flexible, save desk space, and can be adjusted to any position, while desk stands offer stability and are budget-friendly.
Prepare the Right Recording Environment
If you get all the right equipment but the recording environment is not suitable, the streaming quality might not meet your expectations. Be mindful of your room environment when choosing to start streaming.
For instance, ensure that your recording room is free from external noises such as traffic or the chatter of your roommates. The room should not be empty; otherwise, the mic will be more sensitive to echoes, distortions, and background noises. You can use acoustic panels to absorb the sound waves and reduce reverberations.
The addition of these panels can help you create an optimal environment for streaming and enhancing audio clarity. For a more pocket-friendly setup, you can also opt for DIY solutions like placing pillows, blankets, or egg crates along the walls to reduce sound reflections.
Choose the Right Audio Settings
Adjusting the audio settings to the right level is another crucial factor that allows you to achieve the best audio quality. Here’s what you need to do:
- Record yourself while adjusting the microphone settings at various volume levels. This will help you pinpoint the sound level where it falls within the optimal range. Once the audio settings are correct, a yellow bar will appear in the recording software.
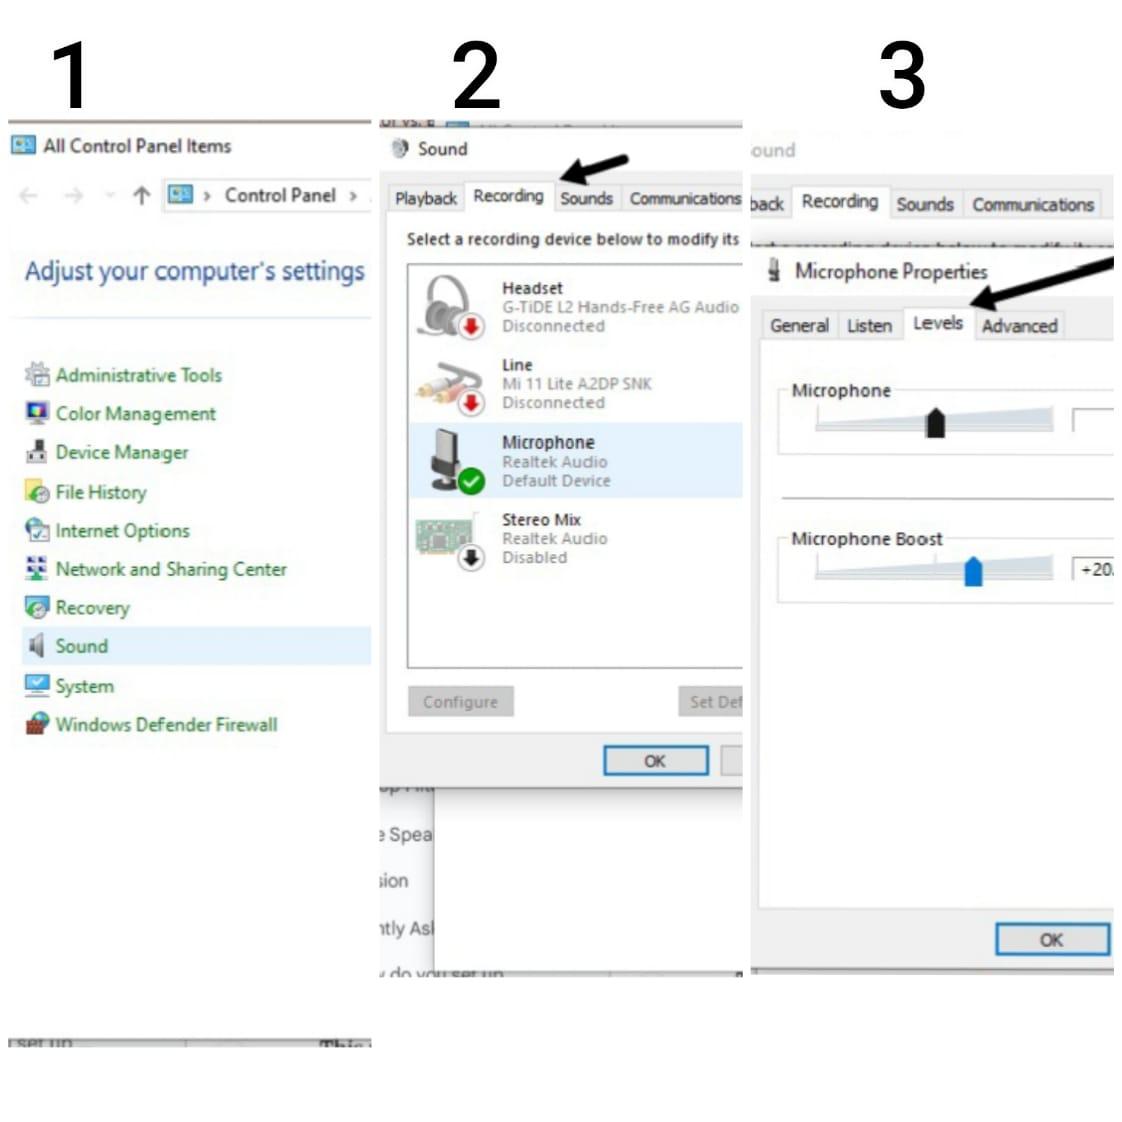
- To avoid peaking, adjust the volume input dial on your mic and then go to the microphone properties in Windows. Under the “Levels” tab, drag the bar up to 50%. This reduces your mic’s overall sensitivity and prevents peaking.
- Opt for streaming software such as OBS. It has filters that allow noise suppression for background sounds during recording. Moreover, its “Noise gate” filter can eliminate mouse and keyboard clicking sounds.
The same audio settings might not work for everyone. Therefore, experiment with the sound levels and other settings based on your voice type and needs.
Learn Streaming Microphone Etiquette
Learning proper etiquette is essential to demonstrate professionalism, protect your equipment, avoid distractions, and maintain the audience’s attention until the end. No one would want to hear you coughing, sneezing, or talking to your roommates after every minute throughout the video.
Here are some of the unspoken streaming rules:
- Mute your mic while coughing, sneezing, or having a conversation with someone in your room.
- Avoid unnecessarily touching or poking the microphone’s capsule as it can cause distortions or disruptions.
- Try to speak at a consistent volume.
- While clapping or speaking at a higher volume, try to lean slightly away from your microphone, as this will help prevent a sudden burst of sound in your audience’s ears.
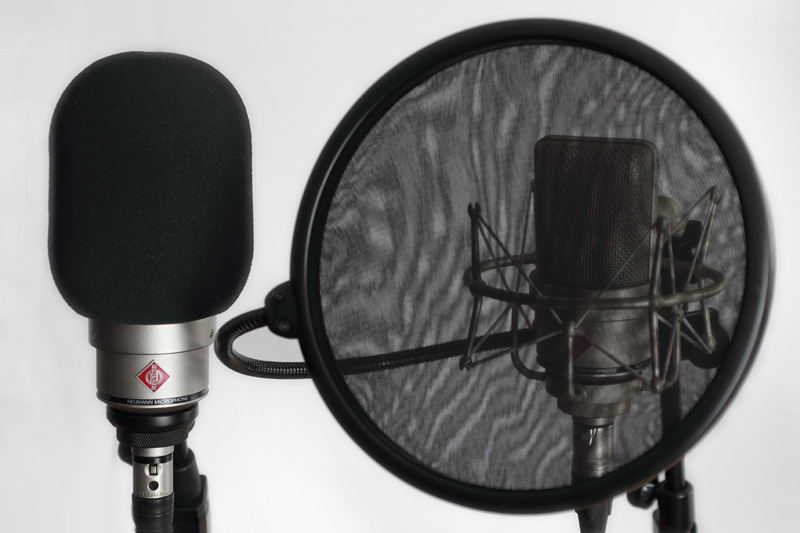
Use a Pop Filter or Windscreen
These days, microphones specifically designed for streaming often come with a built-in pop filter or windscreen that helps eliminate plosives or hiss sounds associated with words that contain “s, sh, z, zh, etc.” in them. Plosives are sharp bursts of air produced while pronouncing the words with “ t,k,p,d,g,b” letters in their spellings.
The filter or screen also protects your microphone from accidental spitting. If your mic does not have a protective filter, you can purchase one separately within your budget and attach it to your recording device. Spending a little money on the filter will help you maintain a clear audio while keeping your setup clean.
Practice Speaking at a Normal Volume
While streaming, being overly loud can frustrate your audience and make them quit watching your videos.
Try speaking at a normal volume. This not only keeps the audience attentive but also reduces vocal strain. To maintain consistency in your voice level, practice continuously. As the volume of your voice stays at a normal level, you will be able to achieve a clear sound quality without the frequent need to adjust the microphone’s audio settings.
Conclusion
Picking up the right microphone to correctly adjust the audio settings is essential, but making small changes to your room environment or investing a little in microphone accessories can help significantly improve the quality of audio input.
Use a mic boom arm or desk stand to reduce vibrations, and a pop filter to prevent plosives when speaking into the mic. Moreover, fill your room with pillows or blankets, or use acoustic panels to reduce distortions and reverberations while recording.
Hence, a little focus on your streaming setup can make you stand out and appear more professional compared to other streamers.
Frequently Asked Questions (FAQs)
1. How do you set up a mic for streaming?
First, position it a few inches away from your mouth. To keep it stable, use a boom arm or desk stand. Then, adjust the microphone settings in the Windows control panel and the input dial of your microphone one-by-one. This will help you achieve clear clear sound and reduce distortion.
2. What do streamers use for a microphone?
Streamers use a variety of microphones depending on their needs, comfort, and affordability. These include dynamic, condenser, and USB types. Dynamic microphones are preferred for their ability to block out extra noise, while condenser versions can capture a wide range of frequencies. In contrast, USB models are loved for their ease of use.
3. What is the 3 to 1 rule for microphones?
The 3 to 1 rule refers to the placement of multiple mics linked to a single sound source to avoid phase issues. According to this rule, the second microphone must be placed three times farther away from the first mic than it is from the sound source.
4. Do streamers use two mics?
Most streamers use a single mic, but they can also use two in specific scenarios. For instance, in dual PC streaming setups, two microphones are used. Similarly, one mic can be used for in-game chat while the other can be used to interact with the viewers during live streams.