.png)
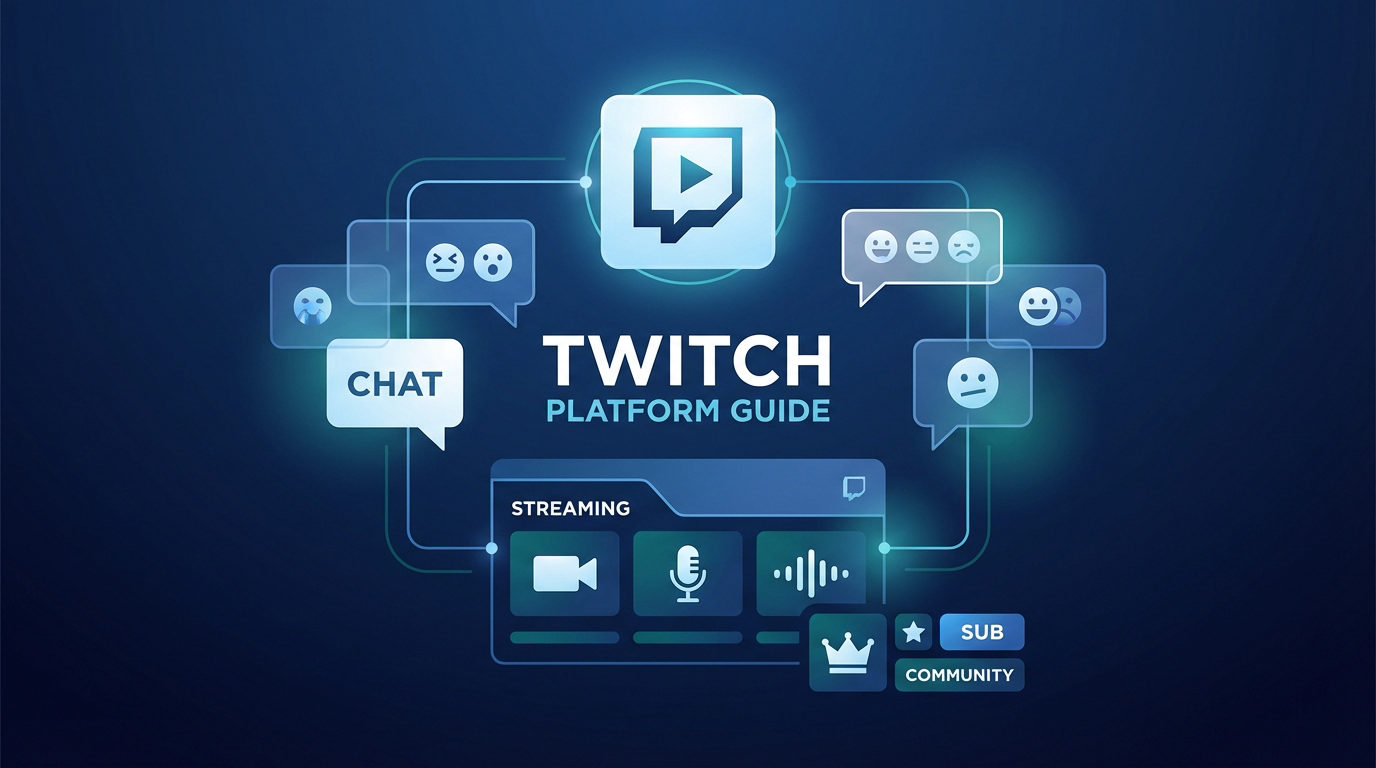
Twitch is a live broadcasting app that allows users across the world to create and stream live content for free. Don’t be surprised that you can use this app to create and share music broadcasts, video game streams, cooking shows, creative content, and real-life streams from the comfort of your home.
As a new or existing streamer, you need to learn how to host on Twitch, as it can help to build your community and keep your channel active. Beyond that, hosting is an excellent way for streamers to support each other on the platform. But what exactly is hosting on Twitch?
Hosting is a unique feature on Twitch that allows you to broadcast another streamer’s live streams on your own channel to your viewers. This way, you can share content without going live. There are two ways to host other channels; manual and automatic hosting. In this article, you will find detailed steps to help you get started with hosting both manually and automatically.
Manual Hosting
Manual hosting is a straightforward process that requires you to always add the other user’s name or channel whenever you want to host them. Here are the steps to follow:
Step 1: Login and Select Chat
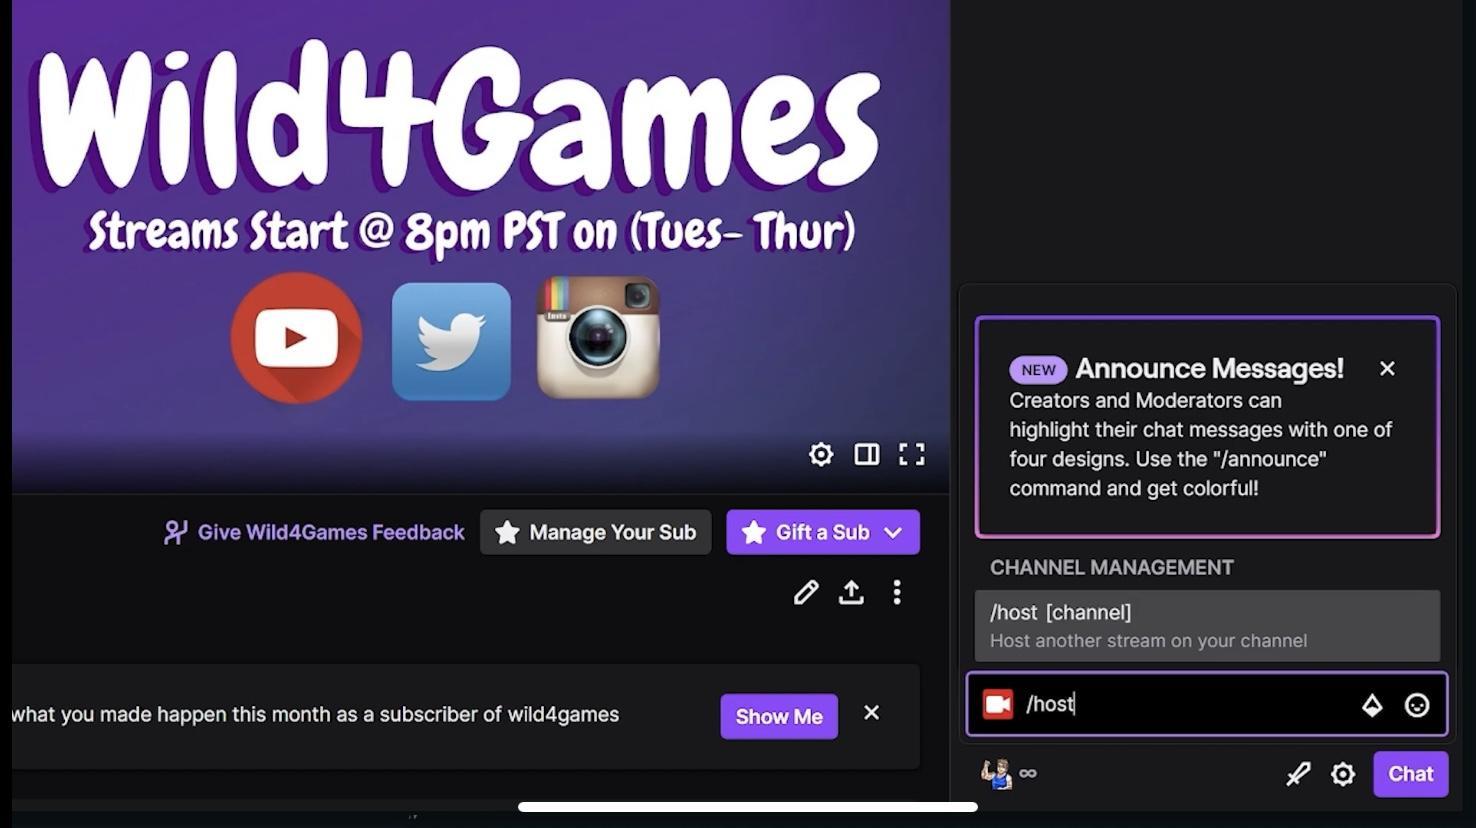
Firstly, log in to your Twitch account using your username and password. Once you’ve successfully logged in, manually type in the creator’s username or channel to host their live stream on your channel.
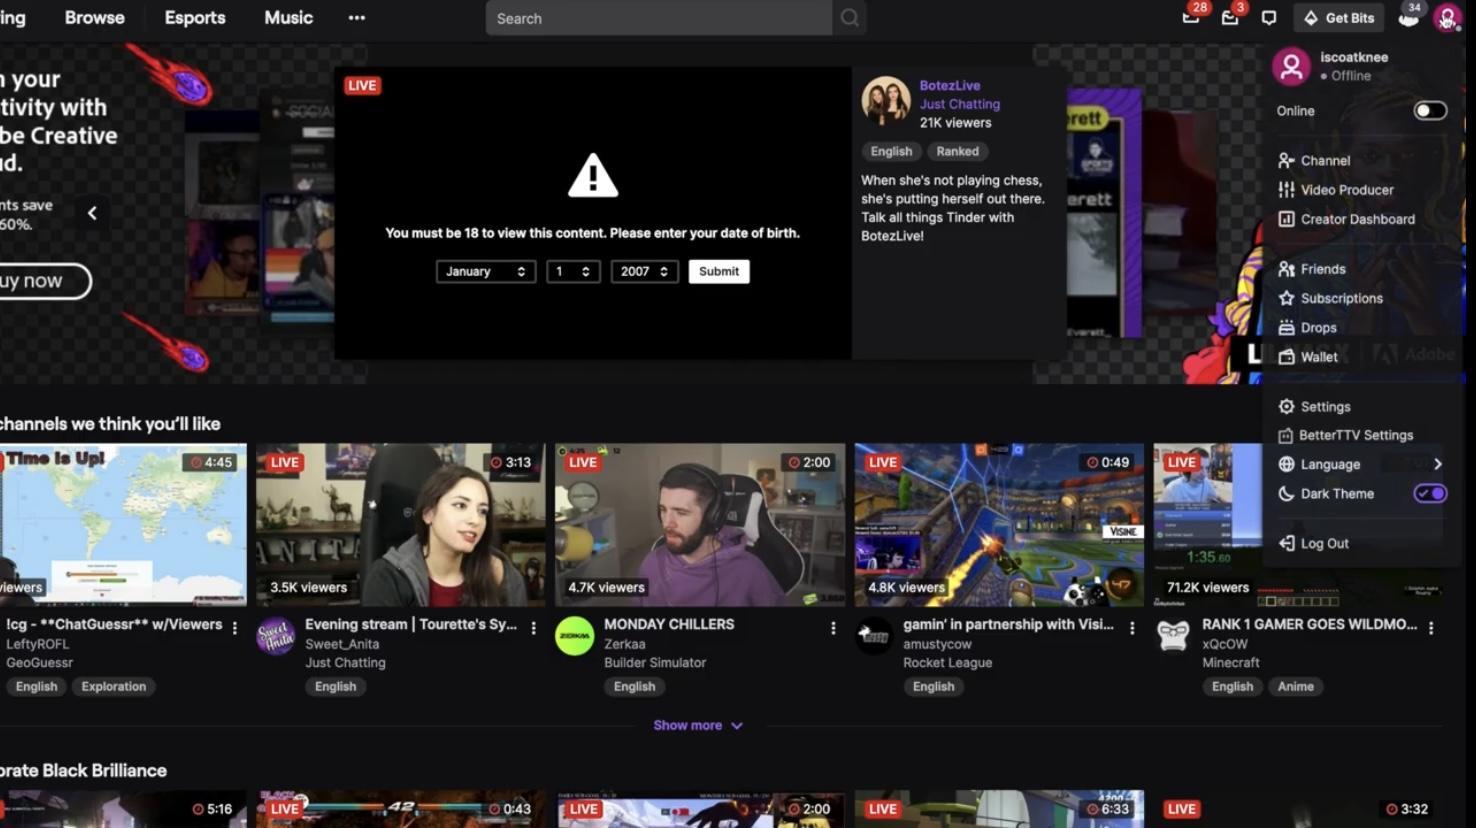
To do this, click your profile icon at the top right corner; this gives you access to multiple features, including the Creator Dashboard, Channel, Friends list, Subscriptions, Wallet, etc. Next, click on the Channel option, then select Chat.
Step 2: Enter the Channel Name in the Chat Box
Selecting chat takes you straight to a chat box, where you will need to type in the name of the channel you want to host. However, you can’t just type in the creator’s name or channel — Twitch requires a special command for hosting.
Type /host followed by the channel name. For instance, if the channel’s name is ABC’s Bus, you have to type (/host ABCsBus) into the chat box and press Enter. And that’s it! Twitch will start hosting the creator’s live stream on your channel until you decide to un-host them.
Automatic Hosting
Unlike manual hosting, where you have to add a channel name every time you want to host them, Twitch also allows you to host channels automatically. This saves you time, as it hosts their streams whenever the creator goes live. However, automatic hosting follows a different set of steps compared to manual hosting:
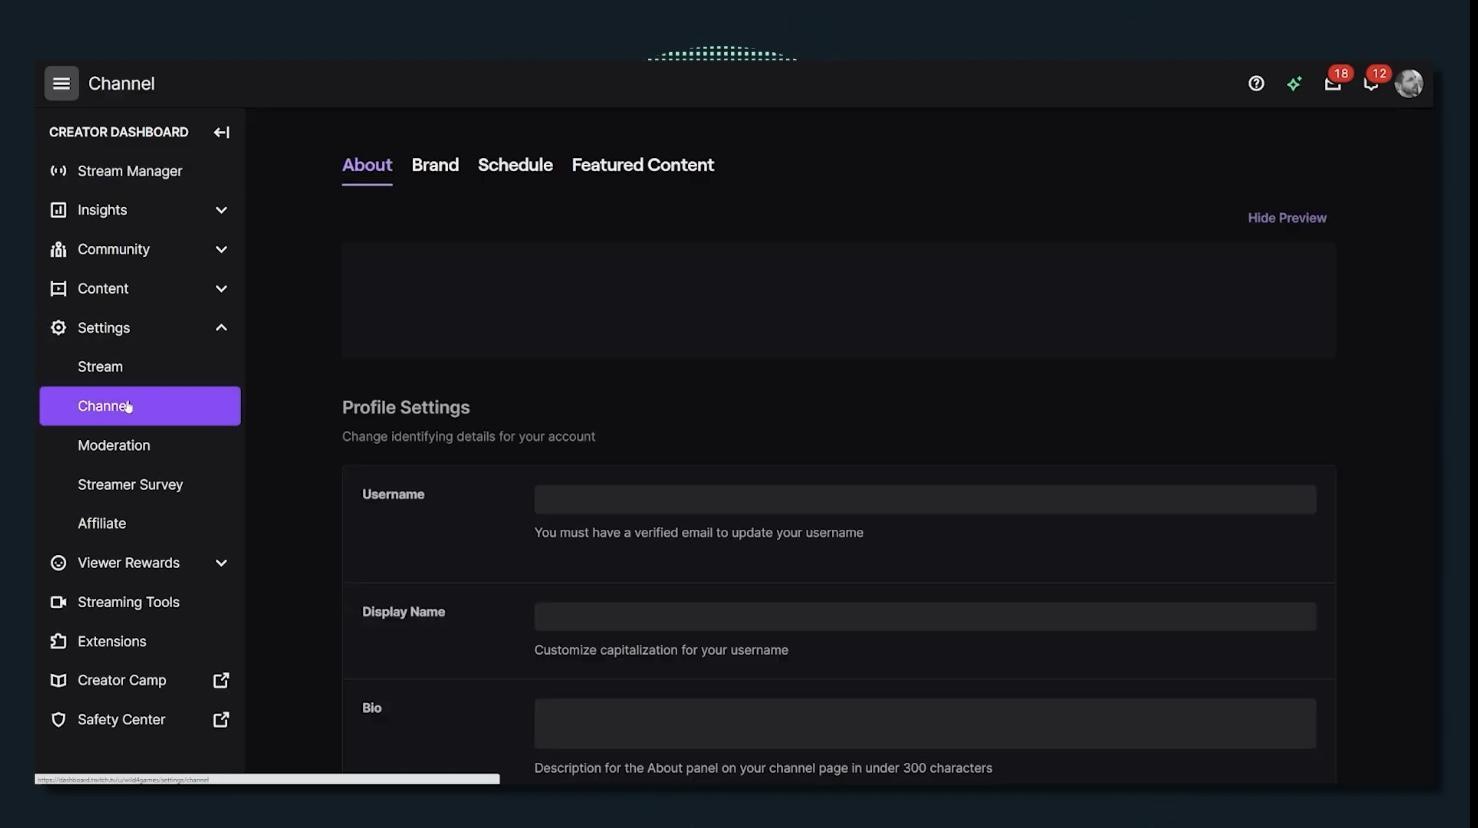
Step 1: Login and Select Creator Dashboard
You also have to first log in to your Twitch account and click your profile icon at the top right corner. Instead of selecting the Channel and Chat buttons, you have to click the Creator Dashboard. Once in the Creator Dashboard, click the Channel button.
Step 2: Turn on Autohosting
After clicking the Channel button, you need to turn on Autohost Channels by toggling the switch from off to on. This allows Twitch to automatically feature channels from your autohost list in your channel even when you’re offline.

Step 3: Choose AutoHost Priority
Twitch allows you to set your preferred autohost priority. You can choose to host channels according to your viewers or follow the order of your autohost list. The choice is entirely up to you.
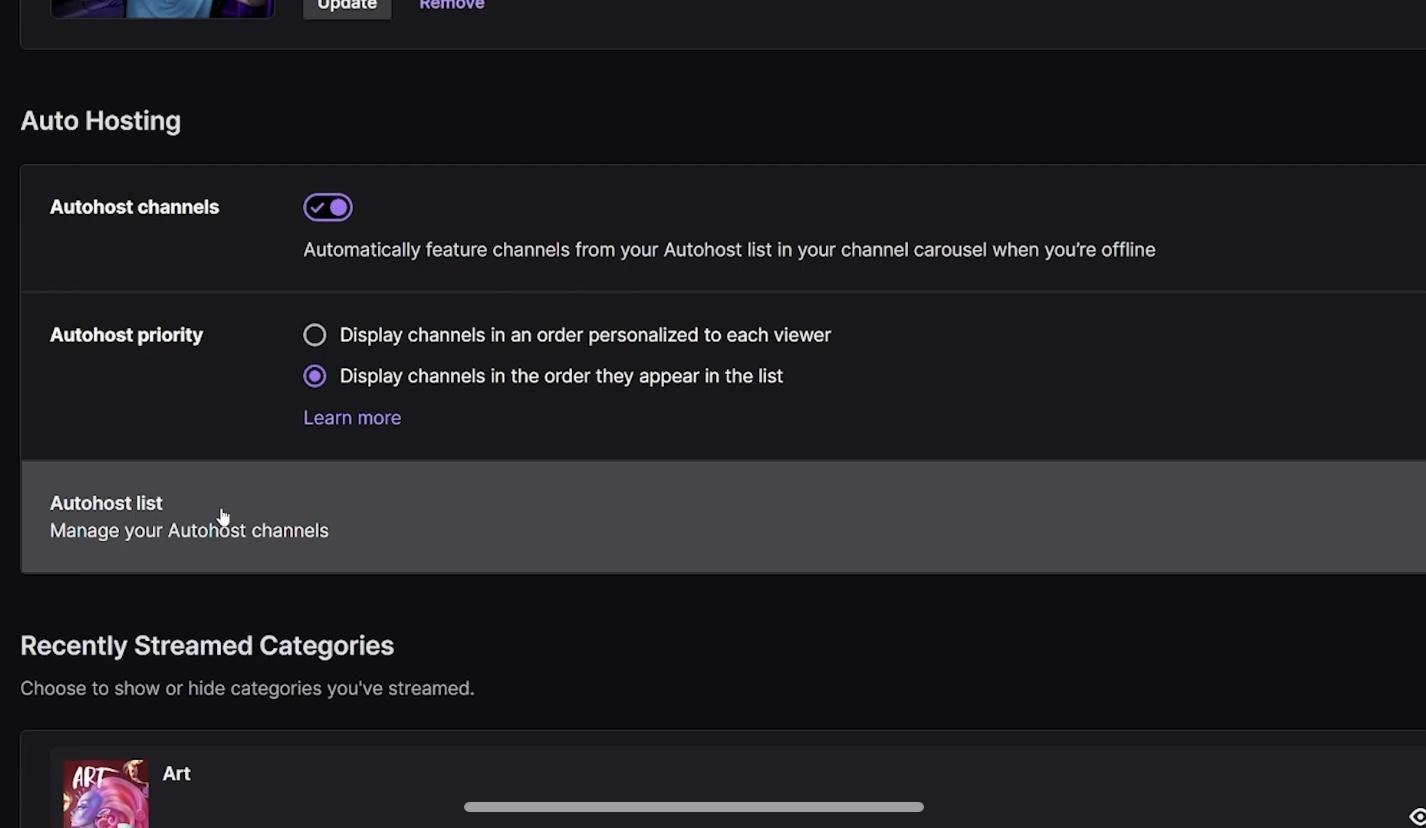
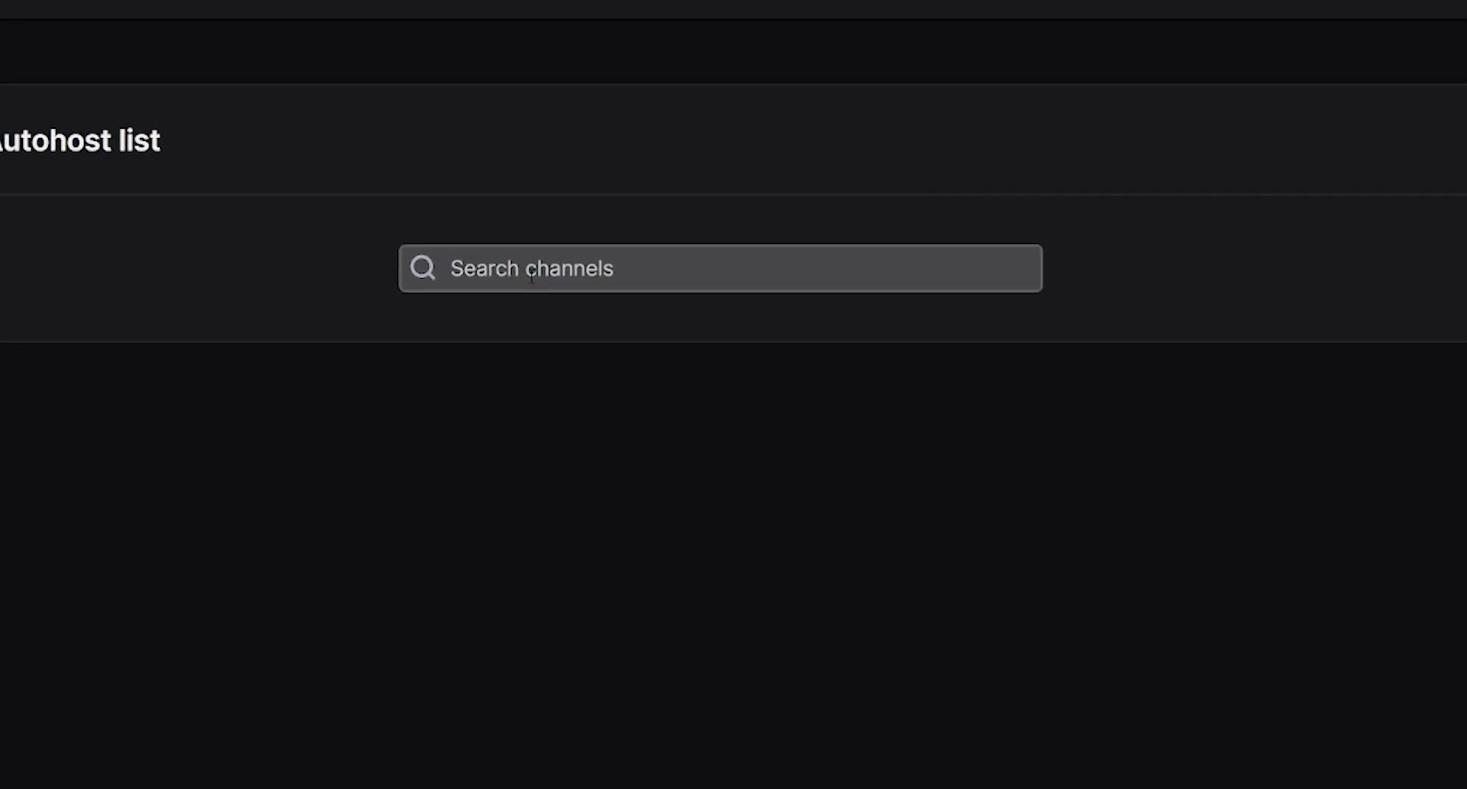
Step 4: Create Autohost List
From the preceding image, select Autohost List. This allows you to create and manage the channels you want to autohost. Selecting the autohost list takes you to a search bar where you can search for creators and channels to add to your list. And the best part is that Twitch allows you to add an unlimited amount of channels to your autohost list. You just have to type in their name and click add.
Best Practices for Hosting on Twitch
Now that you know how to host on Twitch, it’s important to be intentional about how you use hosting. Randomly hosting any channel won’t deliver the same results as thoughtful, strategic hosting.
Here are some best practices to keep in mind:
- Announce who you’re hosting: Let your audience know who the streamer is, what they do, and why you’re supporting them. A quick shoutout on your social media or community tab can go a long way.
- Host relevant content: Try to pick streamers who have content or values similar to yours. If you’re a gaming channel, for example, hosting a creator who streams similar games will keep your audience more engaged.
- Rotate your hosts: Don’t always host the same person. Mix it up and showcase different streamers to keep things fresh and expand your network.
- Engage in their chat: Even if you’re not live, pop into the hosted stream’s chat and say hello. This shows support and builds stronger relationships with other streamers and their communities.
Conclusion
Hosting other channels doesn’t require you to go live. You’re simply sharing another creator’s livestream on your channel. It is also one of the best ways to support your friends and other creators on Twitch, introducing them to a new audience — yours.
Depending on how frequently you want to host, you can choose to host manually or automatically. For manual hosting, you have to enter a special command and type in the channel name every time you want to host them. Meanwhile, automatic hosting requires you to create a list of all the channels you would like to host. By doing this, Twitch hosts their streams on your channels every time they go live, saving you time and effort.
Frequently Asked Questions
Can I un-host channels?
Twitch allows you to un-host channels both manually and automatically. Simply follow the first steps of manual hosting, except when you get to the Chat Box you have to type in a different command; /unhost (channel’s name) and press Enter. To do it automatically, you have to edit your autohost list, removing channels you don’t want to host anymore.
Can I use Twitch for free?
Twitch is free for both viewers and streamers. However, some streamers may require you to subscribe to their channel to gain access to special benefits and other perks. But in general, you can watch their live streams for free.
What’s the difference between hosting and raiding?
Hosting involves embedding someone else’s live stream onto your channel page while keeping your audience in your own chat. This is ideal if you’re offline but want your followers to stay entertained by someone you recommend.
Raiding, on the other hand, is more active and interactive. It’s used at the end of your stream to send your entire audience directly into another streamer’s live chat, complete with an alert for that streamer and usually a bit of fanfare. Raiding fosters a more immediate sense of community and can spark real-time engagement.