



































.png)
 简体中文
简体中文 
Your show might already be recording clean audio, but if it still sounds flat, generic, or forgettable, the gap between decent and professional usually comes down to sound design. Sound design is how you turn a recorded conversation into a structured listening experience. This guide covers five practical steps for better podcast sound. First, record clean audio from the start. Then, create a consistent sound style for your show. Next, choose tools that match your recording needs. After that, layer different audio elements with care. Finally, master everything for broadcast loudness standards.
What Podcast Sound Design Actually Means
Sound design and audio editing are not the same thing. Editing removes mistakes and tightens pacing. Sound design shapes the emotional experience of your show. It is the intentional use of music, sound effects, ambience, and silence to create atmosphere, guide listener emotion, and reinforce your podcast’s brand identity.
A raw podcast recording sounds exactly as expected. It is simply people talking together in a room. A well-designed podcast feels like a show. The intro music signals tone before a word is spoken. Transition stingers tell the listener when one topic ends and another begins. Ambient sound places a narrative episode inside a specific world. That intentional construction is what sound design delivers, and it is what separates shows that get recommended from shows that get abandoned after three minutes.
Step 1: Start with Clean Source Audio
Sound design cannot fix bad source audio. Every layer of music, atmosphere, and effects you add will amplify whatever is already wrong with your dialogue track. Hiss becomes more noticeable. Room reverb makes music beds muddy. Clipped peaks distort under compression. Before any creative work begins, your foundation has to be solid.
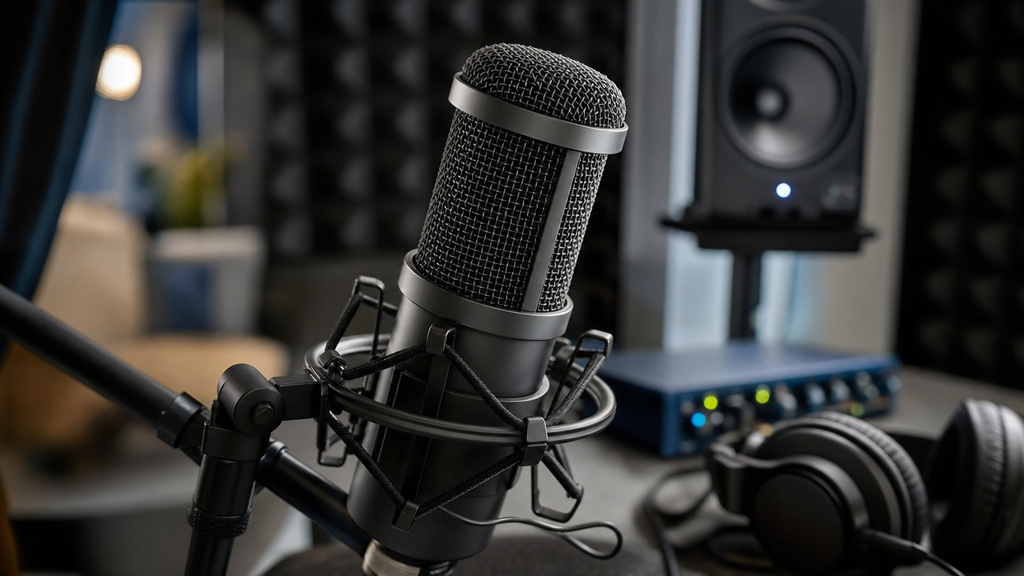
Here is a practical checklist for capturing broadcast-ready dialogue:
- Record in a quiet, treated space with minimal hard, parallel surfaces
- Position your microphone 6 to 12 inches from your mouth, slightly off-axis
- Close doors and windows, and silence HVAC systems during takes
- Monitor your levels in real time and aim for peaks around -12 dB
- Always record 30 to 60 seconds of room tone before or after each session
- Use a 48 kHz sample rate and at least 24-bit depth (32-bit float preferred)
Mic Placement and Room Treatment Basics
Distance and angle matter more than most podcasters realize. Getting too close creates proximity effect, a boomy low-end buildup, while recording too far away picks up room reflections. A cardioid microphone placed 8 to 10 inches from your mouth, pointed slightly downward toward your chin rather than directly at your lips, reduces plosives and sibilance without sacrificing presence.
You do not need professional acoustic panels to treat a room. Heavy curtains, a bookcase full of books, a closet full of clothing, or even a thick duvet draped around your recording area all break up the parallel surfaces that cause flutter echo. The goal is not a dead, anechoic sound but a controlled one with no audible reflections competing with your voice.
Why Recording Quality Sets the Ceiling for Sound Design
Signal-to-noise ratio is the key concept here. A clean recording captures more of your voice and less of everything else, giving you flexibility in post-production. A noisy recording forces heavy noise reduction processing, which introduces artifacts that clash with music beds and SFX. You cannot recover that headroom after the fact.
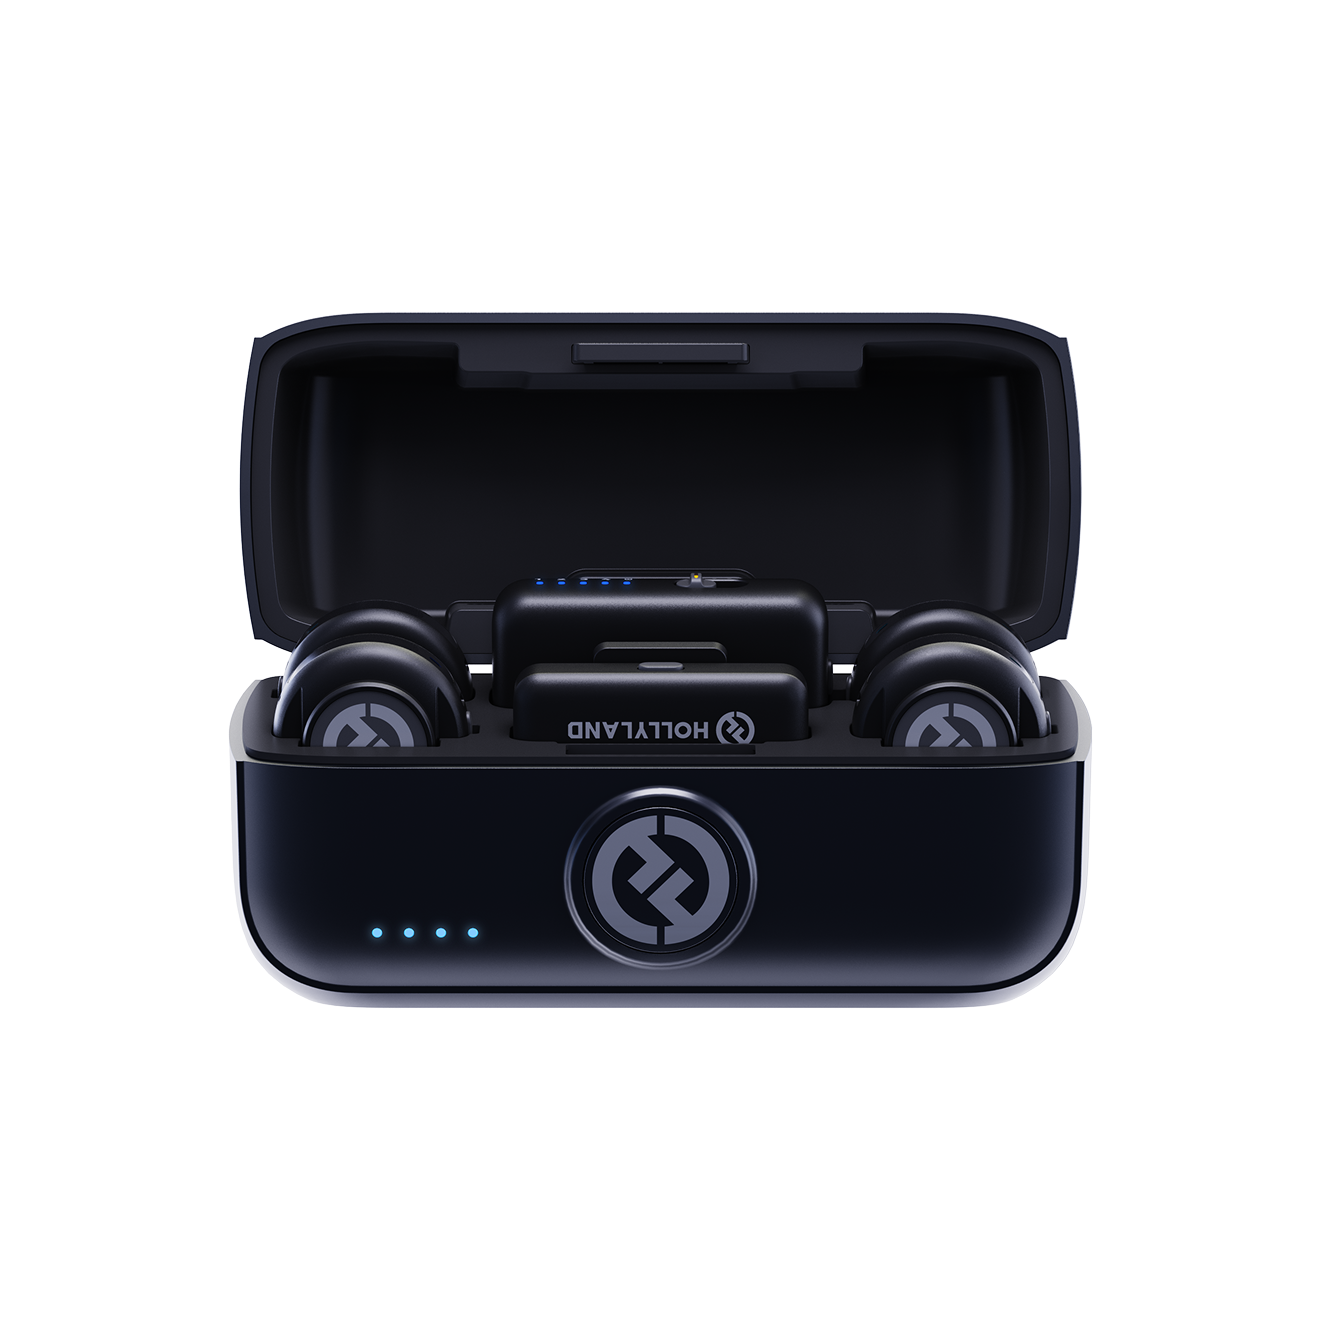
Recording in mobile or unconventional environments makes clean capture even harder. This is where a wireless microphone system like the Hollyland LARK MAX 2 becomes practically useful. Its 48 kHz / 32-bit Float internal recording captures a wide dynamic range without clipping, even if your levels drift during a live take. The built-in AI Noise Cancellation reduces ambient noise at the source before the signal ever reaches your DAW. For podcasters recording interviews on location, at events, or in non-studio spaces, broadcast-quality capture at that stage means your post-production sound design has something worth designing around.
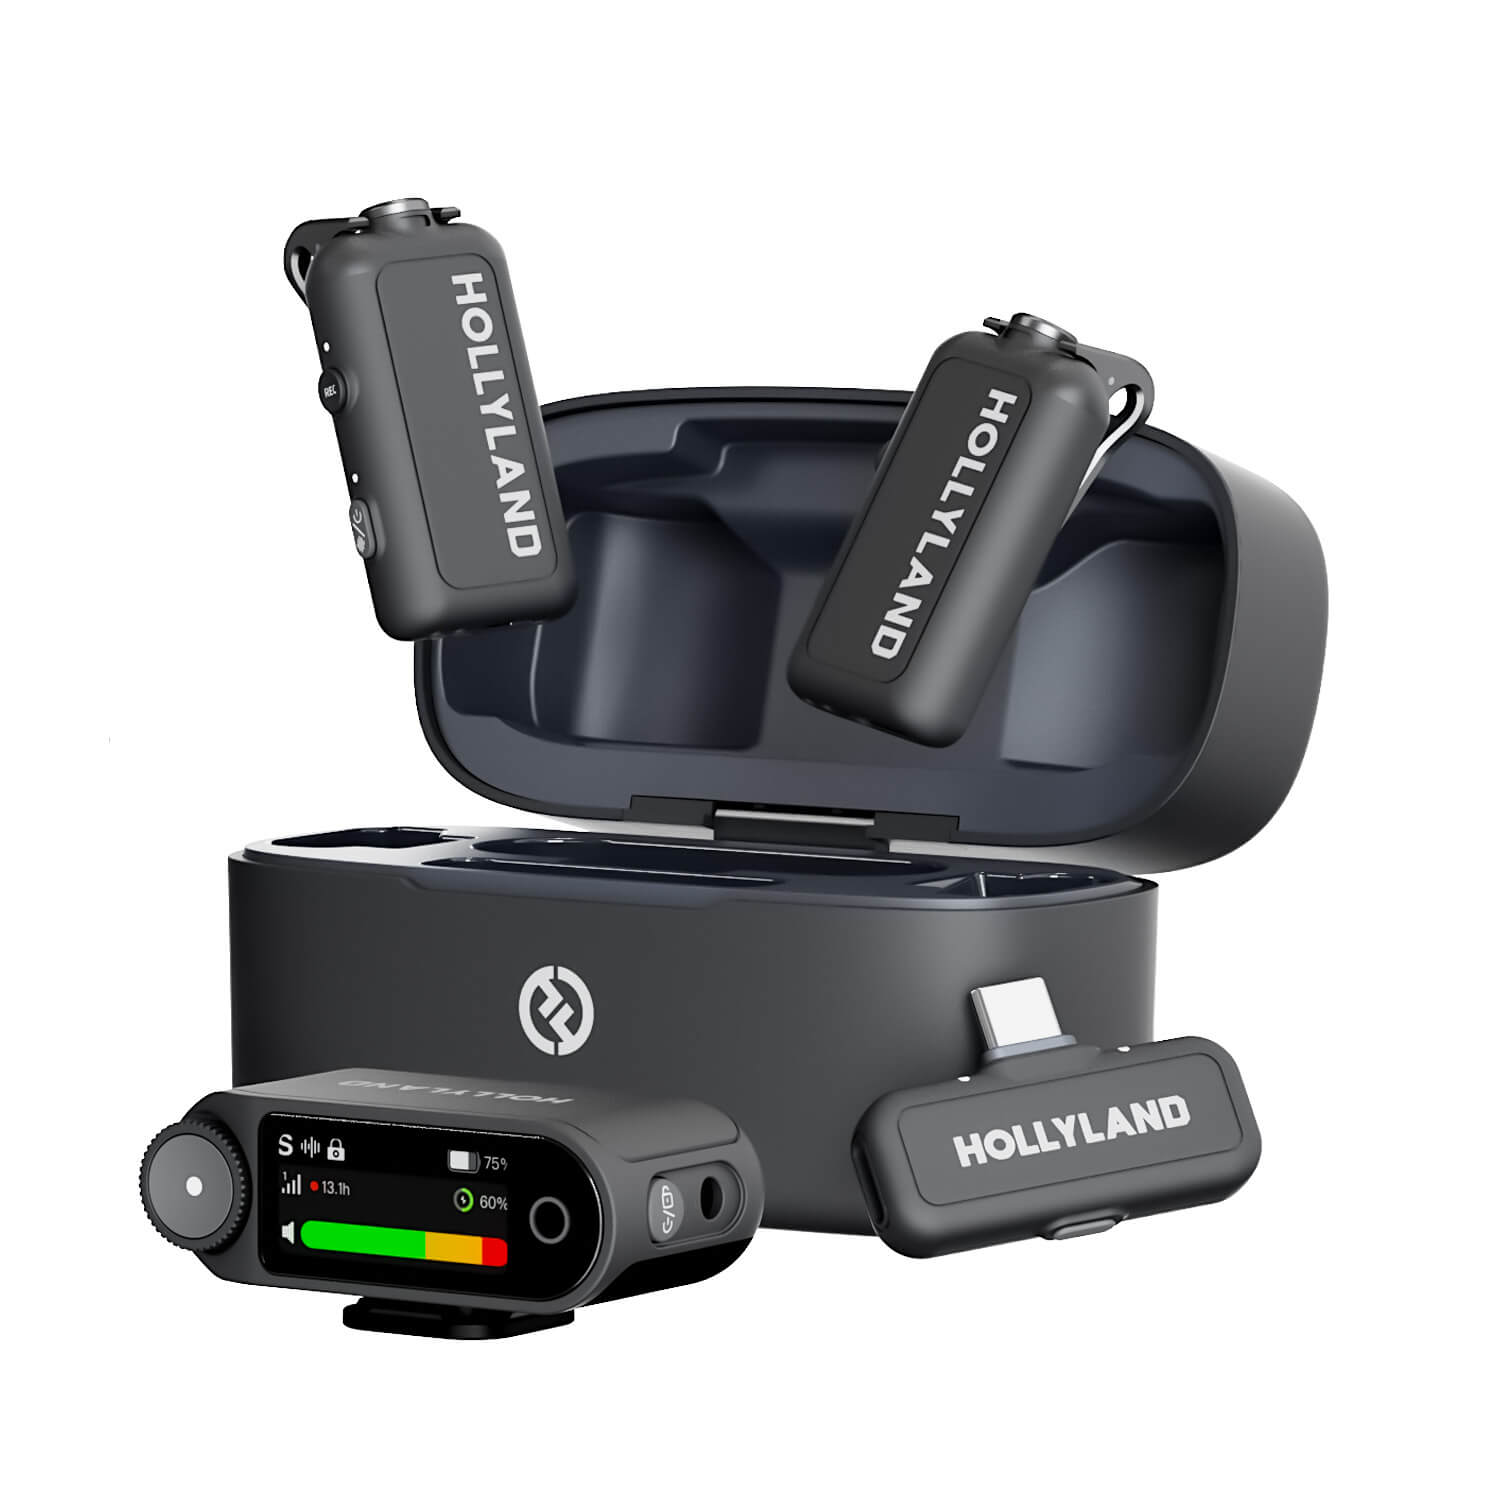
Hollyland LARK MAX 2 - Premium Wireless Microphone System
A premium wireless microphone for videographers, podcasters, and content creators to capture broadcast-quality sound.
Key Features: Wireless Audio Monitoring | 32-bit Float | Timecode
Step 2: Define Your Podcast’s Sonic Identity
Sound design is not about picking music you like and dropping it into the timeline. It means making creative choices that match your show’s personality. These choices should stay consistent throughout every episode. That consistency is what turns audio choices into audio branding.

Before opening a single music library, answer these three questions:
- What is the emotional register of my show? (Informative and authoritative? Warm and conversational? Tense and narrative-driven?)
- What genre or instrumentation fits that register without overcomplicating the palette?
- What three to five recurring elements will appear in every episode to build a recognizable sound?
The three core anchors of a podcast’s sonic identity are intro music, outro music, and transition stingers. Everything else supports these.
Intro and Outro Music
Your intro music is the first sound a listener hears. It should establish tone within the first five seconds. Keep intros between 15 and 30 seconds if you open directly into music, or shorter (five to ten seconds) if you lead with a cold open or teaser clip. The outro can be even tighter, typically 10 to 15 seconds, since its job is closure rather than first impression.
For licensing, royalty-free music from cleared libraries keeps things simple. Epidemic Sound and Artlist offer podcast licensing through subscriptions. These plans cover distribution rights without extra fees per episode. The Free Music Archive also offers free Creative Commons music. Check each track’s license terms before publishing anything publicly. Never use commercial music taken from streaming platforms. This applies even when the song matches your show perfectly.
When fading music in or out, avoid abrupt cuts. A one-to-two-second fade is sufficient for stingers; a three-to-five-second fade works well for intros and outros.
Transition Stingers and Scene Changes
A stinger is a short audio cue, typically two to five seconds, that signals a shift within an episode. Stingers work at topic changes, ad breaks, segment markers, and chapter transitions. They act like visual cuts in videos during scene changes. They show listeners that something has changed without spoken words.
The most important attribute of a stinger is not how interesting it sounds but how consistently it appears. Using the same stinger in the same context across every episode trains your audience to recognize the structure of your show. Start with one stinger for ad breaks and one for segment transitions, and add more only if the episode format clearly demands it.
Step 3: Choose Your Sound Design Tools
You do not need expensive software to produce professional-sounding podcast audio. The right tool depends on your budget, operating system, and how much hands-on control you want over the editing process.
| Tool | Best For | Cost Tier |
|---|---|---|
| Audacity | Beginners, simple layering, basic effects | Free |
| GarageBand | Mac users, music bed creation, intuitive timeline | Free |
| Adobe Audition | Pro mixing, noise reduction, spectral editing | Paid (subscription) |
| Reaper | Full-featured DAW at a permanent low price | Low-cost paid |
| Descript | Non-technical editors, text-based spoken word editing | Subscription |
| Freesound / Zapsplat | Sourcing SFX and ambient sounds | Free |
| Epidemic Sound / Artlist | Licensed music beds and stingers | Subscription |
Noise reduction is one plugin category worth paying for early. iZotope RX is widely known for repairing damaged audio. RX Elements offers affordable tools for cleaning spoken recordings. It can reduce hum, hiss, clicks, and similar problems. More advanced repairs require higher tiers, such as RX Standard. Audacity includes noise reduction at no extra cost. Adobe Audition also offers useful tools through Essential Sound. Both options can cover simpler cleanup needs on smaller budgets.
Pro Tip: Start with free tools until you identify a specific capability those tools cannot provide. Upgrading to a paid DAW because your fade sounds slightly imprecise is not a good use of money. Upgrading because you need spectral frequency editing to remove a persistent hum absolutely is.
Step 4: Layer Audio Elements Without Cluttering the Mix
Layering is where sound design actually happens. Most podcasters who struggle with audio quality are not missing tools or talent; they are missing a clear mental model for how audio layers relate to each other. The hierarchy is straightforward:

- Dialogue sits in the foreground. It is the primary content. Everything else serves it.
- Music bed stays in the background. It sets mood without drawing attention to itself.
- SFX act as punctuation. They appear briefly and purposefully, then get out of the way.
Applying that hierarchy consistently is what separates a cluttered mix from a clean, professional-sounding one.
Setting the Dialogue-to-Music Volume Relationship
The most common mistake in podcast sound design is music that competes with speech. If a listener has to strain to hear the host, the mix has failed, no matter how good the music sounds.
As a starting point, set your dialogue peaks at roughly -12 to -6 dB. Your music bed should sit 15 to 20 dB lower during speech, which typically puts it in the -28 to -24 dB range. When music plays without dialogue, such as during an intro or outro, you can bring it up to -18 to -14 dB for a fuller presence.
Ducking makes this transition between music and dialogue feel natural. The music volume drops when someone starts speaking. It rises again once the dialogue comes to an end. Most DAWs support this through volume automation or sidechain compression. Manual keyframe automation can also create a smooth transition.
Beyond volume, consider frequency content. The human voice occupies roughly 200 Hz to 3 kHz. A music bed with heavy energy in that same range will fight with your dialogue no matter how carefully you balance the levels. Choose music beds with more low-end and high-end presence, leaving the midrange clear for speech.
Using SFX Intentionally, Not Decoratively
Sound effects should serve a specific purpose in the episode, not just fill silence. Three use cases that genuinely justify SFX in a podcast:
- Scene transitions in narrative podcasts: A door closing, footsteps, ambient street noise, or a ringing phone moves a story from one location to another without relying on narration.
- Comedic punctuation: A short, well-timed SFX cue lands a joke more definitively than silence. Used sparingly, these can enhance humor without feeling cheap.
- Emotional emphasis: A subtle low rumble under a tense reveal, or a gentle swell of ambient tone before an emotional moment, amplifies what the dialogue is already communicating.
SFX should not appear randomly, repeatedly, or whenever there is a pause in conversation. SFX fatigue is real. Listeners who hear the same transition sound every 90 seconds eventually stop registering it and start finding it irritating. Less frequency, more intention.
Room Tone and Ambient Sound
Room tone is the ambient noise of your recording environment when nobody is speaking. It sounds like silence, but it is not. Every room has a unique acoustic signature, and when you cut between takes recorded in slightly different conditions, the listener hears a jarring tonal shift even if they cannot name why.
The fix is simple: Record 30 to 60 seconds of room tone at the start or end of every session with microphones live and everyone quiet. In your DAW, use short clips of this room tone to fill the gaps between edits. The result is a continuous, seamless-sounding track with no sudden acoustic jumps.
For narrative or documentary podcasts, ambient sound goes further than technical room tone. Layering a subtle environmental bed, such as coffee shop noise, outdoor birds, or a busy street, under interview audio establishes setting and immerses the listener in the story. This is a deliberate creative choice, distinct from room tone, and should match the location and emotional register of each scene.
Step 5: Mix and Master to Podcast Loudness Standards
All the sound design work you do only matters if the final export sounds right on actual listening devices. Podcast platforms normalize audio to specific loudness levels, and if your file is too loud or too quiet, the platform adjusts it in ways you cannot predict or control.
The current standards are:
- -16 LUFS integrated for stereo episodes (Spotify, Apple Podcasts)
- -19 LUFS integrated for mono episodes
LUFS (Loudness Units Full Scale) is not the same as peak dB. A free tool called Youlean Loudness Meter lets you measure the integrated LUFS of your exported file before upload. Install it as a plugin in your DAW, run the full episode through it, and confirm the reading before final export.

To hit target loudness without distortion, apply a basic mastering chain in this order: noise reduction on dialogue tracks if needed, a high-pass filter on dialogue at 80 Hz to remove low-frequency rumble, gentle compression on the dialogue bus (2:1 to 4:1 ratio with a slow attack), and a limiter on the master bus with a ceiling set at -1 dBTP to prevent true-peak clipping.
Final export checklist:
- Sample rate: 44.1 kHz or 48 kHz
- Bit depth: 16-bit for MP3 delivery; 24-bit for archival WAV
- Format: MP3 at 128 kbps minimum (192 kbps recommended for music-heavy episodes)
- Integrated loudness: -16 LUFS stereo / -19 LUFS mono
- True peak: no higher than -1 dBTP
Common Sound Design Mistakes Podcasters Make
- Music mixed too loud: If listeners strain to hear the host, the creative work is undermined before a sentence lands.
- Using copyrighted music: Commercial tracks trigger content ID systems and can get episodes removed from distribution platforms without warning.
- Inconsistent sonic palette across episodes: Changing intro music or stinger style every few episodes prevents listener recognition and weakens audio branding.
- Overusing SFX: Every sound effect without a specific purpose is a distraction. Restraint is a feature, not a limitation.
- Skipping mastering: Exporting without checking loudness standards means your episode will sound noticeably quieter or louder than neighboring content in a listener’s feed.
Frequently Asked Questions
Do I need expensive software to do podcast sound design?
No. Audacity (free) and GarageBand (free on Mac) are sufficient for the core tasks of layering, fading, and basic mixing. Paid tools like Adobe Audition add workflow efficiency and advanced features, but they do not unlock capabilities that are entirely out of reach at the free tier. Start free, and upgrade only when a specific gap in your work requires it.
How do I avoid copyright issues with podcast music?
Use royalty-free or royalty-cleared music from a licensed library. Epidemic Sound, Artlist, and the Free Music Archive all offer tracks cleared for podcast distribution. Never use commercial tracks sourced from Spotify or YouTube. Podcast hosting platforms and distribution networks use content ID systems that flag unlicensed music and can result in episode removal or channel penalties.
How long should a podcast intro be for sound design purposes?
The effective range is 15 to 30 seconds for a standard intro. If you open with a cold open or a clip, five to ten seconds of music is enough to establish tone before the episode begins. The goal is immediate tonal signaling, not a full musical performance. Anything beyond 30 seconds risks losing listeners before the episode starts.
Can I add sound design in post-production after recording?
Yes, and that is exactly how most podcast sound design works. The only elements captured during recording are clean dialogue and room tone. Music, SFX, and ambient beds are all sourced separately and layered into your DAW after the fact. Post-production is where the full creative assembly takes place.
Conclusion
Good sound design starts with clean audio, not creative extras. From there, build your sound identity and choose tools. Next, layer your elements before moving into final mastering. Skipping those early steps can make polished ideas sound amateurish.
Start with one finished episode and rebuild its entire sound. Apply every technique covered throughout this guide to that episode. Let that version become your production reference for future episodes. Keep its intro, outro, stingers, and mix settings consistent. That consistency helps turn solid production into a recognizable brand.
