

























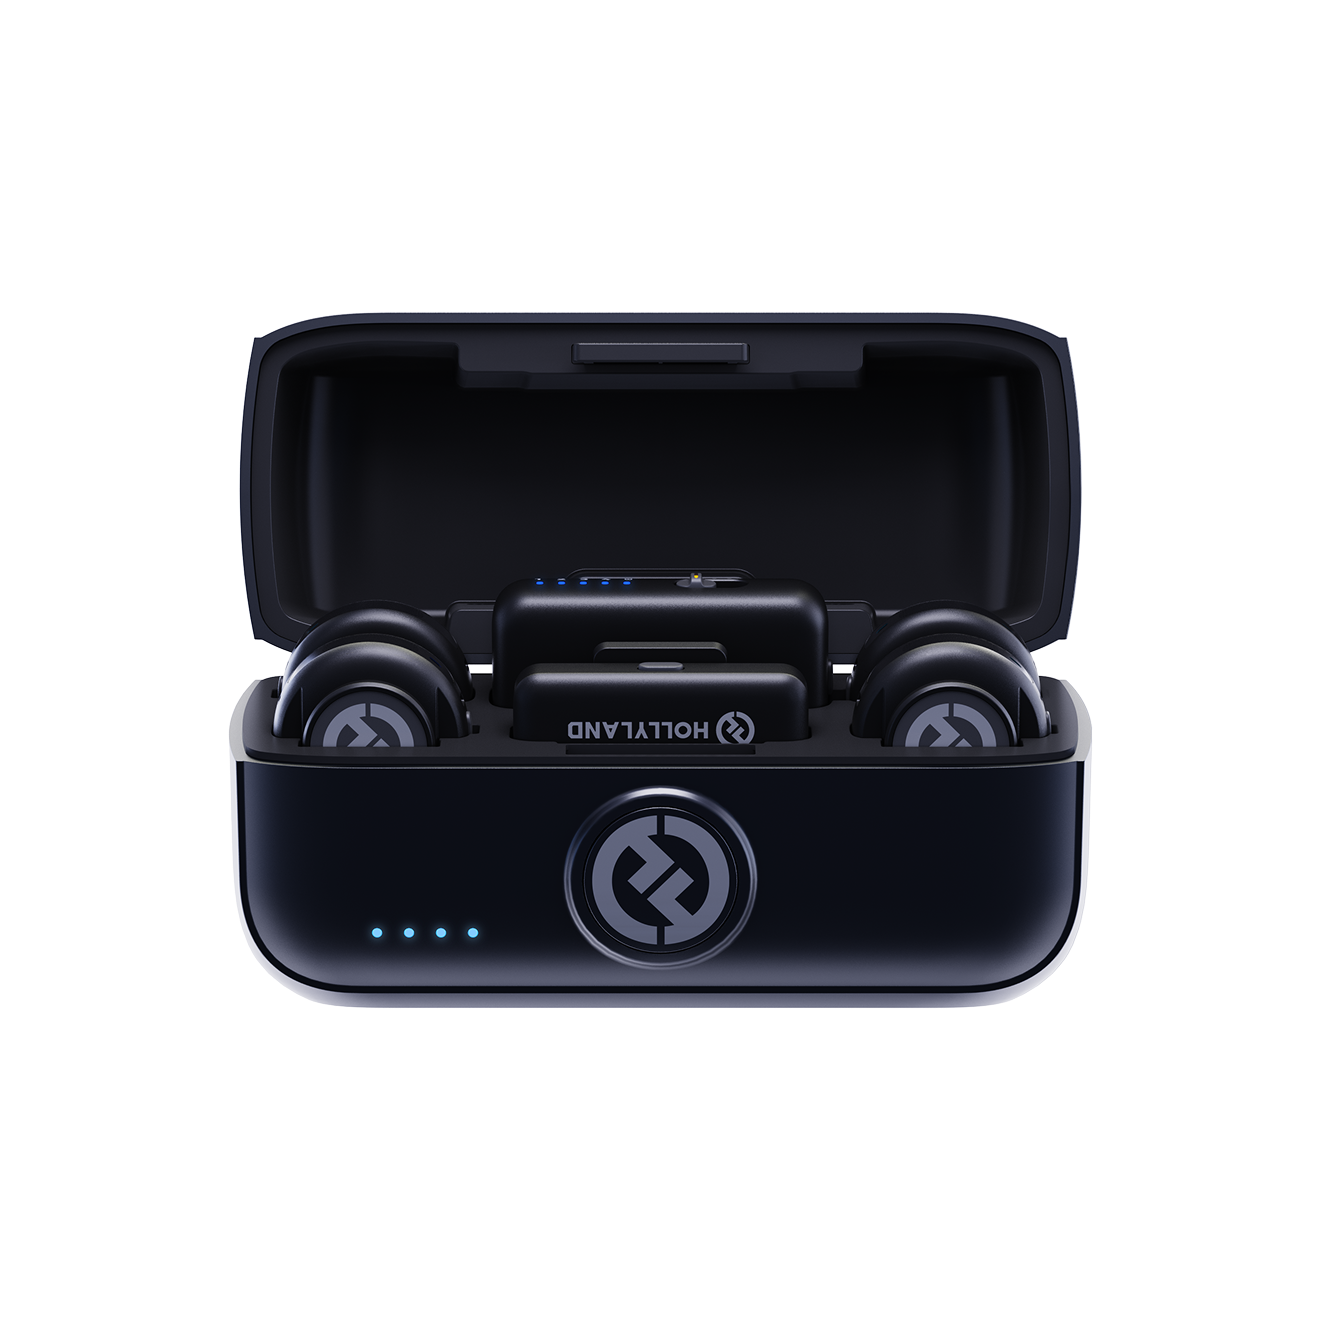










.png)
 简体中文
简体中文 
Beautiful travel footage can lose its magic when the audio feels empty. Wind noise and uneven levels can weaken powerful moments. Great travel sound starts long before editing even begins. It comes from smart choices made during planning and recording. This guide follows three simple stages from field to final mix. You will learn how each stage shapes your finished sound. Keep reading to make every travel scene sound more alive.

What Sound Design for Travel Content Actually Means
Sound design is not the same as recording clean audio. Clean audio is a starting point. Sound design carefully builds an audio world around each location. It helps viewers feel present there, not just watching.
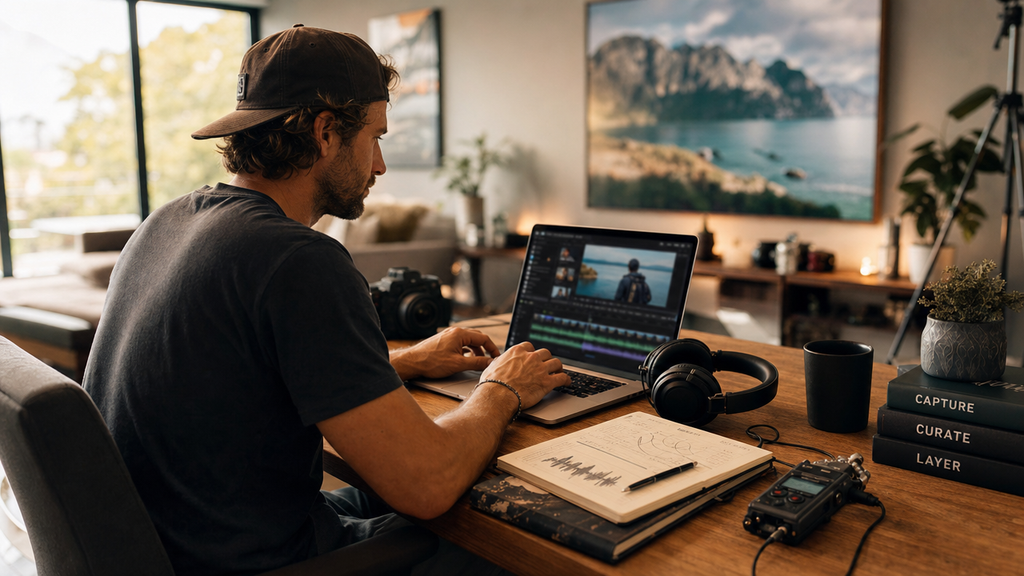
For travel content, that means building a layered listening experience:
- The clarity of your voice or narration in the foreground
- The texture of the place beneath it
- Specific sounds that punctuate the edit
- Music that supports the emotion without drowning everything else out
Each layer serves a different purpose, and each one has to be planned, captured, and assembled with intention.
This guide follows three phases:
- Capture: Recording the right sounds on location
- Curate: Selecting and organizing what you recorded
- Layer: Assembling those sounds into a coherent mix in post-production
Every section maps to one of those phases.
Phase 1: Planning Your Sound Before You Leave
Most travel creators build a shot list before a trip. Almost none build a sound list. That gap shows up in the edit, when you realize you have beautiful visuals of a bustling market but nothing to put underneath them except road noise.
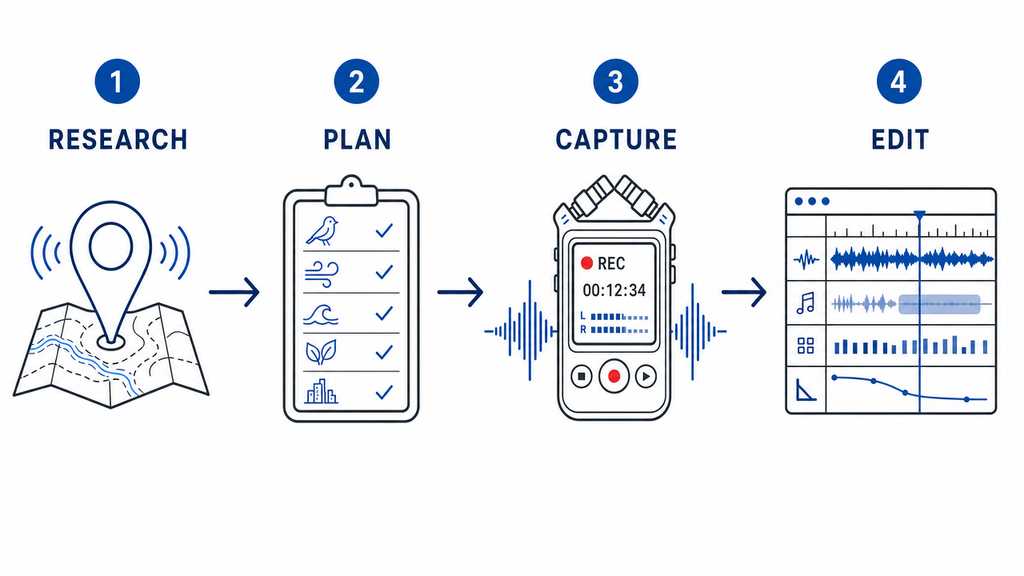
Pre-trip audio planning takes less than an hour and directly affects how useful your field recordings will be. Consider these questions before you arrive at any location:
- What is the dominant sonic character of this destination? A coastal town has wind, waves, and gulls. A night market has layered crowd noise, sizzle, and music.
- What emotional beats does each scene need to carry?
- Are there location-specific sounds worth going out of your way to record? A particular train departure, a call to prayer, a harbor fog horn?
- What time of day will you be shooting, and how does that affect ambient noise levels?
Pre-trip sound planning checklist:
- Research the destination’s acoustic environment (video searches help)
- List 3–5 signature sounds of each location
- Note time-sensitive sonic events (market hours, tidal activity, events)
- Assign an intended mood to each planned scene
- Match gear to expected acoustic conditions
Build a Sound List, Not Just a Shot List
For every planned scene, write down the intended mood and two or three sounds that would support it. This forces you to think about audio as a storytelling tool before you arrive, not as an afterthought you address in the edit.
Here is a simple format to use:
| Scene | Target Sounds |
|---|---|
| Arriving at Hanoi train station | Platform ambience (crowd + announcements), train brakes, vendor calls |
| Sunrise on a Santorini cliff | Wind at low level, distant waves, occasional seabird |
| Night market food stall | Wok sizzle, nearby crowd chatter, cash exchange, ambient music |
| Mountain hike descent | Footsteps on gravel, wind through trees, distant water |
You do not need to record all of these perfectly. The list simply ensures you do not leave the location without attempting to capture what you planned.
Phase 2: Gear Selection for Travel Sound Design
Travel gear has real limits, including weight, battery life, and durability. Multi-day trips can make those limits even harder to manage. Airports, cities, and remote areas add their own challenges. The goal is not carrying the most advanced audio gear. It is choosing gear you will actually carry and use.

A functional travel sound kit has three components:
- A compact wireless lavalier microphone for dialogue and narration capture
- A directional on-camera mic for ambient and environmental recording
- An optional small stereo field recorder for dedicated ambient sessions
The issue between quality and portability resolves itself when you accept that a lightweight system used consistently beats a heavy system left in the bag.
| Component | Primary Use | Travel Priority |
|---|---|---|
| Wireless lavalier mic | Dialogue, narration, on-camera speaking | High — use on almost every shoot |
| On-camera directional mic | Ambient, environmental, scene audio | High — always mounted while rolling |
| Compact stereo recorder | Dedicated field recording sessions | Medium — situational use |
Wireless Lavalier Mics Built for Travel
For capturing clean dialogue and narration while moving through locations, a compact wireless lavalier is the most practical solution available. The Hollyland LARK M2 is designed specifically for this use case. It weighs 9 grams and delivers up to 40 hours of combined battery life, which means it stays reliable across multi-day shooting schedules without constant recharging. For documentary work, street shooting, or filming at cultural sites where a visible microphone would be intrusive, the LARK M2S (7 grams, logo-free body, and solid titanium clip-on design) is the lower-profile alternative that disappears under a collar or shirt.
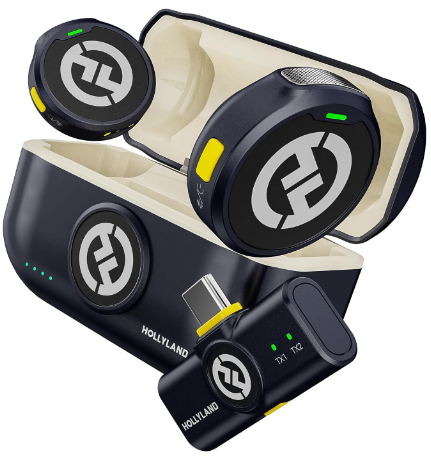
Hollyland LARK M2 - Mini Lavalier Microphone
An incredibly lightweight and compact wireless button microphone that captures high-fidelity audio.
Key Features: 9g Button Size | 48 kHz/24-bit | 40 Hours Battery
The practical value in both cases is consistent signal without the cable management, bulk, or battery anxiety that comes with larger wireless systems.
Capturing Stereo Ambience on the Go
Mono ambient recordings are functional. Stereo ambient recordings are immersive. When you play a stereo-recorded marketplace underneath your edit, the viewer’s brain interprets spatial width as depth and presence. Mono sounds like a recording; stereo sounds like a place.
Compact options for stereo field recording include:
- Zoom H1essential: Slightly higher price point, professional-grade 32-bit float recording prevents audio clipping, built-in X/Y stereo microphones, ultra-compact form factor
- Tascam DR-07X: Affordable price point, dual internal condenser microphones that switch between XY and AB patterns, and functions as a USB audio interface for computers or iOS devices
- A stereo XY capsule attachment for your existing recorder
Practical placement tips:
- Hold the recorder at chest height, pointed toward the scene but not at the loudest source
- Keep 6–12 feet of distance from dominant sound sources for natural perspective
- Mount on a small gorillapod rather than hand-holding when possible, to eliminate handling noise
- Record for at least 90 seconds per location to give yourself editing flexibility
Phase 3: On-Location Recording Techniques
Many travel creators give too little attention to recording audio. Getting the right shot often takes most of their focus. As a result, sound becomes something they think about later. Simple recording habits can change that on every trip. They create a useful collection of sounds for editing. This makes post-production more creative instead of fixing poor recordings.

Think in three spatial layers whenever you record:
- Foreground — the primary subject or action
- Midground — immediate surrounding texture
- Background — the wider ambient environment
Each layer may require a separate recording pass, but together they give you the material to build a realistic, three-dimensional sound environment.
Record Room Tone at Every Location
Room tone, also called atmos or presence, records ambient sound. Record 30 to 60 seconds for each camera and microphone setup. There should be no dialogue or movement during recording. Capture only the natural sound of that space. This simple recording becomes extremely useful during post-production. It fills spaces between dialogue edits and smooths audio changes.
It also prevents sudden silence between clips with different backgrounds. Without room tone, edits can sound abrupt and unnatural. Editors may then rely on music to hide those gaps. The habit itself is simple and takes little time.
After the final take, keep everything exactly as recorded. Do this before moving gear, changing lights, or positions. Ask everyone for quiet before starting the recording. Keep the microphones where they captured the dialogue. Stay still and record the space for 30 to 60 seconds. Label each file with its scene and setup number. This keeps the recording connected to the matching shots. That one habit can improve your final audio significantly.
Capture Intentional Sound FX in the Field
Every location you visit contains sounds you cannot buy from a library because they are specific, local, and real. Collecting them while you are there builds a personal sound archive that makes your content distinctly yours.
What to record on every trip:
- Environmental textures — rain on a specific roof type, wind through local trees, crowd murmur at a specific density
- Transient events — a tuk-tuk pass-by, a temple bell strike, a ferry horn, a market transaction
- Foley-style sounds — your own footsteps on cobblestone, gravel, sand, or tile; a market vendor handing over change; a door with a distinctive creak
- Nature-specific sounds — local bird species, insect layers, water with local reverb character
Organization tip: Use a simple file naming convention immediately after recording: [location]-[sound type]-[take number]. For example: istanbul-grand-bazaar-crowd-01.wav. Renaming in post is time-consuming and easy to skip.
Phase 4: Handling Common Travel Audio Challenges
No location is acoustically cooperative. Wind appears when you do not want it. Crowds are loudest when you need quiet narration. Cathedrals and marble lobbies turn every voice into reverb. These problems are normal parts of recording audio on location. Here is how to manage each one.

Wind Noise
Wind noise is a low-frequency rumble that masks everything underneath it and is extremely difficult to remove cleanly in post. Prevention is almost always more effective than repair.
Prevention first:
- Use a furry windshield (deadcat) on any outdoor microphone.
- Position your body between the wind source and the microphone
- Angle the mic slightly off-axis from the wind direction rather than facing into it
- Record narration in sheltered positions: doorways, vehicle interiors, behind walls
When prevention fails:
- Apply a high-pass filter at 80–120 Hz to cut wind rumble
- Use iZotope RX’s DeWind module or the Reduce Rumble and Enhance Speech tools in Premiere Pro’s Essential Sound panel for moderate cases
- Accept that heavy wind contamination rarely survives cleaning; therefore, reshoot when possible
Crowd and Traffic Noise Bleeding Into Dialogue
Busy locations mean competing audio sources. Crowds, traffic, and ambient music bleed into dialogue tracks and reduce intelligibility.
On location:
- Close-mic your subject: the closer the mic, the better the signal-to-noise ratio
- Use a directional (cardioid or supercardioid) microphone and point it away from the loudest competing source, not toward it
- Consider recording narration separately, away from the busiest moments, and cutting it in later
In post:
- Modern wireless systems, including the LARK M2, include onboard noise cancellation that handles moderate crowd bleed effectively at the capture stage
- For short lines in heavily contaminated environments, ADR (re-recording the line in a quieter space) is faster than trying to repair a bad take
Reverb and Echo in Enclosed Spaces
Stone churches, marble lobbies, tiled bathrooms, and large public halls all produce heavy reverb that makes speech sound distant and unclear. Unlike wind, this is a capture problem more than a mic problem.
On location:
- Get the microphone as close to the speaker’s mouth as practical to decrease reverb with proximity
- Use soft furnishings as makeshift absorption: stand near curtains, upholstered seating, or fabric-covered walls
- If the space is too reverberant, record narration content outside or in a treated space, then lay it over footage from the interior
In post:
- iZotope RX’s DeReverb and Premiere Pro’s DeReverb effect can recover moderate cases
- Heavy reverb on dialogue is largely irreversible, so prevention always wins
Inconsistent Audio Levels Across Locations
When audio recorded across different locations plays back at wildly different volumes, it signals a gain staging problem. The fix is mostly a pre-shoot discipline, not a post-production one.
On location:
- Set input gain conservatively — aim for peaks around -12 dBFS, not -3 dBFS
- If your recorder or wireless system supports 32-bit float recording, use it; it captures a safety track that cannot clip
- Record a brief test before each new location and check your levels on headphones
In post:
- Use normalization and loudness matching (LUFS targeting) as a finishing step, not as a substitute for proper gain staging
- Normalize each clip individually before mixing, rather than adjusting the master output to compensate
Phase 5: Post-Production: Layering Travel Sound
Raw field recordings are ingredients. Post-production is where they become a meal. The layering framework below applies to any travel content format. Adjust the level of detail to match your timeline and platform.

The four-layer stack:
- Dialogue / Narration: The foreground voice that carries information
- Ambience Bed: The continuous background presence of the location
- Spot SFX: Discrete sounds that punctuate specific moments
- Music: The emotional underscore that shapes tone and pacing
Each layer occupies different frequency space and serves a different function. The dialogue layer needs clarity in the 1–4 kHz presence range. The ambience bed lives mostly in the low-mids and high-mids. Spot SFX are transient and attention-directing. Music fills the emotional register that everything else cannot reach.
Less is more. Two well-chosen layers that complement each other are more effective than five competing ones.
Layer 4: Music [emotional support, low level under scenes]
Layer 3: Spot SFX [transient punctuation — bell, footstep, door]
Layer 2: Ambience Bed [continuous room tone / location atmos]
Layer 1: Dialogue [primary voice — highest clarity priority]
Building the Ambience Bed
Your field-recorded room tone is the foundation of the ambience bed. Load it beneath your timeline and loop or extend it to cover the full scene. Use crossfades at the loop points to prevent audible repetition.
Pan the ambience track slightly wide in stereo to create spatial separation from the center-panned dialogue. Then apply a gentle EQ notch in the 200–500 Hz range to reduce low-mid muddiness that can cloud dialogue intelligibility.
When your ambience recording is too short for the scene, layer two room tone recordings from the same location at slightly different volume levels. The variation prevents the looped feeling and adds subtle movement to the bed.
Placing Spot SFX for Emotional Impact
Spot SFX should not simply fill empty spaces in your audio. They can guide attention, mark transitions, or support visual moments. A carefully placed sound can make a scene feel more real. A market bell can strengthen a scene change naturally. Footsteps on gravel can support a walking shot. One focused sound can matter more than many random sounds.
Practical guidelines for SFX placement:
- Place transient sounds at scene transitions to smooth cuts and give them weight
- Use SFX to anchor emotional beats: a door closing can signal finality; a crowd swell can signal arrival
- Ask whether each placed SFX earns its position; if removing it changes nothing, remove it
- Prefer your own field recordings for realism; reach for library sounds when your recordings do not match the acoustic environment of the edit
Supplementing With Sound Libraries
Field recordings have gaps. You will not always capture what you need, and some sounds are simply impractical to record on location. Sound libraries fill those gaps.
Recommended libraries for travel content:
- Epidemic Sound: Broad catalog, clear licensing for YouTube and social platforms
- Artlist: Film-quality SFX and music, annual licensing model
- Soundsnap: Searchable SFX-specific library, good for specific transient sounds
- Freesound.org: Community-uploaded recordings, free with attribution or CC0 licensing; quality varies but useful for specific or obscure sounds
Blending library sounds with your field recordings:
Library sounds are often recorded in neutral, dry acoustic environments. Your field recordings carry the reverb and noise character of the actual location. To blend them convincingly, add a small amount of matching reverb to library sounds, and automate a slight volume dip under louder moments rather than running them at a flat level. The goal is for a listener to be unable to identify which sounds came from the location and which came from a library.
Sound Design Approaches by Travel Content Format
The four-layer stack applies broadly, but the balance of priorities shifts depending on where the content lives and how an audience watches it.
| Format | Sound Design Priority | Key Approach |
|---|---|---|
| Short-form (Reels / TikTok) | Music-led, minimal layering | One strong ambient hit at scene open, then music carries the rest; avoid busy SFX that compete with trending audio |
| Long-form vlog (YouTube) | Dialogue clarity + consistent ambience | Full four-layer stack; ambience bed runs throughout; dialogue intelligibility is the top priority |
| Travel documentary | Immersive field recording + intentional silence | Sound design matches the narrative arc; silence is used as a tool, not avoided; field recordings carry scenes that music would trivialize |
FAQs
Q: Do I need a separate recorder, or can I record sound directly to my camera?
Camera-internal audio is a last resort, not a primary strategy. On-camera mics pick up body handling noise, lens servo sounds, and environmental bleed equally. An external wireless lavalier mic connected to the camera’s input is the minimum effective upgrade. It gives you clear, close microphone audio without separate syncing.
Q: How do I sync audio recorded on a separate device with my video footage?
A hand clap offers the quickest way to sync each take. Its sharp sound creates a clear spike across both waveforms. DaVinci Resolve and Adobe Premiere Pro both include automatic audio sync tools that match waveforms across tracks. For professional productions, a timecode generator keeps both devices frame-accurately aligned without manual sync work.
Q: What is the difference between sound design and just adding background music to travel video?
Music is just one part of the complete sound design. Sound design builds the entire audio world around each scene. Dialogue, ambience, spot SFX, and music must work together. Each layer needs the right level within the final mix. Adding music alone is mixing one element. Sound design is the discipline of making all four elements feel like a single coherent sonic world.
Q: Can I do travel sound design on a phone or tablet?
Yes. LumaFusion on iOS and Android offers strong multi-track audio editing. It supports up to 12 audio tracks and third-party plugins. GarageBand is another option for layering, recording, and mixing. For quick video edits, Adobe Premiere on iPhone replaced the discontinued Premiere Rush. Mobile apps still lack desktop DAW processing power and automation. Still, they can support effective audio editing during travel.
Q: How much gear is too much to bring for sound on a solo travel shoot?
A basic travel kit needs two compact audio tools. Start with a dual-channel wireless microphone system with 32-bit Float recording. Add one directional microphone that mounts on your camera. Together, they cover two-person dialogue, narration, and clean ambient sound. Modern transmitters can also record separate safety audio internally. This makes a separate stereo recorder unnecessary for most travel workflows. Extra gear only adds weight and clutter without much added value.
Conclusion
The full workflow comes down to three simple phases. Plan the sounds before reaching the location. Record them carefully once you arrive on location. Then layer those recordings with purpose during post-production. Better gear can speed things up, but habits matter more. Record 60 seconds of room tone at every location. Create a sound list before leaving for each trip. Capture two planned SFX at every place you visit. These habits can improve your audio more than gear upgrades. Before leaving your next location, record those three sounds. Repeating this routine is where better travel audio starts.
