



































.png)
 简体中文
简体中文 
Making your own sound effects gives you control over your project’s audio. You can create sounds for films, YouTube videos, or game projects. Custom SFX can feel more fitting than stock clips. They can also save money over time. This guide explains three practical ways to create them. You can record objects using Foley techniques. You can also build sounds inside a DAW from scratch. Another option is turning your voice into sound material. You can begin with equipment you already have.
What Are Sound Effects and Why Make Your Own?
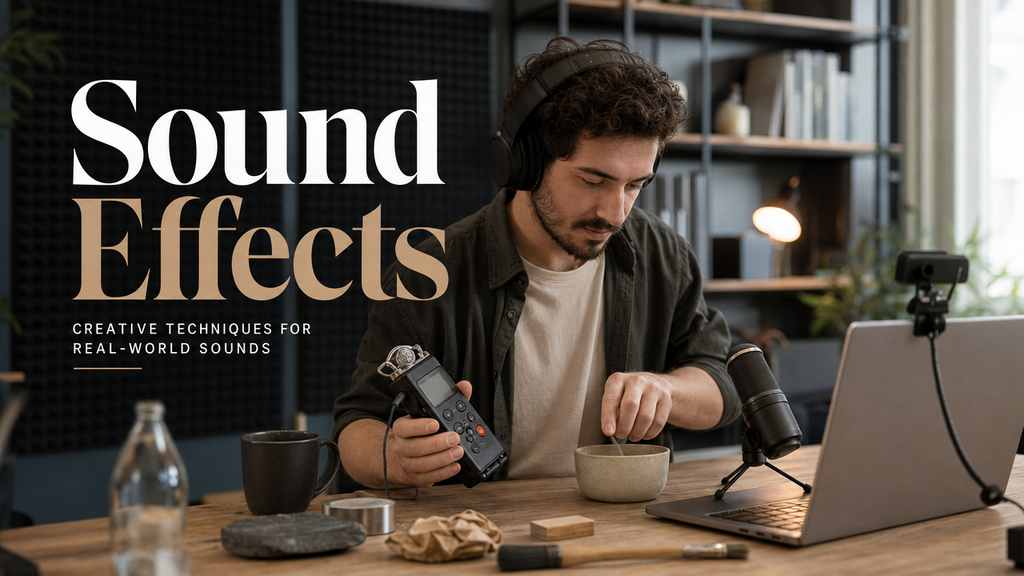
Sound effects are non-musical audio elements added to film, video, games, or music to reinforce action, create atmosphere, or tell a story. They range from a footstep creak to a spacecraft engine roar. Creating your own SFX gives you three useful advantages. You spend less money compared with licensing stock sounds. Your sounds can match exactly what your project needs. Your sound-making skills also improve with every project.
Method 1: Foley Recording (Capture Real-World Sounds)
Foley is the art of recording everyday objects to create or recreate sound effects for a production. The idea is simple. Record anything that creates the sound you need. Cellophane scrunched tightly mimics the crackle of fire. Dry pasta snapping sounds convincingly like small bones breaking. A bunch of keys jingling near a microphone becomes coins, chains, or machinery depending on how you edit it.
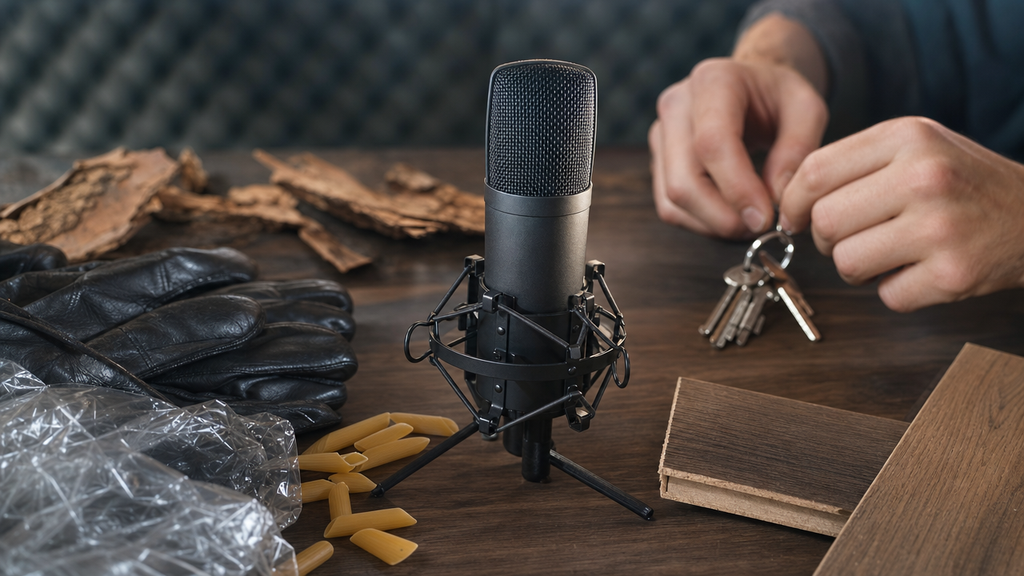
The Foley method works because the ear does not need to hear the real source. It only needs to hear the right sound. What matters is how you record and layer what you capture.
Foley recording workflow:
- Choose your sound target: Decide what you need before picking up a prop. Work backward from the finished sound in your head, not forward from what’s in front of you.
- Select and test your props: Try two or three options for each sound. A leather glove slapping against hardwood can replace a gun stock hitting the ground. Experimentation is the job.
- Set up in a quiet space: A quiet room with little echo is very important. Closets lined with clothes, carpeted rooms, or a blanket draped around your mic position all reduce room reflections significantly.
- Position your microphone: Place the mic 4 to 8 inches from the sound source for tight, detailed capture. Angle it slightly off-axis to reduce harsh transients from impact sounds.
- Record multiple takes: Record at least five to ten variations of each sound. Some takes will have handling noise, some will be too soft, and a few will be exactly right. You need options.
- Keep your best layers: Select two to four takes that complement each other. One with a sharp attack, one with body, one with a longer tail. Stack them later in your DAW.
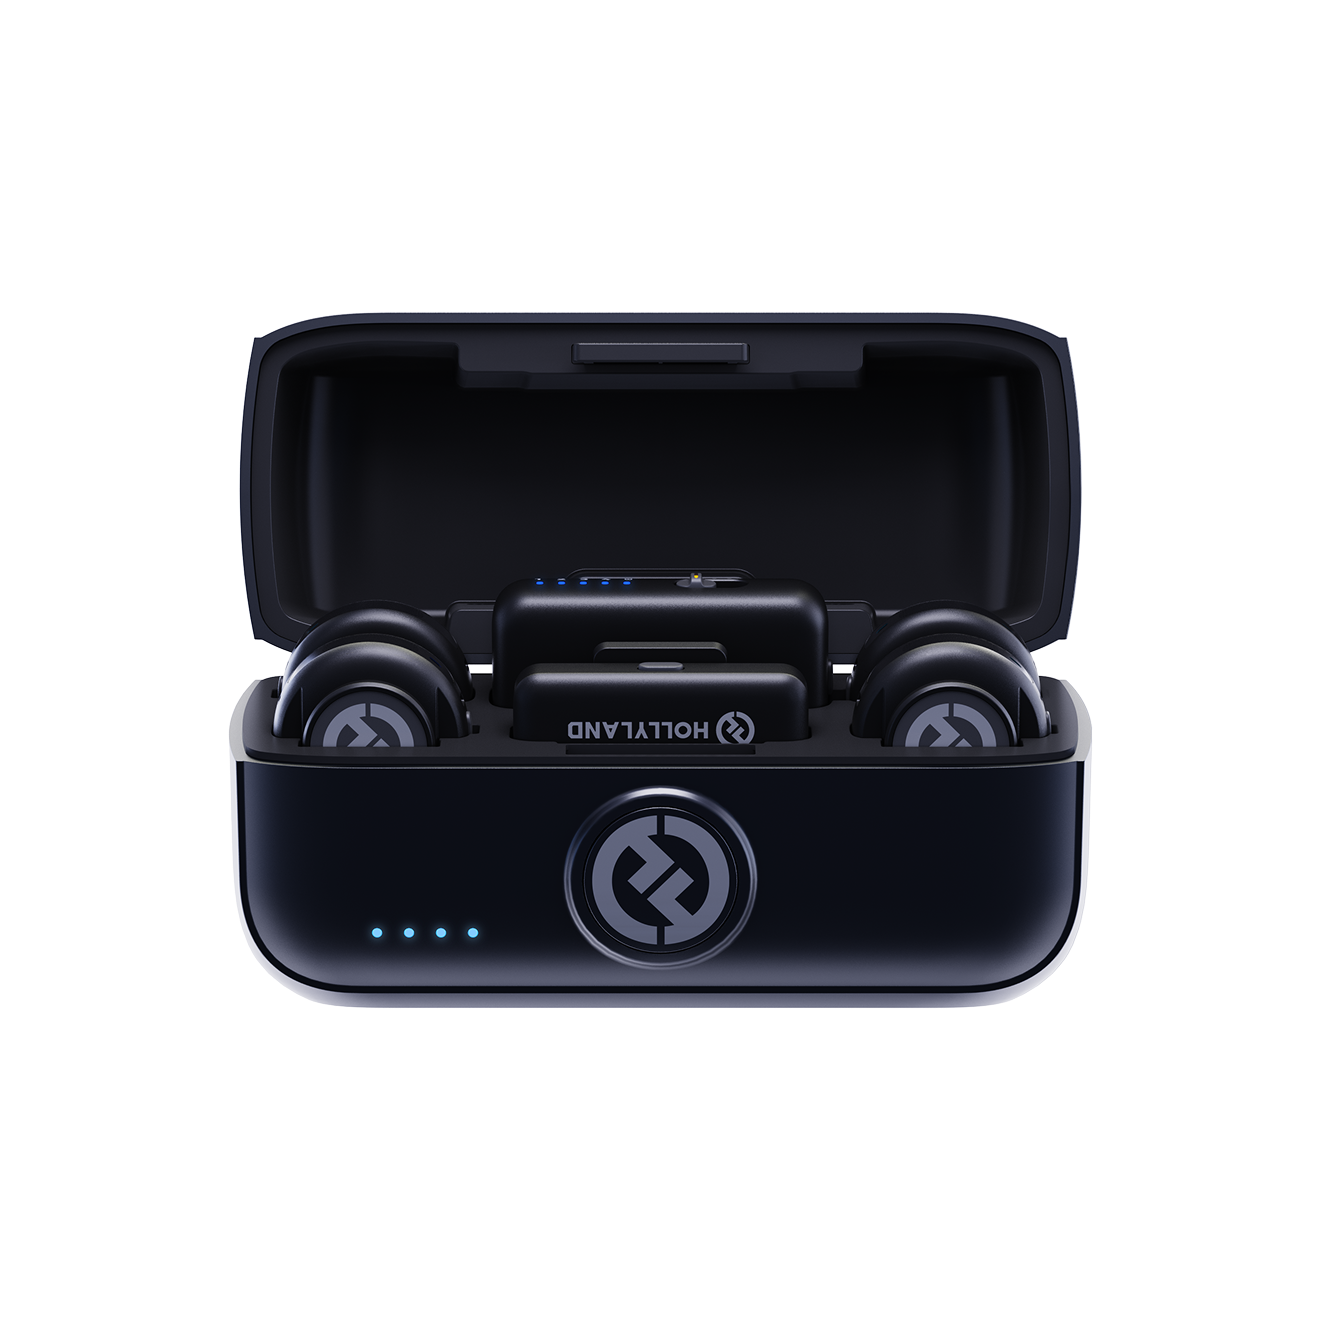
One real challenge in Foley work is that you cannot predict the peak level of every prop hit. A clipped transient from a surprise impact can ruin a take. This is where 32-bit float recording solves a genuine problem. Unlike 24-bit recording, 32-bit float captures audio without clipping even when the signal peaks far above 0 dBFS, letting you recover a clean transient in post. The Hollyland LARK MAX 2 records internally at 32-bit float, so you can set it up near your prop, press record, and perform freely without constantly watching levels. Its built-in AI noise cancellation also helps when you’re working in a home environment where HVAC hum or street noise bleeds into the recording.
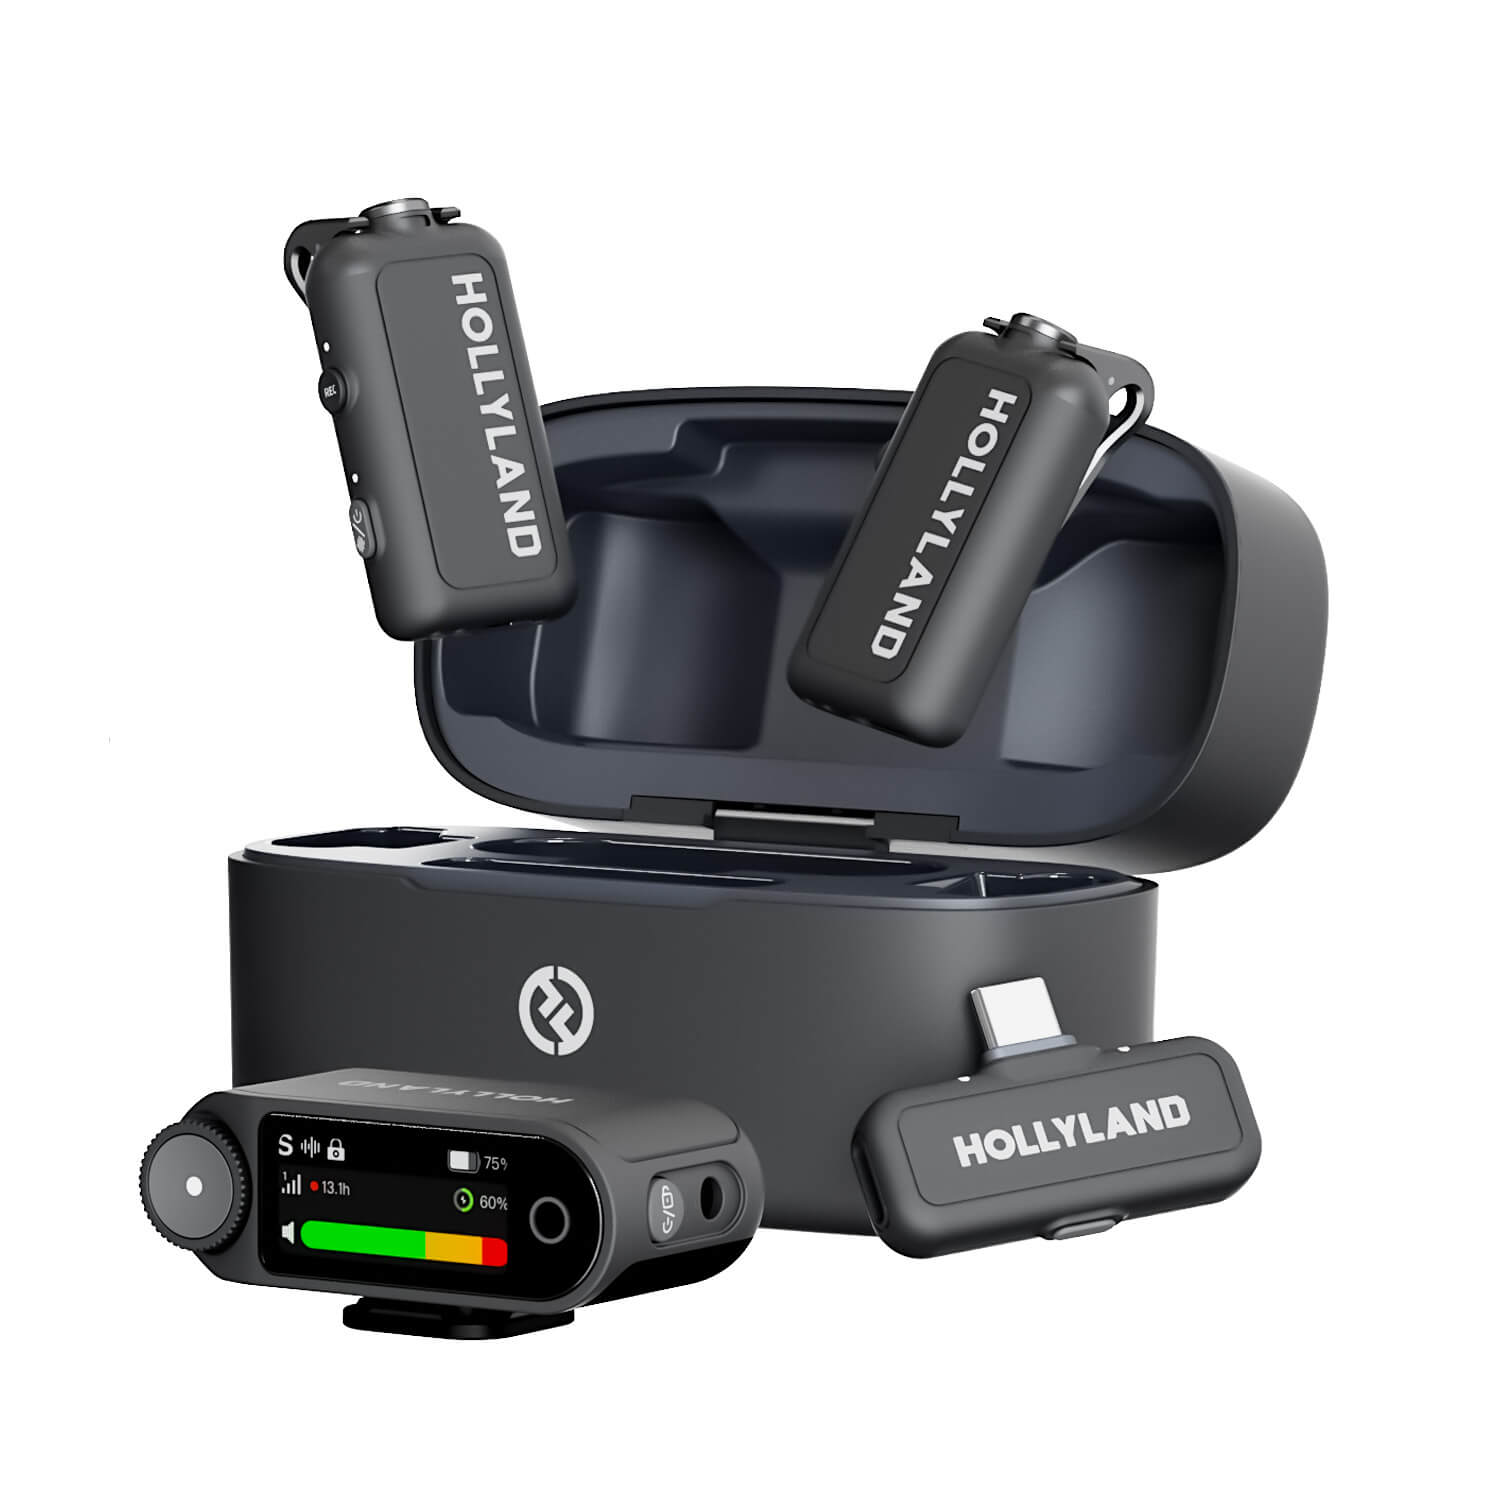
Hollyland LARK MAX 2 - Premium Wireless Microphone System
A premium wireless microphone for videographers, podcasters, and content creators to capture broadcast-quality sound.
Key Features: Wireless Audio Monitoring | 32-bit Float | Timecode
Minimum Equipment for Foley Recording
You need less than you think to start:
- Microphone: A USB condenser mic, a lavalier, or a compact wireless mic with a detachable capsule all work for Foley. Quality matters more than type.
- Recording device or interface: A laptop with an audio interface, a portable recorder, or an all-in-one device.
- DAW: Audacity (free) is sufficient for initial capture and review.
- Quiet space: A naturally dead room matters more than any piece of gear.
- Props: Household items only. You already own your best Foley kit.
Method 2: Digital Sound Design (Build Effects from Scratch)
Digital sound design means creating sounds in software, with no microphone or props required. You start with a raw source such as white noise, a sine wave, or a short processed recording, and sculpt it using pitch manipulation, filtering, and time-based effects. It is the method behind almost every sci-fi, fantasy, and electronic-genre sound you have heard.
The learning curve is real, but the entry barrier is low. Any DAW with a basic effects chain is enough to get started.
How to build a laser beam effect (step-by-step example):
- Open your DAW and create a new audio or instrument track.
- Generate a sine wave tone using your DAW’s built-in tone generator. Set the frequency to between 800 and 1200 Hz to start.
- Apply a pitch envelope: start the pitch high and drop it steeply over 0.3 to 0.5 seconds using DAW automation or a pitch-shift plugin. This creates the rising-then-falling arc of a classic laser sound.
- Add a short reverb with a small room setting and a decay time under one second. This gives the effect dimension without washing it out.
- Apply a slight EQ boost around 8 to 10 kHz to make the sound feel sharp and present.
- Layer a second version with the pitch drop happening slightly slower. Pan one take slightly left and the other slightly right.
- Bounce the result to a stereo WAV file and trim any leading or trailing silence.
The same method works for impacts, ambience, machines, creatures, and UI beeps. Start with a source, shape it, add layers, then finish it. Once you learn this formula, sound type matters less.
Best Software for Making Sound Effects (Free and Paid)
| Software | Cost | Skill Level | Key SFX Features | Best For |
|---|---|---|---|---|
| Audacity | Free | Beginner | Basic EQ, pitch shift, noise reduction, trim, and export | First Foley and vocal SFX projects |
| Reaper | $60 discounted license | Beginner to Intermediate | Full DAW, VST support, routing, pitch envelope automation | Indie creators; best overall value |
| Adobe Audition | $22.99/month (Creative Cloud) | Intermediate | Spectral editing, multitrack session, AI noise reduction | Editors already working inside the Adobe ecosystem |
| Logic Pro | $199.99 one-time (Mac only) | Intermediate to Advanced | Advanced synthesis engine (Alchemy), built-in sound library, deep routing | Mac-based producers and film sound designers |
Method 3: Vocal Sound Effects
Your voice is the most portable sound source you own, and with the right processing it becomes nearly unrecognizable. Vocal SFX work because voices can create many different tones. Breath, pitch, friction, and rhythm each react differently. Audio processing can transform these sounds in many ways. This gives you plenty of material from one source.
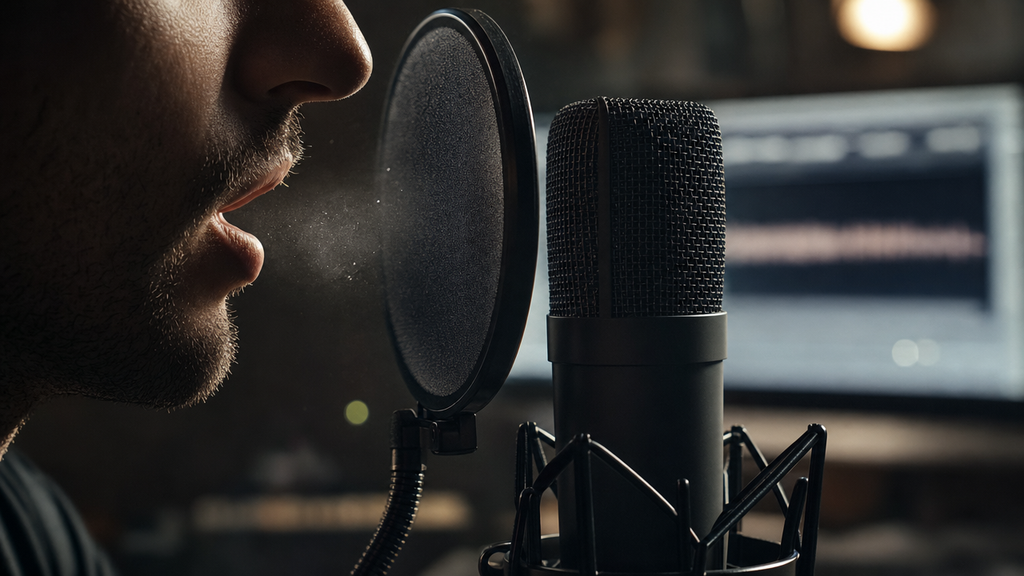
Practical examples of what the voice can become with processing:
- A sharp exhale through clenched teeth, pitched down four to six semitones, becomes a creature growl
- Rhythmic tongue clicks, layered four times and slightly time-stretched, create a convincing mechanical ratchet
- Whispered “shhhh” sounds with a high-to-low pitch envelope produce clean whooshes
- One person multi-tracked six to eight times while mumbling quietly creates usable crowd ambience
Processing techniques for vocal SFX:
- Pitch shifting: Move pitch down for weight and size; move it up for sci-fi energy or small creature sounds
- Time-stretching: Slowing a vocal sound creates texture and breath; speeding it up creates rhythm
- Distortion or saturation: Adds aggression and harmonic content, which is essential for mechanical or monstrous tones
- Layering: Stack three to five takes of the same sound at slightly different pitches and timings to build density
- Close-mic technique: Record with your mouth one to two inches from the mic to capture maximum detail before any processing touches the signal
Record in short, committed bursts. Half-hearted vocal performances produce weak raw material that no processing chain can fully fix.
How to Edit and Process Your Sound Effects
Regardless of which method you used, every sound effect passes through the same editing and processing chain before it is ready to use. The following steps use a door-slam recording as the working example throughout.
- Trim silence and clean edges. Cut everything before the sound starts and after it ends. Remove handling noise, stray breaths, and false starts. Your door slam should begin cleanly at the start of the waveform.
- Noise reduction pass. Sample 0.5 to 1 second of room tone from within the recording, then apply a gentle noise reduction pass. Over-applying this step introduces artifacts. Go light.
- EQ shaping. Cut everything below 80 Hz on most non-bass SFX to remove low-end mud. For impact sounds like a door slam, add a gentle boost in the 3 to 5 kHz range to increase presence and definition. The slam will suddenly cut through a mix where it previously sat buried.
- Compression. Use a fast attack of 5 to 10 ms and a medium release of 100 to 150 ms with a 4:1 ratio to tighten the dynamic range and control the tail of the sound.
- Pitch shift or time-stretch if needed. Pitching the door slam down two to three semitones makes it feel heavier and more cinematic. Slightly time-stretching it adds weight without changing the pitch. Both are optional adjustments with a large payoff.
- Add reverb or keep dry. A tight reverb under one second places the sound in a physical space. For UI sounds, game SFX, or close-range effects, keeping the signal dry is usually the right call. For cinematic impacts or distant ambience, reverb is essential.
- Normalize output level. Set your peak to -1 dBFS or your target delivery standard. Common targets are -20 LUFS for broadcast and -14 LUFS for streaming platforms.
- Export as 48kHz/24-bit WAV. This is the production standard for video work. Never use MP3 for sound effects. Compression artifacts become audible in quiet scenes, and the quality cannot be recovered after export.
Core Audio Effects Every Sound Designer Should Know
| Effect | What It Does | SFX Use Case |
|---|---|---|
| EQ | Boosts or cuts specific frequency ranges | Shaping tone, removing mud, adding presence to impacts |
| Compression | Reduces dynamic range and controls peaks | Tightening attack, controlling long tails |
| Reverb | Simulates acoustic space | Placing sounds in rooms, adding cinematic scale |
| Delay | Repeats signal at set time intervals | Echo effects, thickening ambience textures |
| Pitch Shifter | Raises or lowers pitch without changing speed | Making voices monstrous, tuning impact hits |
| Time-Stretcher | Changes speed without changing pitch | Extending tails, creating slow-build tension |
| Distortion/Saturation | Adds harmonic content and grit | Mechanical sounds, monster tones, aggressive energy |
| Noise Gate | Silences signal below a set threshold | Cleaning recordings, removing room noise between takes |
6 Tips for Better-Sounding Sound Effects
- Layer two to four sounds instead of relying on one. A punch effect built from a low thud, a skin slap, and a compressed low-frequency hit sounds fuller and more believable than any single recording can deliver on its own.
- Record in a treated or naturally dead space. A closet packed with clothes absorbs reflections better than most home studios. The acoustic quality of your recording environment shapes everything that happens downstream in the chain.
- Match SFX intensity to the visual or musical moment. A quiet scene needs subtle SFX with lower peak levels and more ambient space. A loud action moment calls for SFX with sharp attack and wide dynamic range.
- Record at 48kHz minimum. Never record SFX at sample rates below 44.1kHz, and use 48kHz any time the final output is video. High-frequency content captured during recording becomes important raw material during processing.
- Use 32-bit float when recording unpredictable sources. Impacts, outdoor prop hits, and physical performance sounds can spike without warning. 32-bit float preserves the transient even when the signal would have clipped at 24-bit, saving takes that would otherwise be discarded.
- A/B your finished SFX against professional reference material. Place your sound directly next to a comparable effect from a film or game you respect and listen to both. This is the fastest way to see where your processing falls short.

Frequently Asked Questions
What software do beginners use to make sound effects?
Audacity is the standard starting point. It is free, runs on Windows, Mac, and Linux, and handles all core SFX tasks including trimming, EQ, pitch shifting, and noise reduction. Once you outgrow it, Reaper offers a complete DAW environment for a one-time discounted license under $60. Most beginners can build a solid SFX workflow without spending anything.
Do you need expensive equipment to make sound effects?
No. A smartphone with built-in mics can get Foley work started. You can also pair it with an affordable shotgun mic. A portable field mic attachment is another simple option. Audacity on any laptop is enough for basic recording work. Professional results depend more on technique and processing skills. They do not depend only on expensive recording equipment. Many sound designers use affordable gear for Foley recordings. This is because creativity and quick thinking often matter more.
What is the difference between Foley and sound design?
Foley relies on live performance with physical props. A person records those sounds while matching the picture. Sound design takes a different approach to creating effects. Sounds are built, combined, and changed inside audio software. Professional productions often combine both methods during sound work. Foley recordings provide source material for sound designers. They then edit, layer, and process those recordings into finished effects.
Can I make good sound effects with just my voice?
Yes, with the right processing applied afterward. Voice is the most accessible raw material available, and pitch shifting, distortion, and layering transform it into something unrecognizable from the original recording. The raw vocal alone is rarely the finished product. The processing chain is where the quality comes from.
Conclusion
Foley recording, digital synthesis, and vocal SFX all feed into the same editing and processing workflow. Once you understand that chain, the three methods become interchangeable tools rather than separate skills. Start with the method that needs the least new equipment. If you own a microphone, begin with Foley. If you have a DAW, try creating sounds through synthesis. Choose one free tool and complete one sound effect. Then, keep building your skills from that first project. When you want to learn more, explore a video sound design guide.
