



































.png)
 简体中文
简体中文 
Recording a lecture can make studying much easier after class ends. You can replay difficult explanations whenever a topic feels confusing. It also helps when there was not enough time for notes. The best recording method depends on your device and learning setup. A student in a large lecture hall may need different equipment. An educator creating LMS lessons may choose another approach. Remote learners may need to record live Zoom classes instead. This guide explains four practical ways to record lectures. Each method can help you choose the right option.
Before You Record: Permissions and Method Overview
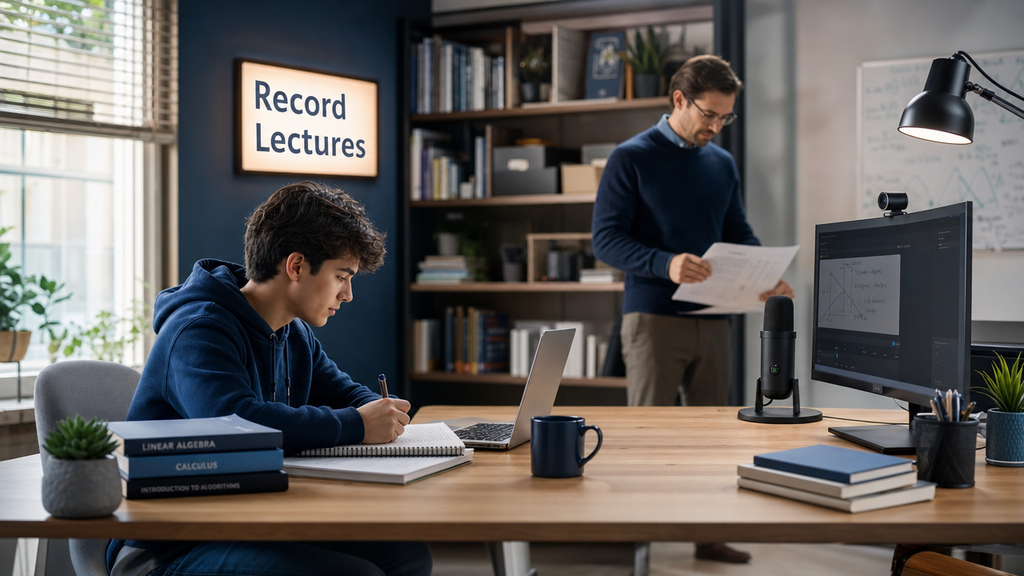
Before pressing record, confirm that recording is permitted. Across the United States, many schools restrict lecture recordings by students. Personal review may require instructor approval or disability accommodations. Sharing unauthorized recordings can also create legal or school policy issues. Copyright law and FERPA-related rules may apply in some cases. If you are unsure, speak with your instructor before class. You can also check the course syllabus for recording rules. Some schools require written approval instead of verbal permission.
Which Method Is Right for You?
| Method | Best For | Hardware Needed | Audio Quality |
|---|---|---|---|
| Smartphone | Quick in-person capture with no setup | Phone only | Moderate |
| Laptop | In-person recording or local audio capture | Laptop only | Moderate |
| Screen Recording | Live online sessions (Zoom, Teams, Meet) | Laptop | Good |
| Wireless Microphone | Any room where audio clarity is a priority | Wireless mic + phone or laptop | Excellent |
How to Record a Lecture with Your Smartphone
Your smartphone is the lowest-friction recording tool you already own. The built-in apps on both iOS and Android are purpose-built for this scenario, and setup takes under a minute.

- Open the native recording app. On iPhone, open Voice Memos. On Android, open Google Recorder (pre-installed on Pixel devices; available free on the Play Store for most other Android phones).
- Check available storage. A one-hour recording in compressed format uses roughly 60 to 120 MB. If your phone is near capacity, move photos or files to cloud storage before class.
- Enable Airplane Mode or Do Not Disturb. Incoming calls and notification chimes interrupt recordings and create audio spikes that are disruptive during playback. Enable Do Not Disturb to block these without disabling Wi-Fi if background sync is running.
- Set recording quality to High. In Voice Memos, go to Settings > Apps > Voice Memos > Audio Quality and select Lossless. Google Recorder records at high quality by default.
- Position the phone correctly. Place the phone screen-up on your desk, angled toward the speaker. The microphone is typically at the bottom edge of the phone, so avoid covering it with your hand or a notebook.
- Name the file immediately after stopping. Use a consistent format such as “2025-01-15 History 101 Industrial Revolution” so the recording is easy to find later.
Note: If you want automatic transcription alongside your recording, Otter.ai is a reliable one-tap upgrade. It connects to your calendar, joins lectures, and produces a searchable, speaker-labeled transcript in real time. A dedicated digital voice recorder follows the same placement rules as a smartphone. If you already own one, the steps above apply directly. The main advantage is longer battery life; audio quality at a comparable price point is roughly equivalent.
How to Record a Lecture on Your Laptop
Laptops work well for students who type notes during class and want a single device doing both jobs. The built-in microphone performs acceptably at close range but degrades noticeably beyond three to four meters, so seating position matters.
Zero-Cost Built-In Tools
- Windows 11: Open Sound Recorder (search from the Start menu). Records to M4A by default.
- Windows 10: Open Voice Recorder (same search method). Functionally identical.
- macOS: Open Voice Memos from Applications or Spotlight.
For any of these tools, the steps are:
- Open the app,
- Select the correct audio input from the input dropdown if an external microphone is connected,
- Press record, and
- Stop when done
Recording with Audacity (Intermediate Option)
Audacity is a free, cross-platform audio editor that adds real-time level monitoring, making it the better choice for educators who want reliable one-take recordings.
- Download and open Audacity from audacityteam.org.
- In the toolbar, set the input device to the correct microphone (Built-in Microphone or your external device name).
- Set the project sample rate to 44,100 Hz. Click the Audio Setup button in the top toolbar and select Audio Settings.

- Go to the Project Sample Rate dropdown menu under the Quality section and select a 44100 Hz sample rate.


- Press the record button and watch the level meter. Aim for a peak around -12 dB and keep the meter in the green zone. If it repeatedly hits red (0 dB), reduce the input gain slider.


- After recording, go to File > Export Audio> Export as MP3 for a compressed file, or Export as WAV for an uncompressed archive copy.


Note: Audacity’s level meter is the single most useful feature for first-time recorders. Audio that clips into the red cannot be repaired in post-processing, so monitoring during the session is essential.
How to Record Online Lectures (Zoom, Google Meet, Microsoft Teams)
Online lecture recording falls into two distinct scenarios: you hold recording rights as the host or co-host, or you are a participant trying to capture the session without built-in access.
Scenario A: As the Host or Co-Host
Most platforms include built-in recording accessible by keyboard shortcut so you can start without interrupting the session.
- Zoom: Press Alt+R (Windows) or Cmd+Shift+R (Mac) to start a local recording. For cloud recording, press Alt+C (Windows) or Cmd+Shift+C (Mac). Cloud recording requires a paid Zoom plan.
- Microsoft Teams: Click the three-dot menu (More actions) in the meeting controls bar, click Record and Transcribe, and then select Start recording. The recording saves automatically to SharePoint or OneDrive.
- Google Meet: Click Activities in the bottom-right corner of the meeting screen, select Recording, and confirm. Cloud recording requires a Google Workspace plan.
After the session ends, the file processes and appears in your cloud storage (Zoom dashboard, Teams OneDrive folder, or Google Drive) within minutes to a few hours, depending on file size.
Scenario B: As a Participant Without Recording Rights
If the host has not enabled recording for participants, your operating system’s built-in screen recorder is the practical alternative.
- Windows (Win+G): Press Win+G to open the Game Bar overlay. Click the record button or press Win+Alt+R. To capture system audio alongside your mic, open Sound Settings and confirm that Stereo Mix or “What U Hear” is enabled under Recording Devices.
- macOS (Cmd+Shift+5): Press Cmd+Shift+5 to open the Screenshot toolbar. Select Record Entire Screen and click Record. To capture meeting audio from your speakers, you need a virtual audio router such as Loopback (paid) or BlackHole (free) to route system audio into the recording input.
- OBS Studio (Windows/macOS/Linux): OBS provides higher-quality capture and flexible audio routing. Add a Display Capture source and a Desktop Audio source, then press Start Recording. Change the output format from MKV to MP4 in Settings > Output before recording to ensure broad file compatibility.
Important: Recording a call without notifying other participants may violate your platform’s Terms of Service or local consent laws. Always inform participants that you intend to record, or confirm that your institution’s policy covers the session in advance.
How to Record Lectures with a Wireless Microphone (For Clear Audio in Any Room)
Built-in phone and laptop microphones use small omnidirectional capsules positioned several meters from the speaker. At that distance, they capture HVAC noise, room reverb, and ambient conversation at nearly the same volume as the voice you want. The result is frequently muffled, tiring audio that is difficult to study from.

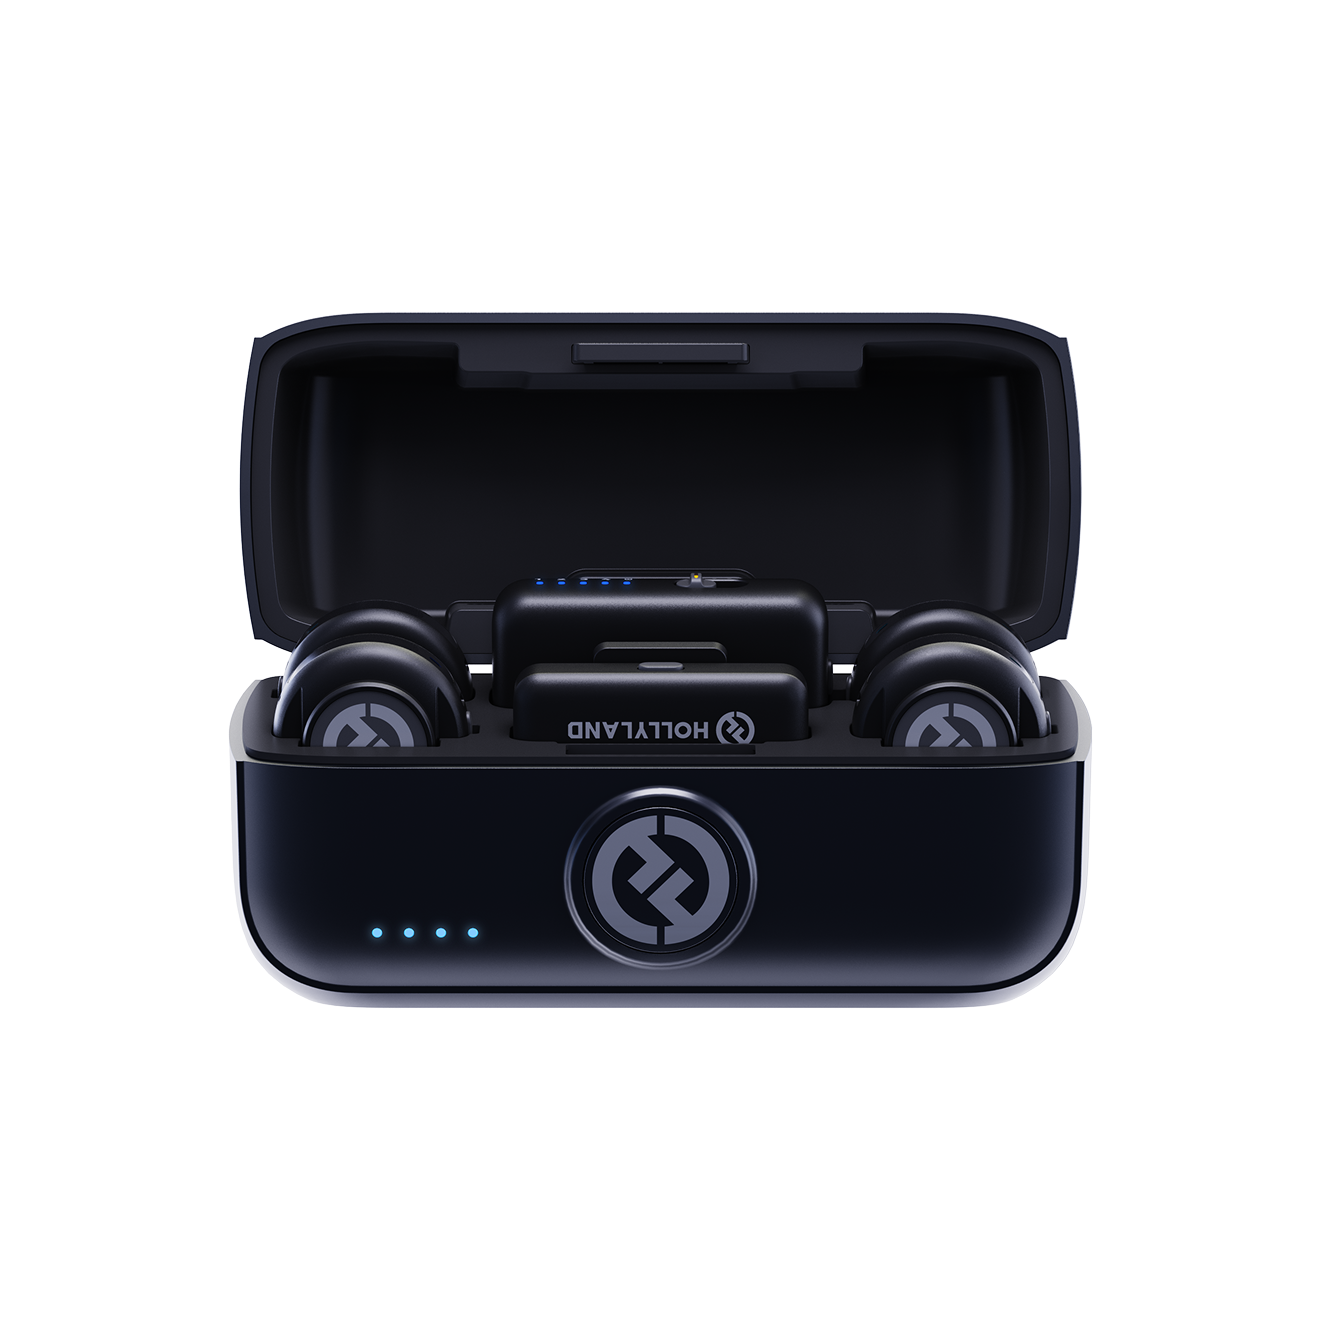
A wireless clip-on transmitter placed on the speaker’s lapel solves this problem at the source. The microphone capsule sits centimeters from the speaker’s mouth rather than meters away, which improves the signal-to-noise ratio dramatically regardless of room size. The following steps use the Hollyland LARK M2 as the tutorial subject.
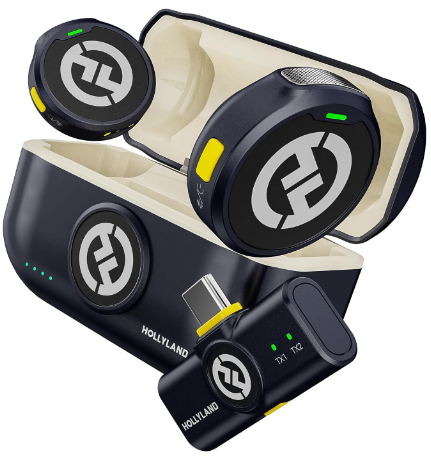
Hollyland LARK M2 - Mini Lavalier Microphone
An incredibly lightweight and compact wireless button microphone that captures high-fidelity audio.
Key Features: 9g Button Size | 48 kHz/24-bit | 40 Hours Battery
LARK M2 Setup and Recording Workflow
- Start from the charging case. Seat both transmitters inside the LARK M2 charging case and charge the case via its USB-C port before your session.
- Power on and pair. Open the charging case lid. The transmitters automatically power on and pair to the receiver.

- Wait for the LEDs on both the transmitters to transition to solid blue, which confirms a successful connection.

- Clip or place the transmitter based on your scenario.
- Educator or presenter: Clip the transmitter to a shirt collar or lapel, approximately 15 to 20 cm below the chin, with the mic logo facing outward and away from clothing fabric.

- Student recording scenario: Remove the transmitter from its clip and place it flat on your desk surface facing toward the podium or on an open notebook. The built-in mic captures directional audio effectively at short-to-mid range from this position.
- Connect the receiver to your device. Plug the LARK M2 receiver into your phone’s USB-C port (a Lightning receiver variant is available for older iPhones) or into your laptop’s 3.5mm combo jack (via the Camera receiver). Your operating system should detect and switch to this input automatically.


- Confirm the signal before recording. Open your recording app and check the input level meter. A solid blue LED on the transmitter confirms that live audio is passing through. If the meter shows no movement, check the receiver connection and verify that your app has selected the correct input.
- Adjust gain and enable noise cancellation in the HollyAudioApp. On the Camera receiver, you can rotate the gain knob to adjust the gain.

If you have the USB-C or Lightning receiver, download the HollyAudio App and connect your LARK M2. Use the volume slider in the app to adjust gain.
To enable Environmental Noise Cancellation (ENC), you can press the power / function button once on the TX or RX, and when it is enabled, the status LED will turn solid green. You can also toggle noise cancellation on or off via the HollyAudio app.

For students who want a zero-configuration phone option, the Hollyland LARK A1 connects directly via USB-C or Lightning and activates three-level intelligent noise cancellation immediately on plug-in, with no pairing or companion app required.

Hollyland LARK A1 - Affordable Wireless Microphone
A perfect starter mic for creators on a budget. It’s simple to use and features effective noise cancellation.
Key Features: 48kHz/24-bit | 3-Level Noise Cancellation | 54-Hour Battery
Tips to Improve Your Lecture Recordings
These tips apply across all four recording methods and take less than two minutes to complete before any session.

- Run a 30-second test recording before the lecture starts. Play it back through headphones to confirm the audio is clear, the input level is not clipping, and background noise is at an acceptable level.
- Sit within the first three rows when using a phone or laptop mic. Microphone sensitivity drops significantly with distance. Halving the distance between you and the speaker roughly doubles the recorded voice level relative to room noise.
- Enable Airplane Mode or Do Not Disturb before pressing record. An incoming call or notification chime mid-lecture creates an audio spike or gap that is difficult to work around during review.
- Confirm storage and battery before the session. Aim for at least 500 MB of free storage and more than 30% battery life. If storage is tight, clear it the night before and bring a charging cable as a backup.
- Keep the device away from cooling fans, projectors, and noisy neighbors. Laptop fan hum, projector noise, and nearby keyboard clicks register clearly on omnidirectional microphones and are nearly impossible to remove cleanly after the fact.
- Use variable-speed playback during review. Apps like VLC, Notchup, and most podcast players support 0.75x to 1.5x playback speed. Listening at 1.25x lets you cover an hour-long recording in roughly 48 minutes without losing comprehension.
How to Save and Organize Your Lecture Recordings
Adopt a consistent naming convention immediately after class: YYYY-MM-DD_CourseName_Topic (for example, 2025-01-15_Biology101_CellDivision). This format sorts chronologically in any file manager.
- Use M4A for everyday study recordings (compact size, good quality); use WAV only if you plan to re-edit the audio in a separate application
- Enable auto-sync: iOS Voice Memos via Settings > Your Name / Apple Account > iCloud > See All > Voice Memos > Toggle On; Google Recorder via the app’s backup setting
- Upload Audacity or OBS files to Google Drive or Dropbox manually immediately after each session before deleting local copies
Services like Otter.ai and OpenAI Whisper can convert your recordings into searchable transcripts, which are especially useful for exam review and quick topic lookup.
Frequently Asked Questions
Q: Do I need permission to record a lecture?
Many schools do not allow lecture recordings without prior permission. Students may record for personal study under approved disability accommodations. Written permission from the instructor may also allow recording. Posting or sharing these recordings online is generally not allowed. Such actions can violate intellectual property rules and academic policies. Before recording, check your school’s student handbook carefully. It is also best to ask your instructor directly. Make sure you have approval before recording any class activity.
Q: What is the best app for recording lectures on iPhone or Android?
For students, iOS Voice Memos and Google Recorder are simple choices. Both apps require almost no setup before recording a lecture. Google Recorder can create a transcript while the recording is happening. Voice Memos can generate a transcript after the recording ends. Google Recorder is available only on Pixel phones running Android. Students with other Android phones may need another option. Otter.ai can provide searchable transcripts with speaker labels and calendar tools. It is a useful addition when more advanced recording tools are needed.
Q: How can I improve audio quality when recording in a large lecture hall?
The single most effective fix is reducing the distance between the microphone and the speaker’s voice. Sit in the front rows to help your phone or laptop mic pick up more cleanly, or use a wireless clip-on mic like the Hollyland LARK M2 placed on the speaker, which captures proximity-level audio regardless of room size.
Q: Can I record a Zoom lecture if I am not the meeting host?
You cannot use Zoom’s built-in record feature without host or co-host permission. You can capture the session using your OS screen recorder – Win+G on Windows or Cmd+Shift+5 on macOS – or OBS Studio, provided you comply with your institution’s consent and recording policies before doing so.
Q: How much storage does a one-hour lecture recording use?
A one-hour recording in a compressed format like M4A or MP3 uses roughly 30 to 60 MB. Uncompressed WAV files run 300 to 600 MB per hour. Most phones have sufficient storage for many sessions, but confirming available space before recording is good practice to avoid a mid-session cutoff.
Conclusion
For most students, a smartphone with Voice Memos or Google Recorder is the fastest in-person option. A laptop or screen recording covers remote sessions on Zoom, Teams, or Meet. When audio clarity is non-negotiable, a wireless clip-on mic solves the distance problem that no built-in mic can.
