



































.png)
 简体中文
简体中文 
Most people leave their equalizer on some random preset. Others avoid those controls, fearing they might ruin the audio. Neither choice helps much when you want better sound. This guide tells you what each control actually does. You will learn how frequency bands affect what you hear. You will also follow a simple process for improving audio quality. The same approach works for music, podcasts, and live streams.

What Does a Sound Equalizer Actually Do?
An equalizer (EQ) is a tool that adjusts the volume of specific frequency ranges within an audio signal. Unlike a volume knob, which raises or lowers everything at once, an EQ lets you make one part of the sound louder or quieter while leaving the rest unchanged. You might boost the bass for warmth, cut the midrange to reduce boxiness, or roll off the high end to tame harshness.

The core function is tonal shaping. EQ fixes problems in an audio signal, corrects imbalances caused by a microphone or playback device, and adds character to a recording. It is one of the most fundamental tools in audio and also one of the most misunderstood.
Before experimenting with any knobs or sliders, you need a working sense of what the frequency spectrum sounds like. That is where this guide starts.
Types of Sound Equalizers You’ll Encounter
Not all equalizers work the same way. The type of EQ in front of you shapes how you interact with it.
Graphic EQ
A graphic EQ uses a fixed set of frequency bands arranged across a row of sliders. Every slider controls a specific frequency range in the equalizer. Raise it to boost that frequency range, or lower it to reduce it. Because the sliders visually mirror the shape of the frequency response curve, the display gives you an immediate picture of what is happening. Graphic EQs are common in consumer audio apps, car stereos, and live sound systems. They are intuitive but limited in precision, since the center frequency of each band is fixed and cannot be repositioned.
Parametric EQ
A parametric EQ gives you full control over three variables for each band:
- The center frequency
- The gain (how much you boost or cut)
- The Q factor (how wide or narrow the affected range is)
This level of control makes parametric EQ the standard in DAWs and professional recording environments. It requires more learning but delivers far more targeted results, especially when isolating a specific problem frequency.
Shelving and High-Pass / Low-Pass Filters
A shelf filter raises or lowers frequencies beyond a selected point. A high shelf affects frequencies above that point. A low shelf affects frequencies below the selected point. A high-pass filter cuts frequencies below its chosen cutoff. This gradually reduces low sounds, including unwanted voice recording rumble. A low-pass filter reduces high frequencies above its cutoff point. These filters can quickly make your audio sound much cleaner.
| EQ Type | Best Used For |
|---|---|
| Graphic EQ | Consumer playback, quick tonal shaping |
| Parametric EQ | Studio recording, precise problem-solving |
| Shelving Filter | Broad tonal balance, top and bottom end shaping |
| High-Pass Filter | Removing low-end rumble and handling noise |
| Low-Pass Filter | Taming harsh high-frequency content |
Understanding Frequency Bands: The Foundation of EQ
The human ear detects frequencies from roughly 20 Hz to 20 kHz. Different parts of that range contribute very different qualities to what you hear. To work with EQ effectively, first understand each frequency region. Think of it as a handy reference while adjusting audio. There is no need to memorize every frequency range.
Here is how the audible spectrum breaks down in plain language:
| Frequency Range | Name | What You Hear | Common Issues |
|---|---|---|---|
| 20–80 Hz | Sub-bass | Rumble, physical weight, deep thump | Muddiness, mic handling noise |
| 80–250 Hz | Bass | Body, warmth, fullness | Boominess, masking midrange detail |
| 250–800 Hz | Low-midrange | Warmth vs. muddiness | Boxiness, nasal tone in vocals |
| 800 Hz–2.5 kHz | Midrange | Presence, definition, clarity | Harshness, honkiness |
| 2.5–6 kHz | Upper-mid / Presence | Attack, bite, intelligibility | Ear fatigue, sibilance |
| 6–12 kHz | High Frequencies / Brilliance | Crispness, texture, detail | Metallic sheen, edginess |
| 12–20 kHz | Air / Upper Treble | Openness, space, airiness | Hiss, excessive brightness |
Note: You don’t need to memorize every range. Use this table as a reference while you work. With practice, you’ll start hearing these regions naturally.
A few observations worth internalizing early: the bass range (80–250 Hz) is where most muddiness originates and where beginners most often over-boost. The presence range, from 2.5 to 6 kHz, affects vocal clarity. Too much can make listening tiring and uncomfortable. Too little can make speech fade into the overall mix. The air range above 12 kHz can add a sense of openness, but boosting it on a poor-quality recording tends to expose noise rather than enhance detail.
Think of this table less as a prescription for what to do and more as a map of what to listen for.
How to Use a Sound Equalizer: Step by Step
This is the process. Each step builds on the last, and skipping ahead is how audio ends up worse than before you started.

Step 1: Start Flat (Reset to Zero)
Rule: Never start from a preset.
Set every band to 0 dB before doing anything else. A flat EQ means no frequencies are boosted or cut, and the signal passes through unchanged. Presets are designed for generic content on generic playback devices, not your specific audio. Starting from someone else’s settings means solving their problems, not yours. Most software EQs include a reset or flat option; on hardware units, center every knob or slider manually.
Step 2: Listen Critically and Identify the Problem
Rule: Define the problem before touching a control.
Play the audio and listen with focus. Is it muddy and indistinct? Too thin and harsh? Does the bass overpower everything else? Is there a grating edge somewhere in the upper midrange? Map what you hear to a frequency range using the table above. This step feels slow at first, but it is the difference between targeted EQ work and random guessing.
Ask specific questions: Is the issue constant, or does it appear on particular sounds like “s” consonants, which signal sibilance in the 4–7 kHz range?
Step 3: Use the Sweep Technique to Find Problem Frequencies
Rule: Let your ears find the frequency, not your eyes.
This is the most practical professional technique, simplified for beginners. Set a single EQ band to a significant boost (between +6 and +10 dB) with a narrow Q. Slowly sweep the frequency control across the range where you suspect the problem lies. The frequency that sounds most exaggerated and unpleasant is the one causing the issue. Once found, flip the boost to a cut. This technique removes the guesswork of trying to remember whether boxiness sits at 300 Hz or 450 Hz. Your ears make the call based on your specific audio.
Step 4: Cut Before You Boost
Rule: Subtract first, add only if needed.
Cutting unwanted frequencies almost always sounds more natural than boosting desired ones. When you boost, you amplify everything in that range, including background noise and phase artifacts. When you cut, you simply remove energy that was causing a problem.
For example, if a vocal recording sounds muddy and distant, the instinct is to boost the high end for clarity. A more effective first move is a cut around 300–400 Hz. That single reduction will often reveal the clarity that was already present in the recording.
Step 5 — Make Small Adjustments and Check in Context
Rule: Small changes have larger effects than they appear.
For general tonal shaping, aim to stay within +/-3 dB. Wider cuts (up to -10 dB or more) are acceptable when targeting a specific problem frequency with a narrow Q. After any adjustment, compare the EQ’d version against the flat version using a bypass toggle. If you cannot hear a clear improvement right away, the adjustment may not be necessary.
Check your EQ settings through several playback systems. Headphones, laptop speakers, and studio monitors reveal different frequency details. A setting that sounds good on one system may sound poor on another.
EQ in Practice: Adjustments for Common Scenarios
The same core process applies in every context, but the specific frequency targets and priorities shift depending on what you’re doing.

EQ for Music Listening (Headphones and Speakers)
The goal here is enhancing enjoyment rather than correcting a production problem. Start conservative.
- Apply an HPF below 30 Hz to reduce sub-bass stress on small drivers that cannot reproduce those frequencies accurately.
- Cut 200–300 Hz by 2–3 dB if the low end sounds muddy or congested.
- Boost 8–12 kHz lightly (around +1.5 to +2 dB) for a sense of openness and air, particularly on closed-back headphones.
Keep in mind that room acoustics affect speakers significantly. An adjustment that sounds balanced through headphones may sound completely different through speakers in an untreated room. Treat each playback system as its own setup and EQ accordingly.
EQ for Vocal Recording and Podcasting
Voice is the most EQ-sensitive audio type. Small adjustments carry more weight here than in almost any other context.
- Apply an HPF at 80–100 Hz to remove handling noise, low-frequency room rumble, and HVAC hum.
- Cut 300–400 Hz by 2–4 dB to reduce boxiness and nasal coloring common in close-mic recordings.
- Boost 3–5 kHz by 1–2 dB to improve speech intelligibility and presence.
- Apply a narrow cut around 7–9 kHz if sibilance is a problem on “s” and “t” sounds.
The amount of corrective EQ a vocal needs depends heavily on the quality of the original capture. Starting with a clean source recording, such as one from the Hollyland LARK MAX 2 (which records at 48 kHz / 32-bit Float with AI Noise Cancellation), means less background noise in the file to begin with. Less noise at the source means less aggressive filtering in post, which preserves more of the natural vocal character.
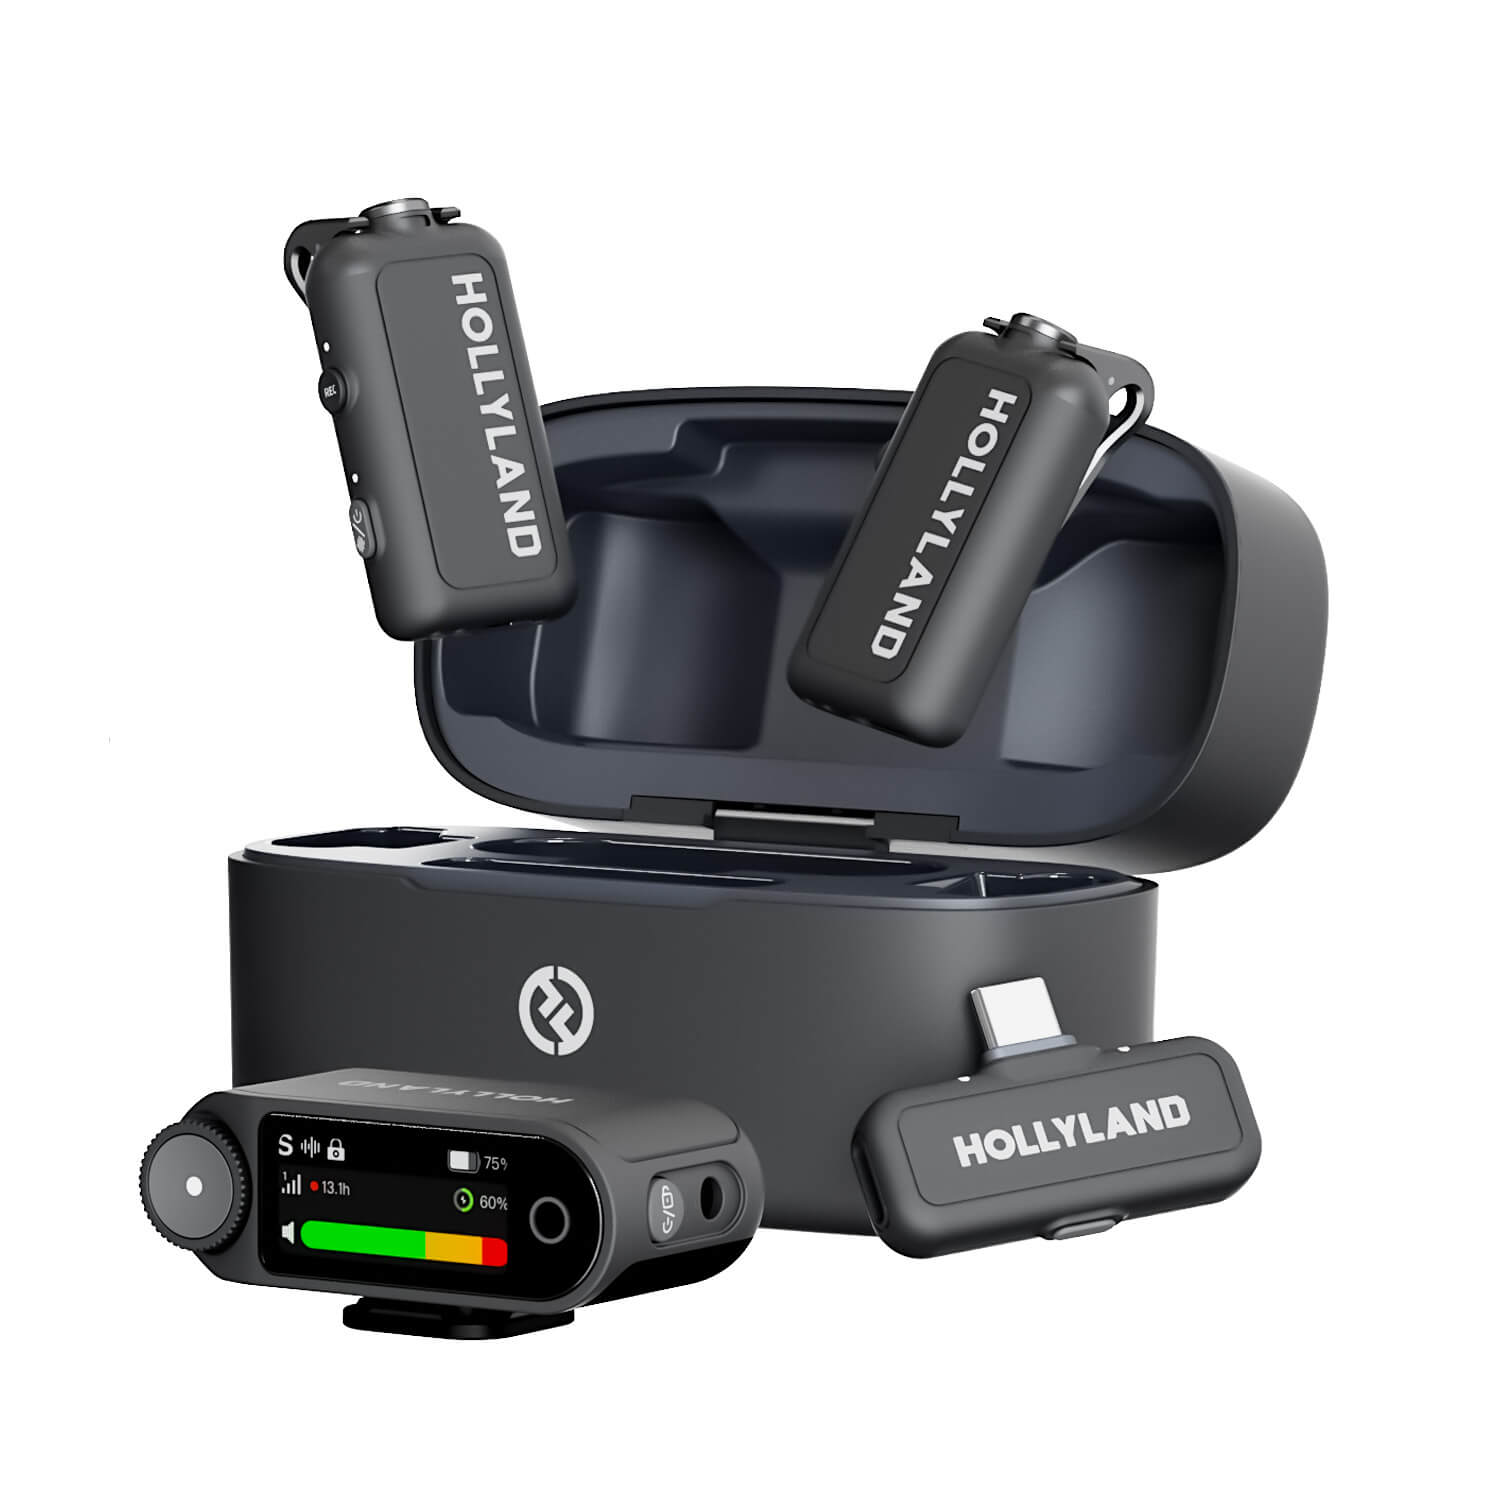
Hollyland LARK MAX 2 - Premium Wireless Microphone System
A premium wireless microphone for videographers, podcasters, and content creators to capture broadcast-quality sound.
Key Features: Wireless Audio Monitoring | 32-bit Float | Timecode
EQ for Music and Vocal Live Streaming and Performance
Live situations have no retakes, so frequency management needs to be tighter from the start.
- Use a more aggressive HPF (at or above 100 Hz for voice) to prevent low-end buildup and reduce feedback risk.
- Prioritize midrange clarity in the 1–3 kHz range for both monitoring and audience intelligibility.
- Avoid large boosts in any range, as they compound quickly in live acoustic environments and are difficult to undo in real time.
For singer-songwriters and live streamers who don’t work inside a full DAW chain, a device like the Hollyland MELO P1 handles initial tonal shaping at the capture stage. Its dual-DSP smart audio mixer and built-in AI processing reduce the need for heavy post-EQ, making it a practical option when a full mixing setup isn’t part of the workflow.
Common EQ Mistakes to Avoid
Many EQ mistakes come from watching the display too closely. Your ears should guide your decisions, not the visual graph.

Over-boosting instead of cutting: Beginners reach for boosts because adding feels more intuitive than removing. Boosting amplifies noise, increases clipping risk, and can introduce phase artifacts.
Fix: Make cuts your default and reserve boosts for deliberate tonal decisions.
EQing in solo: Adjustments made while listening to a single track in isolation rarely hold up when other elements are added back.
Fix: Always make EQ decisions with the full audio context playing.
Choosing presets without carefully listening to the audio: Presets reflect the preferences of whoever built them, on the equipment they used.
Fix: Treat them as rough starting points only, then adjust based on what you actually hear.
Boosting the high end to fix a muddy low end: Adding brightness doesn’t solve muddiness; it layers more problems on top.
Fix: Cut the frequency causing the mud first, typically around 200–400 Hz, then reassess whether any high-end boost is actually still needed.
Making large adjustments: A 10 dB boost sounds dramatic during a solo session and broken in context.
Fix: Commit to smaller moves and A/B compare every change before keeping it.
Frequently Asked Questions
What is a good EQ setting for beginners to start with?
Start with all bands set flat at 0 dB. Make one adjustment at a time using the sweep technique. There is no universally “correct” preset because the best EQ setting depends on your audio source, playback device, and listening environment. Building from flat teaches you far more about your specific audio than applying someone else’s settings will.
Should I boost or cut with an EQ?
Prefer cuts. Cutting removes unwanted energy cleanly without amplifying background noise or introducing artifacts. Boosting has a place in adding tonal character, but it should be intentional and conservative. A practical rule: cut to fix problems, boost sparingly to shape tone.
What’s the difference between a graphic and parametric EQ?
A graphic EQ has fixed frequency bands with gain sliders. It is simple to understand because changes appear visually. Its precision is limited because frequency points cannot be moved. You also cannot adjust the bandwidth for each band. A parametric EQ gives control over frequency, gain, and bandwidth. Its Q factor lets you control how wide each adjustment reaches. This makes it useful for both narrow and broad changes. Graphic EQs are quicker for live sound adjustments.
What Hz should bass be set to on an EQ?
Bass frequencies broadly span 80–250 Hz, with sub-bass sitting below at 20–80 Hz. For music listening, cutting around 200–300 Hz often reduces muddiness. Boosting around 80–100 Hz adds warmth and physical weight. The right adjustment depends on your playback device and the specific audio source you are working with.
Is there a good free EQ app or software?
You can find several good EQ tools for free. On Windows, Equalizer APO provides system-wide EQ controls. Pairing it with Peace GUI makes the controls easier to manage. Many DAWs also include parametric EQ tools at no extra cost. Logic Pro has Channel EQ, while FL Studio includes Parametric EQ 2. Audacity also has a built-in EQ for basic adjustments. Spotify offers an EQ for listeners who use phones. Android users can also try the Wavelet app for extra control.
Conclusion
EQ is a skill you develop through practice, not memorization. The basic process stays the same in every situation. Listen carefully, find the real problem, then sweep the frequency range to locate it. Cut the problem area instead of boosting other frequencies. Then check the change while hearing the full mix. Repeating these steps helps keep your adjustments controlled and natural.
Another thing to consider is what happens before EQ. A cleaner recording usually needs less corrective EQ later. Your microphone choice and recording setup also affect audio quality. Learning how these choices change your sound is the next step.
