.png)
 简体中文

Introduction
Struggling with how to livestream games on your PC? This PC game streaming setup guide explains how to choose your streaming software, platforms, and gear. It also provides a step-by-step explanation to set up your very first live stream. Even as a pro creator, you would find valuable information here to help you optimize your gear as you get better in the industry. Knowing the right way to livestream games in 2026 is now much easier, and we are here to show you how. Let’s get right into it!

Choosing Your Streaming Software
The software you choose to stream your games depends on your streaming level and the kind of setup you are looking for. In 2026, two software options stand out: OBS Studio and Streamlabs Desktop.
In the PC game streaming space, both encoding engines actually carry out the basic core task of capturing your screen, encoding your video, and then pushing it to a live platform. However, they work quite differently. To help you decide which one is a better fit, let us compare them side by side.
OBS Studio vs. Streamlabs Desktop
| Feature/Aspect | OBS Studio | Streamlabs Desktop |
| Primary Focus | Maximum Performance & Customization | Convenience & quick out-of-the-box setup |
| PC Performance Impact | Very Low; The software is ultra-lightweight on CPU/RAM, so your PC runs smoothly with little lag. | Moderate to High; It eats more background RAM. |
| Cost | 100% free, open source | Freemium Model; You need a paid subscription to unlock advanced utilities. |
| Alerts & Widgets | You must add manually via external web URLs. | Thousands of themes built directly into the app. |
| Plugins & Add-ons | Unlimited open-source plugin community. | Limited to proprietary Streamlabs tools. |
| Best For | Intermediate and pro creators who need a modular setup. | Beginners who are new to streaming and tech. |
Once you have chosen the software that is right for you, take a pause before hitting download to verify that your current operating system version supports the latest and most secure build of your chosen software. Check the rules below to make sure your PC meets the baseline system requirements
OS Compatibility & Version Requirements
- OBS Studio Compatibility: Requires Windows 10 (64-bit) or Windows 11. Older 32-bit legacy operating systems like Windows 7 or Windows 8 are completely unsupported by modern builds [OBS Studio KB].
- Streamlabs Compatibility: Requires a minimum of Windows 10. However, if possible, update to Windows 11 so that your OS will be well integrated with the latest gaming API updates.
Selecting your Streaming Platform
There are several streaming platforms in 2026 that you can livestream your games to your audience. But the one you choose depends on factors like whether you meet the requirements or if the platform meets your needs as a creator. Below are some of the most popular platforms you could choose from:
- Twitch Gaming:
Twitch is the absolute industry standard for live gaming. Because of that, software tools build their best features for it first and are deeply in sync with the platform. It also has some of the lowest barrier-to-entry monetization requirements in the industry. Creators only need 25 followers, 4 hours streamed, 4 different streaming days, and an average of 3 viewers on four days during the qualifying period to unlock the Affiliate program. So even first-time creators can earn revenue.

- YouTube Gaming:
Because YouTube is the world’s second-largest search engine, your live streams turn into permanent VODs(videos on Demand). That means, several months after your live stream, that video can still pull in views and subscribers. YouTube also allows for much higher bitrates than Twitch, as it supports 4K streaming at 60 FPS. Before you can unlock ad revenue and channel membership, you need at least 1000 subscribers and 4000 valid public watch hours within a 12-month window.
- TikTok Live:
When it comes to discoverability, TikTok is unmatched for new creators. Viewers don’t have to search for your name; the algorithm sides your live PC stream directly into the feeds of mobile users who enjoy gaming. TikTok also has a highly lucrative mobile monetization scheme. If you are at least 18 years of age and have up to 1000 followers, you can be eligible to unlock the TikTok LIVE gifts structure that allows viewers to send virtual gifts that you can convert to real-world currency.
Connecting Software to Platform
Once you have selected your streaming software and target platform, you must establish a secure link between them. You can either:
- Log in securely with the software, and it handles all the configuration for you.
- Manually copy a secret and temporary stream key from your platform dashboard and paste it into your software settings’
Note: TikTok is the only platform that requires a stream key before a connection can be made. For others, both connection methods work.
Optimizing Your Streaming Gear
PC Specifications:
The most important part of your gear is a laptop that is stream-ready. Here are the minimum and recommended requirements that your PC should have.
| Component | Minimum | Recommended |
| CPU | Intel Core i5-12400 or Ryzen 5 5600X | Intel i7-13700K or Ryzen 7 7800X |
| GPU | NVIDIA RTX 3060 or AMD RX 6600 XT | NVIDIA RTX 4070 or AMD RX 7800 XT |
| RAM | 16 GB | 32 GB |
| Storage | 512 GB SSD | 1 TB NVMe SSD |
Video & Lighting Setup:
Viewers don’t just watch the game; they want to see your reactions when you win or lose. So investing in a good webcam is important. While high-end webcams provide adequate video for simple streams, a true mirrorless setup is still unmatched. It does cost a lot, but the upgrade is worth it.
Lighting:
However, if you still want to use a webcam, make sure your lighting is good. Ideally, you can use the three-point lighting setup, which involves a Key light(the brightest light) placed 45 degrees to the camera’s side, a fill light which is positioned opposite the Key Light, and a rim light/backlight which would be behind and above the subject.
Another option is to use a ring light. Just place it in front of the subject and place your camera or phone lens directly in the center of the ring.
Audio Setup:
Investing in your audio setup massively boosts your audience engagement. Ultra-lightweight wireless microphones grant creators total physical freedom and noise-reduction features.
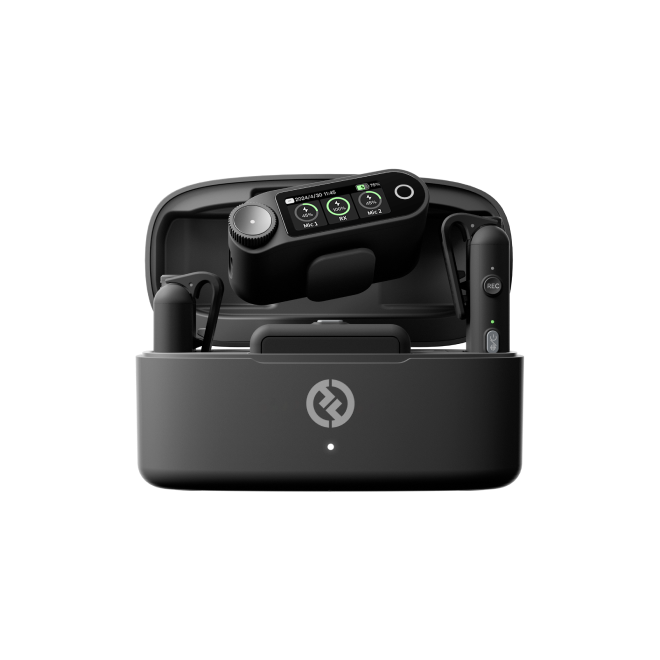
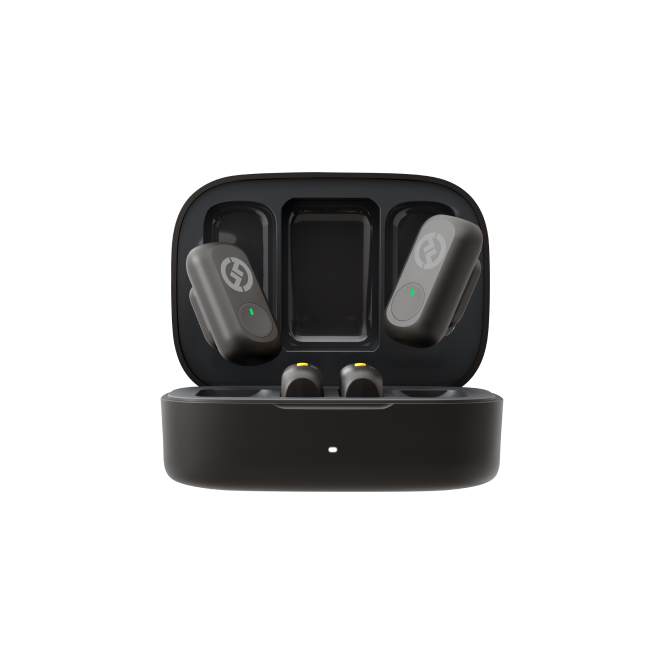
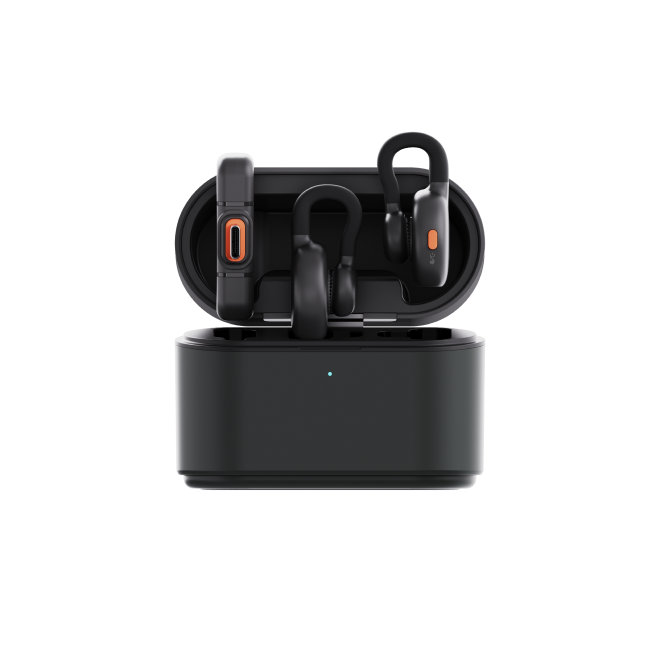
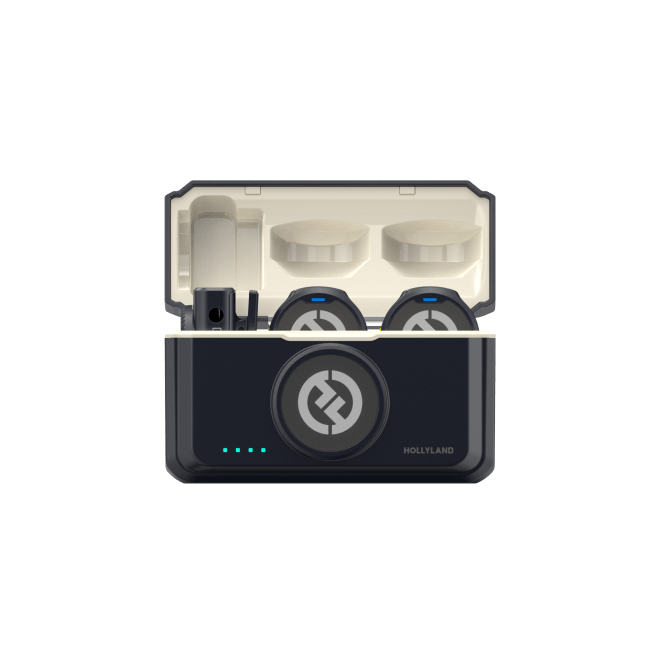
One unique example of this technology is the Hollyland LARK A2. This very compact microphone offers perfect plug-and-play functionality paired with advanced AI noise cancellation to immediately eliminate background sounds that could be distracting.
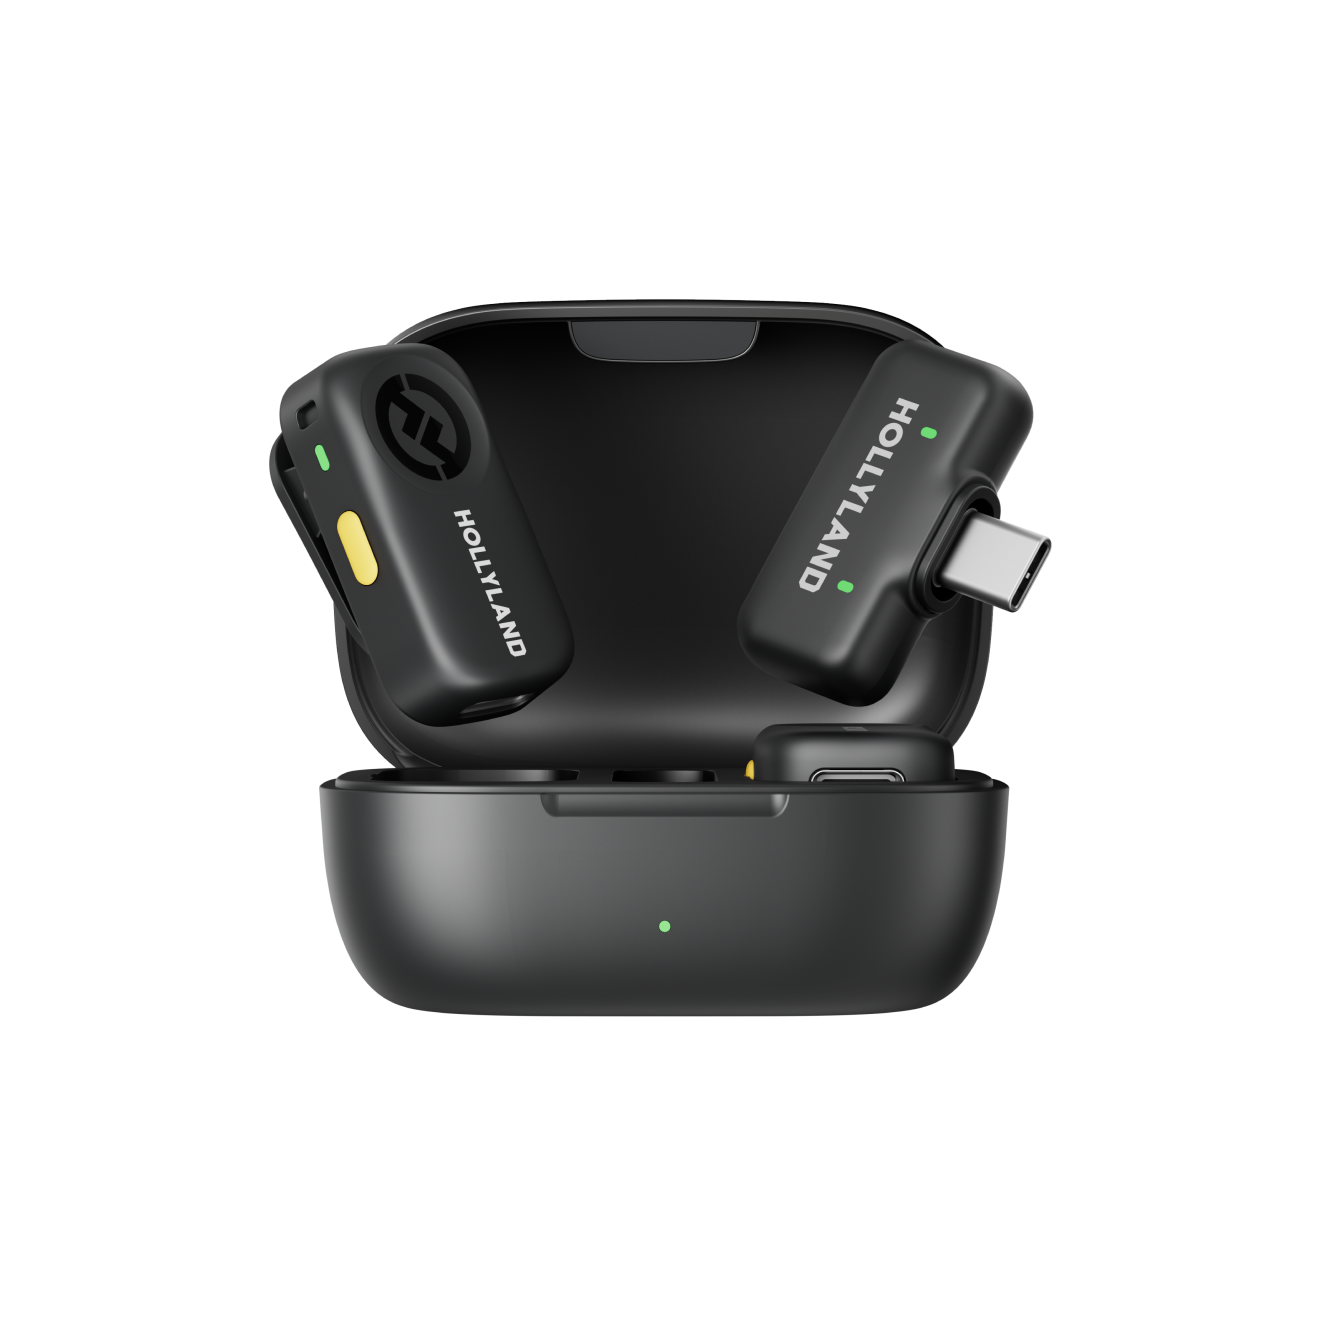
Hollyland LARK A2 - Clip-on Microphone
An ultra-light 8.5g wireless microphone engineered for effortless mobile recording, featuring smart AI noise cancellation and studio-grade sound.
Key Features: 8.5g Clip & Go | AI Noise Cancellation | 42 Hours Battery

Step-by-Step Guide: Setting Up Your First Live Stream
Create and Verify Your Platform Account
We have already stated the pros and cons of several streaming platforms above. But for this article, we will be using Twitch as an example.
Simply visit Twitch.tv and click Sign Up. A prompt will pop up asking you to:
- Fill in your email address: This is the email address that your verification code will be sent to.
- Choose a username: This is the name that your audience would see. It must be between 4 and 25 characters.
- Create a password: Choose something secure and at least 8 characters long.
- Enter your date of birth: This is to make sure you are at least 13 years old.
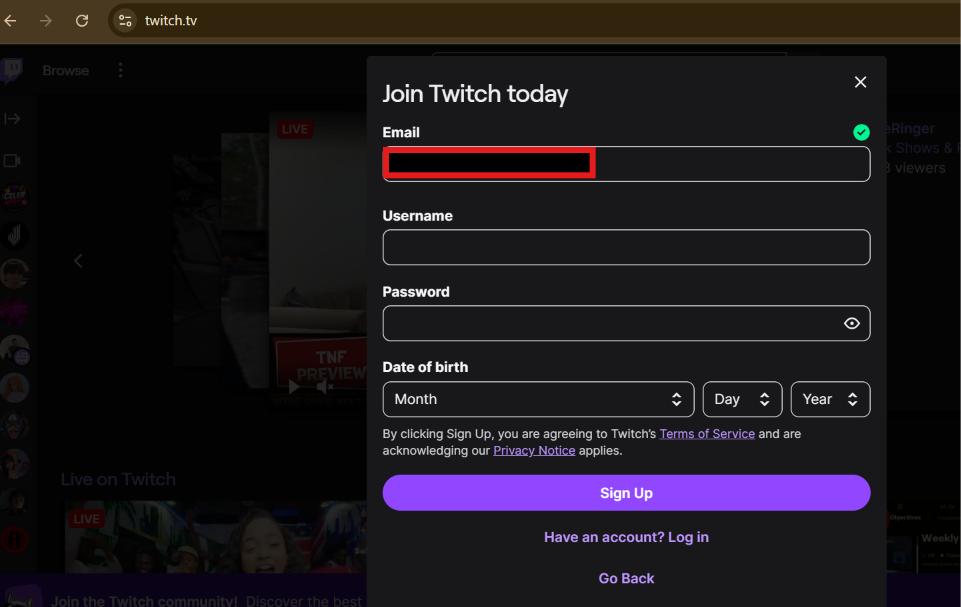
After you click Sign Up, Twitch sends a 6-digit code to your email, which you will have to use to secure your account.
Note: Twitch requires 2FA to be enabled before you are allowed to stream. To do that, go to your account settings > Security and Privacy and enable Two-Factor Authentication (2FA).
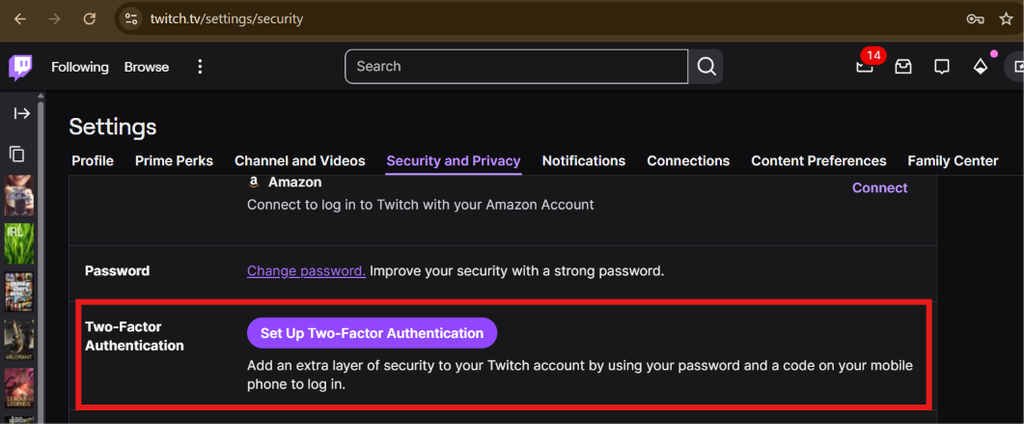
Now that you have set up your verified streaming account, the next thing is to connect it to your streaming software.
How to Set Up Game Streaming on OBS Studio:
Step 1: If you are using standard OBS Studio, navigate to Settings > Stream. Select your service from the dropdown menu, and manually paste your unique Stream Key (gotten from your Twitch creator dashboard) into the stream input field. Better still, you can just click on the Connect Account button.
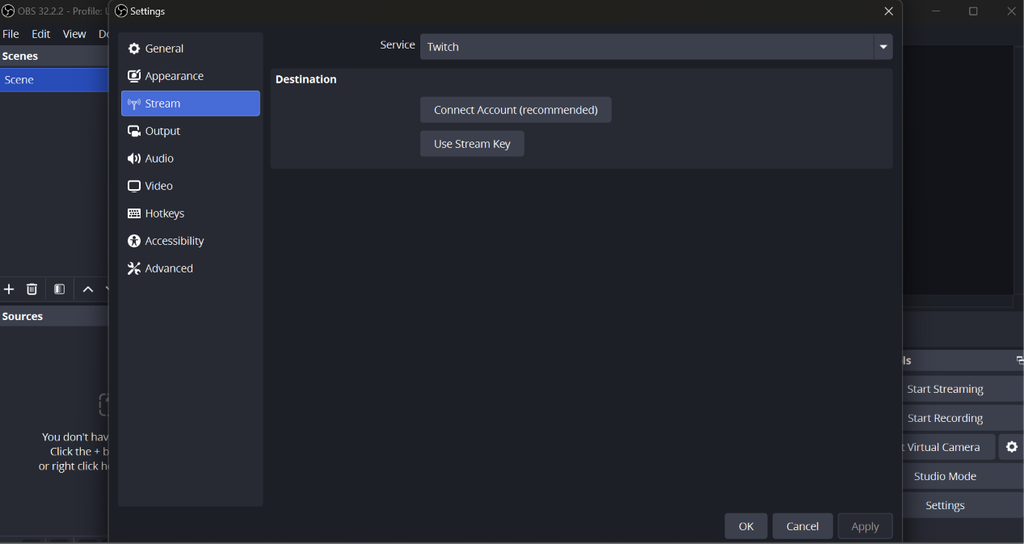
Step 2: Configure Video & Canvas Resolution:
- Navigate to your software’s Settings > Video
- Set your Base (Canvas) Resolution to 1920×1080 (or 1280×720) for a standard, high-definition 16:9 landscape layout.
- Set your Output (Scaled)Resolution to 1920×1080 (or drop to 1280×720 if your internet speed is below 6 Mbps).

Step 3: Add Your Sources (Building the Scene):
Before starting this step, launch your game, e.g., Minecraft, on your PC and load into a world so the game is running in the background. On the OBS Studio Interface, find the Sources panel and click the + icon to layer your scene:
- To share your gameplay: Add a Game Capture or Window Capture to share your gameplay. Name it “Minecraft” and click OK. Then change the mode to Capture specific window, and under the Window dropdown, select (Minecraft.exe: Minecraft).
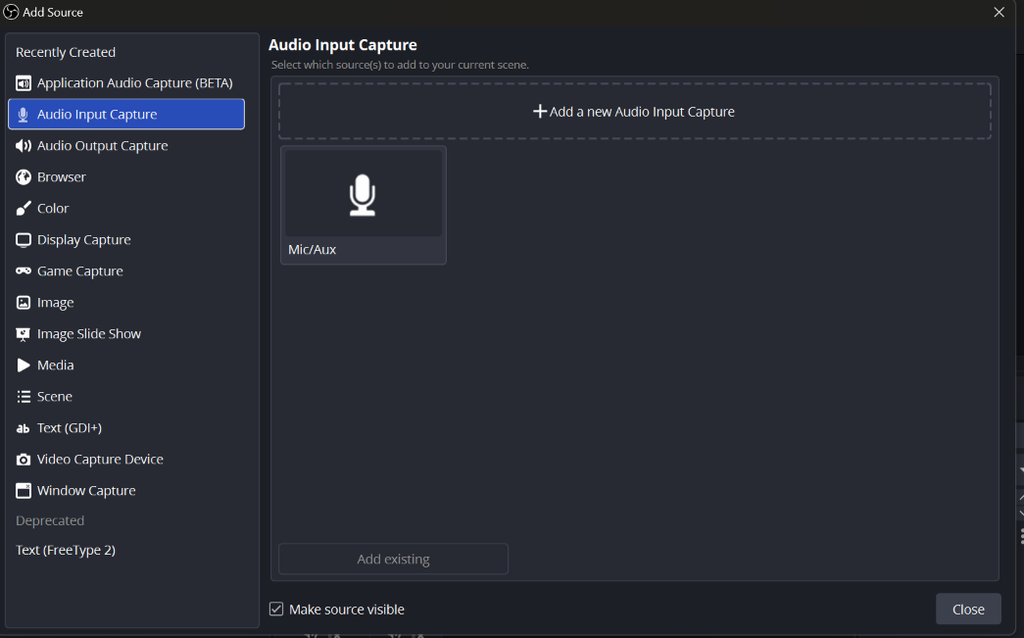
- For your audio: Add an Audio Input Capture source to map your microphone, choosing your external device such as your LARK A2 from the device dropdown menu.
Step 4: Test and Go Live:
Now that you have everything set up, you are ready for the final parts.
- Make a short recording or test broadcast to check video quality, audio levels, and performance.
- When satisfied, click the Go Live button within your software to open the broadcast menu. Here, type a compelling Stream Title and description. Then select your target platform destination and select Minecraft as the game category so viewers can find you.
- Start the Broadcast: Once everything looks and sounds very sharp, press the final Confirm and Go Live button to begin broadcasting to the world!
How to Set Up Game Streaming Using Streamlabs:
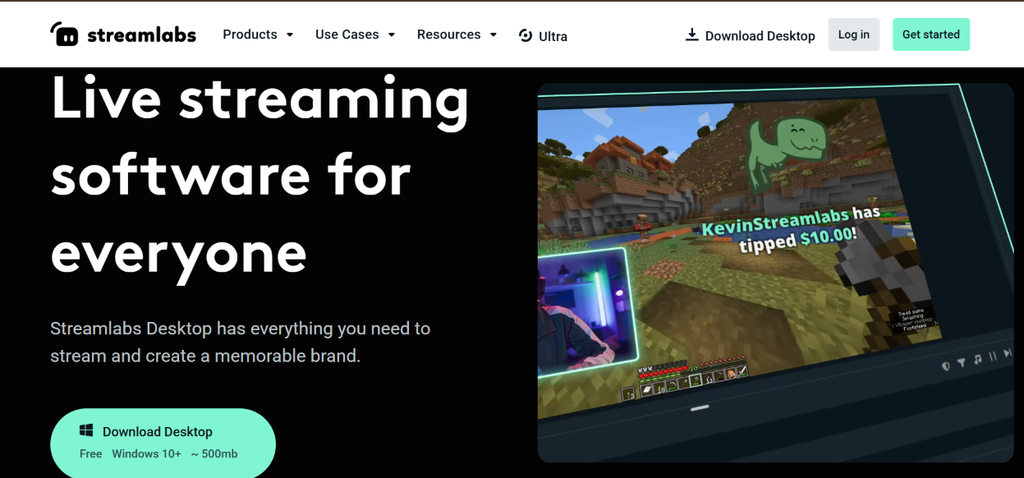
Step 1: Go to the Streamlabs official website and download the desktop version:
Once the software app is launched, you get a prompt to log in or sign up.
After creating a Streamlabs ID, go to Settings > Stream. Under Stream Destinations, choose Twitch, click Connect, and authorise Streamlabs to access your account. Your account will now show that it is logged in and connected.

Step 2: Configure Video & Canvas Resolution:
Set the same boundaries as in the second step of the OBS guide.
Step 3: Find the Sources dock and click the + to add a new source:
- For Gameplay: Select Game Capture, click Add Source, and set the dropdown mode to Capture Specific Window. Choose Minecraft from the list.
- For Your Face: Choose Video Capture Device, select your connected webcam, and drag the corner boundaries to set your facecam over your game screen.

- For Audio setup: Choose Audio Input Capture, click Add Source. After you hit Add Source, a new window for Advanced Audio Settings pops up. There, you can add your microphone. To add your microphone, go to the Mic/Aux section and choose the device you desire to connect from the dropdown list, e.g LARK A2.
Step 4: Test and Go Live:
Now that you have everything set up, you are ready for the final parts.
- Make a short recording or test broadcast to check video quality, audio levels, and performance.
- When satisfied, click the Go Live button within your software to open the broadcast menu. Here, type a compelling Stream Title and description.
- Once everything looks and sounds very sharp, press the final Confirm and Go Live button to begin broadcasting to the world!
Frequently Asked Questions
Q1: Why is my stream lagging or dropping frames even though I have a good PC?
If you are using OBS, your stream is likely dropping frames because OBS lacks system priority or your bitrate exceeds your network capacity. To fix this, run OBS Studio as an administrator and make sure your bitrate is not more than 70% of the total upload speed.
Q2: Can I stream to Twitch and YouTube at the same time?
Yes, you can multistream using either a local OBS plugin or a cloud-based restreaming service like Restream.io. OBS plugins are free but would increase the CPU/GPU load, while cloud restreaming would save local bandwidth but require you to pay for premium features.
Q3: Won’t a wireless microphone pick up loud mechanical keyboard clicks and fan hiss?
It will, unless you isolate your voice. Modern wireless mics like the LARK A2 have built-in, single-button AI noise cancellation chips that block off any background noise before the audio gets to your PC.
Conclusion
Game streaming in 2026 is more accessible than ever, and getting started doesn’t require a complicated setup or professional equipment. With the right configuration, a little practice, and a willingness to experiment, you can turn your PC into a streaming setup that grows with your ambitions. Whether you’re sharing your favorite games with friends or working toward Twitch Affiliate or YouTube monetization, start with the essentials in this guide and improve as you go. Good games, streamer.