


.png)
.png) Français
Français .png) Deutsch
Deutsch .png) 日本語
日本語  Español
 Want to record your thoughts, create a voice memo, start a podcast, or capture a song idea before it slips away? Making an audio file is an easy task, and you don’t need a fancy studio or expensive gear.
You can use a computer, an Android phone, or an iPhone to make an audio file. Each device has simple apps that let you record and save sound in just a few steps.
In this guide, you’ll learn what tools to use, which file types to save in (like MP3 or WAV), and how to share your audio files.
How to Make an Audio File on a PC (Windows, Mac, Audacity)
Let’s look at how to create an audio file using the built-in tools available on Windows and macOS:
Using Built-in Voice Recorder (Windows)
Windows includes a Voice Recorder app that lets you create and save audio files easily and for free. Here’s how to use it:
- Open the Start Menu, type “Voice Recorder”, and click on the app to launch it.

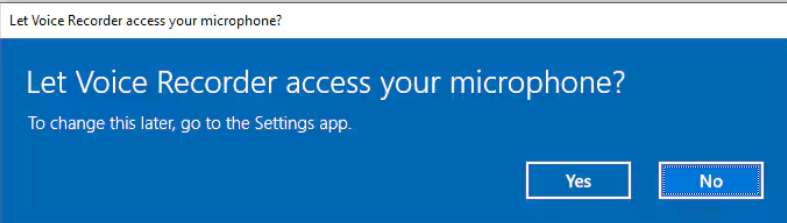
- When prompted, click “Yes” to allow the app to access your microphone.
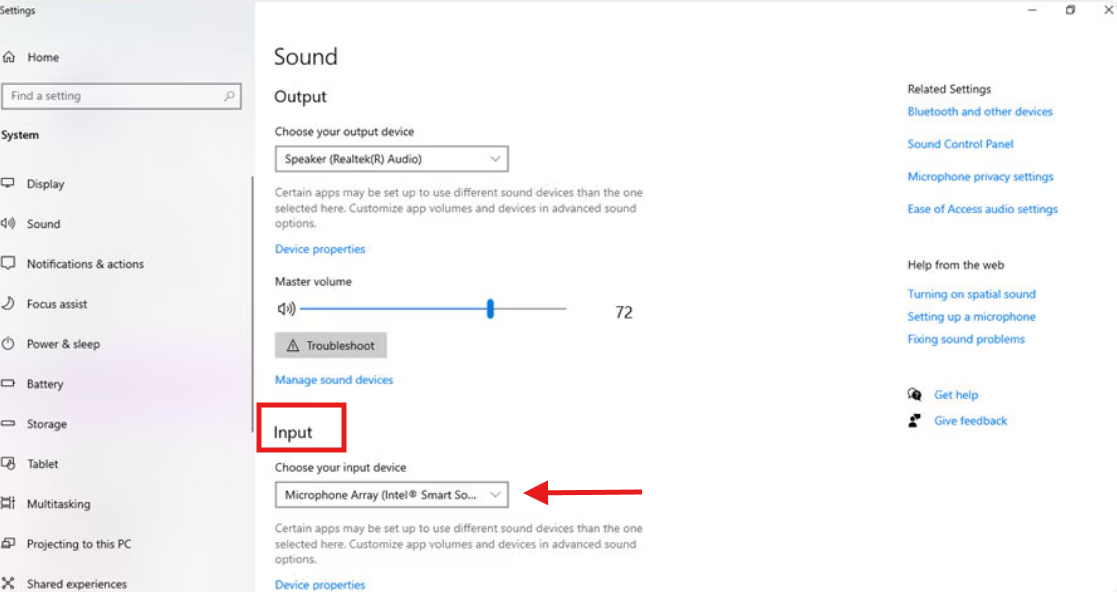
- For better audio quality, adjust your microphone settings before making an audio file. Open the Start Menu again, search for “Sound settings”

- Once here, look under the Input section and choose the microphone you want to use.
- Return to the Voice Recorder app and click the record button (a microphone icon) to start capturing audio. The app will show a timer to indicate the recording length.

- Click the stop button when you’re done. The recording will be saved automatically in the app.
- After stopping the recording, you can play it back, trim unwanted sections, rename the file, delete it, or share it directly from within the app.

Using QuickTime Player (macOS)
QuickTime Player is a built-in macOS app that lets you make simple audio files using your microphone, with basic editing options like trim and cut available afterwards. Follow these steps:
- Open QuickTime Player from your Applications folder or by using Spotlight Search.
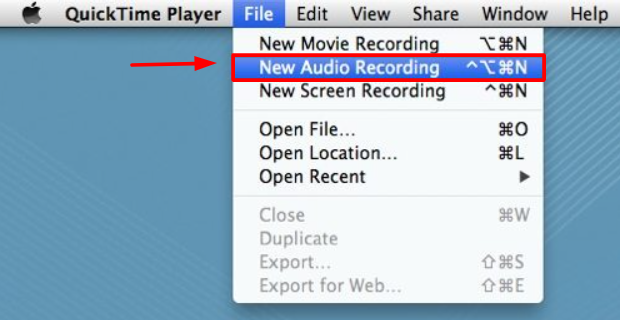
- To start recording, click File in the top menu bar.
- Choose New Audio Recording to record from your microphone.
(Note: If you want to record internal system audio, you’ll need third-party tools, as macOS doesn’t allow this by default.)
- Click the red Record button to begin recording. Speak clearly into your microphone.
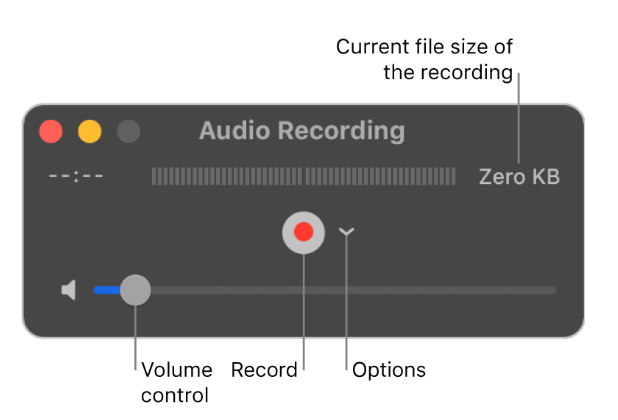
- When finished, click the Stop button (same as the record button) to end the recording.
- To save your file, go to File > Save, choose a name and location, and click Save. The file will be saved in .m4a format.

Use Audacity (Advanced, Windows/Mac/Linux)
Audacity is a free, open-source tool for creating and editing audio files that works across macOS, Windows, and Linux. It supports powerful features like noise reduction and multi-track mixing.
Follow these steps to make an audio file on a Mac using Audacity:
- Download and install Audacity from the official website.

- Open the app, then go to the Audio Setup menu and select your microphone under Recording Device.

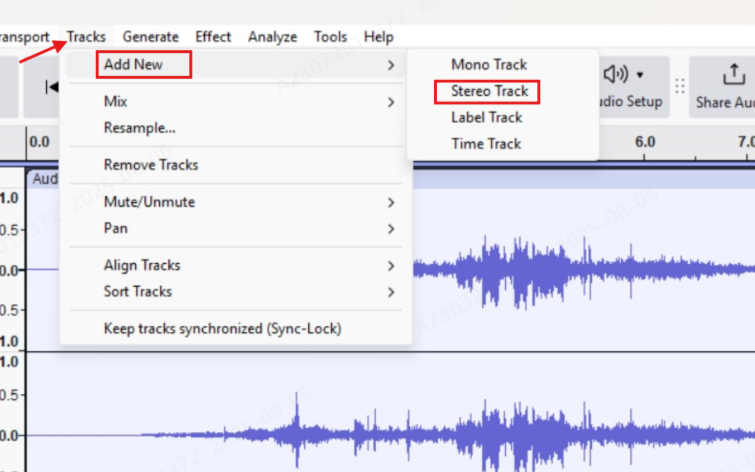
- Go to Tracks > Add New > Stereo Track to create a new audio track.
- Click the red Record button at the top to begin recording.

- Use the Pause button to pause if needed, and click the yellow Stop button when you’re done.
- To save your file, go to File > Export > Export Audio, choose MP3 as the output format, and select a save location on your Mac.

How to Make an Audio File on Android
Most Android devices come with a built-in voice recorder for making audio files. If you need additional features, there are many third-party apps available as well.
Your phone’s built-in microphone works well for basic recordings, but if you want higher-quality sound, consider using an external microphone like the Hollyland Lark M2.


Using Built-in Voice Recorder
Here’s how to make an audio file on Android using the default voice recorder:
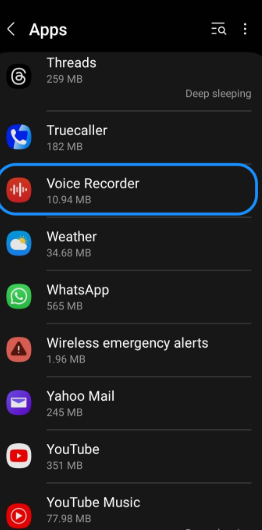
- Search for Voice Recorder in your app drawer. If it’s not visible, go to Settings > Apps, then search for “Recorder” or “Voice Recorder.”
Note: When opening the app for the first time, grant it permission to access your microphone and audio files
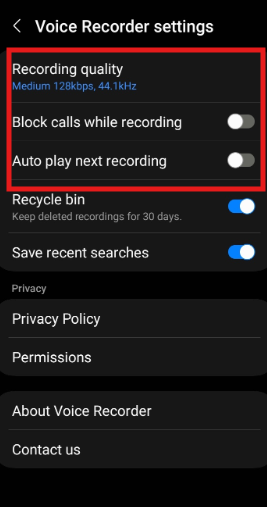
- If available in your app, tap the menu icon (usually three dots or a gear) to access settings where you can adjust audio quality, file format, or storage location.
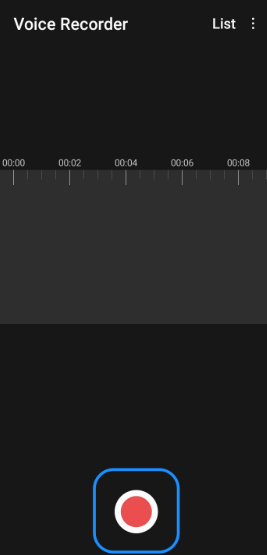
- Tap the Record button, typically shown as a red circle or a microphone icon, to start making an audio file using your phone’s built-in microphone.
- Tap the Pause button to temporarily stop the recording and tap again to resume, if your app supports this feature.
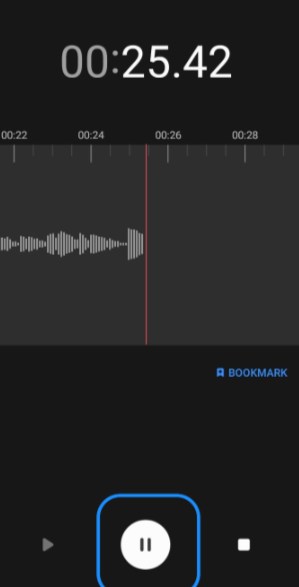
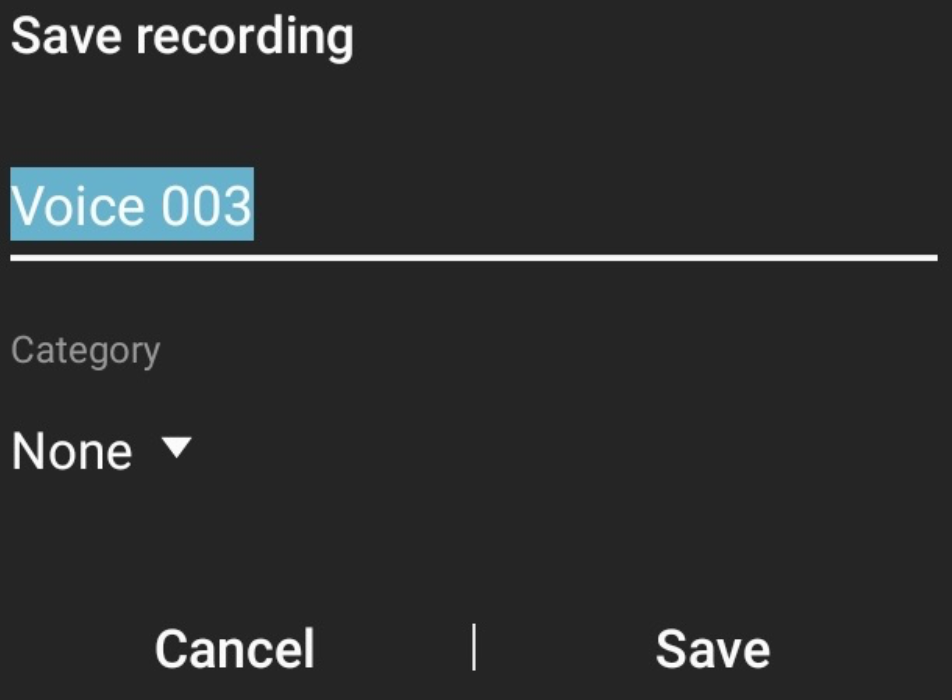
- Tap the Stop button; the app will prompt you to save or rename the audio file, or it will save automatically using a timestamp.
- Open the recording list or library in the app to find your saved files and tap a file to play it back, rename it, delete it, or share it.
Using Third-Party Apps
For more advanced features and higher-quality audio, consider using reliable third-party apps like Notta, RecForge II, or Hi-Q MP3 Voice Recorder, all of which offer more flexibility than standard recording apps.
Here’s how to make an audio file on Android using Notta:
- Download and open the Notta app from the Google Play Store on your Android device.
- Sign in using your Google account, which is required to access the app’s features and store your recordings.
- Tap the plus (+) icon at the bottom of the main screen to start a new note or recording session.
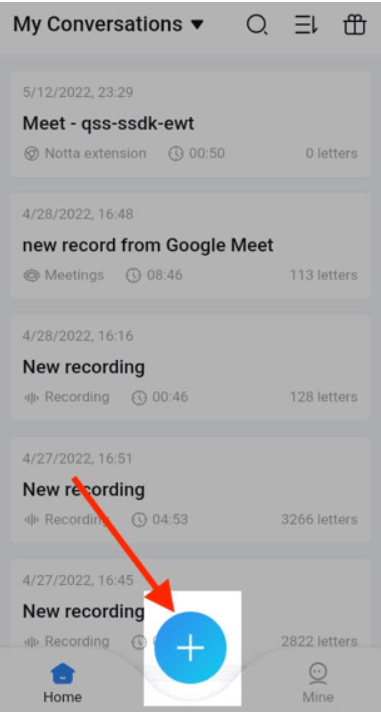
- From the options that appear, tap “Record Now” to begin capturing audio immediately.

- When prompted, tap “Allow” to grant microphone access, then tap “OK” to confirm and begin recording.

Important Tip: Speak clearly while recording, and keep your phone close for better audio quality; Notta will record and transcribe in real time if transcription is enabled.
- When you’re finished, tap the stop button to end the recording session.

- Enter a title for your audio file in the text field that appears, then tap “Done” to save it to your account.

- Your audio file will be stored in the app’s library, where you can play back, edit, organize, or export it as needed.
Making an Audio File on iPhone (iOS) Using Voice Memos
All iPhones come with the built-in Voice Memos app, which lets you make audio files quickly and easily.
Follow these steps to make an audio file using Voice Memos:
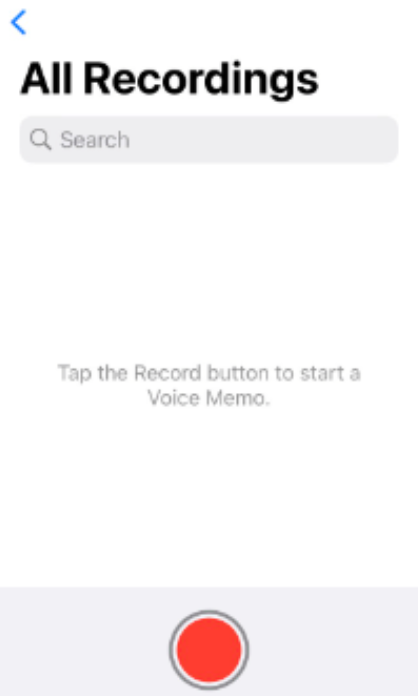
- Open the Voice Memos app on your iPhone from the home screen or by searching for it.

- Tap the red Record button to begin making your audio file.
- Speak clearly into your phone’s microphone, then tap the Pause or Stop button when you’re done.

- Tap the recording title to rename your audio file and keep your files organized.
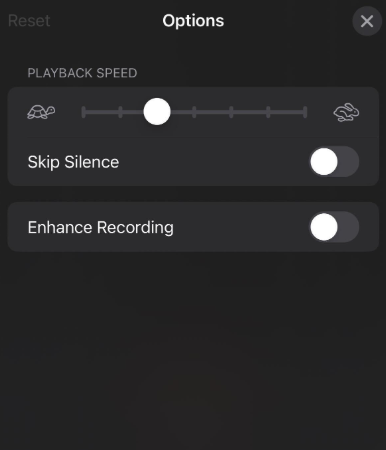
- To adjust settings or enhance your audio, tap the sliders icon (located at the bottom-left of the audio tile) for options like trim, skip silence, or improve recording.
- Your saved audio file will appear in the list, where you can play back, edit, or share it as needed.
Troubleshooting For Making Better Audio Files
Even though making an audio file is simple, small issues can affect the final result. Here are some quick fixes and tips:
- No sound in the audio file: Make sure the correct microphone is selected in your app settings, and check that it’s not muted or blocked by another app.
- Poor audio quality or background noise: Try recording in a quieter location and keep the mic close to your mouth. Background noise can often be reduced using free tools like Audacity or mobile apps with noise cancellation.
- Can’t find the saved file: Check the app’s “Recordings” or “Library” tab, or use your phone’s file manager and look in folders like “Recordings”, “Music”, or “Documents.”
- Recording cuts off unexpectedly: Make sure there’s enough storage space on your device. Long recordings can fail if space runs out or if there’s a time limit set in the app.
- File format not supported by another app: Use a converter (like CloudConvert, Audacity, or a mobile app) to switch to a compatible format like .mp3 or .wav.
Bottom Line
Making an audio file is easier than ever using a PC, Android, or iPhone. With just a few taps or clicks, you can get a high-quality audio file for personal notes, creative projects, or professional use.
Built-in tools are more than enough for most needs, and free apps offer even more control when you need it. Using the right tools and basic sound practices, anyone can create clear audio files for personal or professional use.
FAQs
Q: What is the easiest way to make an audio file?
The easiest way is to use the built-in voice recorder on your device, like Voice Recorder on Windows or Voice Memos on iPhone. Just open the app, press record, and save the file.
Q: What file format should I save my audio in?
MP3 is widely compatible and ideal for most uses. WAV files offer higher quality but take up more space. M4A is commonly used on Apple devices.
Q: How long can I record audio?
This depends on the app and your device’s storage. Most built-in apps allow recordings up to several hours, limited only by available space.
Q: Where are audio files stored after recording?
Files are usually saved automatically in the app’s library or a folder called Recordings, Music, or Audio. You can access them through the app or your file manager.
