.png)
Microsoft Word offers two built-in tools to convert speech into text: Dictation and Transcribe. Both are part of Microsoft’s Office Intelligent Services and are available to Microsoft 365 subscribers.
“Dictation” allows you to speak directly into Word and see your words appear in real time. “Transcribe” is used for uploading audio files (such as interviews or meetings) or recording audio within Word, and then converting it to text. It breaks the audio into text sections and adds speaker labels when multiple speakers are detected.
In this guide, we’ll learn how to transcribe audio to text in MS Word, using both live speech and audio file transcription, step by step.
Prerequisites for Transcribing Audio in Word
- Microsoft 365 Subscription: You’ll need a Premium Microsoft 365 account; Transcription features are not available in the free or desktop-only versions.
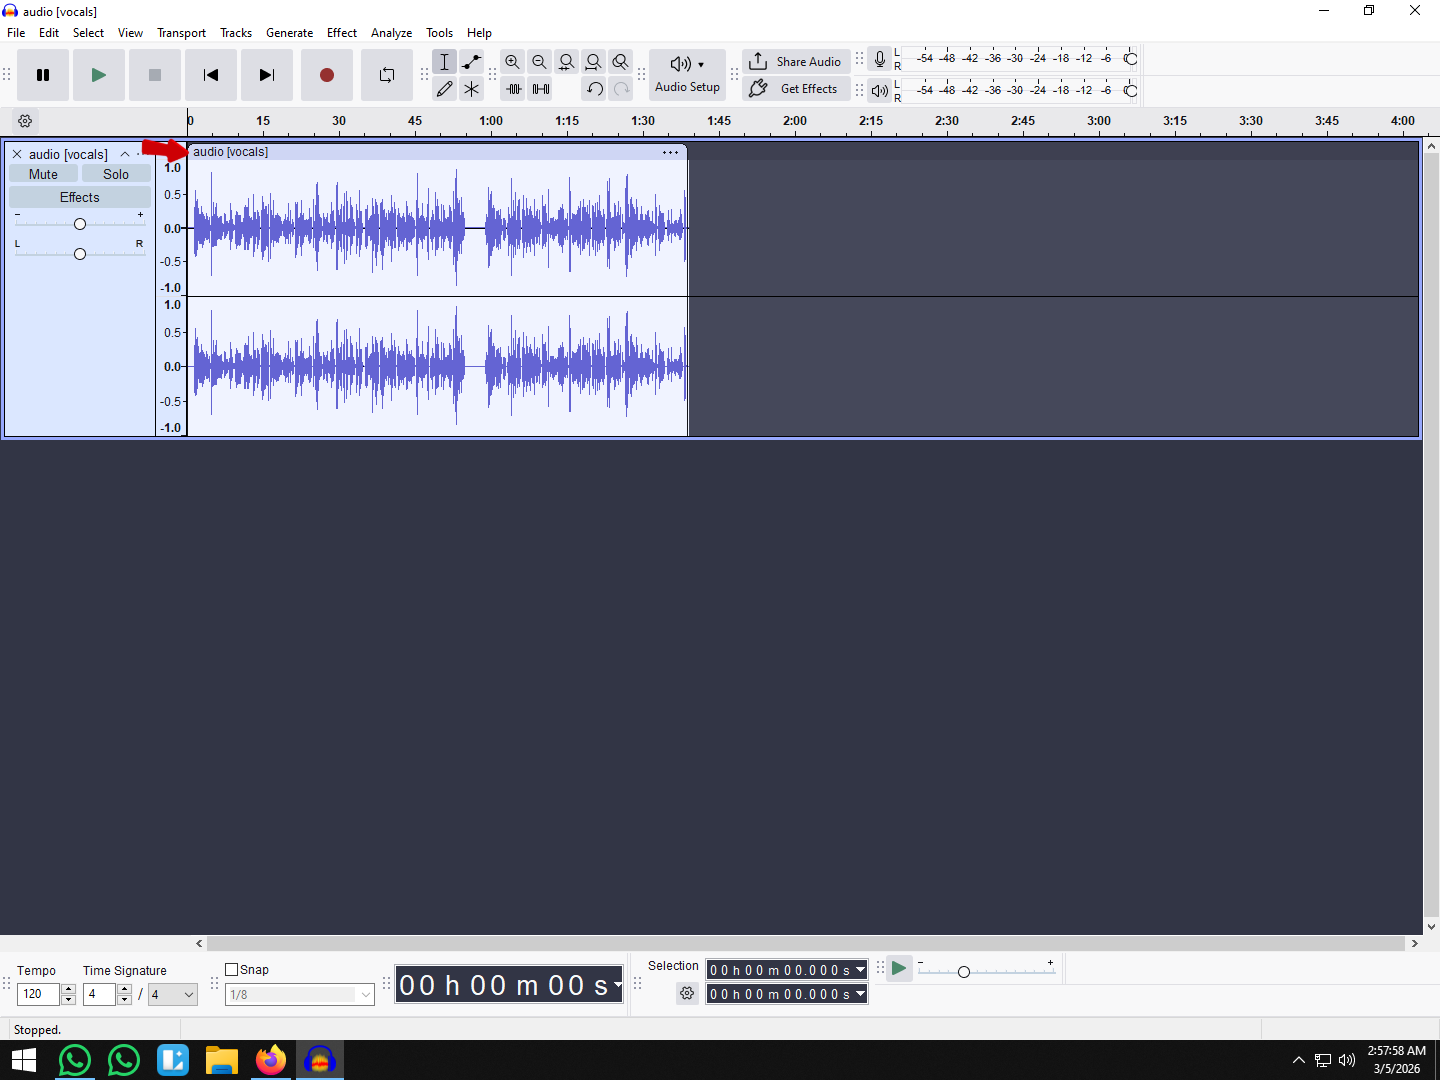
- Clear Audio in Supported Formats: Word supports MP3, WAV, M4A, and MP4 files. For best results, record in a quiet environment using a quality microphone, like Hollyland LARK MAX 2.
- Stable Internet Connection: You need to be online for the tool to work as MS Word sends your audio to Microsoft’s servers, which process it and return the text.
How to Transcribe Live Speech in Word?
Follow these steps to start live dictation in Word:
- Open Word Online at https://word.cloud.microsoft or the Microsoft Word 365 desktop app, and sign in to your premium registered account.
- Ensure a working microphone is connected to your computer—this can be a built-in mic or an external one.
If you’re in a group setting, such as a meeting or discussion, it’s best to use a high-quality lavalier microphone like the Hollyland LARK MAX 2. It offers dual-channel recording and supports up to four transmitters, making it ideal for capturing multiple speakers. Plus, the built-in environmental noise cancellation ensures cleaner audio, which helps Word transcribe more accurately. To connect and use the Hollyland microphone:


- Attach the receiver (RX) to your computer using a USB-C to USB-A cable (or USB-C to USB-C, depending on your port).
- Turn on both the transmitter(s) and receiver. They should auto-pair.
- Once connected, your computer will recognize the mic system as an external audio input.
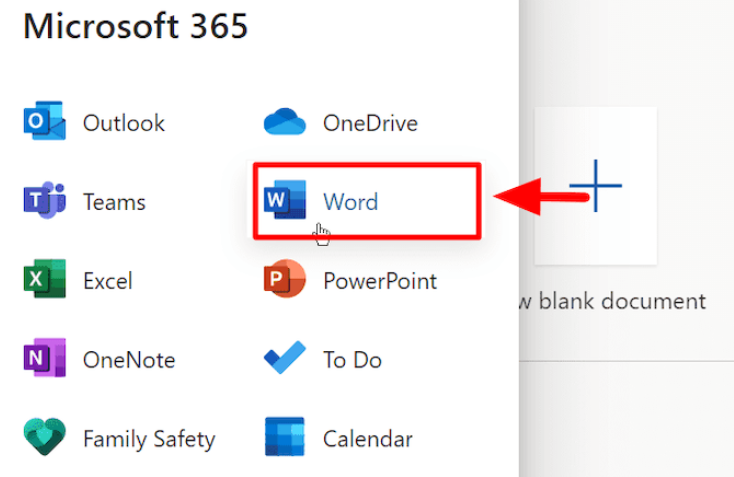
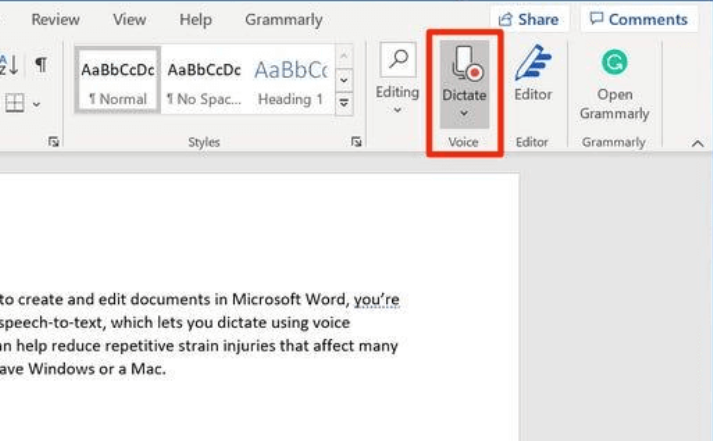
- Create a new document in the Word, then go to the Home tab in the toolbar.
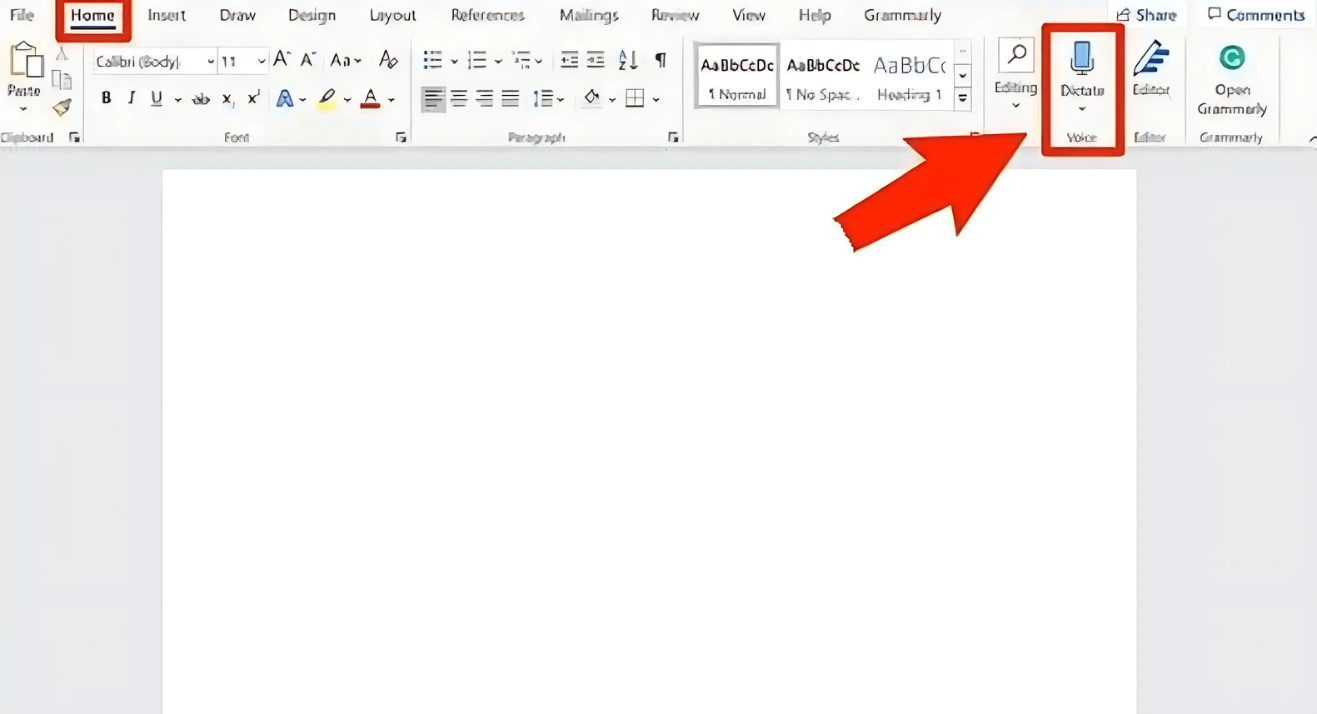
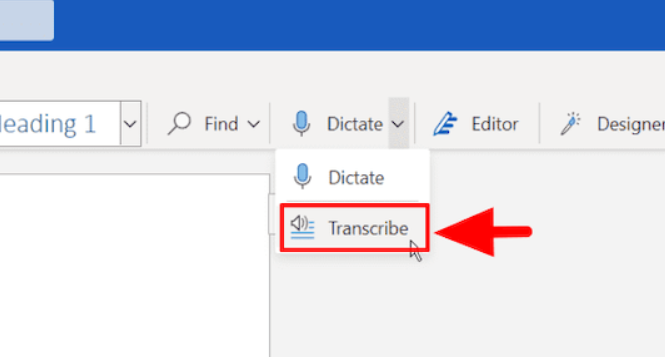
- Click the dropdown arrow next to “Dictate”, then select “Transcribe” from the menu.
- Allow microphone access when prompted. This is required for live audio input.

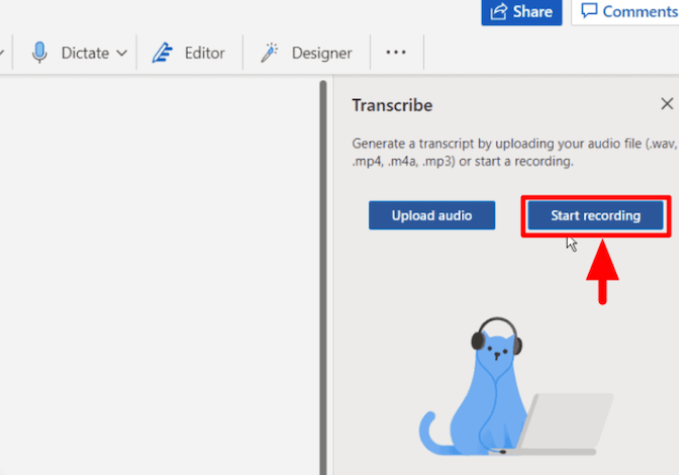
- In the side panel that appears, click “Start recording” to begin.
- Once selected, the timer will start, and you can begin speaking. The transcription will occurs after you finish recording, not while you’re speaking.
- You can pause the recording anytime using the Dictate button. Ensure the Transcribe pane stays open while you’re recording.
- When finished, click “Save and Transcribe Now”.
- Wait a few moments while Word processes the recording. The transcript will appear in the same panel, along with timestamps and speaker labels if multiple voices are detected.
How to Transcribe Recorded Audio Files in Word
Microsoft Word’s Transcribe feature converts saved audio files into text. It’s an ideal tool for transcribing things like Zoom meetings, recorded lectures, or interviews. Here’s how to do it using Word Online:
- Sign in to your Microsoft 365 account and open Word Online in your browser.
- In the document, go to the Home tab, then click the drop-down arrow next to “Dictate”. From the menu, select “Transcribe.”
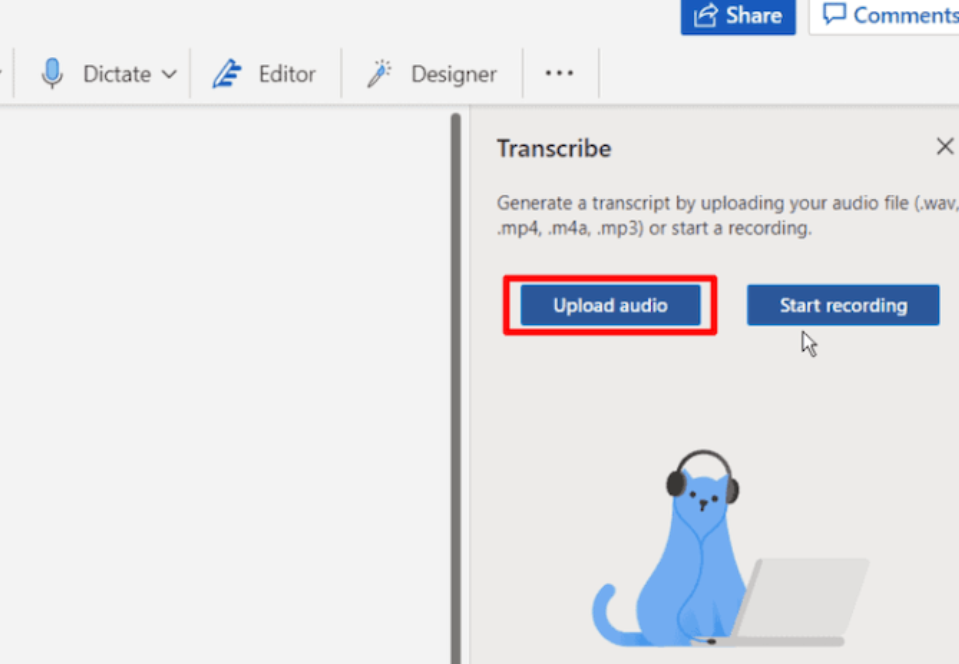
- In the panel that opens on the right, click “Upload audio.” You can upload files in MP3, WAV, M4A, or MP4 formats. Make sure your file is clear and well-recorded for the best results.
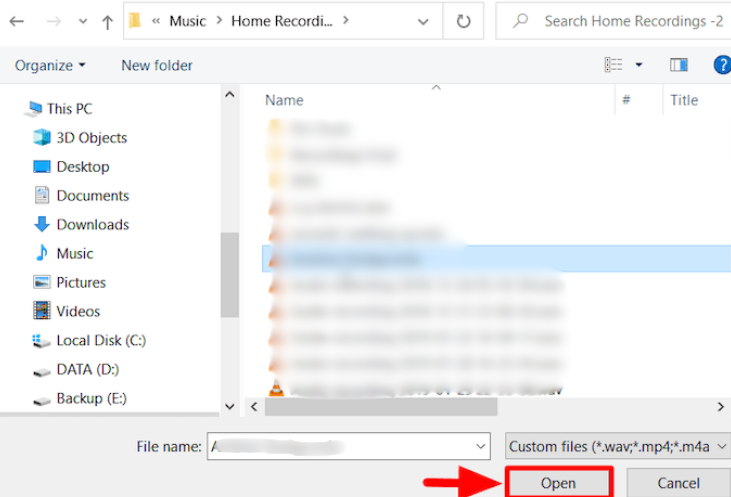
- A file browser will appear. Find and select your audio file, then click “Open.” Make sure the file isn’t too large and that it’s saved locally or in an accessible location.
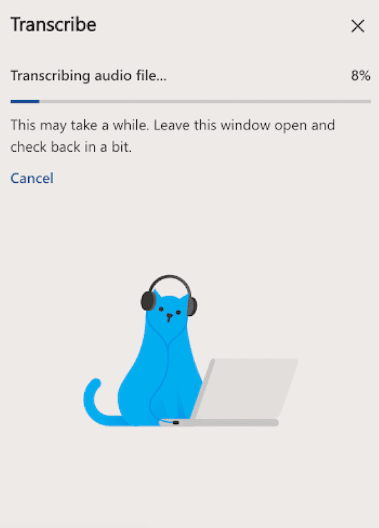
- Microsoft will now automatically begin transcribing the audio. The time it takes depends on the length and quality of the file. Keep the tab open while transcription is in progress.
When transcription is complete, you’ll see the full text in the Transcribe panel. You can edit the text directly in the panel and then save it to OneDrive or insert it into your document as needed.
How to Edit and Use Your Transcript in Microsoft Word
Once your audio is transcribed, you may find parts that need correcting. Microsoft Word makes it easy to edit the transcript, rename speakers, and insert the text into your document. Here’s how to do it:
Editing the Transcript Text
If a section of the transcript is inaccurate or needs changes, follow these steps:
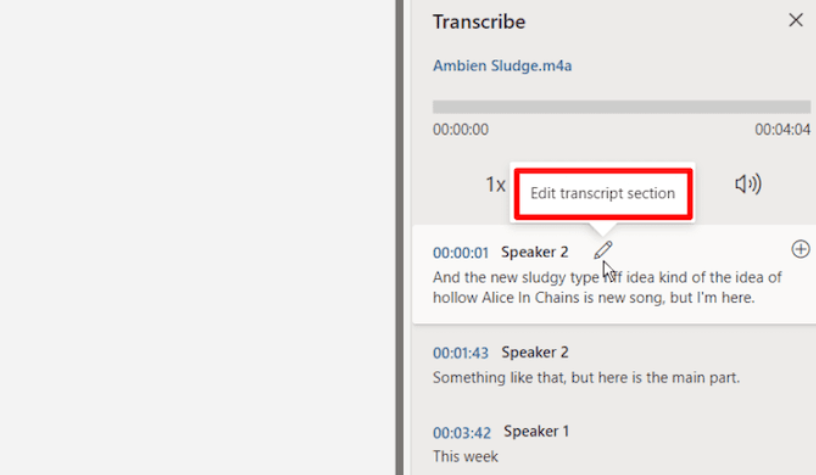
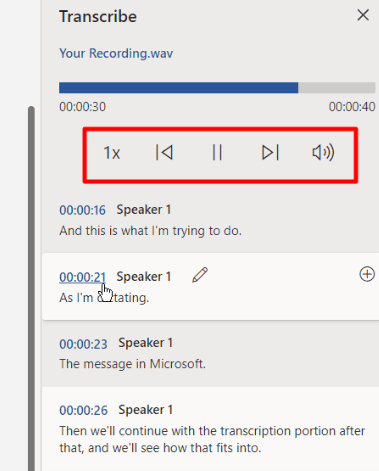
- Hover your mouse over the section of text you want to change.
- When the pencil icon appears, click it to enable editing. You can also highlight the text, right-click, and see formatting or editing options.
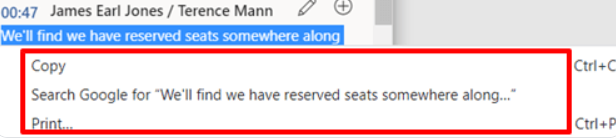
- Copy or search any part of the transcript by selecting the text and using your right-click menu or keyboard shortcuts.
- Use the audio playback controls (play, pause, rewind, forward, and volume) to replay specific parts of the recording. This helps ensure accuracy while editing.
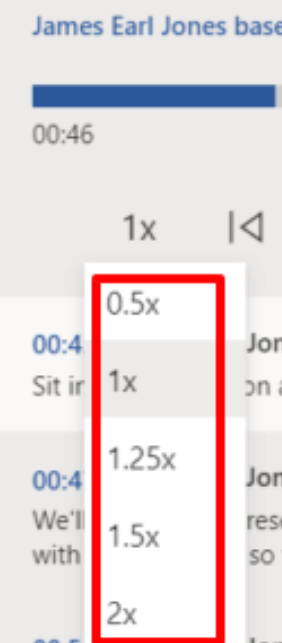
- You can also adjust the playback speed, which is useful if you need to skim through longer recordings or slow things down for better clarity.
Renaming Speakers in the Transcript
Word automatically labels speakers as Speaker 1, Speaker 2, etc., but you can rename them for better clarity:
- Hover over the speaker label and click the pencil icon that appears.
- Type in the correct name for the speaker.
- To apply the name throughout the transcript, check the box labeled “Change All Speaker.”
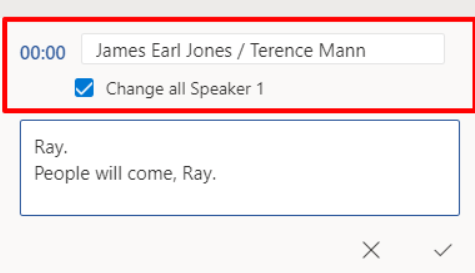
- Once done, click “Done” to save your changes.
Adding the Transcript to Your Document
To insert your transcript into the Word document:
- Scroll to the bottom of the Transcribe pane and click “Add to Document.”
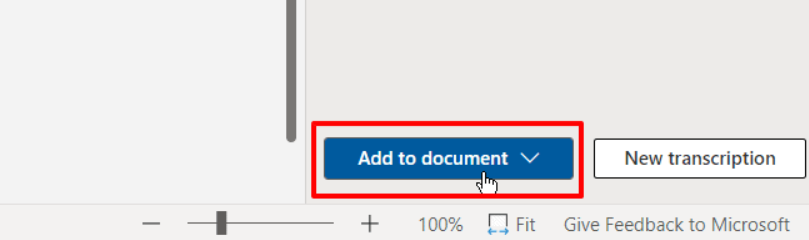
- Word will add the full transcript and a link to the audio file to your open document.
Limitations of Word’s Transcription Feature
While Microsoft Word’s Transcribe tool is convenient, it does come with a few important limitations to keep in mind:
- Punctuation and Accuracy Issues: The transcribed text may contain inconsistent punctuation and formatting. Periods, commas, and capitalization are often missing or placed incorrectly. There may also be errors due to unclear speech, strong accents, or words that sound similar. Although the overall accuracy is fairly good, you’ll often need to make manual corrections to clean up the text.
- One Transcription Visible at a Time: The Transcribe pane in Word only displays one transcription at a time. If you start a new transcription, the previous one will no longer appear in the pane. However, it stays in your opened document and Onedrive.
Free Alternatives for Microsoft 365
If you don’t want to spend on a Microsoft 365 subscription, try:
Free trial of Office 365: Microsoft offers a free 1-month trial of Microsoft 365, which includes access to Word Online’s full transcription tool. This is a great short-term option if you only need to transcribe a few files.
Google Docs Voice Typing: It allows you to play audio through your speakers while Google Docs types it out in real-time. It’s not ideal for pre-recorded uploads, but it works well for live dictation or transcribing by playing audio aloud.
Bottom Line
The next time you record a meeting, interview, or lecture, there’s no need to type everything out manually. Microsoft Word’s Transcribe feature makes it simple to convert spoken audio into written text. You can upload recordings, review and edit the transcription, and neatly organize it—all within Word Online or the MS 365 Word app.
FAQs
Q: Can I transcribe a phone call or voice memo in Word?
Yes, you can. As long as your recording is in a supported format like MP3 or M4A, you can upload it to Word Online or the Microsoft 365 Word desktop app. A Microsoft 365 subscription is required to use the Transcribe feature.
Q: Will Word save my transcript automatically?
Yes, Word automatically saves your transcript to OneDrive. If you’ve added the text to your document and AutoSave is enabled, that content is saved in real time as well. This ensures you don’t lose any part of your work during or after transcription.
Q: Does Word Transcribe work on mobile devices?
The MS Word Transcribe feature is not available in the Word mobile app. However, you can still use it on a mobile device by accessing Word Online through a web browser. Make sure you’re signed in with a Microsoft 365 account to use the feature.