.png)
Imagine a few-dollar mic performing better than a thousand-dollar microphone. Hard to consume this fact, right? But technically, it is possible that an expensive microphone may sound bad compared to a cheap one. This is because audio quality depends on several factors, starting from the mic stand to various filters.
So, in this article, you will explore 7 best practices to make your microphone sound better. You can use this guide for multiple purposes, including streaming on platforms like OBS, live performances, and studio recordings.
So, let’s get started!
7 Tips to Make Your Microphone Sound Better
Without further waiting, let’s jump to the 7 ways to make your mic sound like a pro.
Tip 1: Position Your Microphone Correctly with Boom Arm

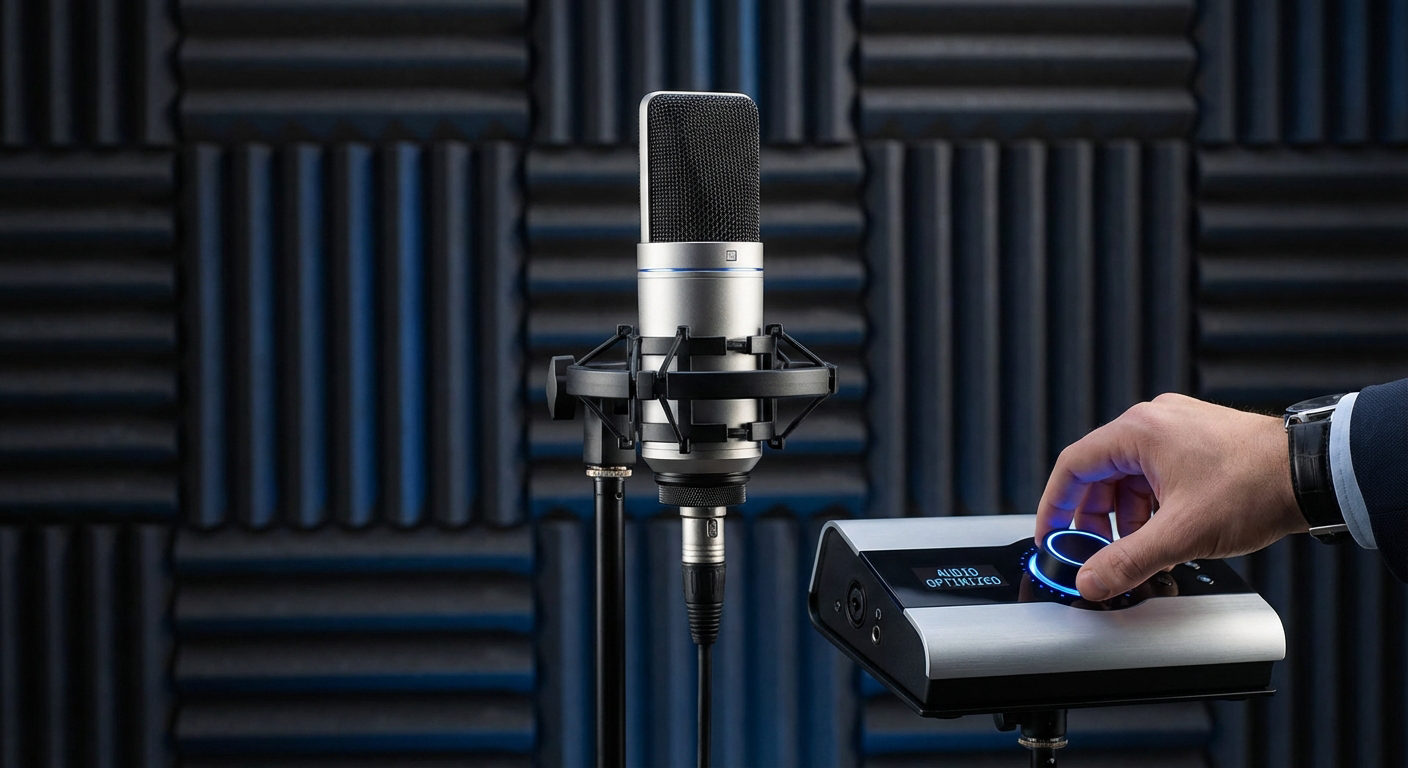
Microphone positioning is the key to brilliant audio. A boom arm instead of a desk stand secures the mic in a more rigid way. As a result, it makes your microphone sound better. It locates the mic at 3 to 6 inches away from the mouth. This arrangement minimizes keyboard clicks and fan noise interference. The boom arm secures the mic and also makes it easier to move.
A suitable mic’s position helps capture a rich voice with less noise, therefore:
- Don’t position the mic too close or too far


- Keep the mic right at a distance of around 4 to 8 fingers to get voice details
- Make a few little tests to prove the mic is positioned well
Remember, little adjustments enable you to get better audio and have a natural tone.
It is also noted that the boom arm setup looks visually clean and slick. The right positioning of the microphone will not allow the natural echo and background sound interference. Testing, modifying, and perfecting the instruments improve the audio of the streams.
Tip 2: Use a Pop Filter

Plosives create powerful bursts that lead to disruption of the recording audio quality. A pop filter is a barrier that blocks the strong air blasts from reaching the mic. This allows distorted sounds to be blocked and makes the sound clearer.
Saying things like “Peter Piper picked a pack of pickled peppers” makes air blasts come out, and nothing can protect you. But a pop filter can redirect weak airflow, which softly paints your voice. Moreover, the sound quality gets a boost from a mic stand and a pop filter combo. Even a cheap pop filter can be a game-changer that makes the plosive sounds way less disruptive.
You should know that the correct utilization of pop filters may wipe out the harsh and distracting plosive interference to a great extent. The filter keeps the vocals smooth and very naturally clear.
The pop filter is a must-have accessory for getting rid of unwanted audio artifacts. Adjustments to the setup yield a smoother, more engaging experience as a result.
Tip 3: Adjust Gain Settings and Apply Noise Gate or Expander Filters
Gain adjustments that are too high may lead to unclear recordings. So, ensure that you Make mic gain adjustments at ideal input levels. Here’s a quick arrangement:
- Temporarily disable the filters to check the natural noise floor
- Target the levels close to -15 decibels (dB) on the mixers
Also, you can benefit from filters like the Noise Gate and Expander. A noise gate is a tool that drops low-level sounds when no one speaks. Likewise, an expander filter can be used to lower room noise.
For instance, if you increase the negative noise floor by 5dB. This procedure takes down background sounds while keeping the natural speech intact. You may try ratios like four-to-one for it to sound natural and smooth.
So, optimal gain and noise gating together make your audio professional.
You can find these effects in your recording tool. Conversely, you can apply these effects in streaming software, like the OBS.
- Step 1: Open OBS and click on the settings icon. Then, click on the “Filters” option from the menu

- Step 2: Click the “+” icon when the filters window pops up

- Step 3: Choose the filter as per your requirement

Tip 4: Creative Equalization is a Way to Enrich Sound

High-quality EQ provides an incredible amount of clarity and warmth to the vocal signal. Here’s what to try on the EQ within your recording software.
- You can apply a high-pass filter to all frequencies below 80Hz. This step removes low-end rumble and unwanted background noise.
- Increase mid-range frequencies in the range of 100Hz to 200Hz
- Cut frequencies from 480Hz to 500Hz with care and remove any boxy sound that may muffle the voice. Initial bright sound can be achieved by a slight boost at around 5kHz.
Keep in mind that each frequency band needs specific adjustments based on the acoustics of the recording venue, such as a room or studio. Modern recording spaces require specific equalization profiles to be set to achieve the best quality.
Therefore, rational equalization makes everything sound good and immersive. Small, carefully considered changes may make a visible difference in the room’s acoustics, directly impacting the capability of your microphone to capture sound.
Tip 5: Smooth Audio Dynamics with Compression

A compressor tool cuts down on the loud segments and evens sudden volume spikes. Here are some great settings when playing with compression.
- Put the threshold at around -18dB
- Use a gentle four-to-one compression ratio to get that natural sound
Compression is not only a sound designer’s best friend but also benefits the audience’s overall enjoyment of the performance.
Tip 6: Add Reverb and Delay
Reverb is a way of adding depth to recordings that have no ambiance or a dry atmosphere. Delay makes sounds more subtle by introducing echoes that are wispy and usually changing, dynamically enriching their texture. These effects simulate real acoustic spaces to add vocal warmth.

But the question is, how much reverb or delay is good enough? A little reverb can be fine, but too much will wash out the voice. Similarly, using a lot of delays can cause distracting echoes during live streams and even in recordings. So, it is wise to be moderate with the use of reverb and delay.
However, it doesn’t mean that these effects have a high tendency to ruin your captured vocals. As a matter of fact, many artists and producers use these effects when performing live or in a studio, as it makes their microphone sound professional.
Therefore, with minor adjustments, your microphone can capture fuller and richer voice without being cluttered. So, rather than sacrificing vocal clarity, balancing these two effects can make your vocals more prominent.
Tip 7: Protect Audio Integrity with a Limiter

A limiter can prevent the audio from your microphone from being too loud. For instance, in a live concert, if the limiter effect is applied, the singer’s voice will remain in a specific frequency range. This ultimately makes their voice sound good since it protects amplifiers and loudspeakers from clipping.
With it, signals cannot peak above a certain level, which may distort or clip other signals. Therefore, it should be the last effect in line of the signal chain.
- Set the threshold at -1db to cap signals. This setting comes into action only when a sudden audio burst comes without distortion.
- Use compression and limiter together for a more balanced sound
When used correctly, a limiter ends in pure sound. If you’re using this effect for a livestream, it is likely to stay steady and satisfy the listeners by limiting unwanted noise throughout the broadcast.
Bonus Tip: Get a High-Quality Microphone with ENC and Other Latest Features
The tips provided above can really make a difference in the audio quality captured from your current microphone. But you may need to have a little experience with the mixers or audio recording software like Cubase. Also, patience is the key when it comes to fine-tuning sound.
However, if you want to see a massive difference in the audio quality, you can invest in professional and modern mics, like the Hollyland Lark Max.

Hollyland LARK MAX - Professional Wireless Microphone
A professional wireless microphone system featuring studio-quality audio with advanced noise cancellation.
Key Features: Studio-Quality Audio | Magnetic Attachment | 8GB Internal Recording

Lark Max is a wireless microphone system with MaxTimbre technology to ensure studio-grade audio right out of the box. It is equipped with high-end features, such as Professional Environmental Noise Cancellation, 820ft wireless range, and 8GB onboard storage for 14-hour backup recording. Most importantly, it is compatible with various devices, including computers (Windows and Mac), smartphones (Android and iPhone), tablets, and cameras.
Conclusion
You can improve the sound quality of any microphone if you know the right way to do it. First, position the microphone correctly and use a boom arm to achieve a stable and constant angle.
Next, whenever you’re in front of the mic, make sure that there is a pop filter between your mouth and the microphone to prevent plosive sounds from being captured. Contrarily, you can try different levels of gain and apply filters like Noise Gate, Expander, Delay, and Reverb. Likewise, compression, EQ, and limiter are great tools that can help improve the audio captured through your microphone.
If you’re looking for an immediate upgrade to your audio quality, consider switching to a professional wireless lavalier microphone. Ideal for clear voice capture in videos, podcasts, or presentations, it ensures consistent, high-quality sound without restricting your movement.
Frequently Asked Questions about How to Make Your Microphone Sound Better
Q1. How do I improve my microphone quality?
Want crisp audio? Well, forget noisy spaces. Employ a pop filter; those pesky “p” sounds vanish. Headset mics, close to your mouth, work wonders. Don’t settle for .mp3; opt for .wav. Higher bitrates? Think of it as more sonic detail, like upgrading from a blurry photo to high-def.
Q2. What is the 3 to 1 rule for microphones?
Basically, when using multiple mics, place the second one three times farther than the first. Otherwise, you might get phase issues. It’s like trying to watch two slightly out-of-sync movies..
Q3. How can I improve my mic skills?
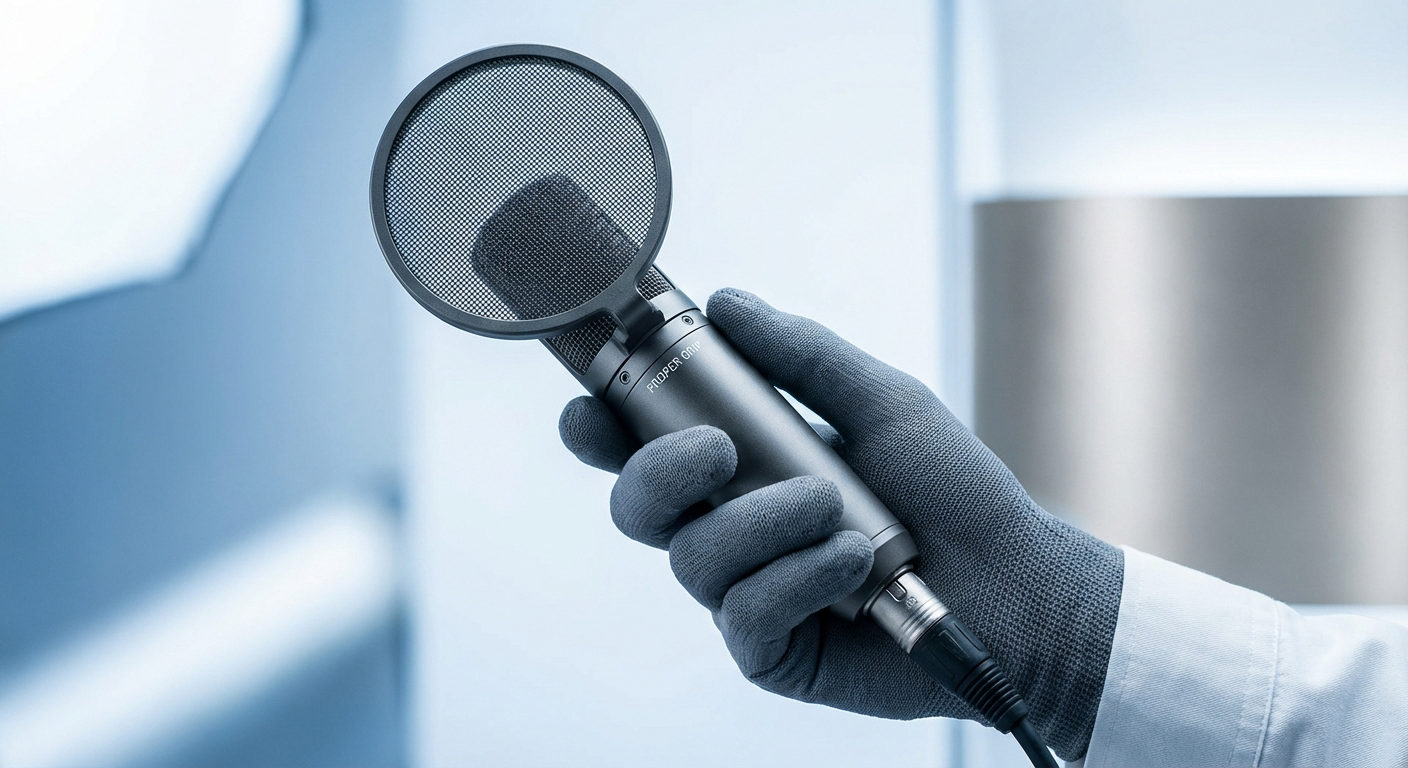
Honestly, who hasn’t held a mic wrong at least once? First off, grip that mic right! Too far, and you’ll sound like you’re in a tunnel. Angle it slightly, inches from your lips. Speaking from experience, it’s a game-changer. Also, don’t cup the mic. The mesh should be out of your grip. Therefore, hold the mic from the middle area.
Q4. How do I fix my blurry mic?
Check those ports and jacks because dirt is a common cause. Clean with a Q-tip. If that doesn’t do it, perhaps the drivers are to blame. Reinstall them. Sometimes, it’s like trying to find a loose wire in a tangled knot.