Ever tried showing someone how to do something on your iPhone, but struggled to explain it without sound? That’s where screen recording with audio comes in. Whether you’re making a quick tutorial, sharing gameplay, or walking through an app, recording both your screen and voice makes everything clearer.
The best part? Your iPhone can do it all without needing extra apps. And if you want your voice to sound crisp, especially in noisy places, a small wireless mic like the Hollyland LARK M2S can make a big difference. This guide will show you how to record your screen with audio. It’s simple, straightforward, and ideal for beginners.


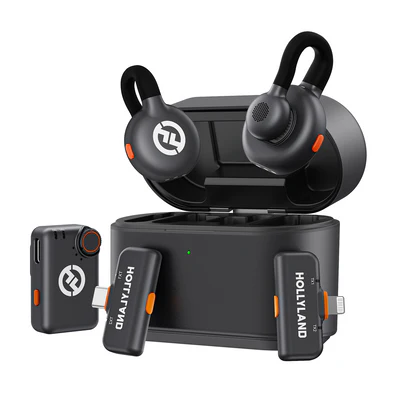
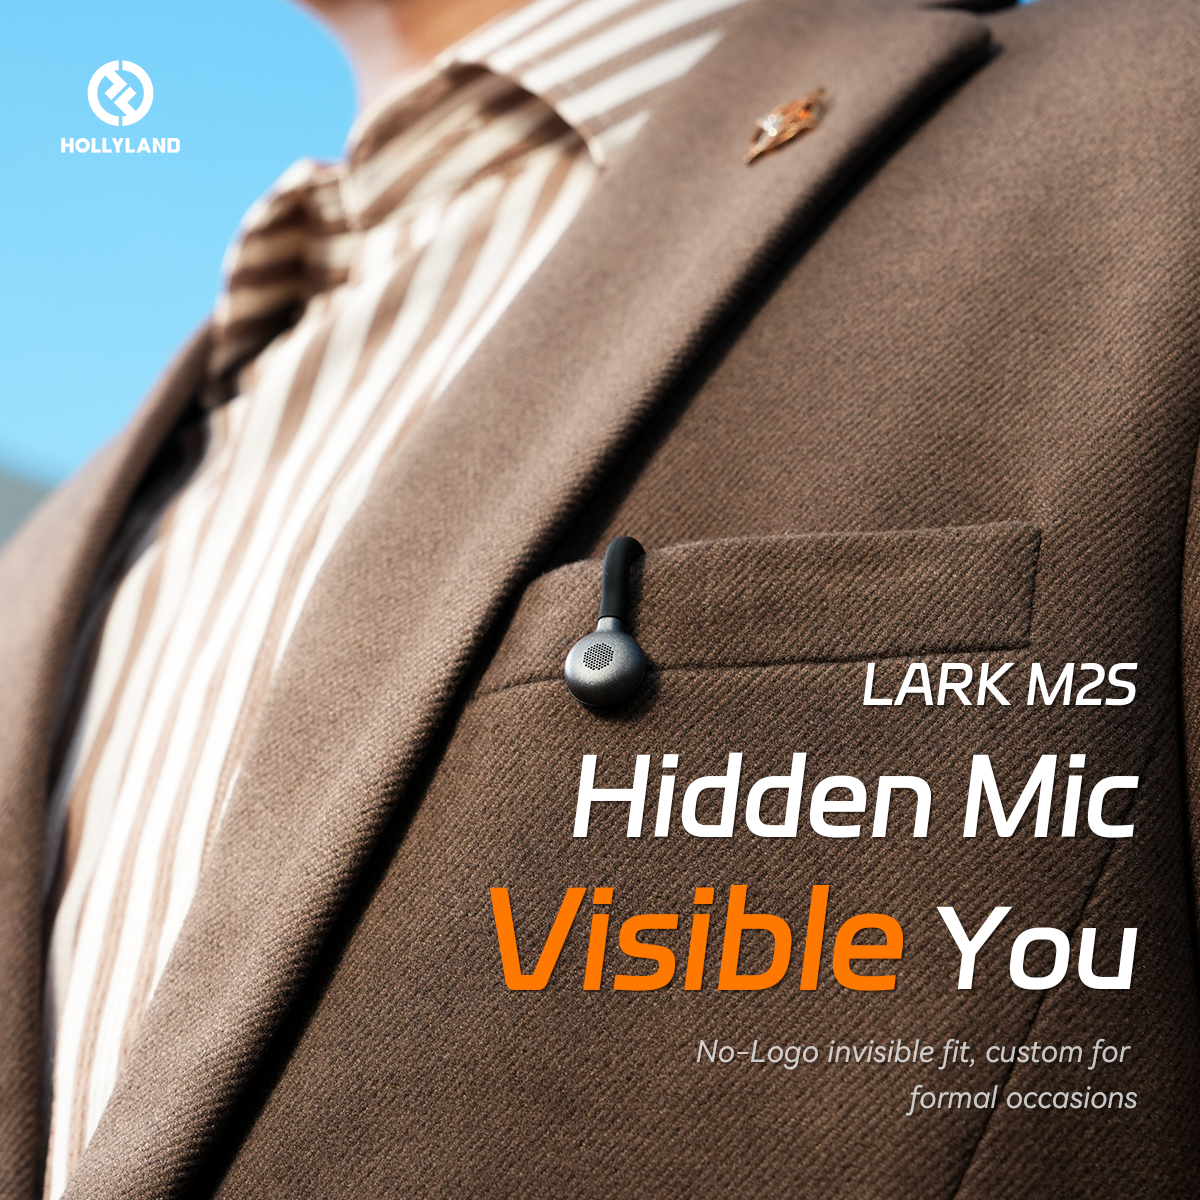
Hollyland LARK M2S - Wireless Hidden Microphone
An ultra-discreet wireless microphone featuring a clip-on transmitter for an “invisible” fit.
Key Features: No-Logo Fit | Ti+ Design | 48 kHz/24-bit
Essential Settings Before You Screen Record on iPhone
Before recording, it is suggested to check a few basics to avoid silent clips or missing audio. It’ll save you time later.
iOS and Device Compatibility
Screen recording has been around since iOS 11, but for smoother performance and better audio quality, it’s best to use iOS 18 or later.
If you’re using an iPhone XR or newer, including the latest iPhone 16 series, you’re good to go. Older models can still work, but they may have issues with sound recording or overall stability.
To check your iOS version:
- Go to Settings > General > About

- If you’re not on the latest version, go to Settings > General > Software Update and install the update.

Keeping your phone updated can significantly improve screen recording performance, especially if you’re a creator, student, or anyone who needs clear audio and visuals.
Types of Audio That Can Be Recorded
Your iPhone can capture two main types of audio:
- Internal audio – Sounds from apps or games
Note: Some apps (like phone calls or streaming services) may block this due to privacy rules.
- Microphone audio – Your voice or background sounds
Tip: Turn on the mic before recording if you want to explain something out loud.
Enabling Screen Recording in Control Center
Before recording anything, make sure Screen Recording is added to your Control Center.
- Go to Settings > Control Center.

- To add it to your Control Center, tap the green plus (+) next to Screen Recording.

Step-by-Step Guide: How to Screen Record with Audio
Now that your Control Center is set up, let’s walk through how to actually record your screen with audio, step by step.
- On iPhones with Face ID, swipe down from the top-right corner; on models with Touch ID, swipe up from the bottom edge.
- Press and hold the Screen Recording icon.

- Tap Start Recording. A 3-second countdown will begin.

- After the countdown, your iPhone starts recording, indicated by a red bar, clock, or Dynamic Island.

- And if you want to stop recording the screen, tap the red status indicator at the top of your screen, then confirm by tapping the Stop sign.

How to Screen Record Without Audio
Sometimes you just need the visuals, no voice. Here’s how to record your screen silently, straight from your iPhone.
- Swipe down from the top right-hand corner and tap and hold the Screen Recording icon.
- In the pop-up, ensure the Microphone icon is off (gray).

This way, the screen will record without any external audio.
How to Screen Record With Microphone Audio
Want to explain what’s happening on screen as you go? Simply tap the Microphone icon to turn it on (it turns red).

- Your screen and voice are now being recorded; when finished, stop the recording, and it will be saved to Photos automatically.
How to Access Your Screen Recording
Here’s how you can access your screen-recorded video file:
- Open the Photos app.

- Go to the Recents album or tap Albums > Screen Recordings.
From there, you can view, edit, or share your recording.
How to Get Better Audio in iPhone Screen Recordings
A great screen recording can be ruined by poor sound. While iPhone microphones are decent, they often capture background noise, echo, or that distant, “far-away” sound.
If you’re explaining something important or creating content to share, clear audio matters just as much as sharp visuals. Here’s how to make sure your sound is clean, clear, and easy to understand every time you record.
Find a Quiet Spot
Avoid fans, traffic, or echoey rooms. Even with a good mic, background noise can distract from your message.
Stay Close to the Mic
The farther you are, the weaker your voice will sound. Keep your iPhone close or speak directly toward it.
Use an External Microphone
Use a wireless mic like the Hollyland LARK M2S. It’s small, clips onto your shirt, and works instantly with iPhones, no setup drama, just great sound.
Do a Test Recording
Record a few seconds, play it back, and make sure your voice is loud and crisp. If not, adjust before the real take.
Avoid Blocking the Mic
Don’t accidentally cover the iPhone mic while holding it; your voice will sound muffled without you even noticing.
Conclusion
Don’t just press record and hope it works. Test your setup first. Make sure your voice is clear, without background noise or echo. If you’re still using the built-in mic, upgrading to an external microphone makes a big difference.
Ensure your message is concise, clear, and unambiguous. No one wants to sit through five minutes of unnecessary content just for thirty seconds of valuable information. Learning to communicate efficiently not only improves your content but also sharpens your overall communication skills. The more you practice, the better you get, and that’s a skill worth developing.
Frequently Asked Questions (FAQs)
- Can I edit my screen recording directly on iPhone?
Yes. After recording, open the video in the Photos app, tap Edit, and you can trim, crop, or add filters. For more advanced editing, use iMovie or CapCut.
- Does screen recording drain battery quickly?
Yes, especially during long recordings or capturing high-performance apps like games. Make sure your phone’s charged or plugged in during long sessions.
- Can I screen record while using Bluetooth devices?
Yes, but note that some Bluetooth mics or earbuds won’t capture audio unless the microphone option is enabled manually before recording. Always test your setup first.


.png)


