.png)
.png) Français
Français .png) Deutsch
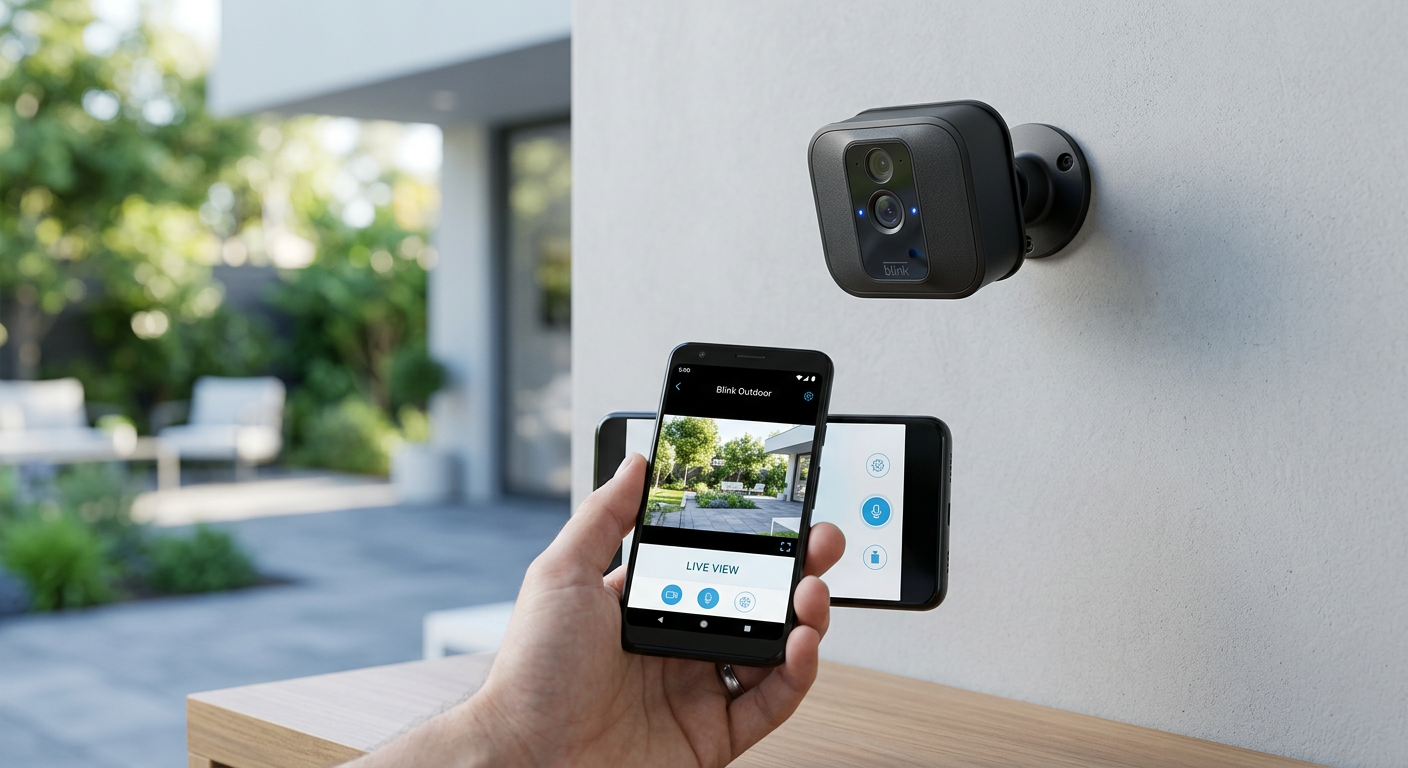
Deutsch Blink is an Amazon-owned home security company that produces cameras, video doorbells, and home security systems. The great thing about their services is that you can seamlessly connect to them via the cloud. However, you may run into situations where you’ll be unable to reach the Blink cloud. This guide aims to resolve all the possible scenarios where this might happen so you can quickly fix the ‘unable to reach cloud blink’ issue the next time it pops up.

4 Reasons Why You Might Not Be Able To Reach Cloud Blink
Navigating cloud-based services is usually a breeze, but sometimes, you may find yourself unable to reach Cloud Blink. This unexpected hurdle can be attributed to various technical snags and configuration discrepancies. To effectively troubleshoot this, it’s important to dissect the probable causes that could be preventing access to Cloud Blink’s devices:
Service Downtime or Maintenance
Occasionally, Cloud Blink may undergo scheduled maintenance or face unexpected downtime, disrupting access. This halt in service is necessary for upgrades or to address technical issues. Usually, service restoration is swift, and patience is all that’s needed to solve the issue.
Network Connectivity Issues
A stable internet connection is the backbone of cloud service accessibility. Issues like weak signal strength, network congestion, or ISP outages can sever the connection to Cloud Blink, leaving you hanging until connectivity is restored.
Incorrect Credentials or Account Issues
Entering the wrong login details can block entry to Cloud Blink. Furthermore, account-specific problems, such as expired subscriptions or access being revoked, could also be at play.
Firewall or Security Settings
Robust security is essential, but overzealous firewall settings or antivirus software could be inadvertently blocking Cloud Blink. Adjusting these settings to recognize Cloud Blink as a trusted site can provide a solution.
4 Easy Ways To Fix ‘Unable To Reach Cloud Blink’
Facing issues with your Cloud Blink can often disrupt your workflow and prevent you from checking on your home security system. Here, we’ll explain some of the most common troubleshooting methods and fixes to the most prevalent issues tied to the ‘unable to reach cloud blink’ error prompt.
Method 1 – Place Your Camera Near The Sync Module
Your Blink cameras connect to their associated Sync Module in order to work. If your cameras are not within a reasonable distance of their Sync Module, you will not be able to connect to them. To fix this issue:
- Step 1: Turn on your camera and then move the sync module closer.
- Step 2: Keep on moving your Sync Module until your camera has at least three bars of signal.
- Step 3: Once you’re able to connect to all the cameras, leave your sync module in the position.
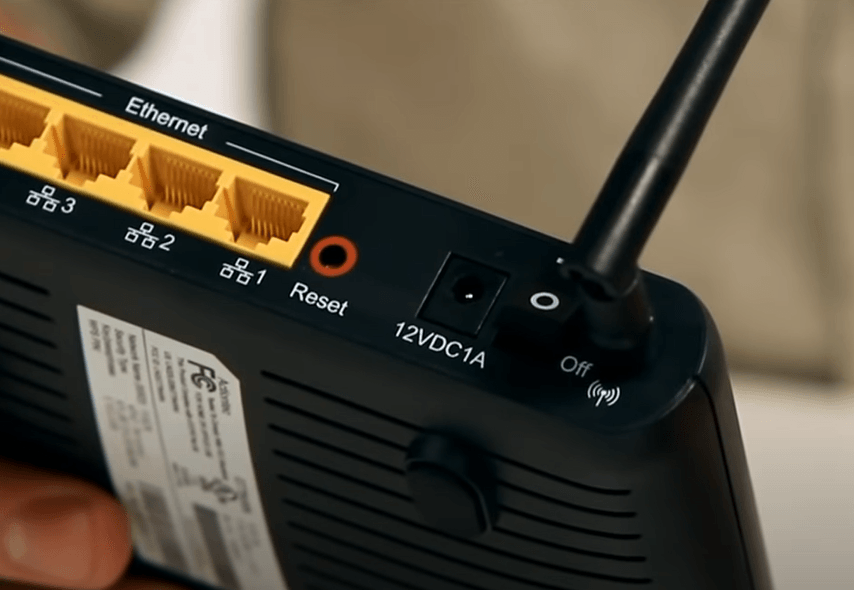
Method 2 – Check Your WiFi Connection
If you’re unable to connect to the Blink Cloud, check your WiFi connection. Here’s how you can resolve the issue with a quick fix:
- Step 1: Restart your Wi-Fi router. Turn your WiFi router off, wait for 30 seconds, then turn it back on.
- Step 2: If that doesn’t work, proceed with a reset of your Blink camera
- Step 3: Finally, reach out to your Internet Service Provider (ISP) in case your WiFi still isn’t working on any of your devices.
- Step 4: Once your Wi-fi is working again, connect your cameras to your WiFi once more to see if they’re up and running.
Method 3 – Reset Your Cameras
Look at the signal bars on your camera. If they show fewer than three bars, it means the camera might have trouble connecting to the Blink Cloud or Server. To fix this issue, you’ll need to reset the camera.
- Step 1: Start by going to the Blink app and go to the Blink camera you want to reset. Delete the device from the Blink app and remove the camera’s batteries.
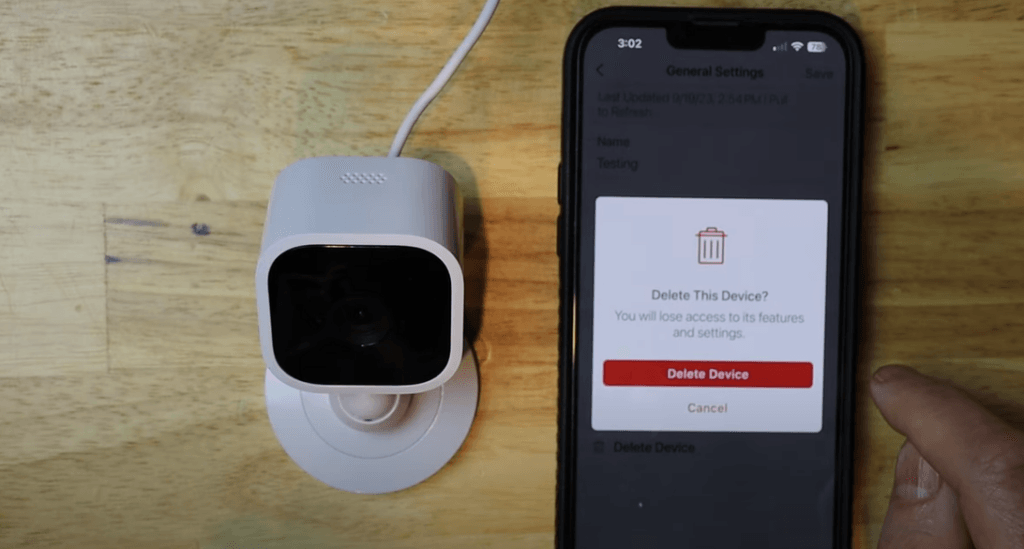
- Step 2: After 10 seconds, put the batteries back into the camera.
- Step 3: Let the camera turn back on by itself.
- Step 4: Once the camera has rebooted, try connecting it to the Blink Cloud again.
By following these simple steps, you should be able to address any connectivity issues related to the signal bars on your camera and ensure a successful connection to the Blink Cloud. If the problem still persists, consider checking your Wi-Fi connection or contacting Blink support for further assistance.
Method 4 – Refresh Blink Home Monitor App
- Step 1: If you’re facing issues with the Blink Home Monitor app, start by refreshing it. Close the app and then restart it.
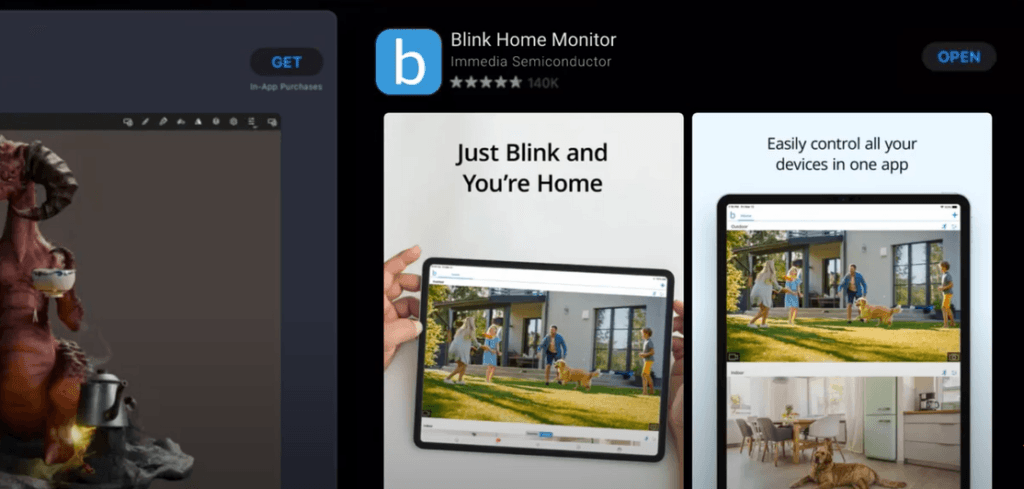
- Step 2: After refreshing the app, see if the issues have been resolved. If the problem persists, proceed to the next step.
- Step 3: If refreshing didn’t work, uninstall the Blink Home Monitor app from your device.
- Step 4: After uninstalling, reinstall the Blink Home Monitor app by downloading it again.
- Step 5: Open the App again.
Once the reinstall is complete, open the app and check if the problems are now resolved.
This way, you can troubleshoot problems with the Blink Home Monitor app, but if issues persist, consider checking for app updates or reaching out to the app’s support team for assistance.
Conclusion
While running into the ‘Unable to reach Cloud Bink’ issue can be a frustrating one; hopefully, these quick and simple troubleshooting methods will help you get to the bottom of the issue and resolve it. Otherwise, it’s always a good decision to reach out to the Blink helpline through official methods and direct your issue to them.
When resolving connectivity issues like ‘Unable to Reach Cloud Blink,’ reliable streaming equipment becomes essential. A high-quality streaming camera ensures seamless cloud integration, minimizing downtime and preventing similar issues in the future.
FAQs
Why can’t I access my Blink Camera?
If you can’t access your Blink Camera, then you might not have entered your login credentials properly. Re-enter your email and password correctly. Additionally, if you’re connected to any VPNs, disconnect them as they can cause problems with logging in
How Do I Get My Blink Back Online?
If you’re having trouble getting back online, try power cycling your device. Turn it off, wait a moment, and then turn it back on. If the issue persists, consider doing additional troubleshooting to identify and address the problem.
How Do I Connect My Camera To The Blink Cloud?
To add a device, start from the Home screen and locate the plus (+) icon. Tap on it to access the Add Device screen. Once there, choose the option labelled “Sync Module”. On this screen, you’ll have two options for adding your Sync Module: either scan the QR code located on the back of the Sync Module using your device’s camera or, if needed, manually enter the serial number of your Sync Module.
How Do I Retrieve My Blink Videos From The Cloud?
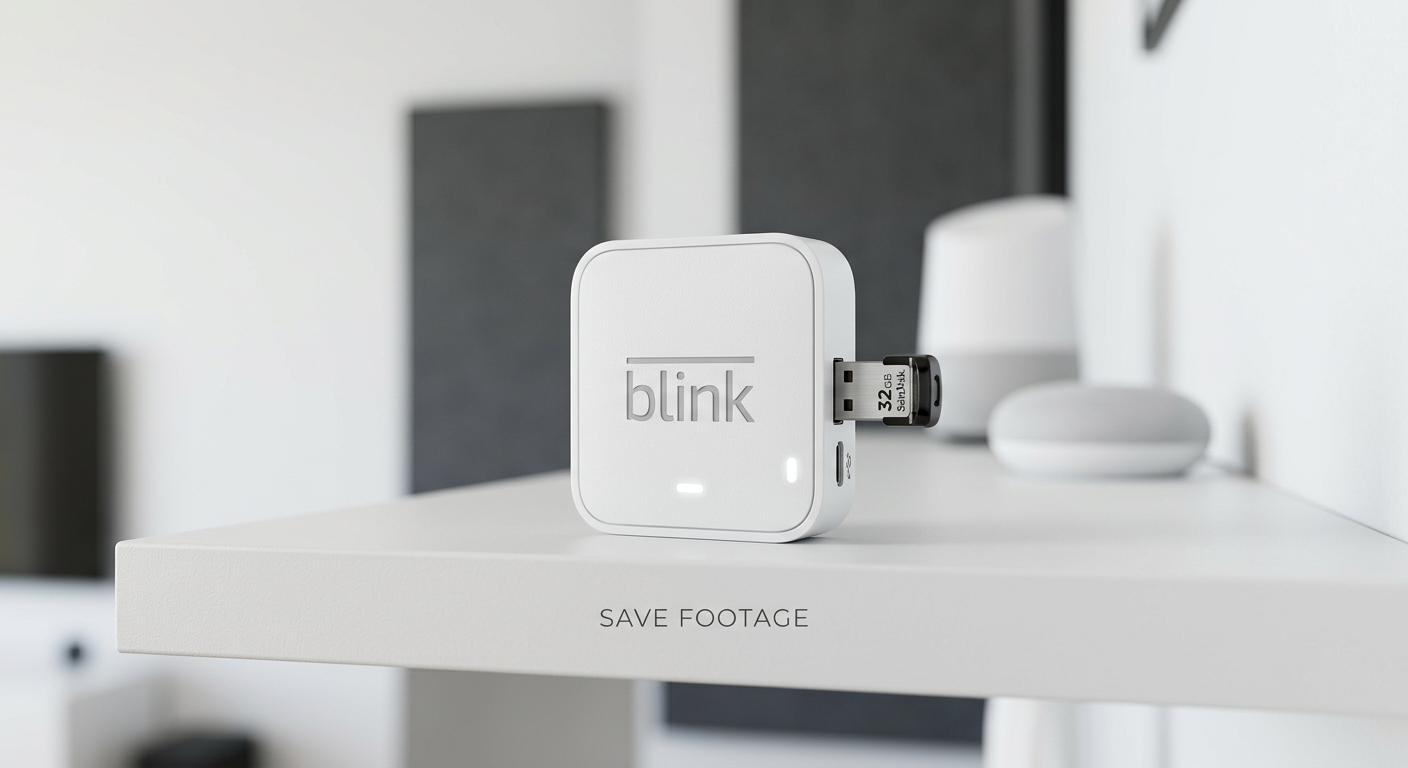
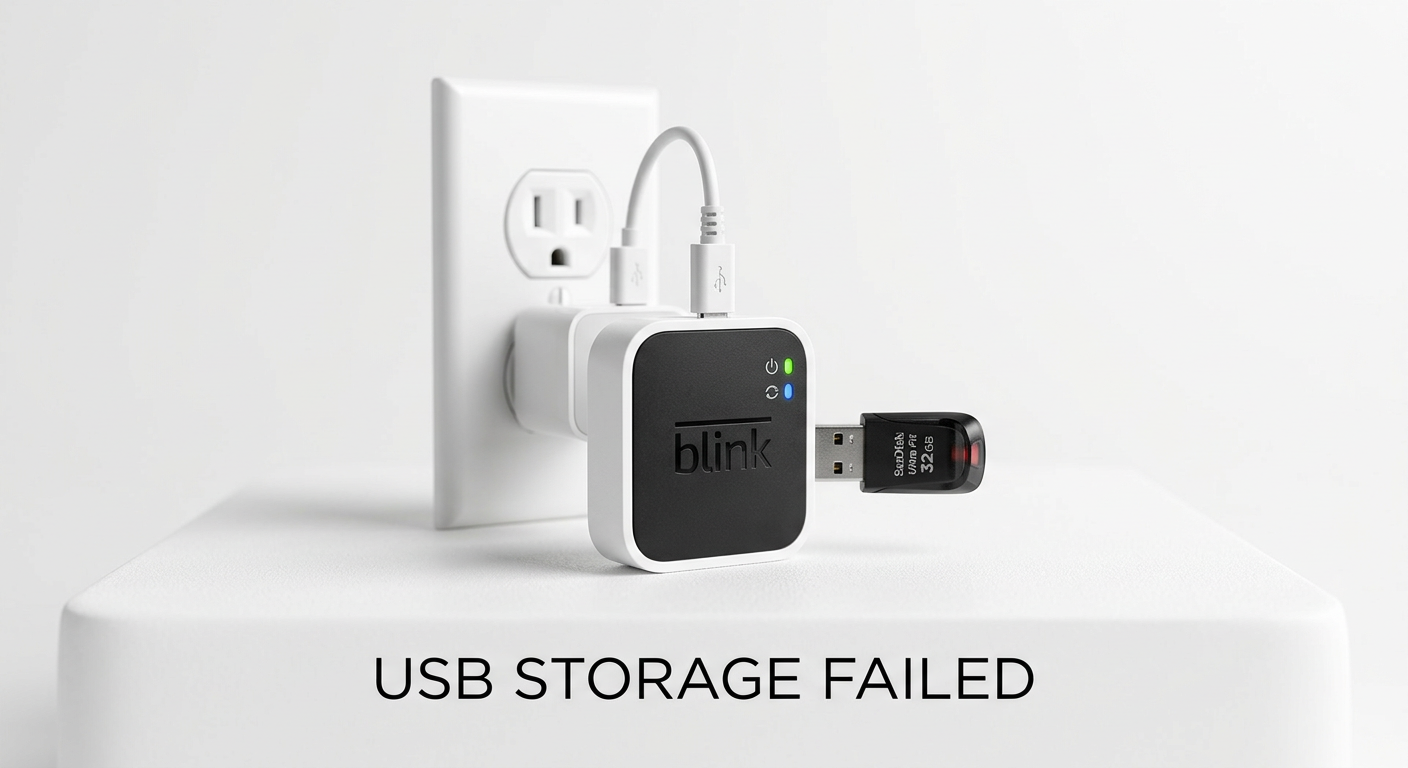
Every 24 hours, your Cloud Storage clips are automatically backed up to the storage device connected to your Sync Module. To access these backup files, you need to take out the USB storage device from Sync Module 2 and insert it into a computer or a similar device.
How Do I Reset My Blink Sync Module
Press the reset button using a small object or your fingernail for about 5 seconds. A red light will flash, and after 15 seconds, you’ll observe a blinking blue light followed by a steady green light on the front of the Sync Module.