



.png)
 简体中文
简体中文 
How to Record Music at Home Without a Studio: A Complete Step-by-Step Guide
You have written the song. You know exactly how it should sound. But every time you try to capture it at home, what comes back is flat, echoey, and nothing like what was in your head.
Renting studio time feels like the obvious solution — until you check the rates. Most professional recording studios charge anywhere from $50 to $300 per hour. That clock starts running the moment you walk in, regardless of how warmed up your voice is or how many takes you need. For an independent artist or content creator, that math simply does not work.
Here is what most guides on this topic get wrong: they treat the problem as a gear problem. It is not. The real gap between a home recording and a studio recording comes down to signal chain — the path your voice takes from microphone to final file, and every decision made along that path. Get the chain right, and your bedroom becomes a viable recording space. This guide shows you exactly how to build that chain, from choosing the right recording studio equipment to going live with a sound you can actually be proud of.
What Do You Need to Record Music at Home?
Before spending anything, understand the four components every functional home recording setup requires:
| Component | What It Does |
| Microphone | Captures your voice or instrument as an audio signal |
| Audio interface or smart mixer | Routes and processes that signal before it reaches your recording device |
| Monitoring earphones or headphones | Lets you hear the real-time mix while performing |
| Smartphone or computer | Records and outputs the final audio |
These four elements form a chain. One missing link breaks the entire signal path. The encouraging reality is that you do not need professional-grade gear at every point — what you need is for the chain to be complete, correctly connected, and properly balanced.
How to Choose the Right Recording Studio Equipment
Microphone Type
Dynamic microphones handle louder sources well and are forgiving in acoustically untreated rooms. If you are recording in a standard bedroom with hard walls and no acoustic treatment, a dynamic mic is the practical starting point.
Condenser microphones capture more vocal detail and nuance, making them rewarding in quiet, soft-furnished spaces. Their sensitivity cuts both ways — they pick up every room reflection alongside your performance.
The practical rule: untreated or noisy room → dynamic mic. Quiet, soft-furnished space → condenser.
The Interface Decision — And Where Most Home Setups Stall
A traditional audio interface connects your microphone to your computer and sends the signal to recording software. It works, but managing driver installations, software configuration, manual gain staging, separate headphone monitoring, and a growing list of individual components is where most first-time home recorders lose momentum before they record a single note.
This is where the Hollyland MELO P1 changes the picture for independent creators. Hollyland has spent years building professional wireless transmission systems used by broadcast engineers and film production crews — environments where signal chain failure genuinely is not an option. The MELO P1 applies that engineering discipline to a system designed for the bedroom artist who wants studio-quality results without needing a studio-level technical background.

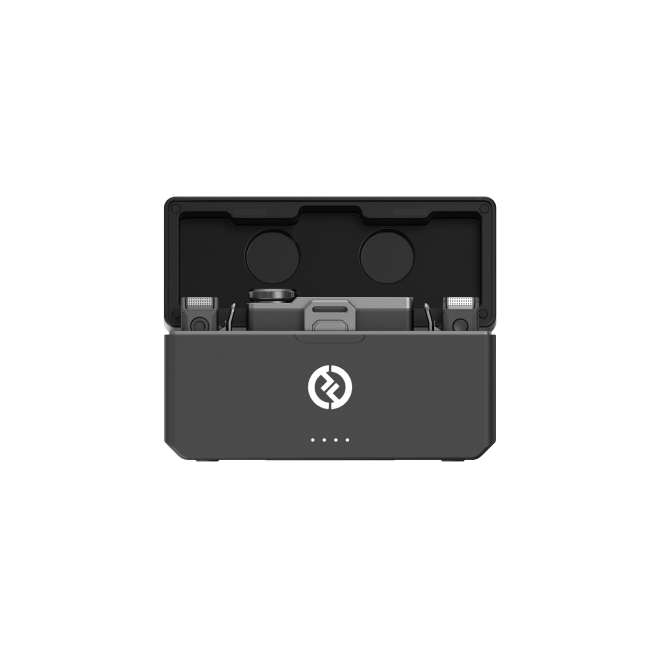
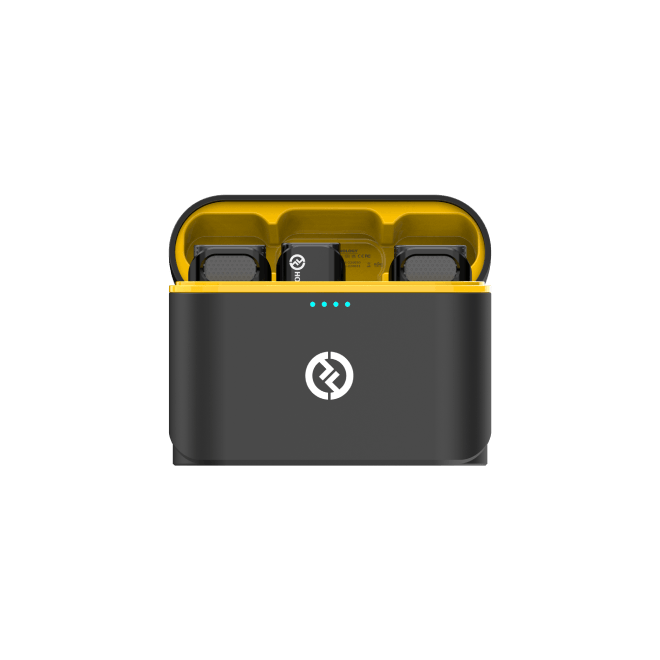
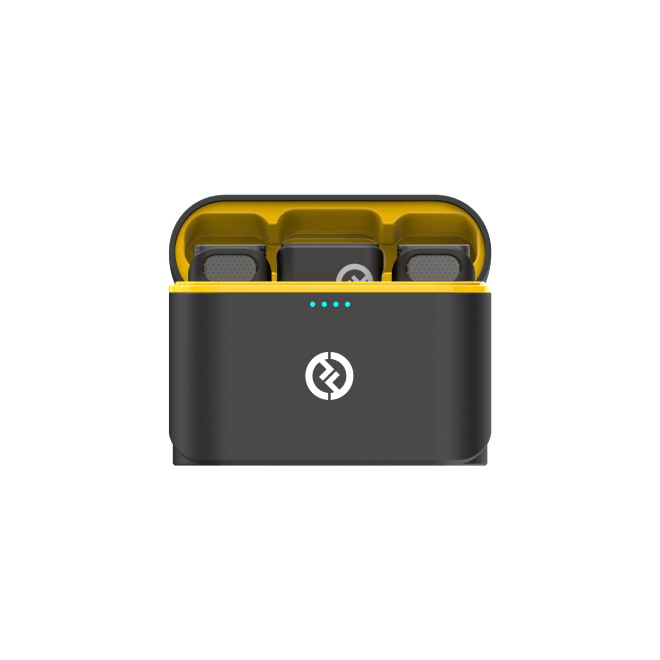
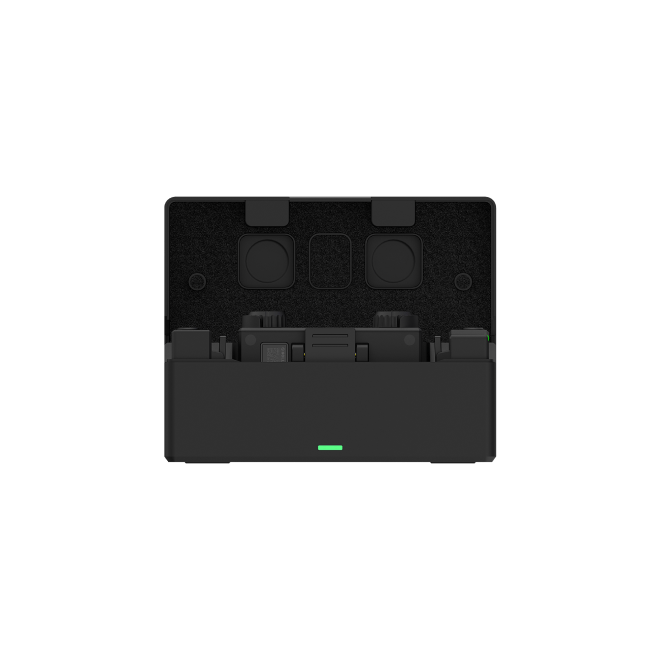
What arrives in the box is a complete, pre-paired system: a studio-grade wireless microphone with a 116dB dynamic range and cardioid polar pattern (available in dynamic and condenser), a Smart Audio Mixer running at 48kHz/32-bit float and weighing just 55g, Wireless Monitoring Earphones with 2.4G connectivity for real-time low-latency monitoring, and a physical remote control — all charging together in a single portable case that delivers up to 40 hours of total battery life across the system.
Every component is pre-paired at the factory. One purchase, one case, open it and you are most of the way to your first professional recording.
How to Set Up a Recording Studio at Home: Step by Step
Before You Begin: Choose Your Configuration
Smartphone setup — two phones required:
- Phone 1: Wired to the Smart Audio Mixer via USB-C; records audio and runs the HollyAudio App for tuning
- Phone 2: Connected via Bluetooth to the mixer; plays backing tracks
Computer setup:
- Phase 1: Connect your smartphone to the mixer via USB-C; configure all settings in the HollyAudio App
- Phase 2: Disconnect the phone; connect your computer to the mixer’s USB-C port; record or stream
- Backing tracks play from a separate phone or from your computer (Windows only, via Bluetooth)
macOS note: Due to macOS audio routing limitations, a Mac cannot simultaneously record audio and independently route backing tracks to the MELO P1 via Bluetooth. On Mac setups, always use a separate phone for backing track playback.
Step 1 — Initialize the MELO P1 for the First Time
- Remove all devices from the charging case.

- Peel the protective films off every device’s charging contacts — skip the remote control, which has none.

- Place all devices back in the case and close the lid.

- Wait 5 seconds. This triggers the internal wake-up sequence and activates the pre-paired 2.4G wireless connections between the microphone, monitoring earphones, and mixer — the same 2.4G system that maintains a clean wireless signal up to 60 meters in an unobstructed space.

- Open the lid. Your system is ready.

Check your indicator lights. Every device should show a lit indicator — skip the remote control, which has no indicator light. A dark light means the battery is depleted — leave that device in the closed case to charge before continuing. If the case’s own indicator light does not respond when opening or closing the lid, the case itself needs charging. Its 5000mAh battery is large enough to recharge the full system multiple times between wall outlets.

Step 2 — Wire the Smart Audio Mixer to Your Recording Device
Use the included USB-C to USB-C cable. Connect it to the top USB-C port of the Smart Audio Mixer and to your smartphone or computer.

For smartphone recording: Most recording and streaming apps automatically detect the Smart Audio Mixer as the default audio input and output once the cable is connected. No additional phone-level configuration needed.
For computer recording: Open your streaming or recording software and set both the audio input and audio output to the device labeled “Audio Interface.”
- TikTok LIVE Studio: Audio Mixer → Microphone → select “Microphone (Audio Interface)” at 100%. Audio → Primary Speaker → select “Speakers (Audio Interface)” at 100%. Then go to Advanced Settings and switch Background Music off — leaving it on routes your backing tracks back into the livestream and creates an audible echo loop.
- OBS Studio: Settings → Audio → set Mic/Auxiliary Audio Device to “Audio Interface.”
- Other software: Look for any audio input/output device setting and select the option labeled “Audio Interface.”
If “Audio Interface” does not appear in your software’s device list, unplug the USB-C cable, re-plug it firmly, and relaunch the software.
Step 3 — Connect Your Backing Track Device via Bluetooth
Playing backing tracks through a room speaker while recording is one of the most common — and most damaging — home recording mistakes. The microphone picks up the room sound, and that echo gets permanently baked into your file. The MELO P1 solves this by routing backing track audio directly into the internal mix via Bluetooth, completely isolated from the room.
From a smartphone:
- Open Bluetooth settings on your backing track phone and search for “MELO P1.”

- Tap to pair and connect.
- If your phone is also connected to other Bluetooth audio devices, go to your phone’s audio settings — separate from the Bluetooth menu — and confirm that MELO P1 is selected as the active audio output. Without this, your music plays only in your ears and never reaches the mixer.
Android shortcut: With NFC enabled on your phone, tap the back of your phone against the back of the Smart Audio Mixer. Pairing triggers automatically — no Bluetooth scanning required.
iPhone note: If Bluetooth was previously turned off, turning it back on will not automatically reconnect to MELO P1. Go to Settings → Bluetooth and manually tap “MELO P1” to reconnect.
From a Windows computer:
- Computer used only for backing tracks: Set MELO P1 as the system audio output and set volume to approximately 70.
- Computer used for both recording and backing track playback simultaneously: Open Volume Mixer, find your music player app in the list, and set that app’s output device specifically to “MELO P1.” Leave all other apps on their default output to avoid routing conflicts with your recording software.
Verify the connection is working: Play a track on your backing track device. In the HollyAudio App on your wired phone, watch the volume meter labeled “Backing Track Phone.” If it bounces in sync with the music, the signal is flowing correctly into the mixer. If it shows no movement, your phone’s Bluetooth audio output is still directed at another device — return to step 3 and confirm the active audio output selection.
Step 4 — Open the HollyAudio App and Set Your Channel Volumes
Open the HollyAudio App on your wired phone. Register, log in, and complete the onboarding tutorial. The volume control sliders activate once the app confirms the mixer is connected.

Use these starting values based on your microphone type and performing distance:
| Mic Type | Distance | Mic Gain | Vocal Vol | Backing Track | Monitoring | USB Output |
| Condenser | ~1 fist, off-axis | Medium | 10–12 | 13 | 36 | 15–20 |
| Condenser | 2+ fists, off-axis | Distant | 14–16 | 13 | 36 | 15–20 |
| Dynamic | ~2 fingers, off-axis | Medium | 11–13 | 13 | 36 | 15–20 |
| Dynamic | 1–2 fists, off-axis | Distant | 15–17 | 13 | 36 | 15–20 |
USB Output hard ceiling: never set above 20. Higher values trigger automatic quality compression by streaming platforms and recording devices, audibly degrading the audio clarity you just worked to achieve.
Set Mic Gain under More Settings → Mic Gain:
- Close (Near): within 2 fingers of a dynamic mic / within 1 fist of a condenser mic
- Medium: 2 fingers to 1 fist for dynamic / approximately 1 fist for condenser — recommended default for most setups
- Distant (Far): over 1 fist for dynamic / 2 or more fists for condenser
Step 5 — Audition Your Sound With Record for Preview
This is the step that separates a recording that sounds like a voice memo from one that sounds considered and professional.
In the HollyAudio App, go to Record for Preview → tap Start Recording → sing or speak for 30–60 seconds at your actual performance volume → tap Complete.

Tap the play button. Your clip loops. Now browse through presets in the Hot or Preset Library sections — each of the 100+ professionally fine-tuned presets applies to the looping playback in real time. You hear exactly how each one reshapes your voice through your Wireless Monitoring Earphones, without the bone conduction bias that distorts your self-perception while singing live. The earphones’ 2.4G connection to the mixer means the monitoring signal arrives with minimal latency — what you hear through the earphones is a true, real-time representation of your mix.

When you find the right preset, tap Save to My Presets. Your settings are stored in the cloud, linked to your HollyAudio account — they survive a factory reset and are accessible across devices.
This feature only works while your smartphone is wired to the top USB-C port. Complete all preview-based configuration before switching the cable to your computer.
How to Test Your Setup Before You Record
Four checks before every session:
- Signal routing: Play your backing track and confirm the “Backing Track Phone” meter in the HollyAudio App is bouncing. A flat meter means the Bluetooth audio output is still directed at another device.
- Room acoustics: Clap once sharply. If you hear a noticeable echo tail, add soft furnishings before recording. The microphone’s cardioid polar pattern rejects rear sound, but parallel hard walls still cause flutter echo that no preset can fix.
- Software routing: Confirm both audio input and output in your recording software are set to “Audio Interface.” Some apps reset device selections on relaunch.
- Volume balance: Sing through the chorus of your backing track while monitoring. Your voice should sit clearly above the music without sounding detached. The chorus is the loudest section — if the balance holds there, it holds everywhere.
Numbered Troubleshooting List
- No audio in recording software. Your app is using the device’s built-in mic. Set both input and output to “Audio Interface” in audio settings.
- Echo loop in stream or recording: Background Music is still on. Disable it in your streaming software’s Advanced Settings.
- Vocals sound thin or distant: Mic Gain is too low. Go to More Settings → Mic Gain and select Medium or Distant.
- Backing track not entering the mix: MELO P1 isn’t the active audio output. Open your phone’s Audio Settings and select it manually.
- Recording sounds muffled or over-compressed: USB Output is above 20. Lower it to 15–20 to avoid platform-side quality compression.
- Device indicator light is off. Battery is dead. Place the device back in the charging case.
- iPhone won’t auto-reconnect via Bluetooth. Go to Settings → Bluetooth and manually tap “MELO P1.”
Practical Tips for Better Results
- Treat the room before upgrading the gear. Soft furnishings — rugs, curtains, bookshelves, a hung duvet — absorb reflections more effectively than a more expensive microphone in a bare room. This costs nothing and makes an immediate difference.
- Never sing directly head-on into the mic. Position it slightly off-axis to reduce plosive bursts and unwanted sibilance. The cardioid polar pattern still captures your voice cleanly from an off-axis position.
- Use AI Noise Cancellation for imperfect environments. With up to 25dB of AI-powered noise reduction, the MELO P1 handles apartments with street noise, outdoor recordings, and active live performance environments. Set to approximately 10dB indoors and up to 15dB outdoors via More Settings → Noise Cancellation Settings.

- Use dual-mic capability for collabs. The MELO P1 supports two wireless microphones simultaneously over 2.4G — useful for duets, co-hosted livestreams, and interview-format content without any additional hardware.
- The 60m wireless range means you are not tied to a desk. Set your mixer on a table, move freely around the room, and the 2.4G signal holds at full quality. The Wireless Monitoring Earphones maintain the same 60m range — and with an IPX4 waterproof rating, they hold up for outdoor sessions and high-energy performances.
- For experienced users: The Fine-Tune section in the HollyAudio App opens a complete professional signal chain — parametric EQ, Full-Band Compression, Multi-Band Compression, Sidechain Compression, Harmonic Saturation, and De-esser — each with real-time visual waveform displays showing your signal before and after processing. Every one of the 100+ presets in the library was built using these tools and remains fully editable.
Frequently Asked Questions
Q: What do I need to record music at home on a budget? At minimum: a microphone, an audio interface or smart mixer, monitoring earphones, and a phone or computer. The MELO P1 bundles all of these into one pre-paired kit — with up to 40 hours of total battery life and 100+ studio-crafted presets — often at a lower combined cost than sourcing equivalent components separately.
Q: Can I record music using only my smartphone? Yes. When the MELO P1 connects to your phone via USB-C, most recording and streaming apps automatically recognize it as the default audio input and output. No computer required.
Q: I sound totally different on recordings than I think I do live. Why — and does the MELO P1 help?
That’s bone conduction bias — skull vibrations make your voice sound fuller to yourself than it does on a recording. The Record for Preview feature lets you loop a recording back through your Wireless Monitoring Earphones and audition presets in real time, hearing exactly what your audience hears.
Q: Can I play guitar or keyboard through it, not just vocals?
Yes. Use the included 6.5mm-to-3.5mm adapter, plug into the side 3.5mm jack, then go to More Settings → 3.5mm Jack Input/Output Settings → Input in the HollyAudio App. Your instrument appears as a separate, independently adjustable channel in the mix.
Q: Do I need soundproofing panels to record at home? No. Acoustic treatment using soft furnishings significantly reduces unwanted reflection. Combined with the MELO P1’s AI Noise Cancellation at up to 25dB depth, most home environments become workable without any structural changes.
Conclusion
You Don’t Need a Studio. You Need the Right Signal Chain. There’s a version of this search that never ends — better room, better gear, one more tweak. The best recordings are rarely made when everything is perfect. They’re made when you decide it’s close enough and hit record. You have what you need. Go make something.
Start Recording Today
The Hollyland MELO P1 — All-in-One Wireless Studio. Studio-grade sound. Fully wireless. Built for creators who take their sound seriously.


Subscribe us
to get the latest news!