.png)
Recording audio on your Samsung smartphone should be straightforward, but poor sound quality can spoil even the most important moments. Clarity is key, whether you’re capturing voice notes, interviews, or content for social media. Luckily, Samsung provides built-in tools like the Voice Recorder app and access to feature-rich third-party apps.
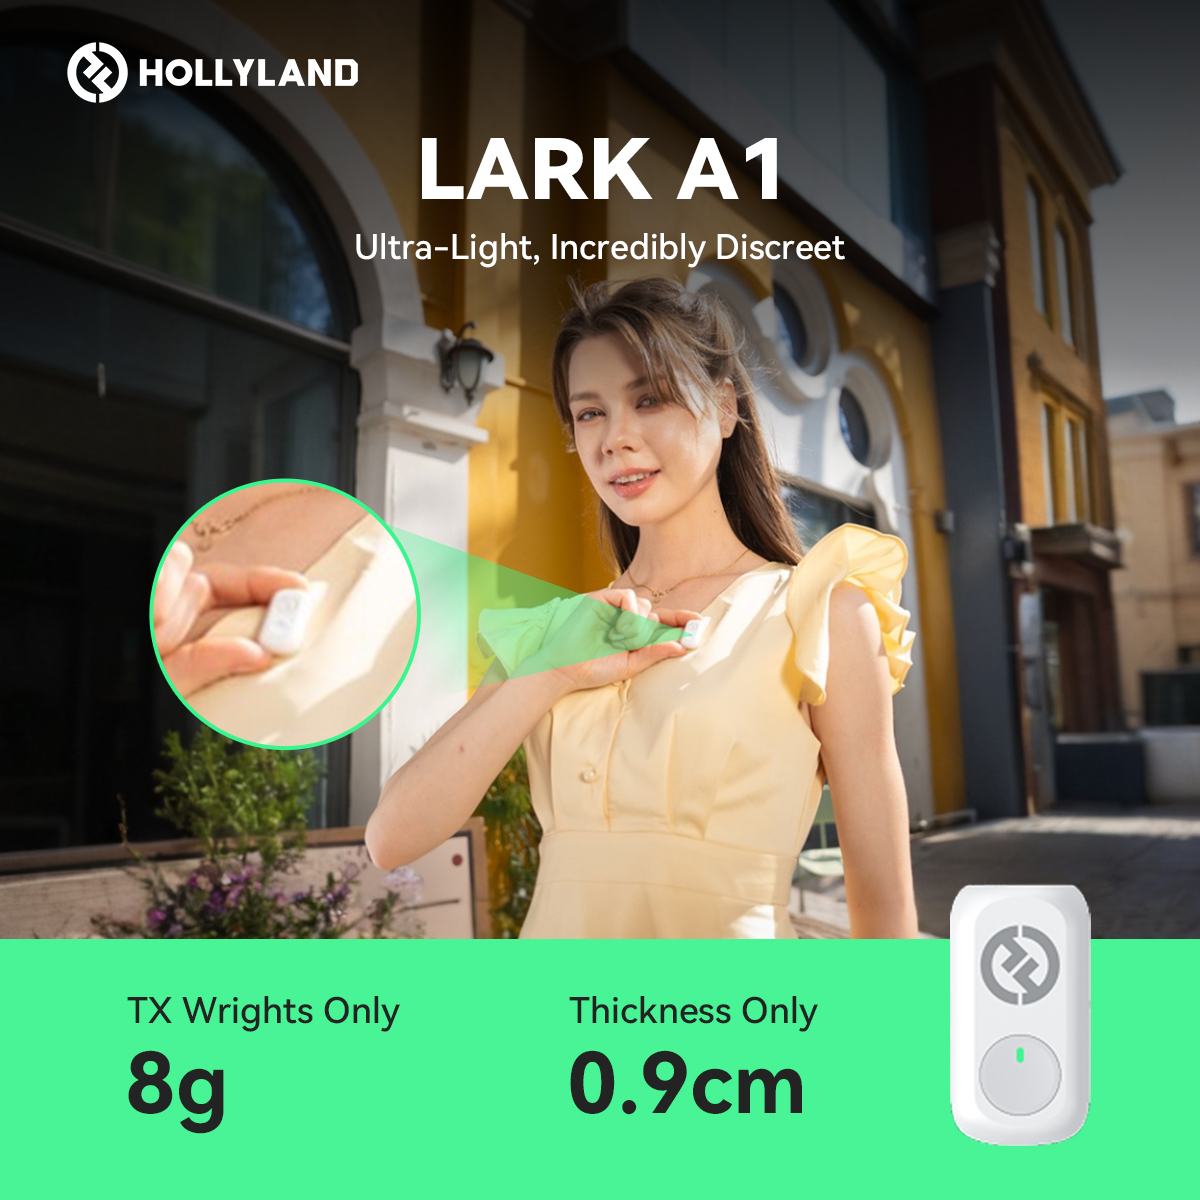
If you want even better results, pairing your phone with a wireless mic like the Hollyland LARK A1 can make a noticeable difference. This guide will show you the best ways to record crystal-clear audio on your Samsung device, and no technical skills are needed.

How to Record Audio Using the Built-in Voice Recorder App
No need to get complicated, Samsung’s built-in Voice Recorder is already solid for everyday recordings. Start there first.
- Navigate the Voice Recorder from your phone; it is usually within the Samsung Folder.
Note: If it is not installed yet, you can download it from the Galaxy Store.

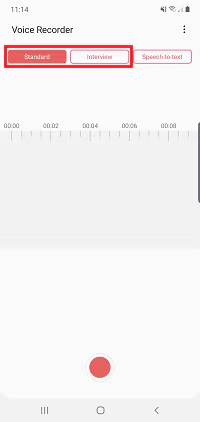
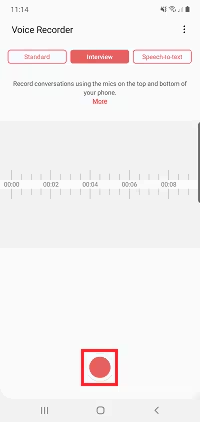
- Here, you can select between Standard and Interview modes.
Note: Standard mode has a simple interface and uses both microphones to make a single recording. The interview mode records the interviewer and interviewee using both the top and bottom microphones. In Interview mode, you will observe two waveforms: one for each microphone.
- Then, hit the record button to start recording audio.
- To take a break, tap the pause button while recording.

- Then, tap the play button to listen to your recording from the beginning.

- To change your position in the recording, slide the waveform left or right. This allows you to re-record or record over parts of the recording.

- Then, you can hit the record button again to resume recording.

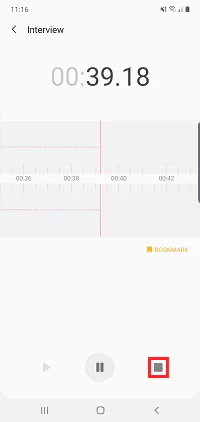
- Tap the BOOKMARK icon to add a reminder to the recording. This enables you to quickly return to an important part of the recording.

- When you’re finished recording, tap the stop button.
- Here, you can give your recording a name.
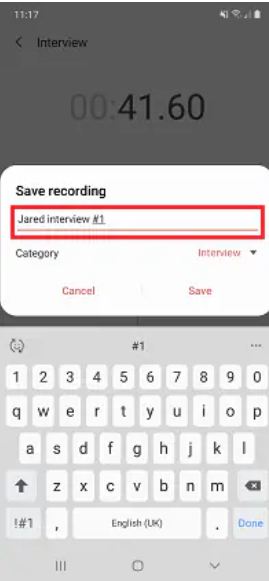
- Then, select a category for your recording by tapping the dropdown below the name bar.

- Finally, tap the save button to save your recording.

Using Third-Party Apps for More Features
If you need more control or features, there are plenty of third-party apps that can take your audio recordings to the next level.
#1: Dolby On
If you want your audio to sound polished without editing it yourself, Dolby On is a solid choice, and it’s super easy to use.
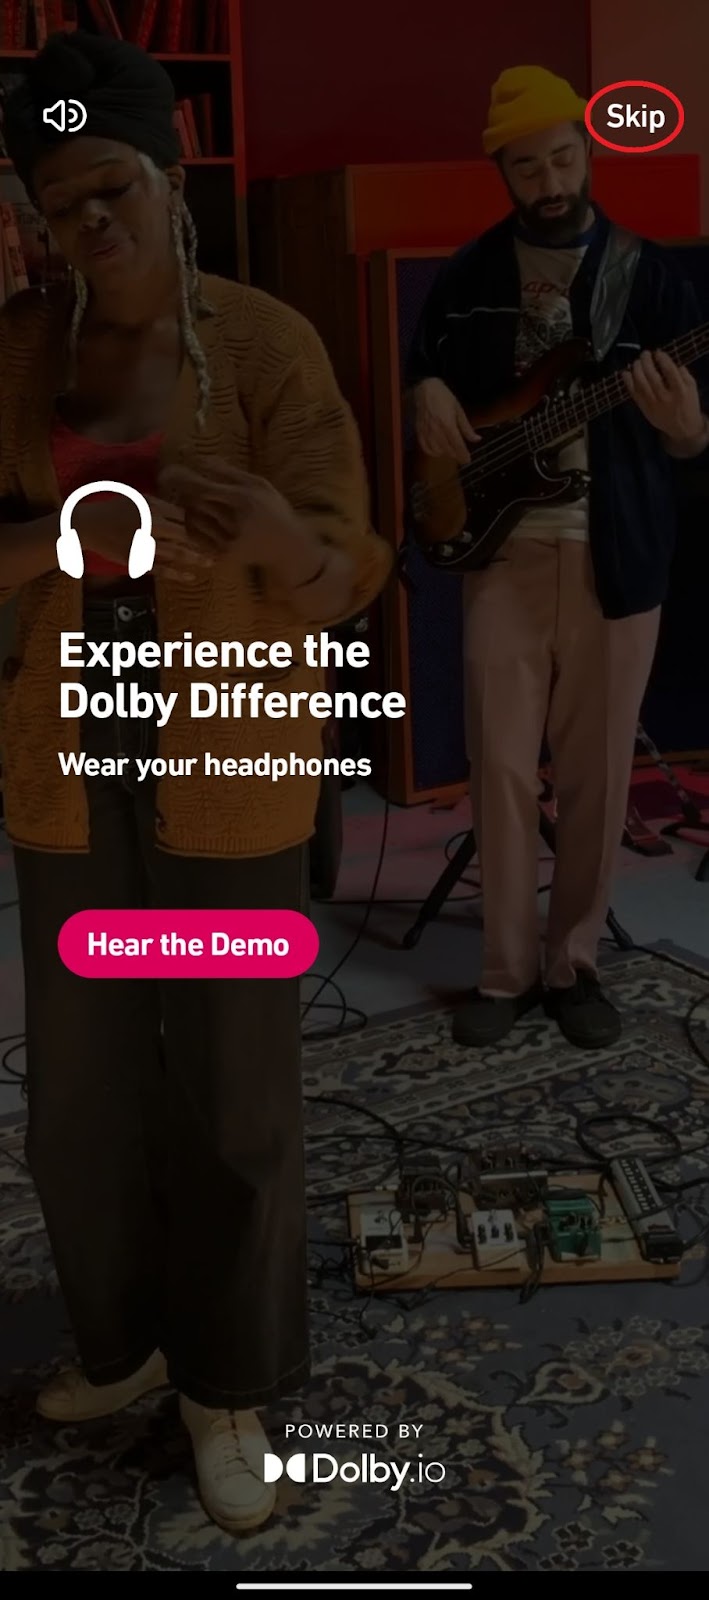
- Launch the Dolby On App. The first time you open it, there will be ads. Tap skip at the top-right corner to continue.
Note: Download from the Play Store if you don’t have it.
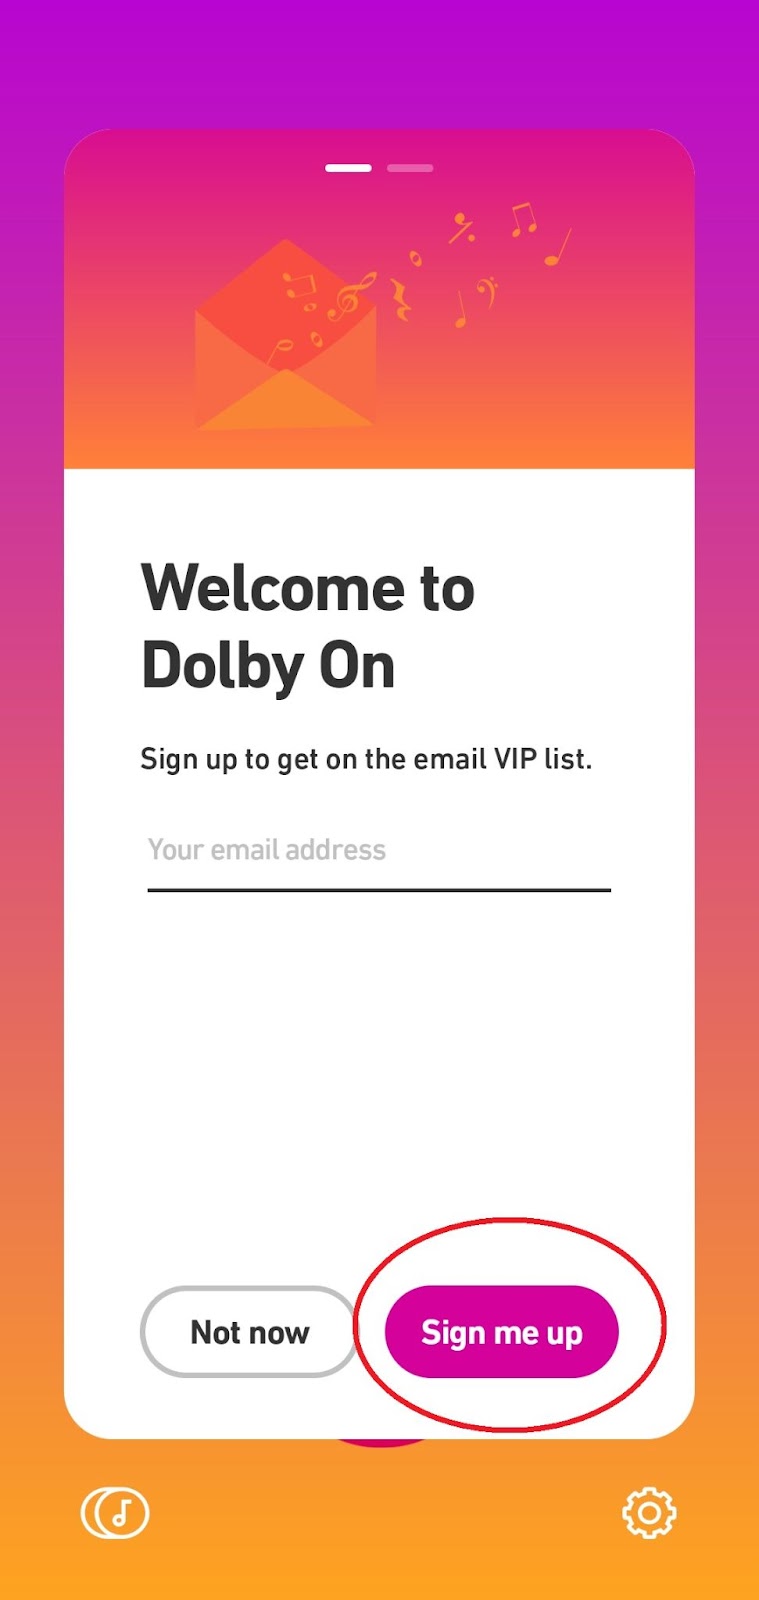
- Sign up to create an account, fill it with your email, then tap the Sign me up button.
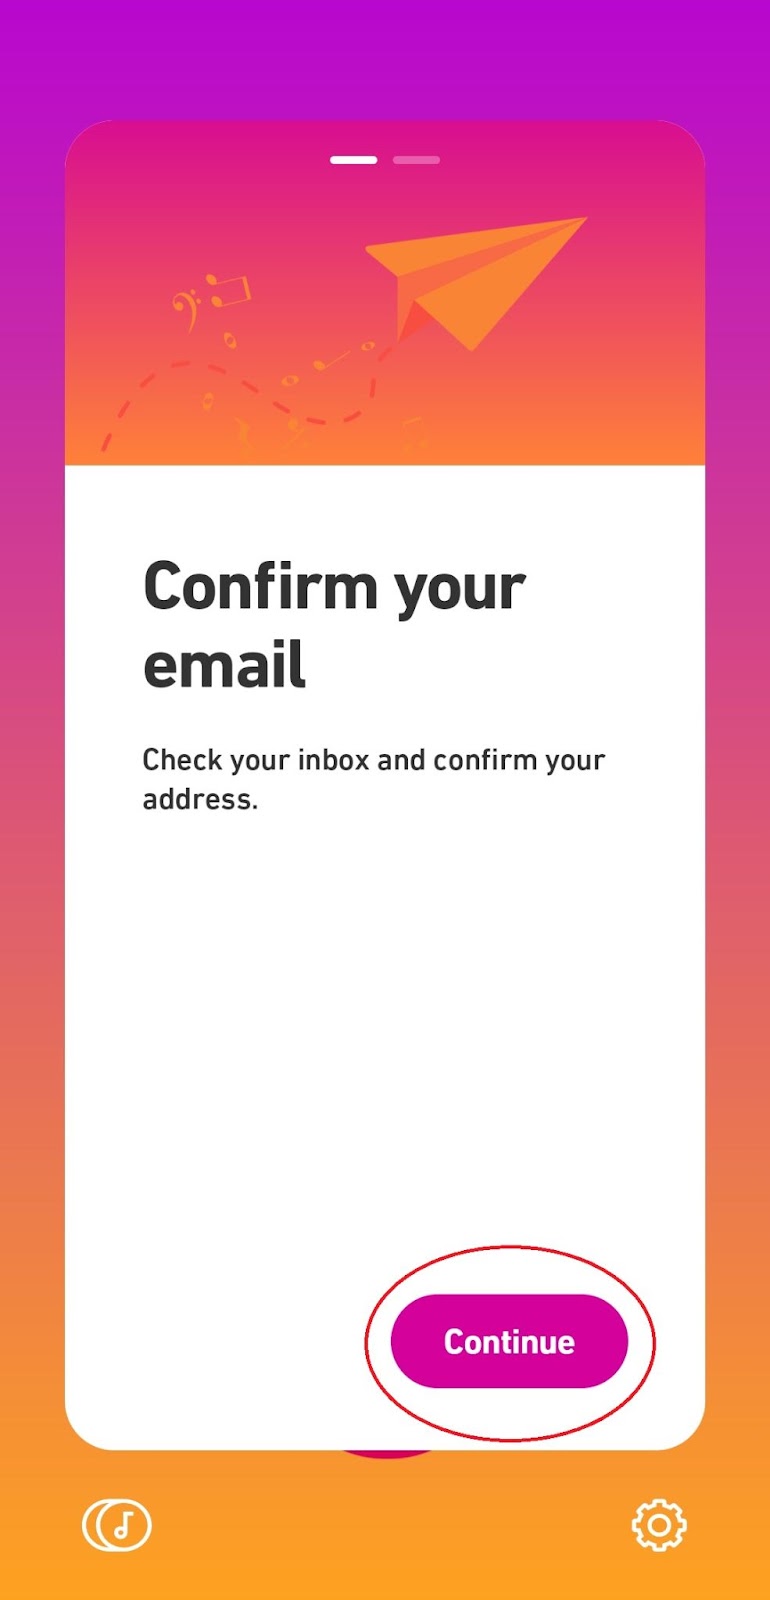
- To confirm the email, tap the Continue button.
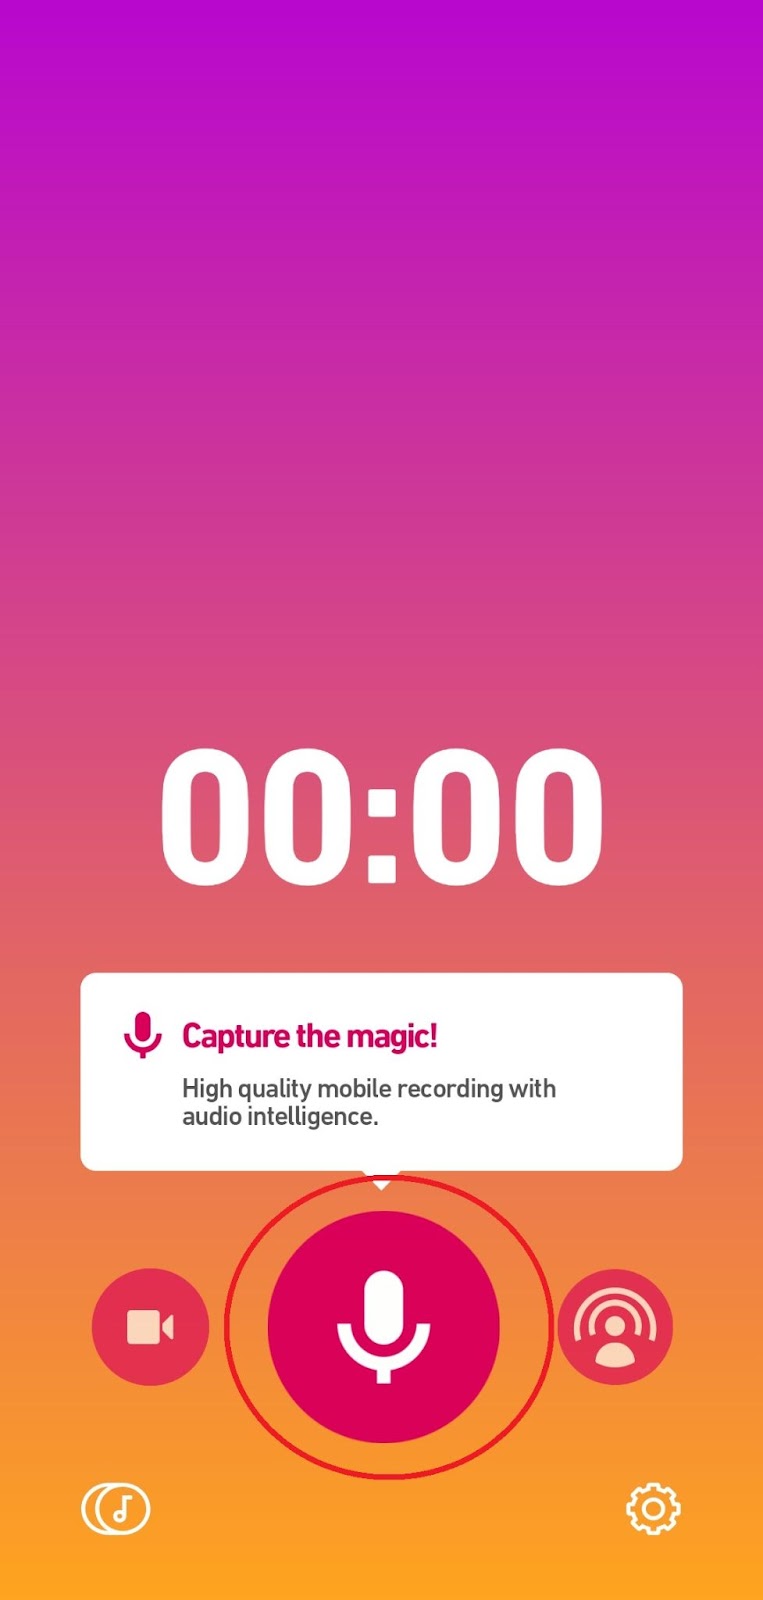
- Once you’re in the main menu, tap the microphone icon.
- A notification will appear, and the app will ask you to allow microphone access. Select “while using the app.”

- Before you start recording audio, do a quick sound check to test your microphone levels by clicking the icon at the top-left corner. It will automatically optimize your microphone levels for the best sound available.

- When you’re ready, tap the record button to start recording your audio.

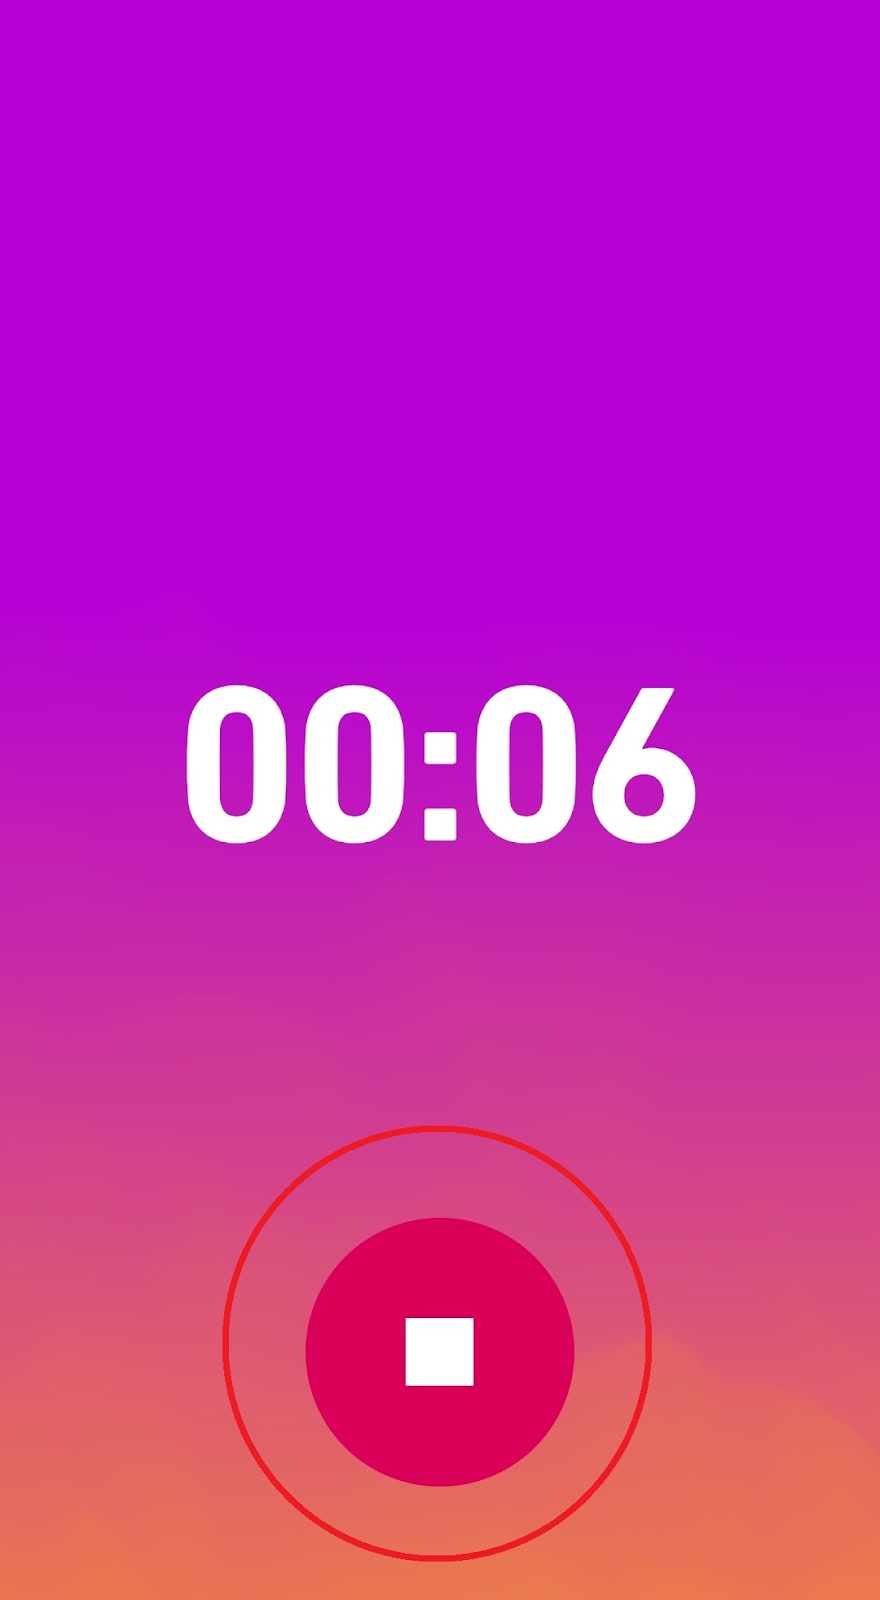
- Once you’re done recording, tap the stop button.
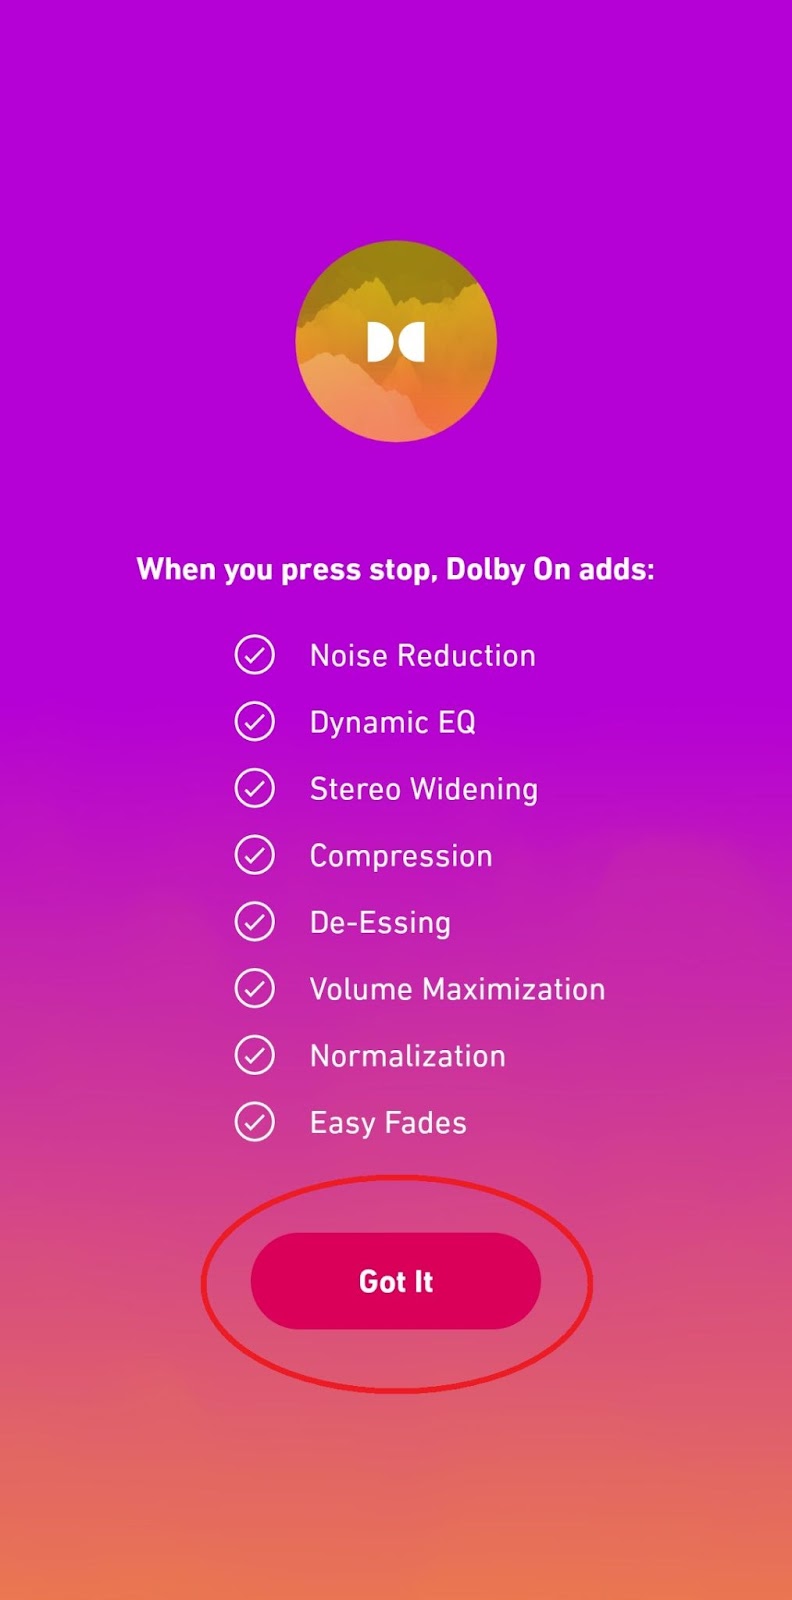
- When you hit the stop button for the first time, Dolby On will show its features. Then tap the Got It button.
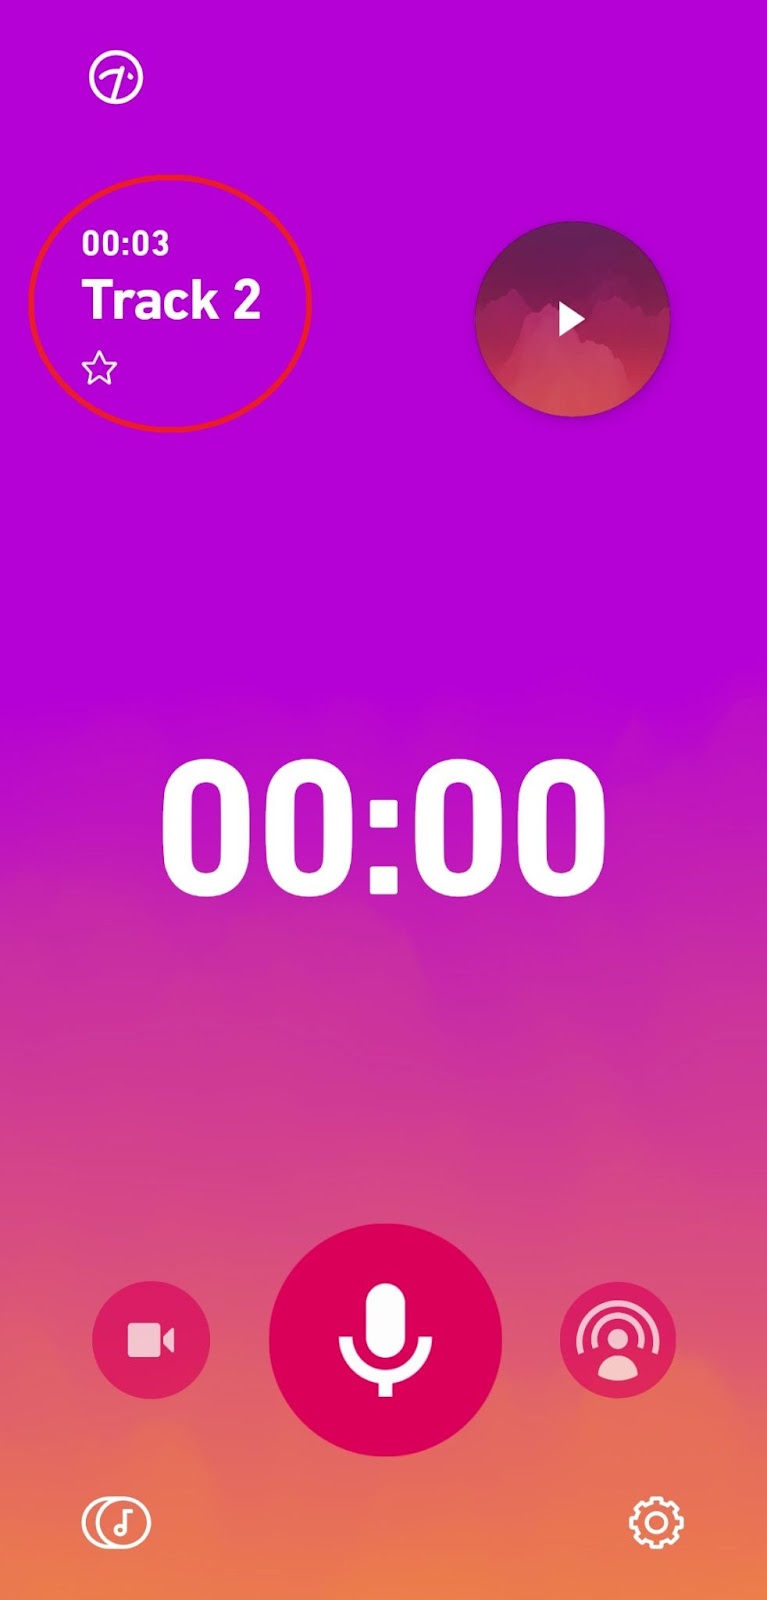
- And your audio file recording will appear at the top; you can rename it by clicking it.
- At the bottom-right corner, click on the 3-dot button.

- Tap the rename button here.

#2: Easy Voice Recorder
Looking for something simple and no-fuss? Easy Voice Recorder is perfect for quick, everyday recordings without a learning curve.
- Launch the Easy Voice Recorder app; you can download it from the Play Store if you don’t have it.

- Once you’re in the main menu for the first time, tap the microphone icon.

- The app will ask you for the microphone access and location to save the recordings. Tap the CONTINUE button.

- A notification will appear, and the app will ask you to allow the microphone access. Select While using the app.
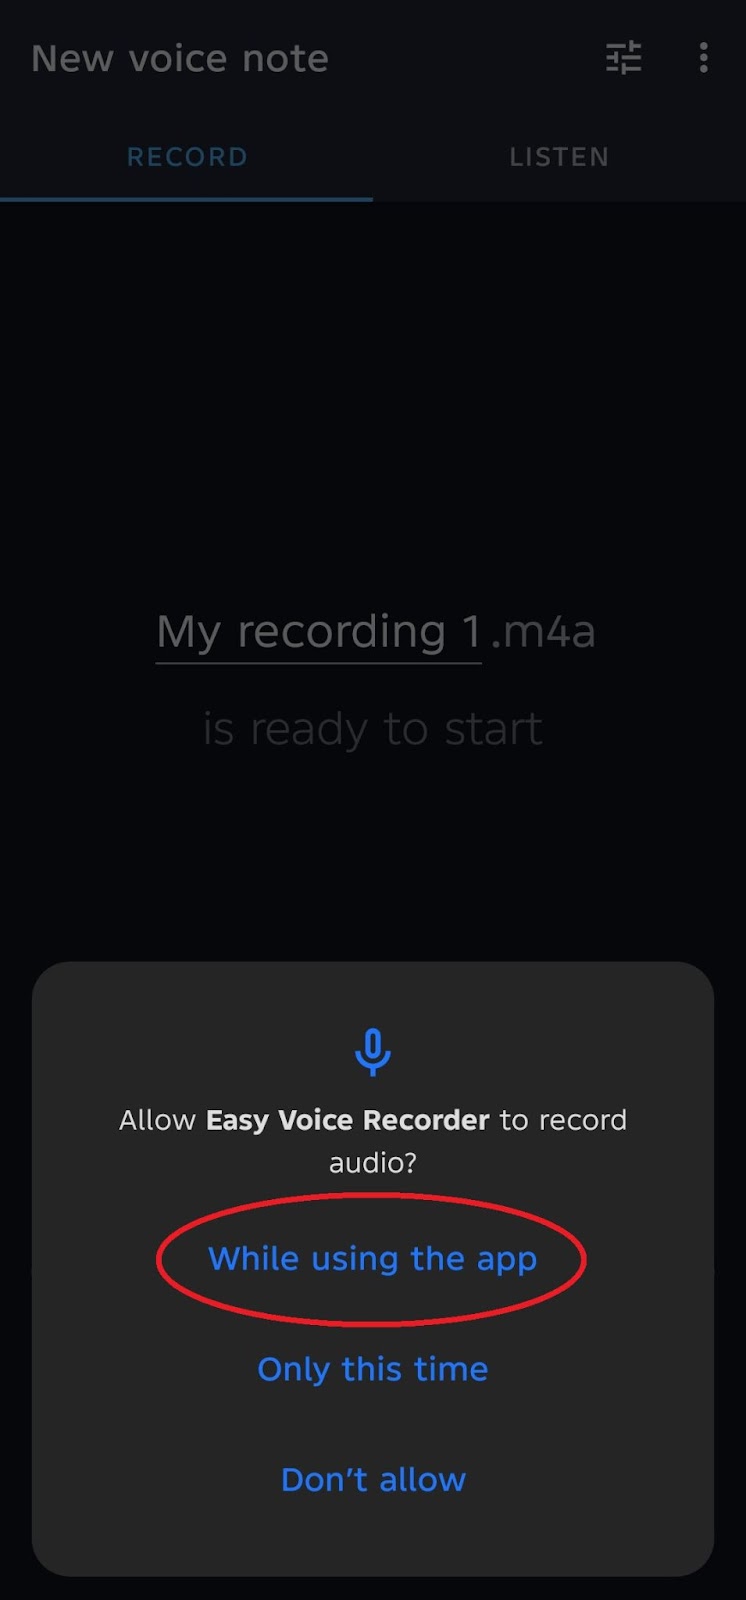
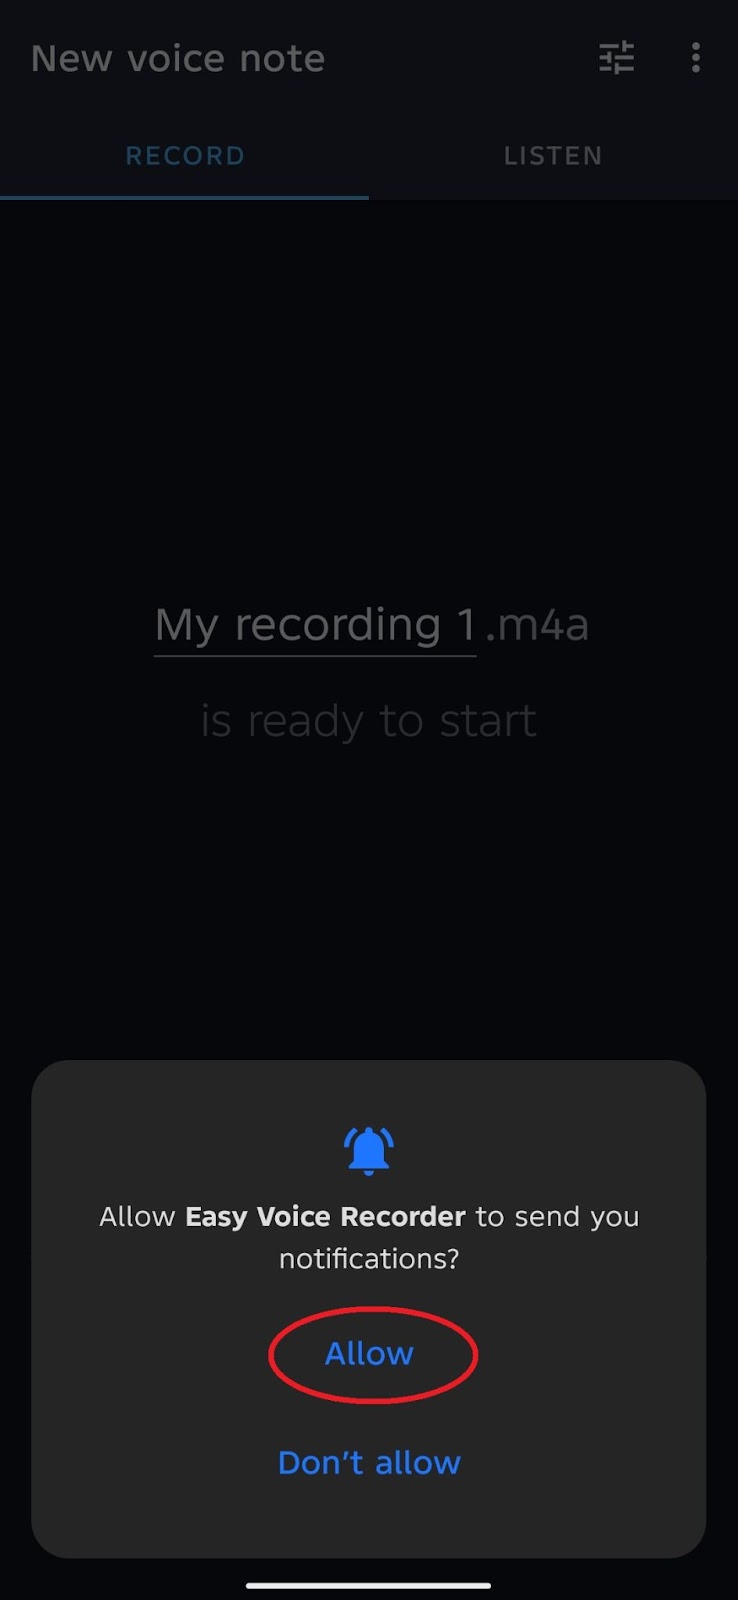
- Another notification will appear. Here, the app will ask you to allow recording audio. Select the Allow button to continue.
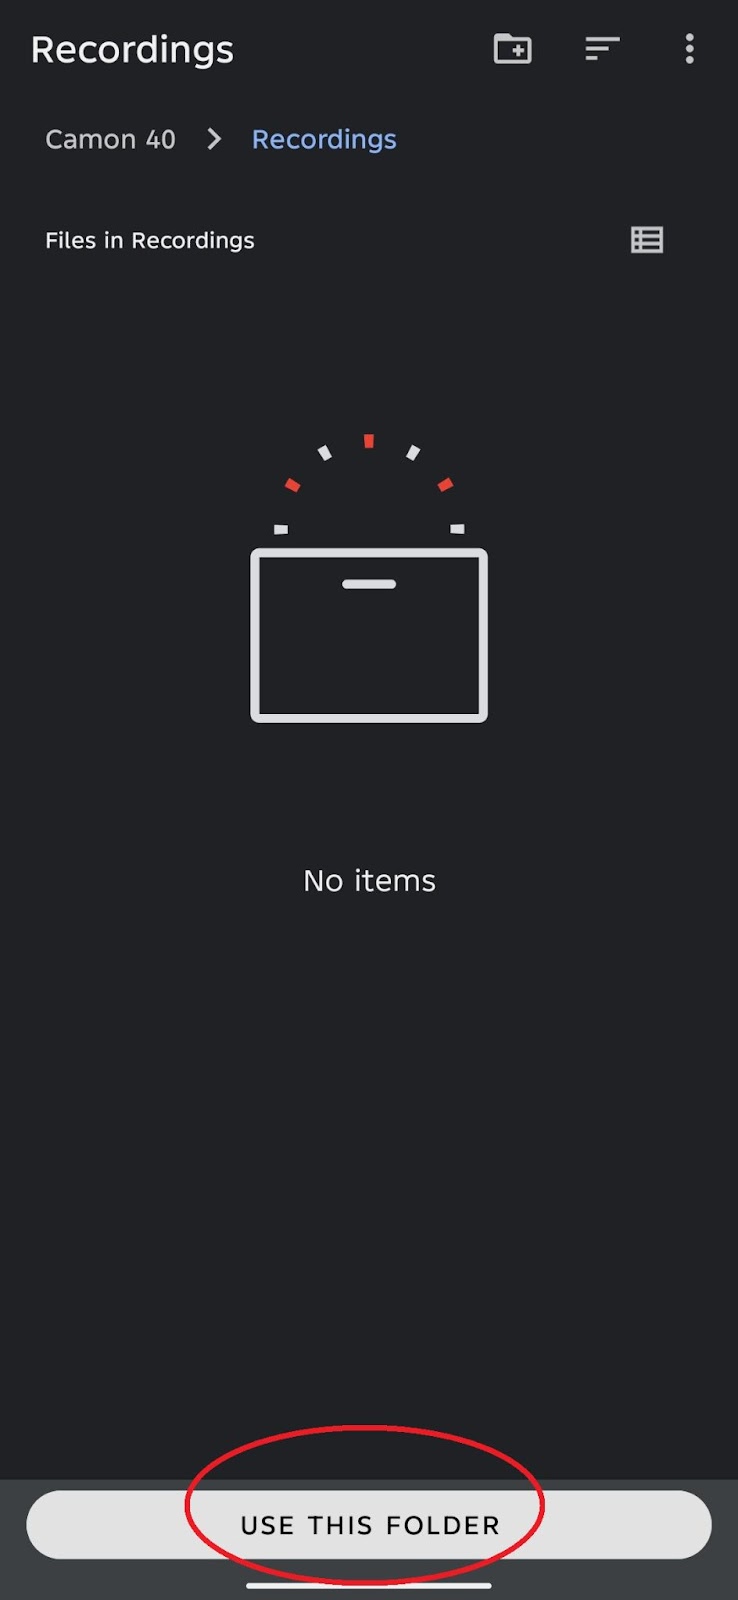
- Then you can select a location to save your recordings by clicking the SELECT LOCATION button.

- By default, the location save will be located in your Recordings folder in storage, tap USE THIS FOLDER button.
Note: You can also save your recordings to your preferred location.
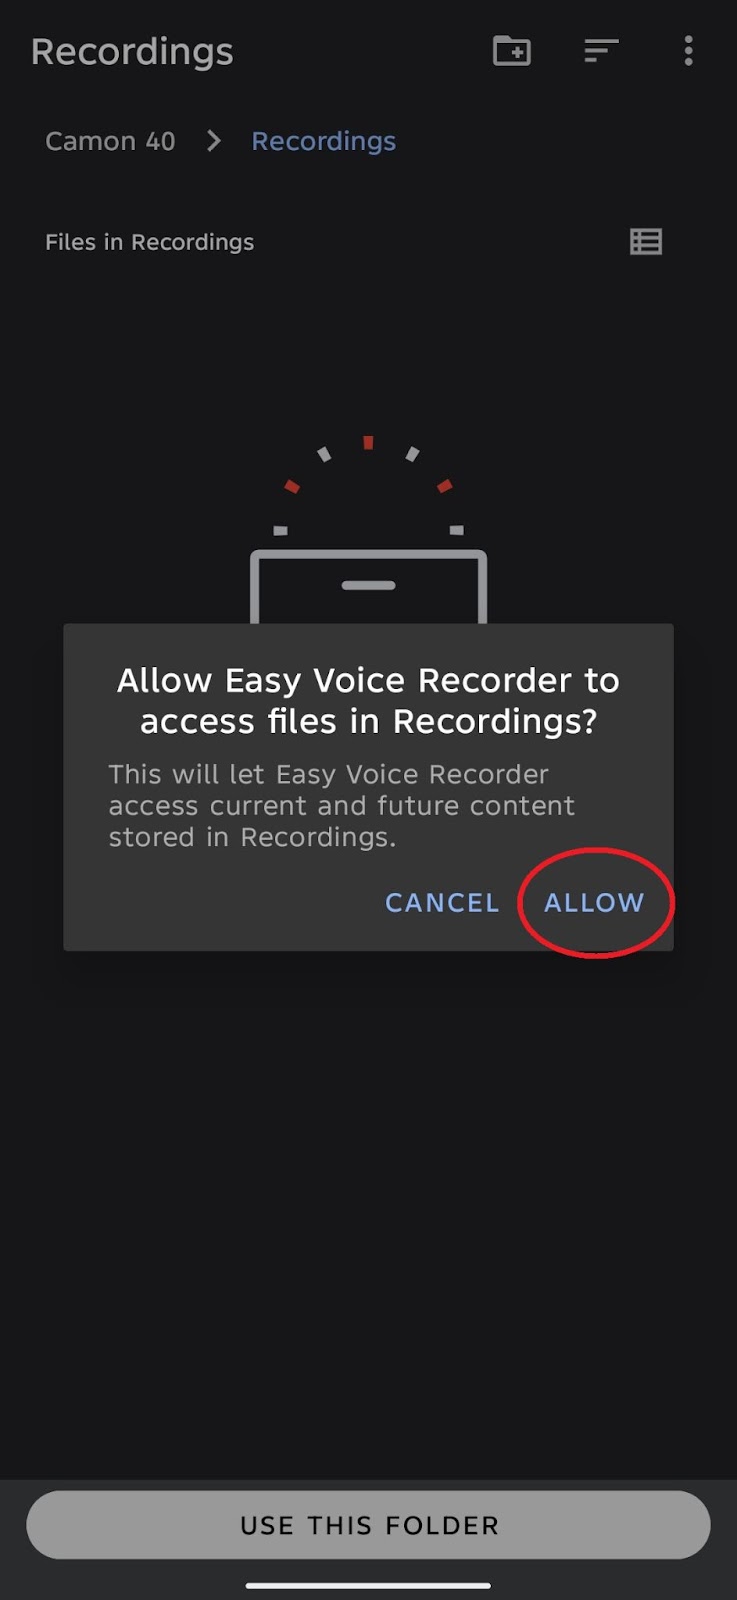
- Select the ALLOW button to allow the Easy Voice Recorder app access to files in your Recordings folder.
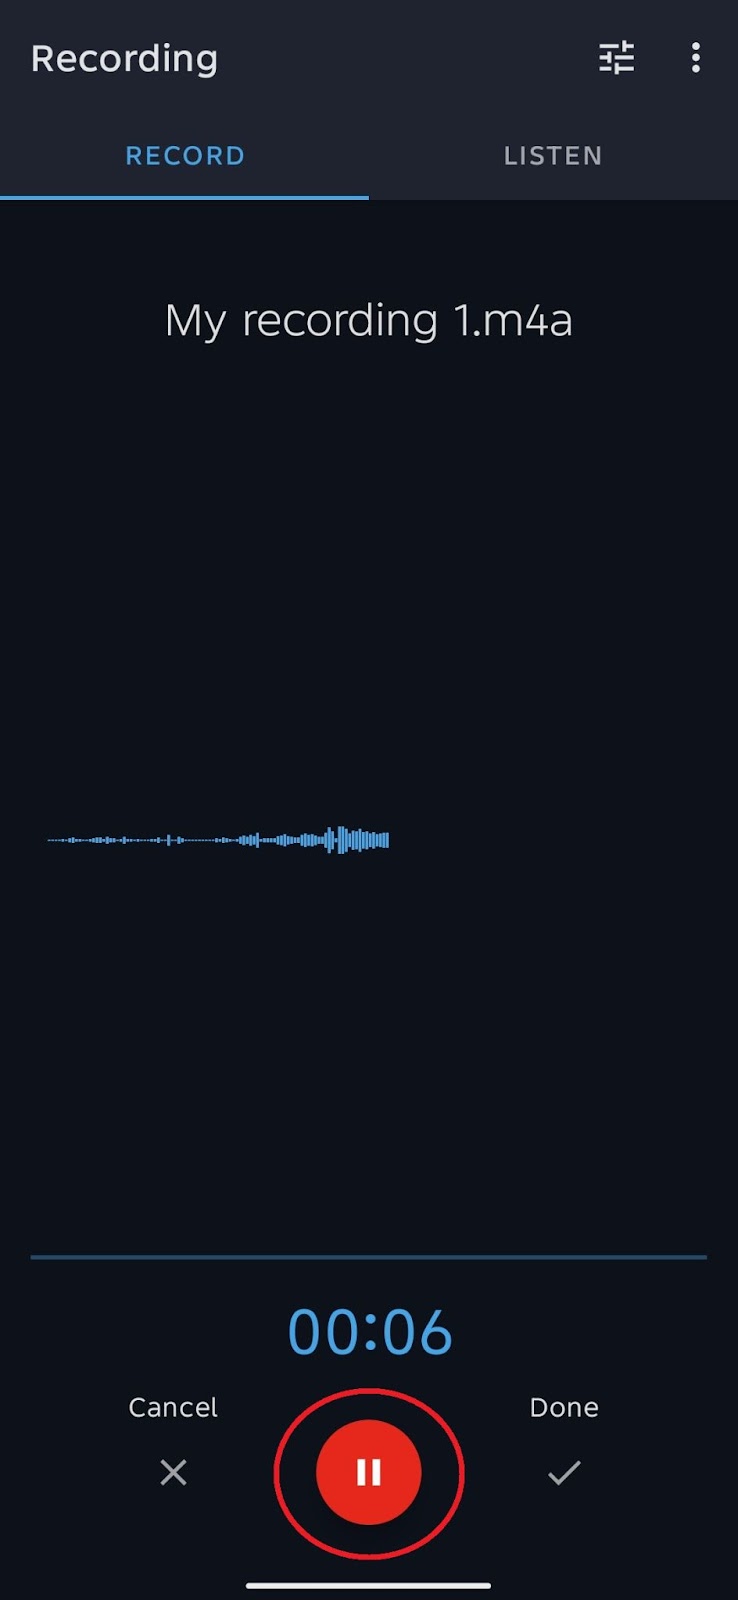
- When you’re ready, hit the microphone icon to start recording audio.
Note: If you’re using an external mic like the Hollyland LARK A1, the Easy Voice Recorder app will detect it automatically.

- Once you’re done recording audio, you can tap the stop button. The file is saved automatically.
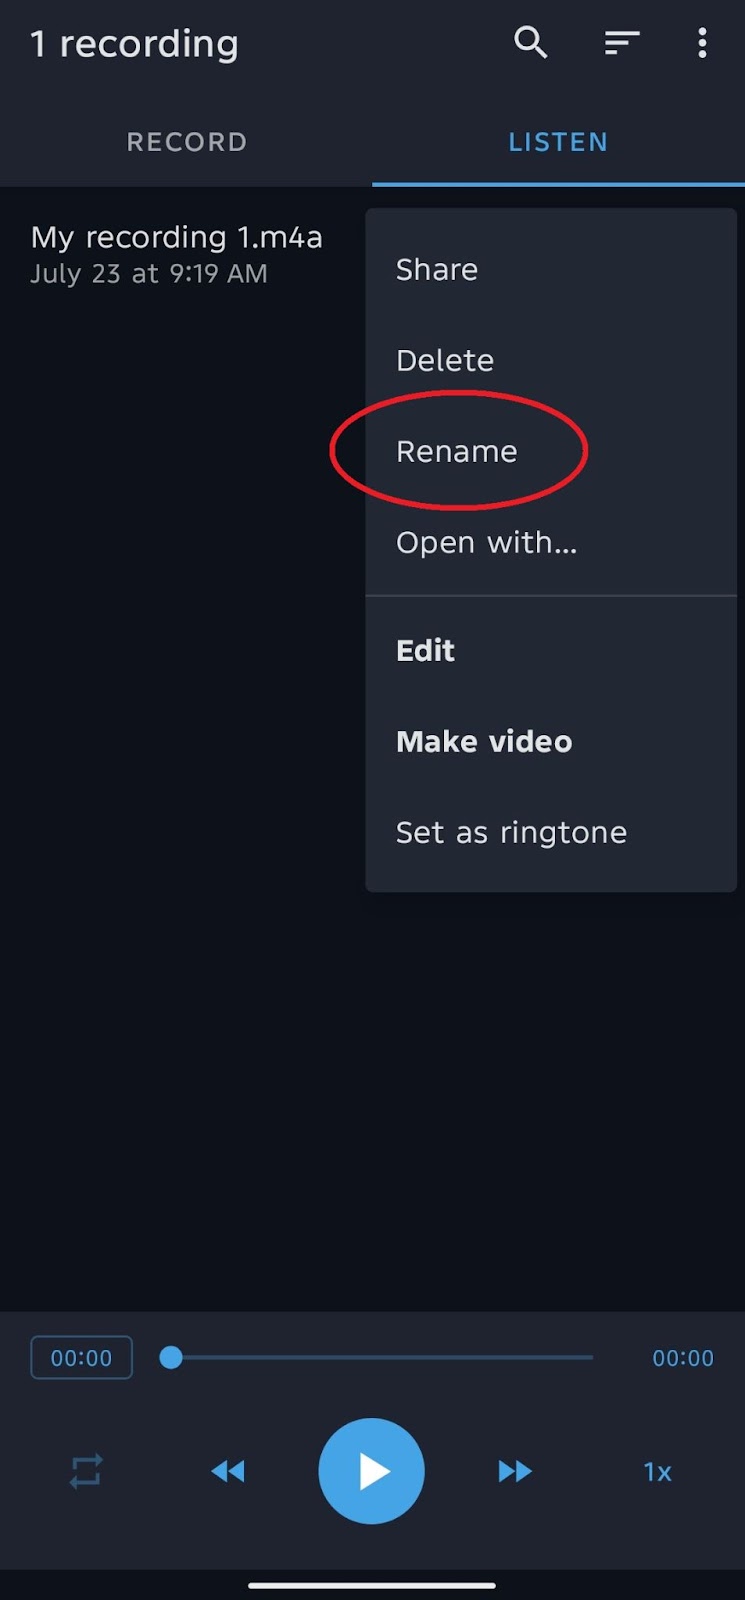
- Go to the LISTEN tab to rename your audio file, share, delete, and more.

- Then click on the 3-dot button.
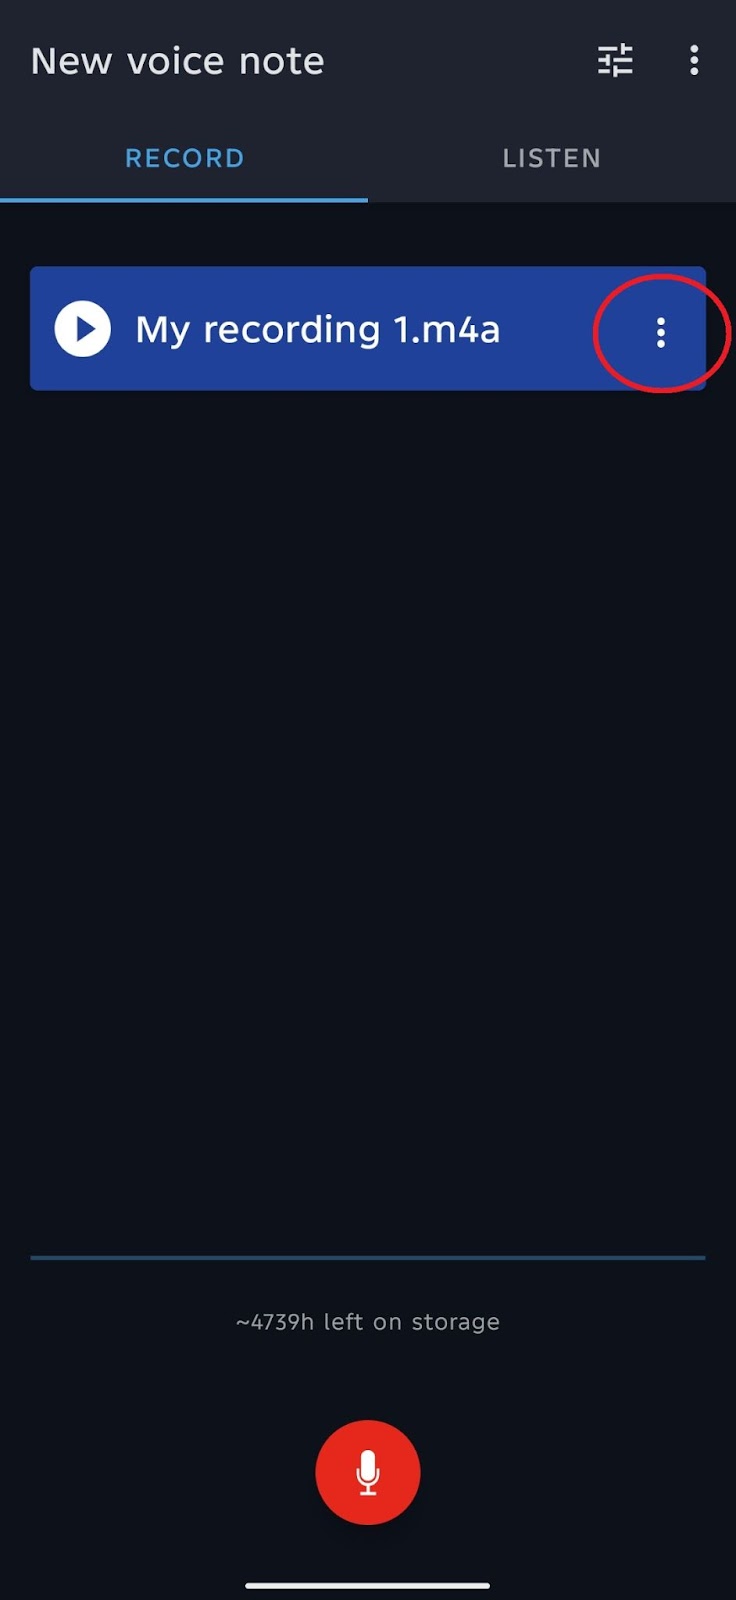
- Rename your audio recording file, then you can access your file in the Recordings folder in Storage because we selected this earlier by default.
Tips for Getting Cleaner Audio
Sometimes the problem isn’t the app, it’s how you’re recording. Here are some real-world tips to help your audio sound way better without fancy gear:
Choose a Quiet Environment
Fans, traffic, people talking, background noise adds up fast. Record in a quiet room. Curtains, rugs, or cushions help absorb echo too.
Watch Your Mic Distance
Keep your mic around 6–12 inches from your mouth. Too close? It’ll distort. Too far? You’ll sound like you’re across the room.
Always Do a Quick Test First
Don’t just hit record and hope. Try a short test, listen back, and fix anything weird, like noise, low volume, or awkward mic placement.
Switch to Airplane Mode
A call or notification can ruin your whole take. Airplane mode keeps your recording smooth and interruption-free.
Don’t Hold the Phone
Hands make noise. Table bumps, mic rustling, it all gets picked up. Set your phone down or try to use tripod and let it do the work.
Conclusion
Great audio doesn’t just happen. You gotta pay attention to where you’re recording, how you’re holding your phone, and what app fits the moment. Built-in tools work, but sometimes you need more. That’s when knowing your options matters. Don’t stress about sounding perfect, just focus on being clear. Do a quick test, find a quiet spot, and let your voice come through.
Tools like wireless mics help, sure, but your habits matter more. Stay mindful, keep things simple, and you’ll get the results you need. The more you record, the better you’ll get. Just hit record and keep learning as you go.
FAQs
- Can I record phone calls on a Samsung device using these apps?
No. Most third-party apps and Samsung’s Voice Recorder don’t support call recording due to privacy restrictions. You’ll need a separate tool with proper permissions.
- What audio format should I use for the best compatibility?
MP3 is the safest choice. It’s lightweight, widely supported, and easy to share. WAV offers better quality but takes up more space.
- Will using a Bluetooth headset affect recording quality?
Yes. Bluetooth audio is often compressed and may lower clarity. For the best results, stick to wired or wireless mics.