.png)
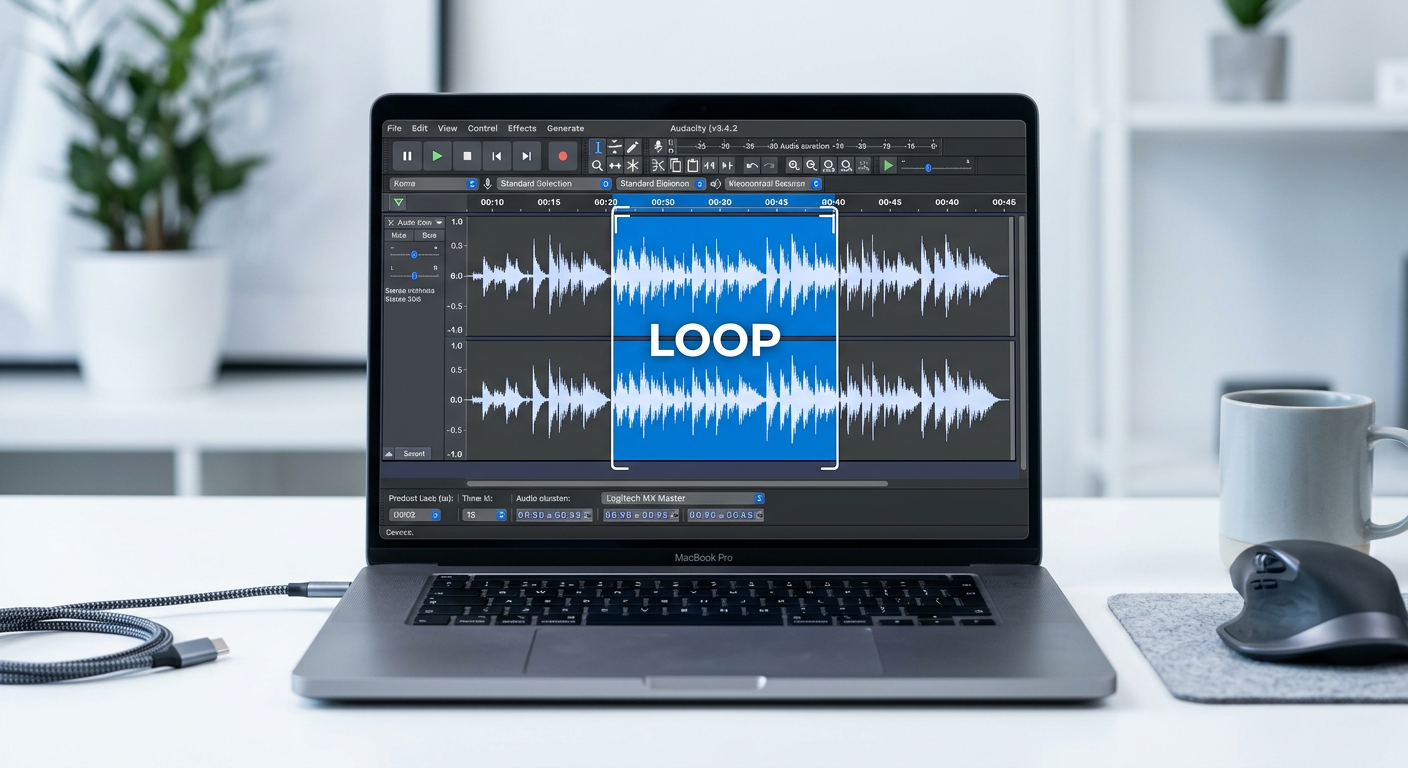
It is a classic editing nightmare: you have found the perfect background track or sound effect, but the file is only 30 seconds long and your video project runs for five minutes. If you simply drag the clip out, it ends abruptly. If you stretch it carelessly, the pitch drops, making it sound like a slow-motion robot.
Learning how to make a track longer in Audacity (looping & extending) is a fundamental skill that solves this problem. You don’t need to be a sound engineer; you just need to manipulate the waveform using one of two core strategies.
Choosing the right method depends entirely on your audio type:
- Looping (Repetition): Best for music and rhythmic beats. You duplicate the clip and stitch the end of one to the start of the next, using crossfades to hide the “seams.”
- Time Stretching: Best for ambient drones, sound effects, or textures. Instead of repeating the sound, you use tools like Change Tempo or Paulstretch to physically slow the playback speed down without altering the pitch.
Method 1: The “Repeat” Effect (Fastest Method)
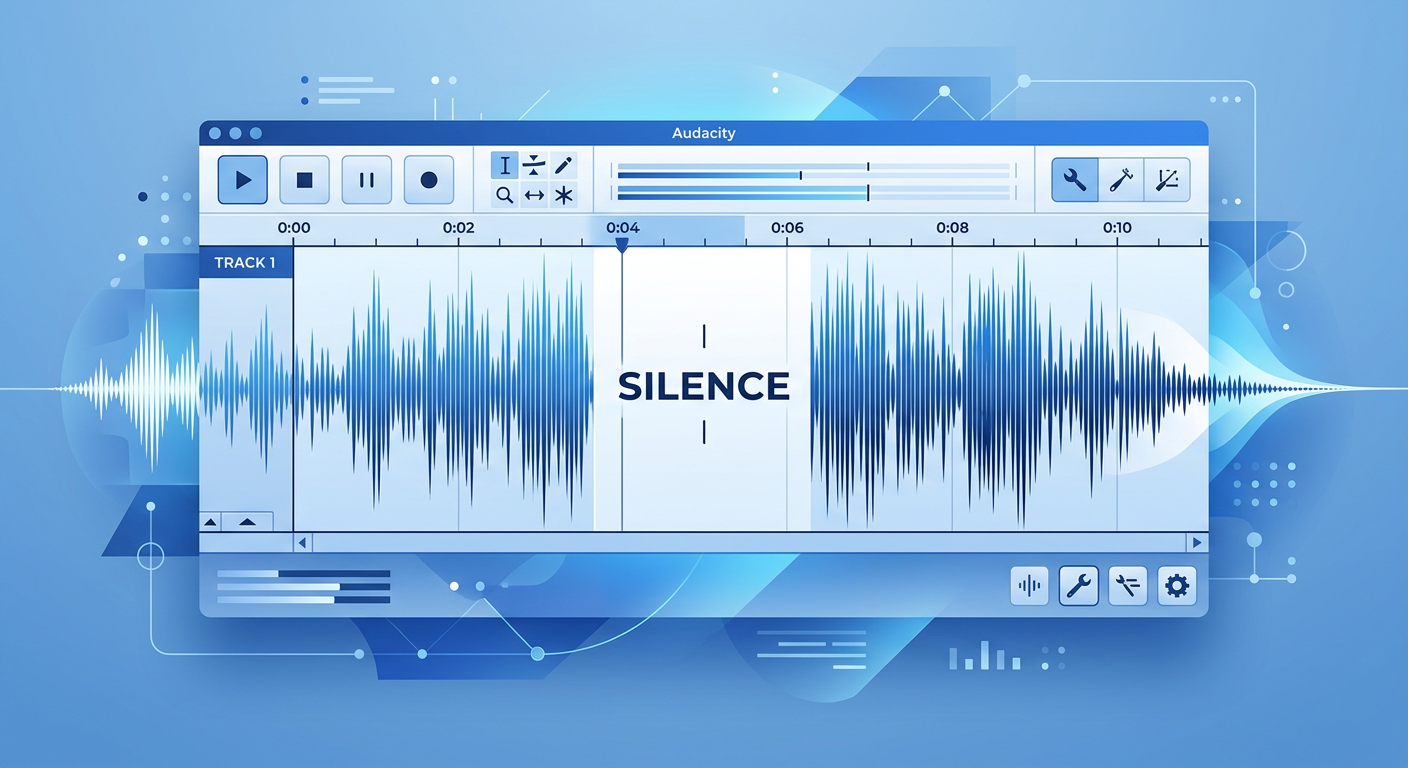
If you need to extend a track quickly and aren’t worried about complex mixing, the Repeat effect is your best option. This method is ideal for consistent background textures—like rain, white noise, or fan sounds—or for extending a section of silence in a podcast.
Note: Be careful when using this on music. Because this method simply pastes the track back-to-back, it does not blend the edges.
Step-by-Step Guide
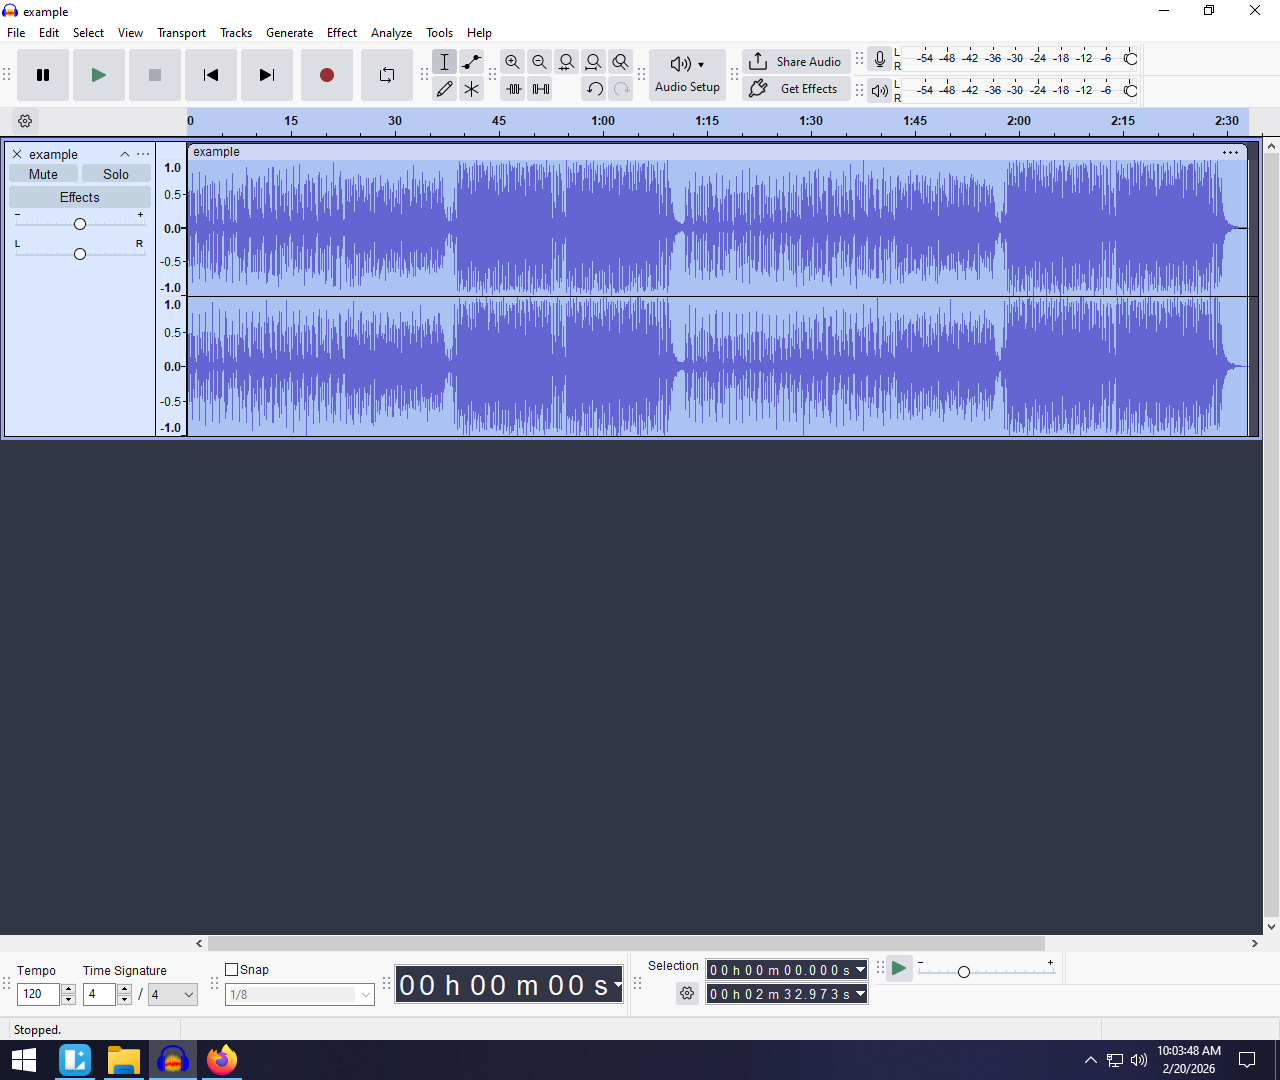
- Select Your Audio: Click on the track you want to extend. To select the entire clip, press Ctrl + A (Windows) or Cmd + A (Mac).
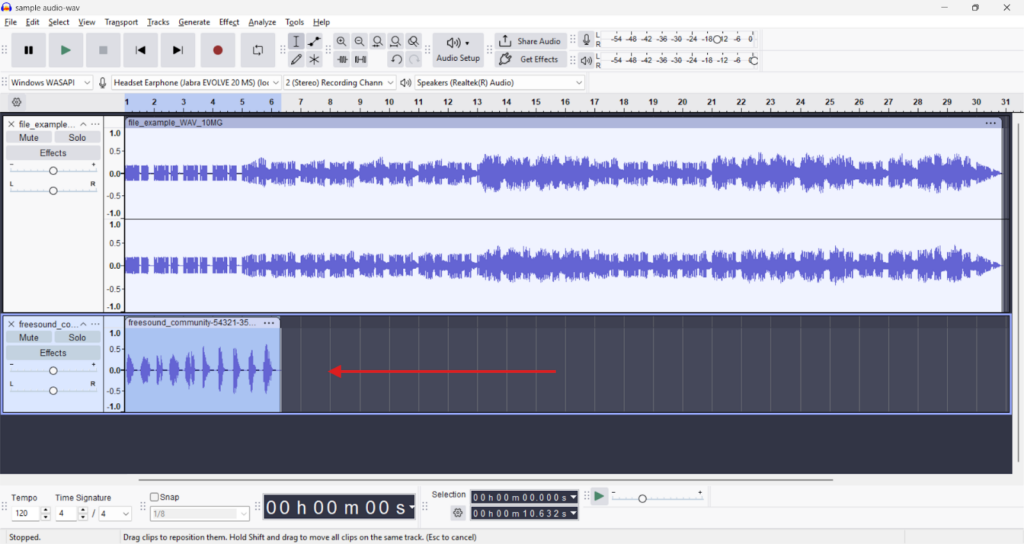
- Open the Menu: Go to the top menu bar and select Effect > Repeat. (In newer versions, look under Effect > Special > Repeat).
- Set Your Duration: A dialog box will appear with two options:
- Number of repeats: Enter how many times you want the clip to loop.
- New selection length: This is useful for video editors. If you know your video is exactly 5 minutes long, type 00:05:00 here, and Audacity will calculate the repeats for you.
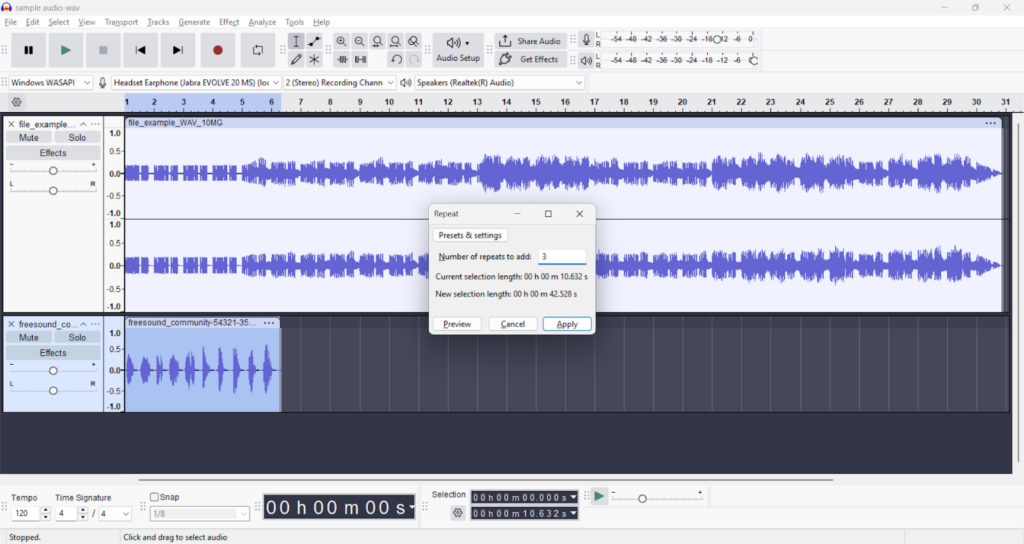
- Apply: Click Apply or OK.
⚠️ Pro Tip: Watch Out for “The Click”
The Repeat tool creates “hard cuts.” It joins the end of the clip directly to the start of the next loop without fading. If the waveform at the end doesn’t perfectly match the start, you will hear a noticeable “pop” or “click” every time the loop repeats. If you hear this, undo the action and use Method 2 below.
Method 2: Manual Looping with Crossfades (Best for Music)
While the “Repeat” effect is fast, it often results in jarring glitches or mismatched beats. If you are extending a music track, you need Manual Looping. This method blends the end of one clip into the start of the next, hiding the “seam” completely.
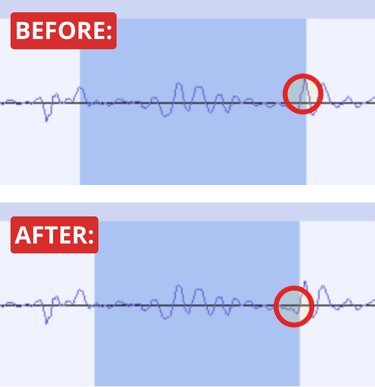
The “Zero Crossing” Rule
Before you make any cuts, you need to understand why pops happen. A “pop” usually occurs because you cut the audio while the waveform was at a high peak. To prevent this, you should always cut or join audio at the exact point where the waveform line touches the center horizontal line (silence).
- Quick Fix: Highlight your selection and press Z (or go to Select > At Zero Crossings). This automatically adjusts your selection edges to the nearest safe cut point.

Step-by-Step: Creating a Seamless Loop
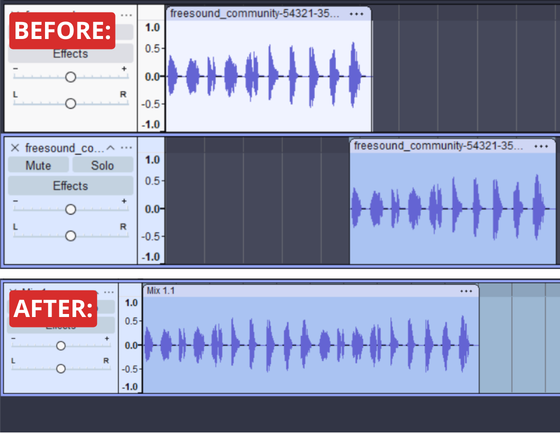
1. Duplicate the Audio
Instead of pasting the clip at the end, place the copy on a separate track below the original. This gives you visual control over the transition.
- Select your track.
- Press Ctrl + D (Cmd + D on Mac) to duplicate it.
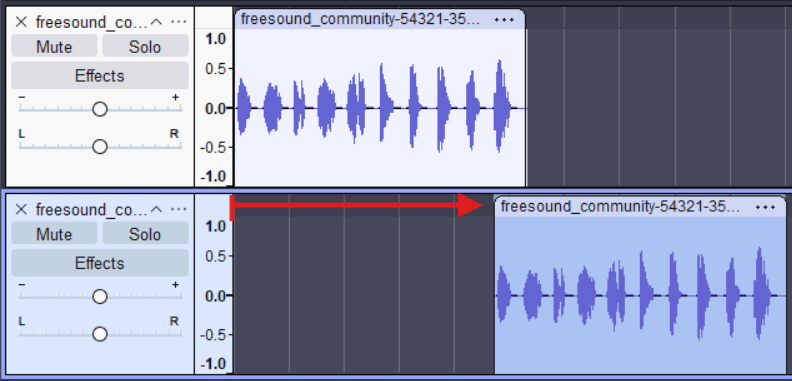
2. Position and Overlap
You need the second track to start just as the first track is ending, with a slight overlap to create the blend.
- Use the Time Shift Tool (in newer Audacity versions, hover over the clip title bar until the hand icon appears).
- Drag the bottom clip to the right.
- Line it up so the start of the bottom clip overlaps the end of the top clip by 1–2 seconds.
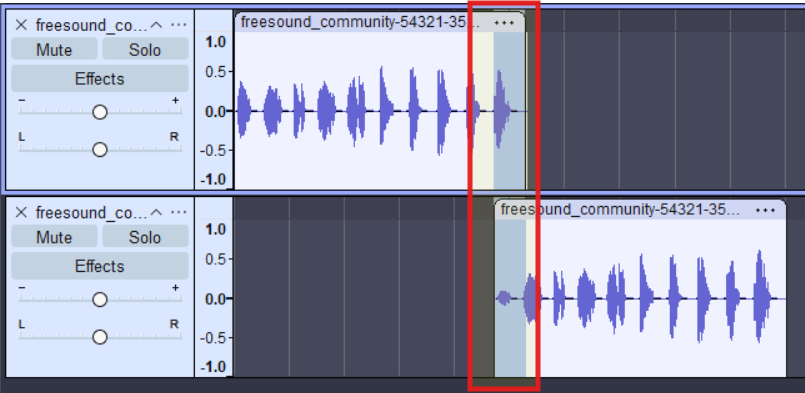
3. Apply the Crossfade
This step hides the loop point.
- Use the Selection Tool (I-beam icon) to highlight the specific area where the two tracks overlap. Make sure the selection covers both the top and bottom tracks.
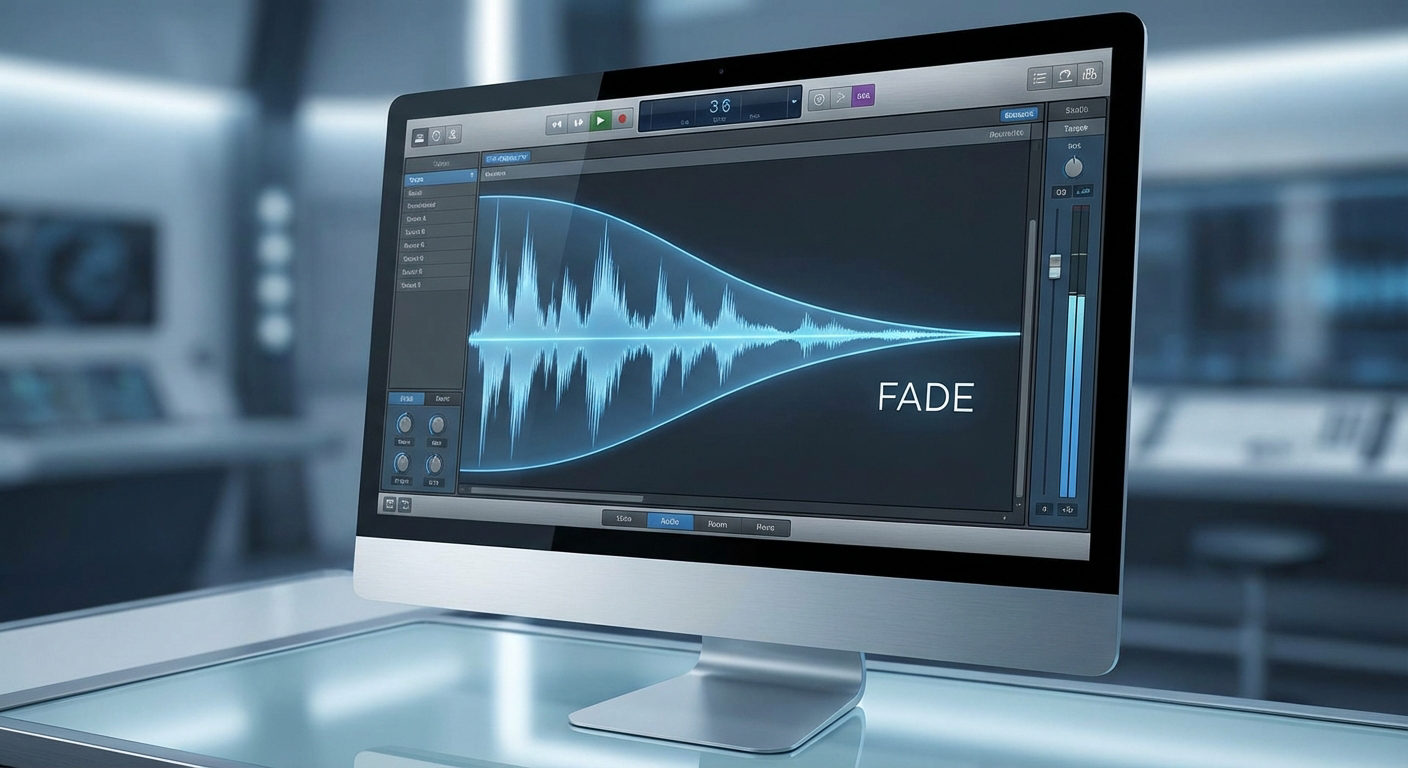
- Go to Effect > Fading > Crossfade Tracks.
- Audacity will automatically fade the top track out while fading the bottom track in.
4. Merge (Optional)
Once the transition sounds smooth, combine the tracks to keep your workspace clean.
- Press Ctrl + A to select all.
- Go to Tracks > Mix > Mix and Render. This flattens your layers into one long, seamless file.
Method 3: Time Stretching (Change Tempo & Paulstretch)
If looping doesn’t work for your project—perhaps you have a sound effect or a voiceover that simply needs to be slower—you need Time Stretching.
Beginners often make the mistake of using the “Change Speed” effect. While this makes the track longer, it lowers the pitch, making your audio sound like a deep-voiced monster. To extend the duration without destroying the pitch, use Change Tempo or Paulstretch.
Option A: Change Tempo (For Minor Adjustments)
This is best for small tweaks, such as stretching a 28-second background track to cover a 30-second video clip.
- Select your audio clip (Ctrl + A / Cmd + A).
- Navigate to Effect > Pitch and Tempo > Change Tempo.
- Locate the “Length (seconds)” box.
- Enter your desired Target Length (e.g., change 28.00 to 30.00).
- Click Apply.
Note: If you stretch the audio too aggressively (more than 20-30%), you may hear “robotic” artifacts.
Option B: Paulstretch (For Extreme Stretching)
If you want to turn a short sound—like a bell chime or a single piano chord—into a long, atmospheric drone, Paulstretch is the industry standard. It smoothes out the audio as it stretches, creating ethereal textures perfect for background ambiance.
- Select your audio clip.
- Go to Effect > Stretch and Reverb > Paulstretch.
- Adjust the Stretch Factor.
- 10.0 makes the clip 10 times longer.
- 1.0 keeps the length the same (but changes the texture).
- Adjust the Time Resolution (seconds).
- Lower values (e.g., 0.25) keep more of the original rhythm.
- Higher values (e.g., 2.0) smear the sound, creating a “wash” of noise.
- Click OK.
Common Pitfalls: Why Does My Loop “Click” or “Pop”?
Nothing ruins an immersive audio track faster than a rhythmic “click” every time the loop repeats. These glitches occur because the audio waveform has been interrupted abruptly.
Audio is a continuous wave. If you cut a clip when the wave is at a peak and paste it next to a section where the wave is at a valley, your speaker cone tries to snap instantly from one position to the other. That physical snap creates the audible click.
Here is how to troubleshoot these common glitches.
1. You Didn’t Cut at a “Zero Crossing”
This is the number one cause of bad loops. To ensure a seamless connection between two clips, the start and end points must both be at the “zero line” (silence).
- The Fix: Before you cut or copy, press Z (or Select > At Zero Crossings). Audacity will adjust your selection to the nearest safe cut point, eliminating the “snap.”
2. You Forgot to Crossfade
Even if your cuts are technically perfect, a sudden change in tone or volume will still sound jarring.
- The Fix: Never rely on a hard cut. Always overlap your clips slightly (by 1-2 seconds) and apply a Crossfade (Effect > Fading > Crossfade Tracks). This forces the first clip to fade out while the second fades in.
3. Your Source Audio Can’t Handle the Edit
If your extended track sounds robotic, grainy, or distorted—especially after using Time Stretching—the issue is likely the quality of your original recording. When you stretch audio, you are pulling the digital data apart. If the source file has a low bitrate, those gaps become obvious artifacts.
Pro Tip: Record “Edit-Ready” Audio
To ensure your audio withstands heavy editing, stretching, and looping without falling apart, you need to capture high-fidelity data from the start.
This is where the Hollyland LARK MAX 2 is a massive advantage for creators. It features 32-bit Float Recording, which captures a huge dynamic range. Unlike standard audio files, 32-bit float files are virtually impossible to distort. You can stretch the audio significantly in Audacity without introducing the “hiss” or degradation found in lower-quality files.

Hollyland LARK MAX 2 - Premium Wireless Microphone System
A premium wireless microphone for videographers, podcasters, and content creators to capture broadcast-quality sound.
Key Features: Wireless Audio Monitoring | 32-bit Float | Timecode
Combined with 48kHz Studio Quality sampling, the Lark MAX 2 gives you dense, rich audio data that remains smooth even when you slow it down for dramatic effect.
FAQ: Making Tracks Longer in Audacity
Can I loop just a specific section of a song?
Yes. You don’t have to repeat the entire track. Use the Selection Tool to highlight the specific part (like a drum break). Press Shift + Space to “Loop Play” and preview the transition. If it sounds good, copy and paste it where needed.
Does Audacity have an AI music extender?
Not natively. Audacity is a manual wave editor, meaning it does not “generate” new music to fill time like Adobe Premiere’s Remix tool. However, Audacity supports Intel OpenVINO plugins which offer experimental AI features. For most users, manual looping (Method 2) remains the most reliable method.
How do I match the BPM when looping?
If you are looping music, visual guessing often leads to off-beat rhythm.
- Find the BPM (Beats Per Minute) of your track using a free online tool.
- Right-click the Timeline Ruler in Audacity.

- Select Beats and Measures.
This creates a grid based on the tempo, allowing you to snap your cuts exactly to the beat.
Conclusion
Extending a track in Audacity saves you from having to hunt for a new song every time a video runs 10 seconds too long.
- Use the Repeat Effect for speed on simple background noise.
- Use Manual Looping with Crossfades for music to ensure the listener never hears the “seam.”
- Use Paulstretch or Change Tempo for creative sound design.
Once you are satisfied with the length, export your file as a WAV (Microsoft) signed 16-bit PCM. While MP3s are smaller, they compress audio data; re-encoding an MP3 into a video editor can introduce unwanted digital noise.
Finally, remember that great editing starts with great source material. Heavy manipulation reveals imperfections immediately. To capture audio that stays pristine even when stretched, cut, or looped, consider using the Hollyland Lark MAX 2 with its 32-bit float recording capabilities.