.png)
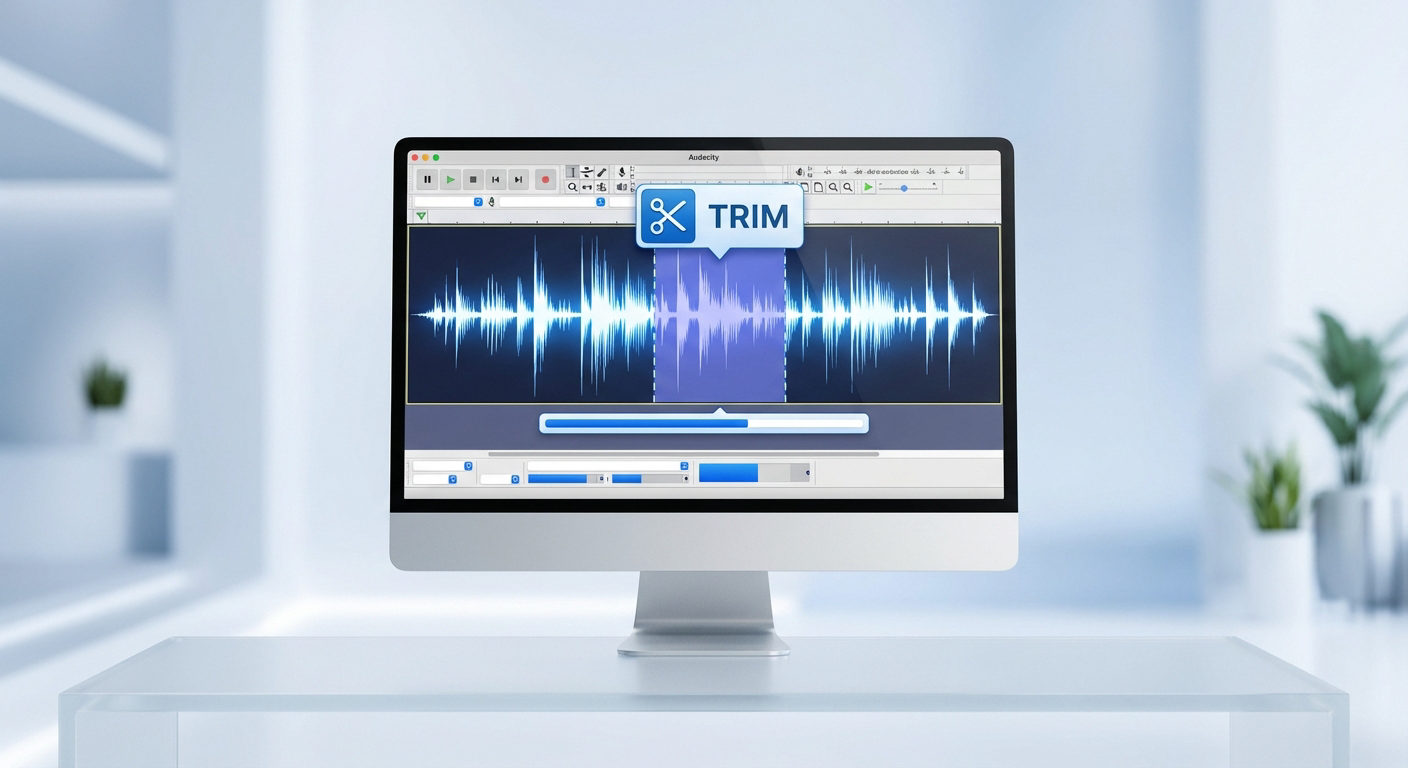
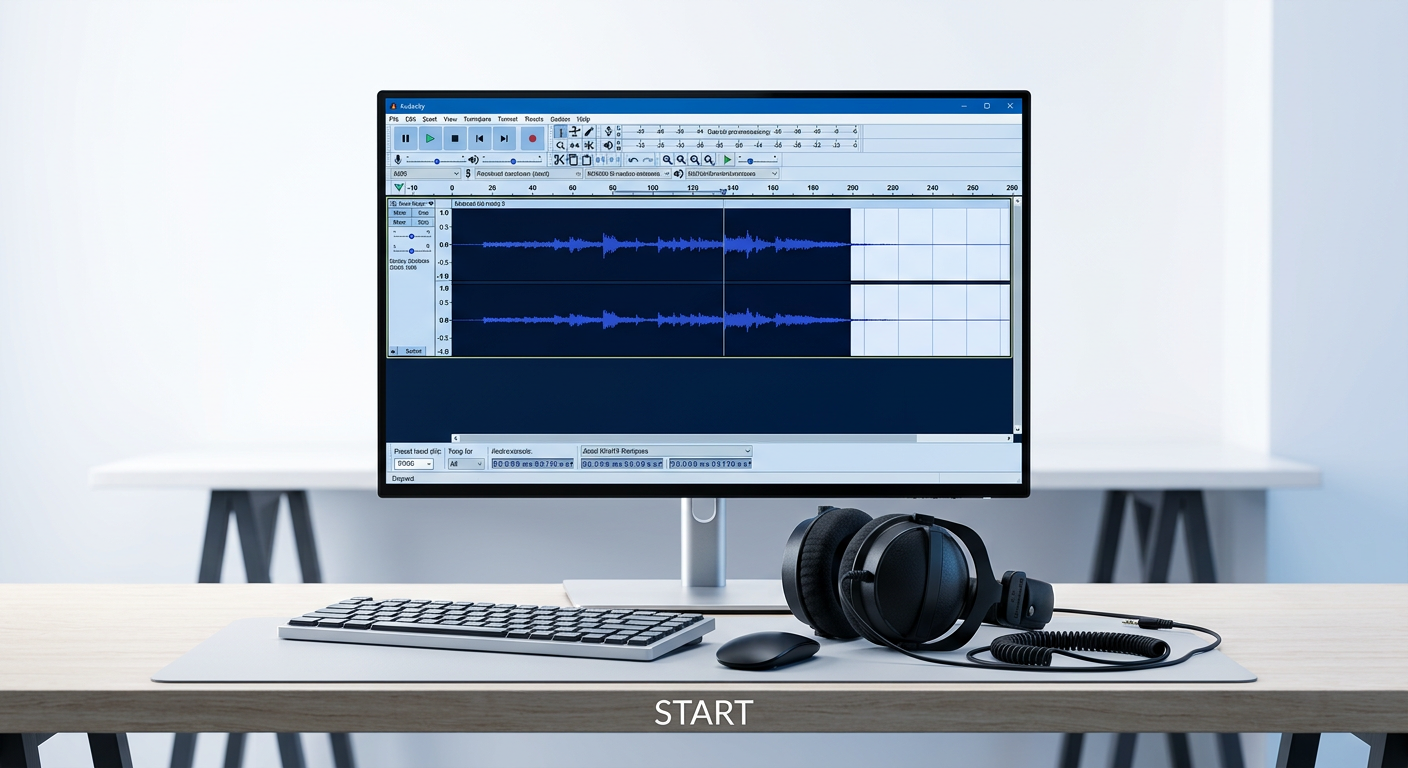
If you are just starting a podcast, you have likely run into the big debate: expensive paid software vs. free options. If you want to know how to edit a podcast in Audacity, you’ve made a smart choice. Despite its utilitarian look, Audacity remains the industry standard for free audio editing. It is open-source, lightweight, and surprisingly capable.
While it lacks the flashy interface of paid competitors, Audacity gives you granular control over your audio. It supports advanced features like multi-track editing, noise reduction, and third-party plugins. for 99% of podcasters, it provides every tool needed to produce a broadcast-quality show without a monthly subscription fee.
The “Golden Rule” of Editing
Before you touch a single slider or effect, you must understand the most critical rule of audio engineering: “Garbage in, Garbage out.”
Software is a tool for polishing, not rescuing. If your original recording is filled with echo, wind noise, or distortion, no amount of editing will make it sound perfect. The goal of a great editor is to spend time enhancing content (pacing, music, EQ), not wasting hours trying to fix bad audio capture.
Pro Tip: You can cut your editing time in half by prioritizing high-quality source audio. Using a recording system like the Hollyland LARK MAX 2 with 32-bit float recording ensures you never have to fix distorted or “clipped” audio in post-production. Because 32-bit float captures a massive dynamic range, even if your guest shouts or laughs loudly, the audio remains recoverable and crystal clear.

Hollyland LARK MAX 2 - Premium Wireless Microphone System
A premium wireless microphone for videographers, podcasters, and content creators to capture broadcast-quality sound.
Key Features: Wireless Audio Monitoring | 32-bit Float | Timecode
Setting Up Your Workspace (Before You Start)
Before dragging in your first audio file, you need to configure Audacity to handle modern file formats and standard broadcast quality. A few minutes of setup now prevents file compatibility errors and “jagged” editing later.
Follow this checklist to get ready:
- Install the FFmpeg Library: By default, Audacity cannot open M4A (AAC) files—the standard format for iPhone Voice Memos—or extract audio directly from video files. To fix this, go to Edit > Preferences > Libraries (Windows) or Audacity > Preferences > Libraries (Mac). Click the “Download” button next to the FFmpeg library section and follow the prompts. This one-time install saves you from converting files externally.


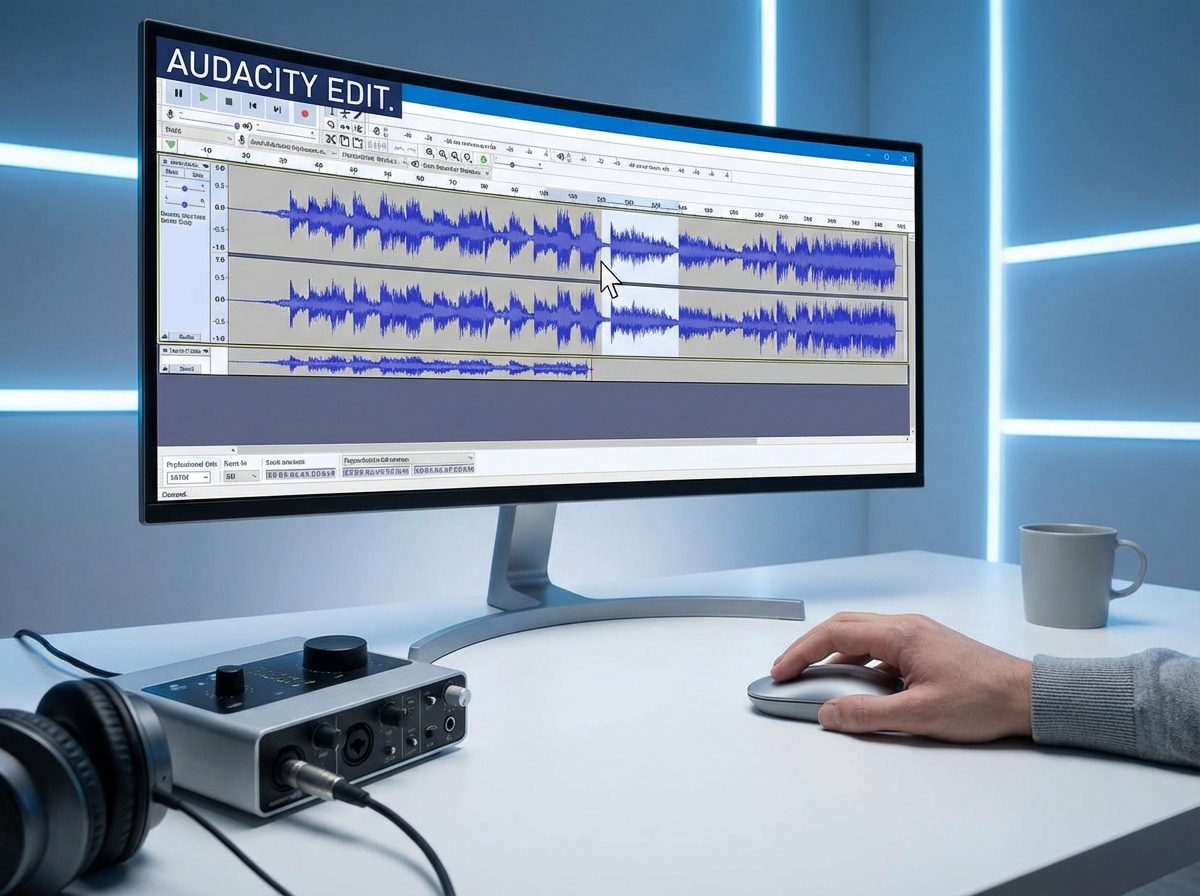
Step 1: Importing and Organizing Your Tracks
Before you apply a single effect, let’s get your raw audio files into Audacity and arranged correctly. A messy timeline leads to mistakes, so take a moment to organize your workspace.
Importing Your Audio
The fastest way to start is the Drag and Drop method. Open the folder containing your recordings (WAV or MP3 files), select them, and drag them directly into the gray workspace in Audacity.
Alternatively, go to File > Import > Audio (or press Ctrl+Shift+I / Cmd+Shift+I on Mac).


The “Pro Workflow”: Sync-Lock Tracks
The number one nightmare for new podcast editors is De-synchronization.
Imagine you are editing an interview. You cut a 5-second silence from your track (the Host), but you forget to cut that same 5 seconds from the Guest’s track. Suddenly, the rest of the interview is out of sync—you ask a question, and the guest answers 5 seconds too late.
To prevent this, enable Sync-Lock Tracks.
How to enable it:
- Go to the menu bar and select Tracks.
- Click Sync-Lock Tracks (or check for a “Clock” icon on the track control panel).
- You will see a patterned background appear on your tracks, linking them together.

Why this matters:
With Sync-Lock enabled, if you highlight and delete a section of audio on the “Host” track, Audacity automatically removes that same section of time from the “Guest” track. This ensures that no matter how many cuts you make, the conversation always stays perfectly aligned.
Step 2: Noise Reduction (Cleaning the Canvas)
Before cutting a single word, you must clean up the “noise floor.” Even in a quiet studio, microphones pick up subtle background sounds—computer fans, air conditioners, or electrical hiss. If you edit first and clean later, you might accidentally cut away the “room tone” needed to teach Audacity what to remove.
Think of this step as wiping the lens before taking a photo.
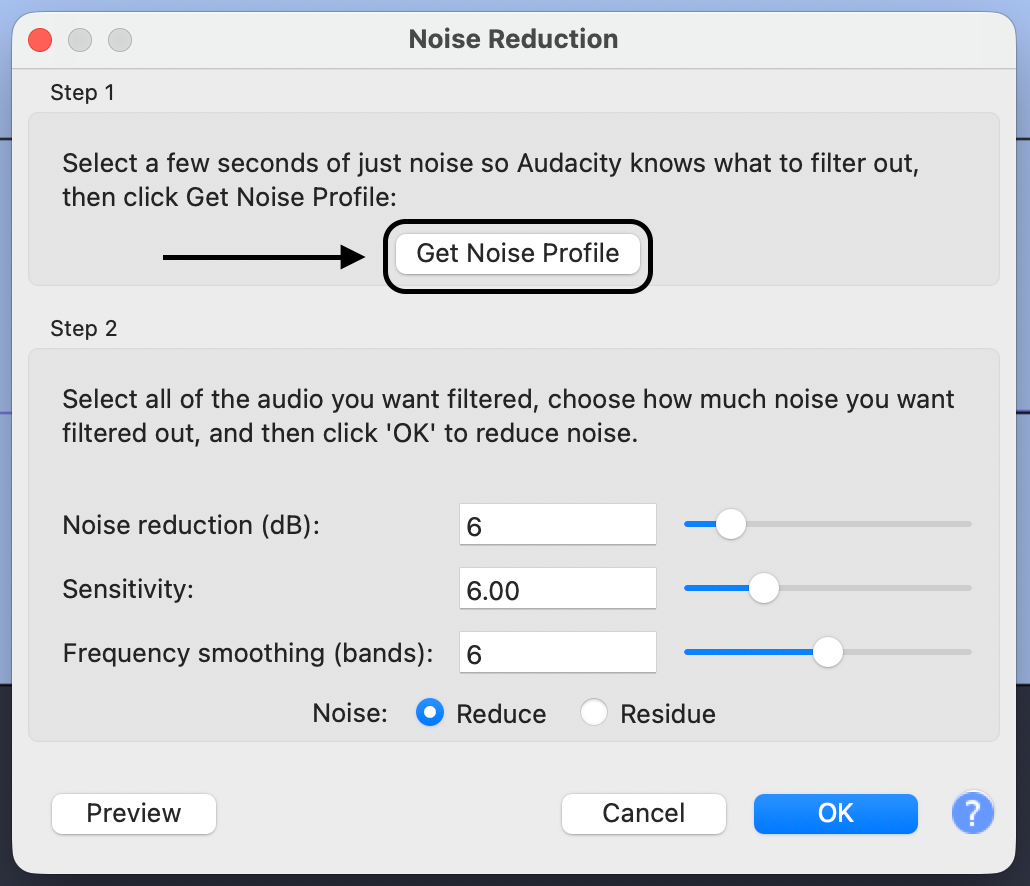
How to Use Noise Reduction
To remove background hiss without making your voice sound robotic, follow this process:

- Get Noise Profile: Go to Effect > Noise Reduction and click the button labeled Get Noise Profile. The window will close instantly—this is normal.

- Select the Whole Track: Press Ctrl + A (Windows) or Cmd + A (Mac) to select your entire audio track.


Note: If you use the Hollyland LARK MAX 2, you can monitor your audio wirelessly via the OWS earphones while you record. This allows you to catch background noise (like a fridge humming) immediately and fix it on set, rather than relying on software to fix it later.
Warning: Don’t Over-Process
Be careful with the “Noise Reduction (dB)” slider. Pushing this too high (above 20dB) will strip frequencies from your voice, making you sound “underwater.” It is better to have a tiny bit of hiss than a distorted, robotic voice.
Step 3: Editing the Content (The “Rough Cut”)
Once your audio is clean, it is time to focus on the narrative. This phase, known as the “Rough Cut,” is where you remove mistakes, long pauses, and distracting crutch words like “um” or “ah.”
The goal here isn’t perfection; it’s flow. You want the conversation to sound natural but concise.
Manual Editing: Deleting vs. Silencing
Beginners often make the mistake of hitting the Delete key for every error. In Audacity, how you remove audio matters significantly.
- Delete (Backspace / Delete Key): This is a destructive edit. It removes the selected audio and the time it occupied.
- When to use it: Only on solo recordings or when cutting a section from all tracks simultaneously.
- The Risk: If you delete a segment from just one track, that track shifts to the left, putting the interview out of sync.
- Silence Audio (Ctrl + L / Cmd + L): This removes the sound but keeps the timeline intact.
- When to use it: When a guest coughs or bumps the table while the host is speaking.
- The Benefit: It “mutes” that specific section without shifting the audio clips, keeping your tracks aligned.
Automating the Flow with “Truncate Silence”
Manually cutting out every pause in a 60-minute episode can take hours. Audacity’s Truncate Silence effect automates this by finding gaps in conversation and shortening them.
How to use Truncate Silence:

- Go to Effect > Special > Truncate Silence.
- Input these settings for a natural pace:
- Threshold: -20 dB (Determines what Audacity considers “silence”).
- Duration: 0.5 seconds (Ignores natural breaths; targets long pauses).
- Truncate to: 0.2 seconds (Shortens the gap without eliminating it entirely).
- Click OK.

A Note on “Ums” and “Ahs”
Don’t try to remove every single “um.” Human speech is imperfect. If you cut every breath and hesitation, your podcast will sound choppy. Focus only on removing stutters, false starts, or long pauses where the speaker lost their train of thought.
Step 4: The “Broadcast Quality” Effect Chain (Essential)
This step transforms your audio from “amateur recording” to “professional podcast.” The secret isn’t just which effects you use, but the order in which you use them.
If you apply these effects in the wrong order (like compressing before you EQ), you might amplify unwanted noise. Follow this standard Podcast Processing Chain to ensure your vocals sound rich and clear.
The 4-Step Standard Podcast Chain
- Normalization (Initial)

- Settings: Check “Remove DC Offset” and set “Normalize peak amplitude to” -1.0 dB.

- Equalization (Filter Curve EQ)
- Why: Raw recordings often have a low-frequency rumble (from air conditioners or desk vibrations) that makes the voice sound “muddy.”
- How: Go to Effect > EQ and Filters > Filter Curve EQ.
- Settings: Click Presets & Settings > Factory Presets > Low Rolloff for Speech. This automatically shapes the curve to remove unnecessary bass frequencies.
- Compression

- Suggested Settings:
- Threshold: -12 dB (The level at which the compressor kicks in).
- Noise Floor: -40 dB.
- Ratio: 2:1 (Gentle compression) or 3:1 (Punchier radio sound).
- Attack Time: 0.20 secs.
- Release Time: 1.0 secs.

- Normalization (Final)

- Settings: Set “Normalize peak amplitude to” -1.0 dB again.

Pro Tip: Once you are comfortable with these settings, you can automate this entire process using Audacity’s Macro feature (Tools > Macro Manager), allowing you to apply all four steps with a single click.
Step 5: Adding Music and Using the Envelope Tool
A professional podcast needs sonic branding. Adding an intro and outro gives your show a polished feel. However, the biggest mistake beginners make is leaving the music too loud, drowning out the introduction.
To fix this, we use **”Ducking”**—lowering the background music volume the moment the voice begins. While Audacity has an automated “Auto Duck” effect, it is often finicky. The Envelope Tool is the superior method for beginners because it gives you visual control.
Importing and Positioning Tracks
- Import Your Music: Drag and drop your music file (MP3 or WAV) into Audacity. It will appear as a new track.
- Position the Audio: Hover over the Clip Handle (the bar at the top of the waveform) and drag the music clip left or right to align it with your voice.
How to Use the Envelope Tool
The Envelope Tool allows you to change the volume of a track over time by creating “Control Points” on the waveform.

- Create “Fade” Points: Click on the blue line where you want the volume change to start (e.g., 5 seconds in). Click again where you want the fade to end (e.g., just before you start speaking).


Pro Tip: When “ducking” music under a voice, aim to visually reduce the music waveform so it is about 20% to 30% of the height of the vocal waveform.
Step 6: Exporting Your Podcast
You cannot upload an Audacity project file (.aup3) to a podcast host. To publish your episode, you must “mix down” your multi-track project into a single audio file that meets industry standards.
Getting these settings wrong can result in huge file sizes that listeners can’t download, or audio that sounds quiet compared to other shows.
The Standard Podcast Export Settings
For most podcasters, MP3 is the required format. It compresses the file size small enough for mobile streaming without noticeably degrading voice quality.
Navigate to File > Export > Export as MP3 and use the following settings:

- Bit Rate Mode: Select Constant. This ensures compatibility with all podcast players.
- Quality:

- Channel Mode:
- Force Export to Mono: Recommended for spoken word. It cuts your file size in half and ensures the host sounds centered in the listener’s headphones.
- Joint Stereo: Use this only if you have stereo sound effects or music that requires spatial separation.

Understanding Loudness Standards (LUFS)
Before you hit save, you need to ensure your volume meets the “Loudness Standard.” If your audio is too quiet, Spotify and Apple Podcasts will turn it up, potentially causing distortion. If it is too loud, they will crush the volume down.
The industry target is -16 LUFS for stereo files, or -19 LUFS for mono files.
How to achieve this in Audacity:

- Set the Perceived Loudness to -16 LUFS (or -19 if exporting Mono).
- Click Apply.
Top Gear to Simplify Your Audacity Workflow
The “Golden Rule” of audio engineering is simple: Garbage in, garbage out. No amount of noise reduction or compression in Audacity can fully rescue a recording that is distorted, clipped, or filled with interference.
The most effective way to cut your editing time in half is to upgrade the source audio. Instead of spending hours fixing mistakes, use hardware that prevents them from happening.
The “Safety Net” Solution: Hollyland LARK MAX 2
For podcasters who want to ensure their audio is usable no matter what happens during the recording, the Hollyland LARK MAX 2 is a strategic choice. Its standout feature specifically solves the hardest problem in post-production: Audio Clipping.
Why It Saves You Time in Audacity:
- 32-Bit Float Recording: This is the real advantage. In a standard recording, if a guest laughs too loudly or screams, the audio wave hits a “ceiling” (0dB) and flattens out. This creates digital distortion that is nearly impossible to fix in Audacity. The LARK MAX 2’s 32-bit float technology captures such a massive dynamic range that you can simply lower the gain in Audacity, and the waveform is perfectly restored. It essentially gives you an “undo button” for bad levels.
- Studio-Grade Quality: Recording at 48kHz/24-bit provides a richer, fuller sound right out of the box. This means less time fiddling with EQ trying to make a thin voice sound professional.
- Environmental Noise Cancellation (ENC): The LARK MAX 2 features advanced ENC that cuts background hum before it reaches your computer, reducing the need for the “Noise Reduction” pass in Audacity.
The “On-The-Go” Alternative: Hollyland LARK M2
If your podcast involves vlogging or travel, you might prioritize portability. The Hollyland LARK M2 is an excellent alternative. With a button-sized form factor (9 grams) and 40-hour battery life, it ensures you never run out of power. While it doesn’t feature 32-bit float, it delivers crisp audio that syncs easily with your video files, reducing setup time.

Hollyland LARK M2 - Mini Lavalier Microphone
An incredibly lightweight and compact wireless button microphone that captures high-fidelity audio.
Key Features: 9g Button Size | 48 kHz/24-bit | 40 Hours Battery
Frequently Asked Questions (FAQ)
How do I remove background noise in Audacity without distorting voice?
The key is subtlety. Aggressive settings make your voice sound robotic. Use the “Less is More” approach:
- Get a Clean Profile: Select a section of audio that contains only noise.
- Use Conservative Settings: Set Noise Reduction (dB) to 6 and Sensitivity to 6.00.
- Repeat if Necessary: Two light passes often sound more natural than one heavy pass.
What is the best bitrate for podcast export in Audacity?
For most spoken-word podcasts, use MP3 format at 96 kbps or 128 kbps (Mono). This provides high clarity while keeping file sizes small. For music-heavy shows, use 192 kbps (Stereo). Avoid 320 kbps for speech; it creates large files with no noticeable quality difference.
Can Audacity record multiple microphones at once?
Yes, but it depends on your hardware. You need an audio interface (like a Focusrite or RODECaster) that accepts multiple XLR microphones. In Audacity, go to Audio Setup > Recording Channels and select the number of channels matching your interface. Note that on Windows, Audacity may group multiple mics into a single stereo track unless you use specific drivers.
Conclusion
Audacity proves that you don’t need an expensive monthly subscription to produce a chart-topping podcast. While the interface may look simple, the engine under the hood is powerful enough to deliver broadcast-quality audio—if you have the patience to learn it.
The key to efficiency is consistency. Commit the “Broadcast Quality” Effect Chain (Normalize > EQ > Compress > Normalize) to memory. The more you use these tools, the faster your workflow will become.
However, if you find yourself spending hours “fixing” audio rather than creatively editing it, it might be time to upgrade your input source. Great audio starts at the microphone and ends in the edit. Now that you have the workflow, hit record and start creating.