.png)
 简体中文

Starting a YouTube channel does not require expensive equipment. Your iPhone already gives you what you need to begin. You have a capable camera, enough storage, and an easy way to upload videos. The part many beginners overlook is how small settings affect the final result. Resolution, audio, and framing can make viewers stay or leave quickly. Once those details are set correctly, recording becomes much easier. This guide explains everything from camera settings to your final upload. And, by the end, you will know how to publish your first video.

What You Need Before You Start
Confirm you have everything below before working through the steps. Each item serves a specific role in the final video quality.
| Gear | Purpose |
|---|---|
| iPhone (any model with front/rear camera) | Primary recording device |
| Tripod or phone mount | Stable, hands-free framing |
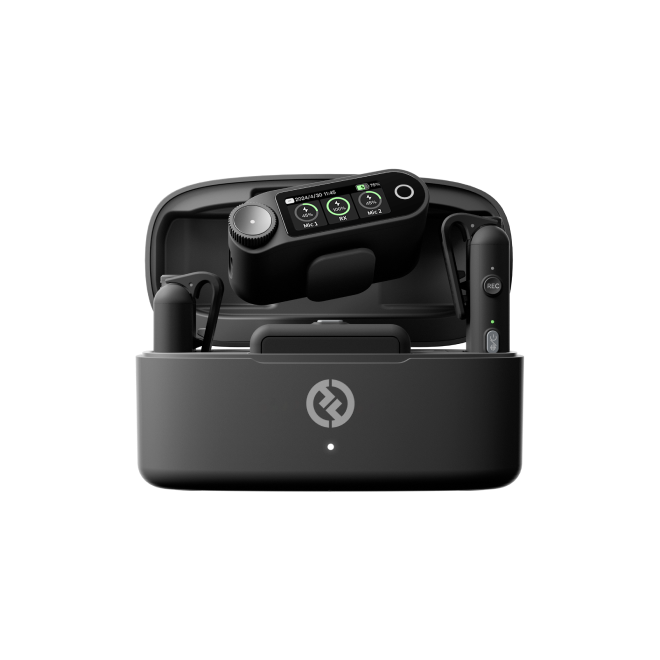
| External microphone (Hollyland LARK A1 for wired; LARK M2 for wireless) | Clear, close-source audio capture |
| Lighting source (window light or ring light) | Even, flattering illumination |
| YouTube app (free, App Store) | Upload and publish |
A microphone is listed here alongside the tripod intentionally. It is not an advanced add-on. Audio quality is the single biggest variable between a video viewers watch all the way through and one they close after 15 seconds.
Configure Your iPhone Camera Settings for YouTube
Your iPhone camera starts with settings meant for everyday recording. Those settings may not be ideal for YouTube videos. Spend two minutes adjusting them before recording your first video. This can help prevent blurry footage and uneven playback. It can also stop your clips from looking too dark.
1. Open Settings and navigate to Camera
Go to Settings > Camera > Record Video. All resolution and frame rate decisions live here.


2. Select your resolution and frame rate
Choose 1080p at 30 fps as your starting point. This setting produces sharp, standard-quality video that uploads quickly, processes fast on YouTube’s servers, and plays smoothly on most devices. If storage space is not a concern and you want room to crop footage in editing, step up to 4K at 30 fps instead.
Avoid 60 fps for talking-head or tutorial content unless you specifically want a high-motion look. At 30 fps, footage has a more natural, broadcast-style feel that works well for most YouTube formats.

In the iPhone 17 series, you can also select or change your resolution directly from the Camera app.
Note: The following steps quickly change the FPS and resolution. We still recommend changing the resolution and frame rate for video recording on iPhone 17 from the Settings path for more options.
- Open the Camera app.
- Switch to video mode by tapping the “VIDEO” option at the bottom of the interface.

- Tap the current resolution and frame rate at the top of the screen when the phone is held vertically.

- Select HD or 4K resolution and 24, 30, or 60 frame rate.

3. Enable Enhanced Stabilization
Still inside Settings > Camera > Record Video, locate the Stabilization option and switch it on. On newer iPhone models, such as iPhone 17, this appears as Enhanced Stabilization and uses sensor data to smooth out the micro-shake created by handheld recording. This is particularly valuable for vlog-style footage where you hold the phone while walking or presenting.

4. Turn on Auto Low Light FPS
Back in Record Video, confirm that Auto Low Light FPS is enabled. When the iPhone camera detects a dim environment, it automatically drops to 24 fps to allow more light per frame, keeping indoor footage significantly cleaner without overexposing bright areas.

5. Choose front or rear camera
The rear camera produces higher-quality image data and handles low light better. Use it when filming with a tripod and a mirror or monitor for reference. The front camera is more convenient for direct-to-lens self-recording but is lower resolution. More critically, the front camera’s microphone pickup point is farther from your mouth than when using the rear camera from across the room. If you plan to film into the front camera, an external microphone is not optional.
Set Up Your Microphone for Clear Audio
Built-in iPhone microphones are designed for phone calls and quick voice memos. For YouTube, they pick up room echo, HVAC hum, and ambient noise from nearby electronics, all of which sit directly in the frequency range of a speaking voice. The result is audio that sounds hollow, distant, and unprofessional, no matter how good your camera settings are.

The fix is simple is to move the microphone capsule close to your mouth.
Setting Up the Hollyland LARK A1
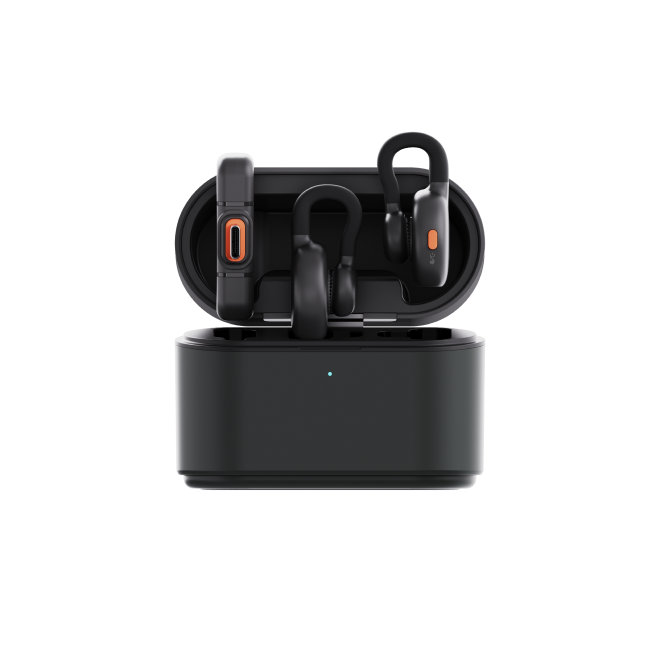
The LARK A1 is a compact wireless lavalier system that connects directly to the iPhone’s charging port. There is no Bluetooth pairing, no driver installation, and no adapter required. Here is the complete setup sequence.

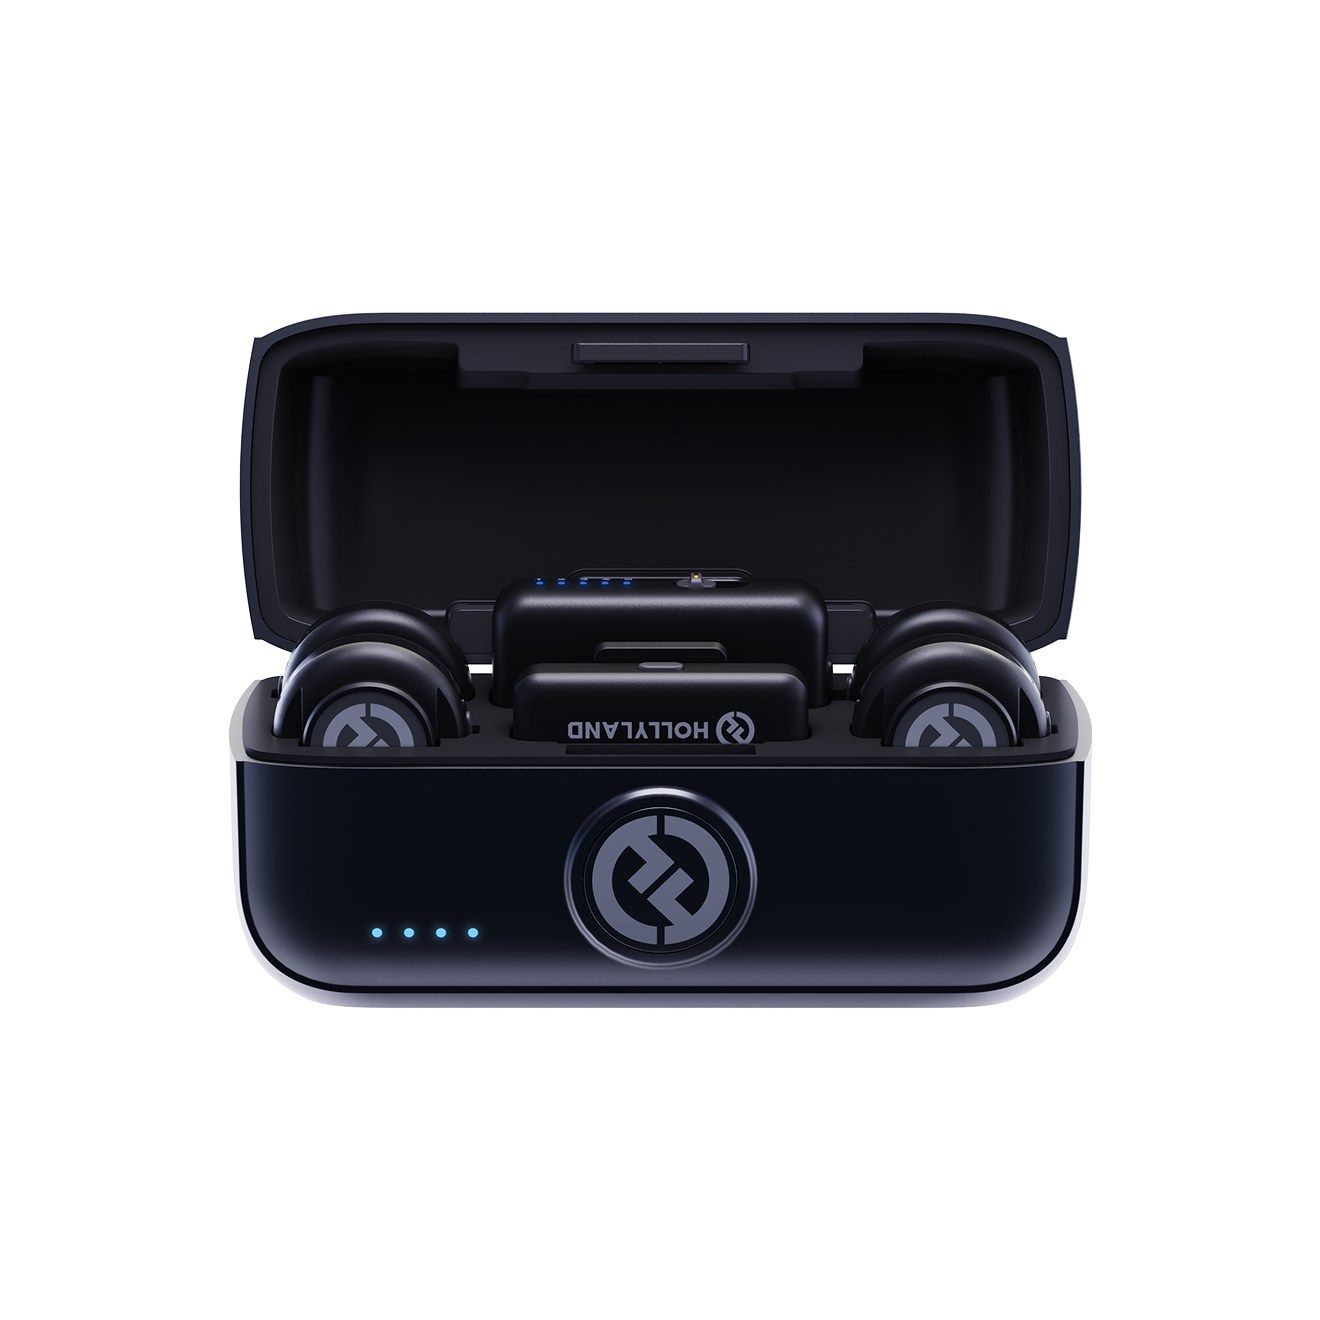
Hollyland LARK A1 - Affordable Wireless Microphone
A perfect starter mic for creators on a budget. It’s simple to use and features effective noise cancellation.
Key Features: 48kHz/24-bit | 3-Level Noise Cancellation | 54-Hour Battery
1. Choose the correct receiver variant for your iPhone
The LARK A1 comes in two versions. Use the Lightning receiver for iPhone 14 and earlier. Use the USB-C receiver for iPhone 15 and later. The receiver itself is a small dongle roughly the size of a flash drive. It plugs directly into the charging port with no cable running between the receiver and the phone.

2. Connect the receiver to your iPhone
Insert the LARK A1 receiver into the charging port. Your iPhone will immediately recognize an external microphone input. No confirmation tap or settings menu is required. The connection registers automatically.

3. Clip on the transmitter
Attach the LARK A1 transmitter capsule to your collar or shirt placket, positioning it approximately 15 to 20 cm below your chin. The clip holds the transmitter flat against the fabric so it stays in place and does not shift mid-recording.

4. Power on the transmitter
Press and hold the power button on the transmitter for about 3 seconds.

Watch the LED indicator. A flashing blue LED means the transmitter is searching for the receiver, and a solid blue LED means it has connected and is live.

5. Confirm auto-pairing
The LARK A1 transmitter and receiver pair automatically on startup. No manual code entry or button combination is needed. Once the LED on the transmitter and receiver is solid blue, the microphone is active and routing audio to your iPhone.
6. Set your Noise Cancellation level
Press the NC button (power button) once on the transmitter to activate or deactivate noise cancellation. The LED light turns solid green when active.

Once noise cancellation is enabled, download the HollyAudio app and connect LARK A1. Locate the NC level option in the app and select one of the 3 intelligent noise cancellation levels.:

- Low (Level 1): Light filtering. Best for quiet, treated rooms with minimal background noise.
- Medium (Level 2): Moderate filtering. Appropriate for office environments, cafes, or spaces with steady ambient sound.
- High (Level 3): Aggressive filtering. Use outdoors or in noisy locations where background interference is significant.
7. Mute the transmitter between takes
Press the power button on the transmitter unit twice to mute transmitter 1 (TX1). Press the power button thrice to mute transmitter 2 (TX2). The LED indicator turns solid red when the transmitter is muted. This is useful for pausing between content sections without generating dead air on the recording timeline.

8. Run a test recording
Open the Camera app, record 10 seconds of yourself speaking at normal conversational volume, and play it back immediately. Confirm the audio sounds close, clear, and free of room echo. That confirms the LARK A1 is routing correctly and the built-in iPhone mic is no longer the active input.
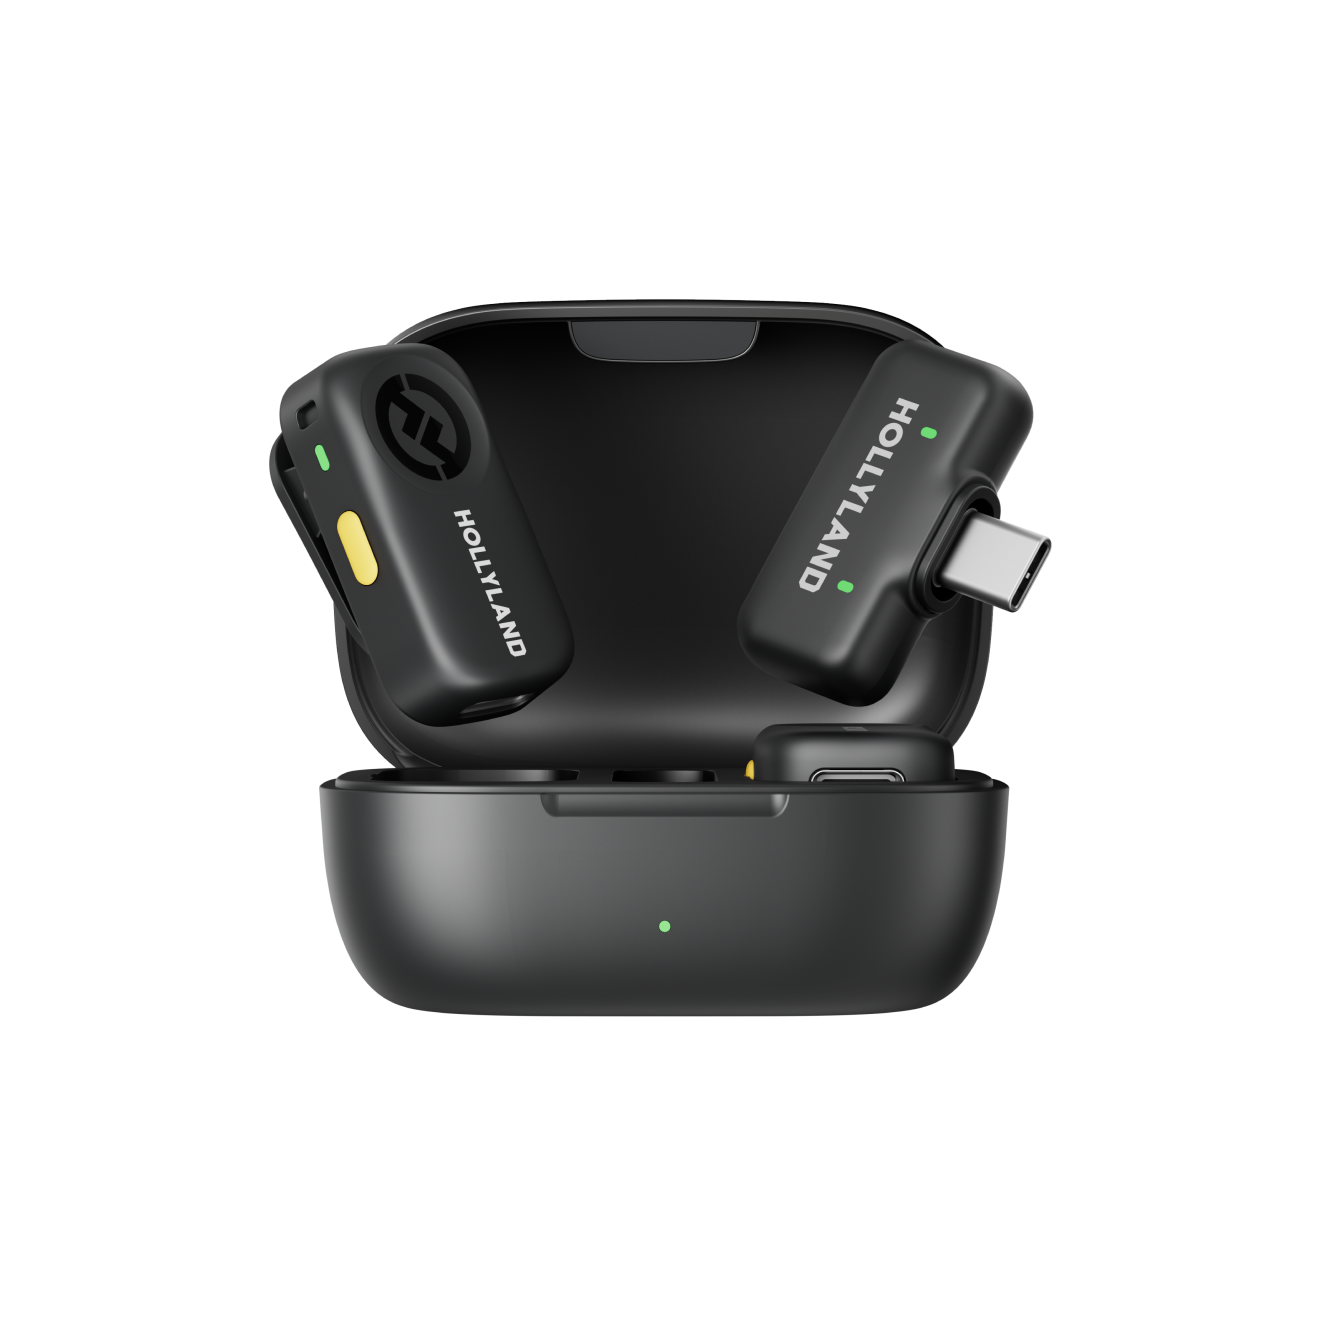
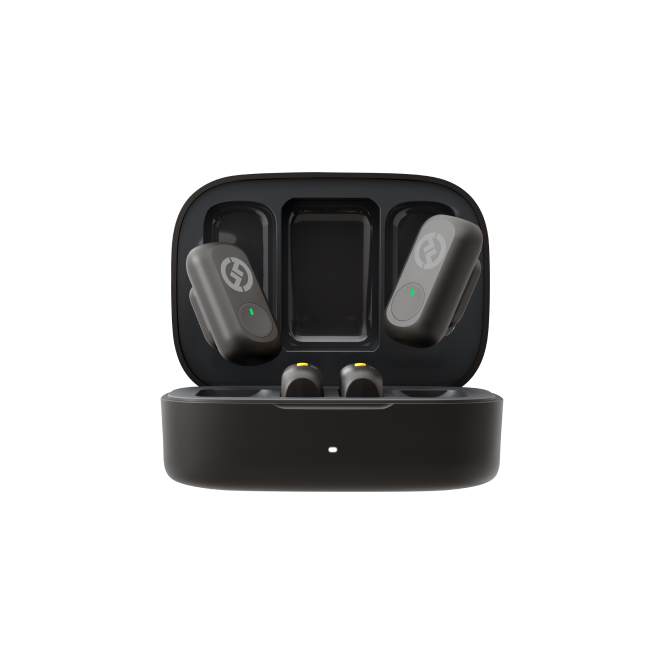
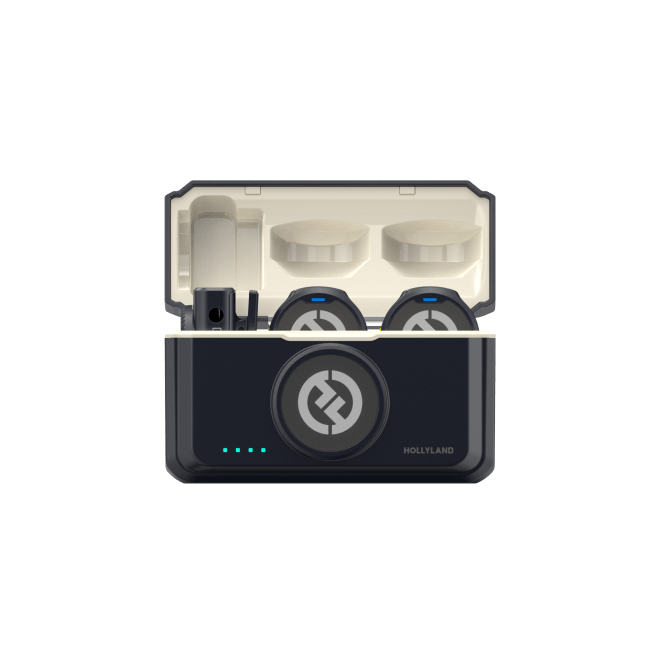
Do you love traveling and filming your adventures with your iPhone? Maybe vlogging while walking around is your favorite thing. In that case, the Hollyland LARK M2 can make recording much easier. Its tiny 9-gram button-shaped transmitter clips onto your clothes and connects wirelessly. You will not have a cable running from your clothes to your phone. With up to 40 hours of battery life, it can also manage long filming days.
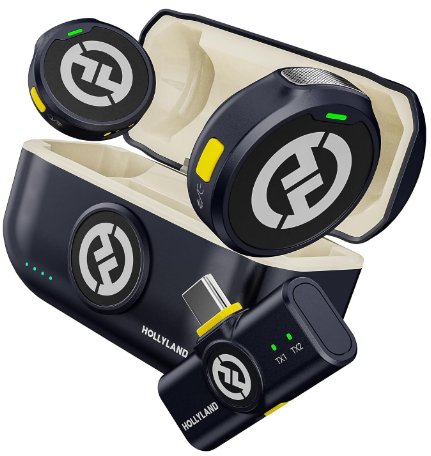
Hollyland LARK M2 - Mini Lavalier Microphone
An incredibly lightweight and compact wireless button microphone that captures high-fidelity audio.
Key Features: 9g Button Size | 48 kHz/24-bit | 40 Hours Battery
Frame Your Shot and Set Up Lighting
You don’t need studio gear to get good lighting and framing. A polished YouTube video often depends on three simple things. First, decide where to place your camera. Then, think about where your light comes from. Finally, check what viewers can see behind you.

- Camera height: Mount your phone at eye level or slightly above. A camera placed below your chin shoots upward, which is universally unflattering for talking-head content. Use a tripod, phone mount, or stable elevated surface to hold the device at the right height without holding it in your hands.
- Frame position: Apply the rule of thirds. Mentally divide the frame into a 3×3 grid and position your eyes along the upper horizontal line. Leave a small amount of headroom above your head, and keep your body slightly off-center if there is interesting space in the background to use.
- Lighting placement: Position your primary light source, whether a window or a ring light, to the side and slightly in front of you at roughly a 45-degree angle. This creates soft directional light that defines your features without hard shadows. Never place a bright window directly behind you; it will reduce you to a silhouette against a blown-out background.
- Background: Choose a clean, intentional background. A tidy shelf, a plain wall, or a lightly styled workspace all work. Avoid clutter, distracting logos, or anything that pulls the viewer’s eye away from you during the video.
Record Your YouTube Video on iPhone
With camera settings configured, microphone connected, and framing locked in, you are ready to film. Use this sequence for every session.
1. Open the Camera app and switch to Video mode
Swipe to Video in the native Camera app. Do not use the YouTube app’s built-in recorder. It provides less control over resolution, frame rate, and stabilization.
2. Confirm the external microphone is active
With the LARK A1 receiver plugged in, the Camera app routes audio through the external mic automatically. There is no toggle to switch. The iPhone prioritizes the external input as soon as it detects one.
3. Record a 5-second test clip first
Before filming your full video, record a brief test and play it back immediately. Confirm the audio is clean, the framing is correct, and the exposure is even. Catching a problem here saves you from redoing an entire recording.
4. Start recording
Tap the red Record button to begin, or press either Volume button as an alternate shutter. Using the Volume buttons keeps your hand farther from the phone and reduces the small shake that comes from tapping the screen directly.
5. Leave handle frames between sections
Rather than cutting everything in-camera, pause briefly between each content section. Those few extra seconds of handle footage give you clean edit points and make the post-production process significantly faster.
6. Switch cameras when needed
If you need to show a product, a screen, or something in your environment, tap the flip camera icon to switch between front and rear mid-recording.
7. Review footage after each major section
Do not record a 20-minute single take and assume it is all usable. After covering each main topic, stop and watch the last 30 seconds. Catching a bad angle, a dead mic, or a background distraction early means re-recording only a small portion rather than starting over.
Edit Your Video on iPhone
You have three solid options for editing directly on iPhone, depending on how much control you need.
| Tool | Best For | Free? |
|---|---|---|
| Photos App | Quick trimming only | Yes |
| iMovie | Full timeline editing, transitions, titles | Yes |
| CapCut | Auto-captions, trending formats, speed effects | Free tier available |
Upload Your Video to YouTube from iPhone
Once your video is edited and exported to your Camera Roll, the upload process is short.
1. Open the YouTube app and start an upload
Tap the + (Create) button at the bottom of the screen, then tap Add to select a video from your Camera Roll.


Note: You will need to give the necessary permissions during this step.
2. Choose your file
Select the exported video from your Camera Roll. If you edited in iMovie or CapCut, export the finished file to the Camera Roll first, then upload from there. The YouTube app handles Camera Roll files reliably and without quality loss. After choosing the video, tap Next.

3. Add Text on Video, Apply Filters, Add Sound
On the next screen, you can use different options to add Text, Captions, Filters, and Sound to your video before uploading it. Once done, click Next.

3. Add your title, description, and tags
Write a clear title that includes your primary keyword naturally, without forcing it. Add a description that gives context, relevant links, and a brief summary of what the video covers. Include tags that match the main topics.
4. Add a thumbnail
Tap Select thumbnail to use a frame from the video, or upload a custom image. Custom thumbnails typically perform better in search and recommended feeds but require a verified YouTube account.
5. Set visibility before publishing
Choose Private to review the video privately before it goes live. Check the title, thumbnail, and description one final time. Switch to Public when you are satisfied.
6. Publish
Tap Upload. YouTube processes the video in the background.

Frequently Asked Questions
Can I record a YouTube video directly in the YouTube app on iPhone?
Yes, the YouTube app includes a built-in camera recorder. But it gives you little control over resolution, frame rate, or stabilization. For better output quality, record using the native iPhone Camera app with your settings already configured, then upload the finished file through the YouTube app separately.
What is the best resolution for recording YouTube videos on iPhone?
Start with 1080p at 30 fps. It produces clean, sharp footage, uploads quickly, and processes fast on YouTube. If you want to future-proof your footage or need room to crop in editing, use 4K at 30 fps instead. But 4K files are roughly four times larger.
How do I connect an external microphone to an iPhone?
For iPhone 15 and later with a USB-C port, use a USB-C compatible mic receiver. For iPhone 14 and earlier with a Lightning port, use a Lightning receiver. The Hollyland LARK A1 is available in both variants and connects plug-and-play with no adapter, app, or Bluetooth pairing required.
How do I record a screen capture video for YouTube on iPhone?
Use the built-in Screen Recording feature. Open Control Center and tap the Screen Record button to capture everything on the display with audio. This workflow suits app tutorials, software walkthroughs, and gameplay. For talking-head, interview, or vlog content, use the Camera app instead.
Why does my iPhone audio sound echoey or distant in videos?
The built-in microphone sits on the bottom edge of the phone and captures every reflection in the room. Clip an external lavalier microphone, such as the Hollyland LARK A1, to your clothing to place the capsule 15 to 20 cm from your mouth. Enable Noise Cancellation to reduce remaining room noise and produce cleaner dialogue.
Conclusion
Recording YouTube videos on your iPhone is not that hard. Start by setting your camera for clear, steady footage. Then make sure your voice sounds clear and easy. Good framing and lighting can also improve your videos. And keep your upload process simple and organized. Audio often gets overlooked; viewers still notice poor sound quickly. These basics give you a strong starting point. As your content grows, adjust your setup when needed.