Audio recording troubles plague millions of Windows 11 users daily. Poor-quality recordings can ruin presentations, podcasts, and important calls. Fortunately, Windows 11 comes with powerful recording tools that many people may never discover. Meanwhile, professional gear like the Hollyland LARK M2S can instantly upgrade your setup. But here, technique matters too.
So, mastering Windows 11’s recording features is essential for content creators, business professionals, or students who want crystal-clear recordings. In this article, we’ll explore simple methods for recording audio on Windows 11 to achieve professional results. Let’s get started.
How to Record Audio on Windows 11 using Microphones?
1- Sound Recorder App
Recording audio through Windows 11’s built-in Sound Recorder app offers simplicity and convenience. This method works perfectly for quick recordings and basic audio needs.
Step 1: Connecting the microphone
First, you need to properly connect your microphone to your Windows 11 PC. Follow these detailed steps:
- As you unbox the Hollyland LARK M2S, you’ll receive: transmitters, receivers, a charging case, and cables. First of all, before using the microphone, charge it fully.
- To connect the microphones to the computer, take the receiver (camera) and connect it with the USB-A to USB-C cable. Insert the USB-C end in the receiver and the USB-A end in the computer.

- Turn on the transmitter, and it will connect automatically to the receiver. The receiver’s indicator light will show the connection status.
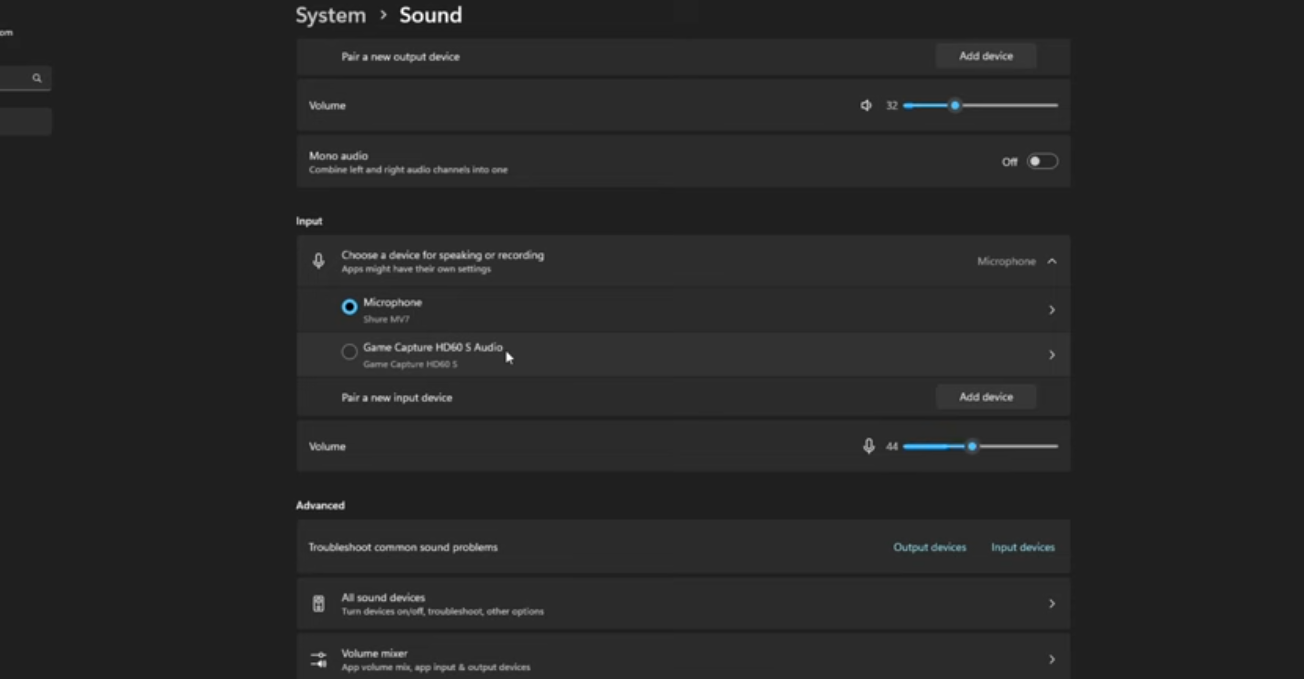
Your microphone requires manual selection as the audio input device on your computer after it is connected. Complete these steps to set up your microphone:
- Right-click the speaker icon in your system tray. Select “Sound settings” from the context menu.
- Navigate to the “Input” section. Click on “Choose your input device.” Select your LARK M2S.

- Click “Device properties” to access advanced settings. Adjust the input volume slider to optimal levels.

- Enable “Listen to this device” for real-time monitoring. Test your microphone by speaking into it.
- Observe the volume bar to ensure proper input detection
- Click “Test your microphone” for additional verification. Speak clearly and check the recording quality. Adjust levels if the audio sounds too quiet or distorted.
Step 2: Recording audio with the Sound Recorder App
- Now, it’s time to record. Press Windows key + S to open the search function. Type “Sound Recorder” in the search box. The Sound Recorder app appears in the search results immediately. Click on the Sound Recorder app to launch it. The application opens with a clean, simple interface. You’ll see a large microphone button in the center.

- Click the large microphone button to begin recording. The button turns blue, indicating active recording status. The timer starts counting the duration of your recording. Speak clearly into your LARK M2S transmitter. Keep the microphone clipped properly to your collar. Maintain a consistent distance for even audio levels.
- Use the pause button to temporarily stop recording without ending the session. Click the microphone button again to resume recording from where you paused. Stop recording completely by clicking the stop button. The app automatically saves your recording in M4A format. Your file appears in the recordings list immediately.
- View all recordings in the app’s main interface.

2- Third-party apps (Audacity and Apowersoft Online Voice Recorder)
For Audacity:
- Download and install the Audacity application on your computer

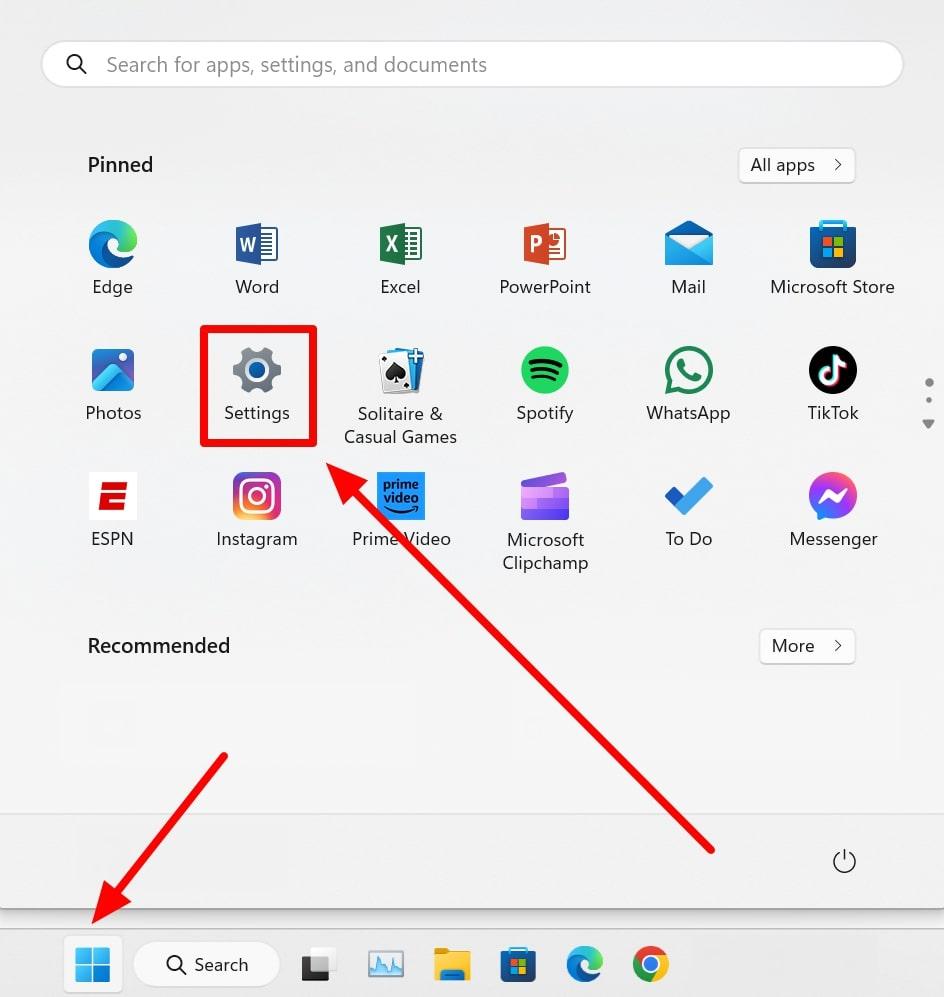
- Find Audacity in your Start menu or desktop and launch the program.
- At the top of the Audacity window, locate the microphone icon and its associated dropdown menu. Choose your preferred microphone from the list (for example, “Microphone Array” or your external mic).
- Click the red circle “Record” button in the Audacity toolbar. Talk or play your audio source. Audacity displays a waveform as you record.

- When done, click the square “Stop” button to end the recording.
- For exporting the file, go to File > Export > Export as MP3 (or WAV for uncompressed audio). Choose a location and filename for saving, then click “Save.” You may be prompted for metadata—fill it in or skip, then click “OK.”
For Apowersoft Online Voice Recorder
- Launch any web browser (such as Chrome, Edge, or Firefox) and go to the Apowersoft Online Voice Recorder website.

- Click on the “Start Recording” button. The website may prompt you to allow microphone access.

- When your browser asks for permission to use the microphone, click “Allow.” This enables the website to capture your voice.
- If the website shows a dropdown or settings for microphone input, select the device you want to use (for example, “Microphone Array” or USB mic).
- Click the red microphone or record button to start. The 3-second timer will allow you to prepare, and the recording will start. Speak clearly into your microphone. A timer will show recording progress.

- When finished, click the “Stop” button. The website will process your audio.
- Once processing is complete, click the “Download” button. Choose where to save the file on your computer.

Conclusion
Recording audio on Windows 11 is straightforward, with multiple options available. Use the built-in Voice Recorder for basic needs, Audacity for professional-quality recordings, or online tools for convenience. For PC audio, enable Stereo Mix or use WASAPI loopback in Audacity. Choose the method that best fits your specific recording requirements.
FAQs
Can I edit my recordings within the Sound Recorder app?
Yes, the Sound Recorder app includes basic editing features such as trimming (removing unwanted sections from the beginning or end) and splitting clips. You can also rename recordings, mark specific points during recording, and delete unwanted files. For advanced editing, third-party software like Audacity is recommended.
How do I record audio while screen recording on Windows 11?
For screen recording with audio, you’ll need to use tools like Xbox Game Bar (Windows Key + G), OBS Studio, or third-party screen recorders that support both video and audio capture simultaneously. The built-in Sound Recorder is audio-only and doesn’t support screen recording.
Why is my microphone not working with the Sound Recorder app?
Common issues include:
- Permission settings: The app needs microphone access permission
- Sound settings: Go to Windows Sound Settings to ensure your microphone is set as the default input device.
- Driver issues: Check if your microphone drivers are up to date.


.png)


