Setting up audio devices on Windows 11 seems straightforward, until your sound suddenly comes from the wrong speakers or your mic isn’t detected. Knowing how to manage your default audio devices is crucial if you frequently switch between headphones, speakers, or external mics.
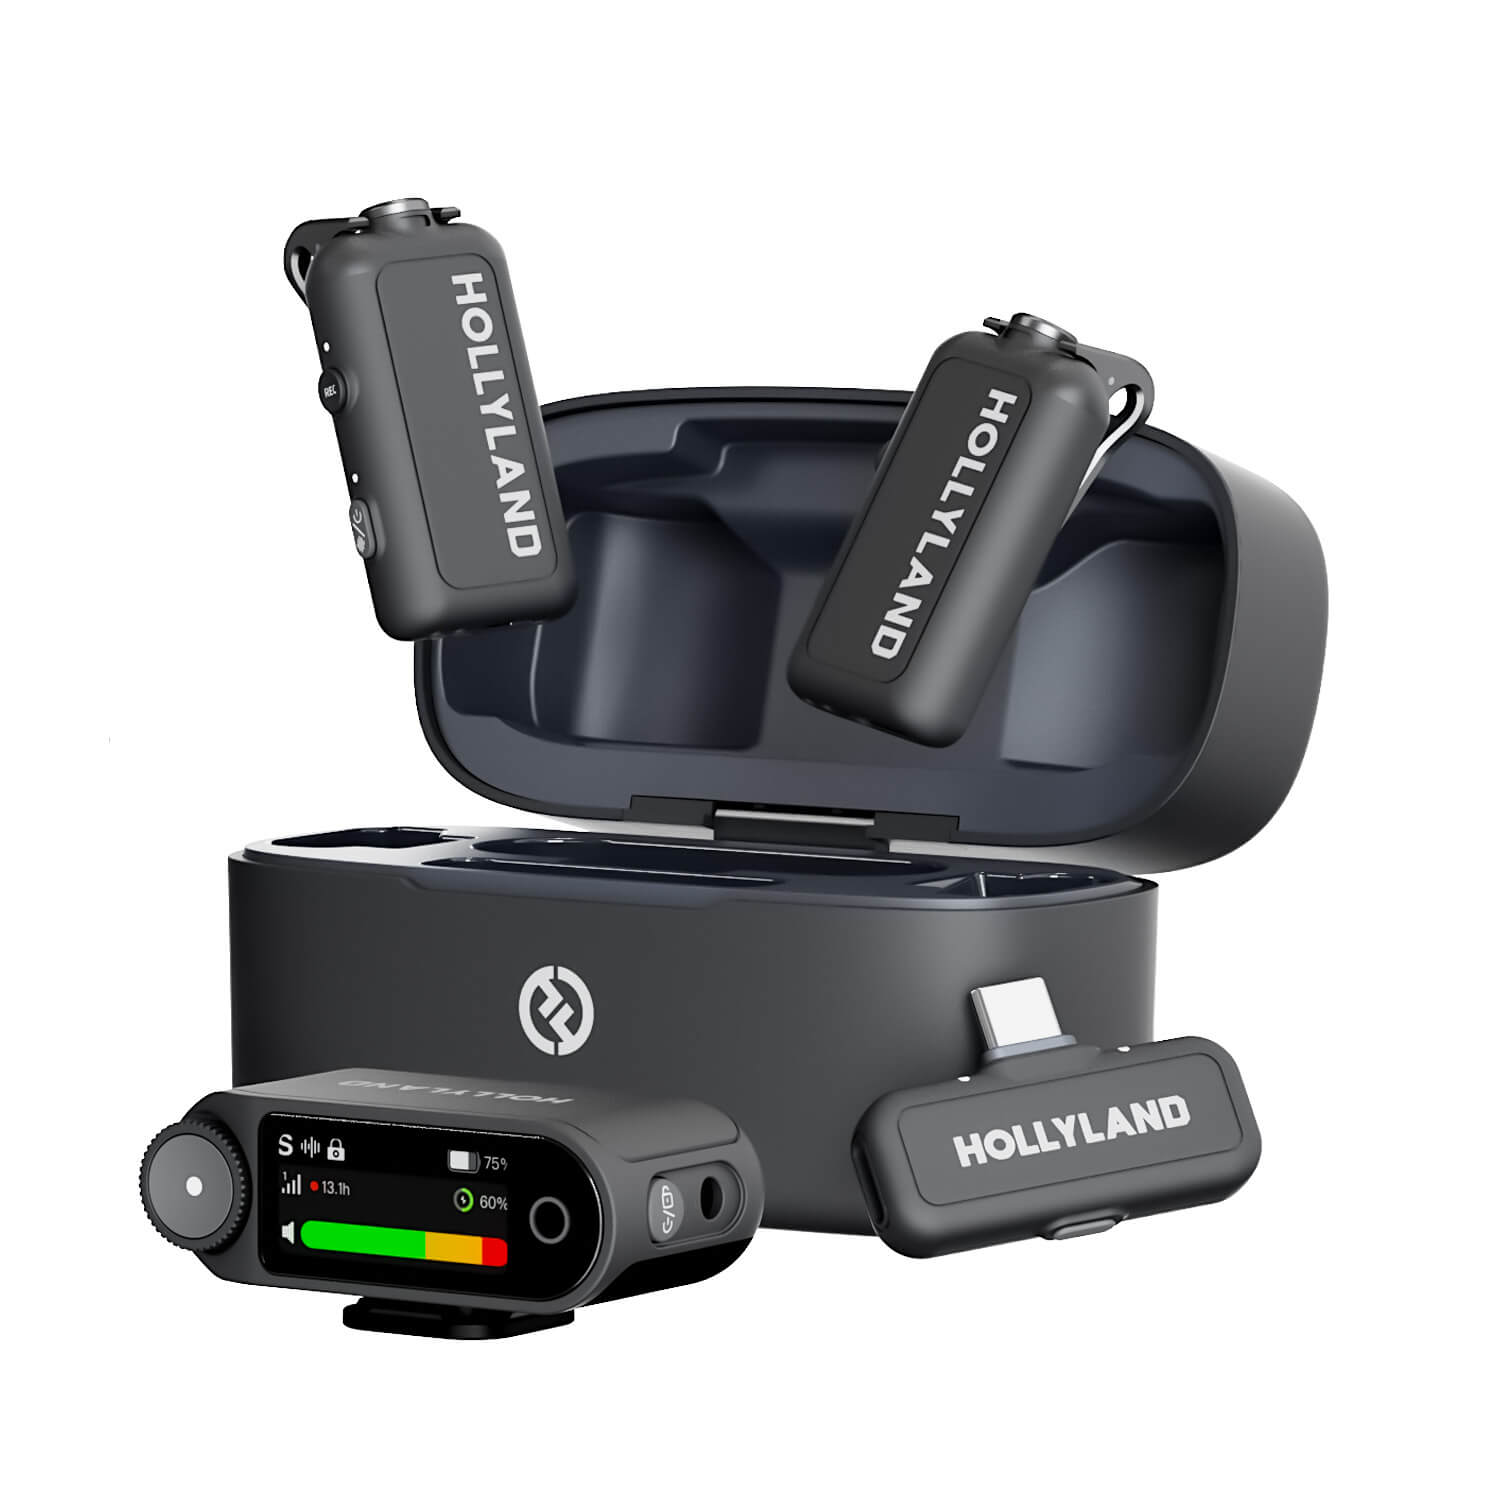
For creators and professionals, a wireless mic like the Hollyland LARK MAX 2 makes the process even easier. Simply plug in the receiver via USB-C, and Windows immediately recognizes it. With lossless transmission and built-in noise cancellation, it’s a reliable choice for podcasting, streaming, or any task that requires crystal-clear audio.


Hollyland LARK MAX 2 - Premium Wireless Microphone System
A premium wireless microphone for videographers, podcasters, and content creators to capture broadcast-quality sound.
Key Features: Wireless Audio Monitoring | 32-bit Float | Timecode
Setting the Default Audio Output Device
To get started, let’s first set your main audio output device, whether that’s your speakers, wired headphones, or a Bluetooth connection.
#1. Quick Method from the Taskbar
If you need to switch devices fast, the taskbar offers the easiest way to do it without digging through settings.
- Go down to the very bottom right corner of the taskbar, and click the speaker icon.

- When you click the speaker icon, the pop-up will appear, and then click the arrow icon next to the volume slider.
Note: If it’s not available, you’ll have to click the pencil icon, then “Add,” and select “Volume” from the list.

- Now it will show the list of available audio output devices. Select the audio device you want to use in the list.
Note: If your Hollyland LARK MAX 2 is connected via USB-C, it will show up here automatically. The system supports instant pairing with no drivers and functions as both an input and output device.

#2. Using Windows Settings
For more control or if your device doesn’t show up in the taskbar, you can switch it manually through the Settings menu.
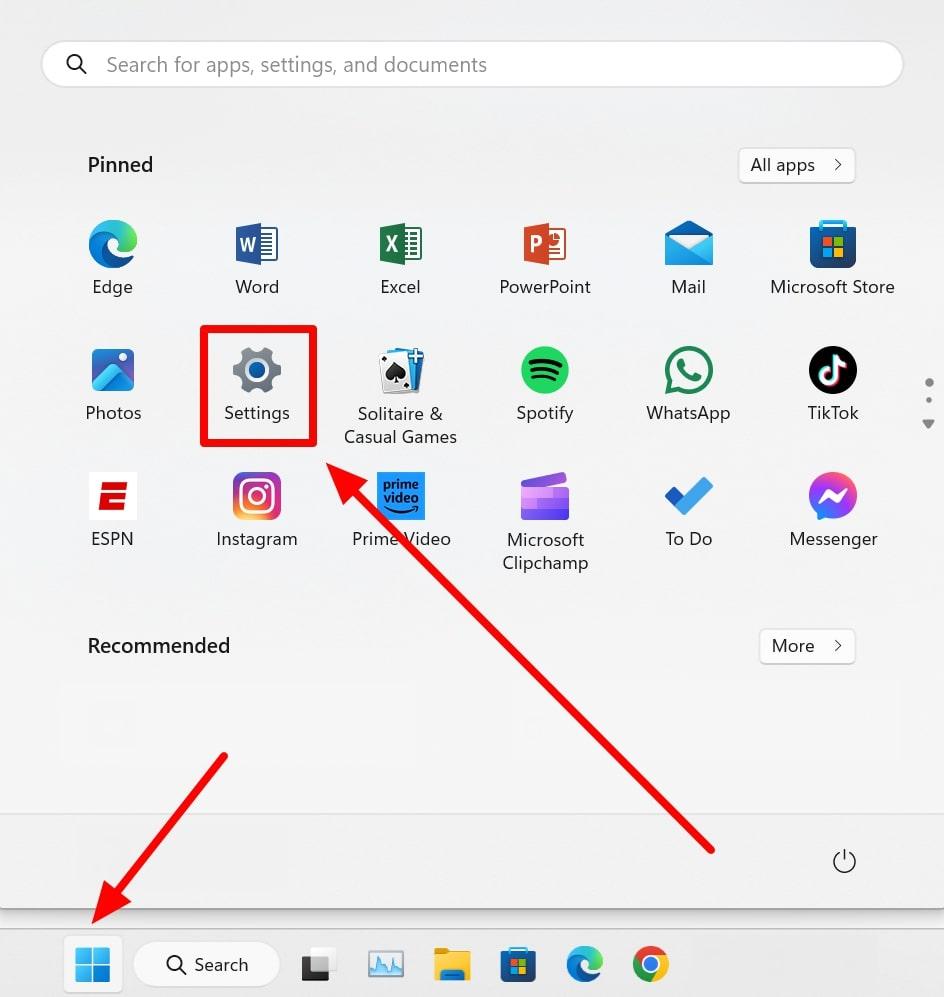
- Navigate the Start menu and then click on the Settings icon. (You can use the search menu.)

- Now it will load up your system settings. Go to System on the left sidebar, and then click Sound from the system menu.

- Under the Output section, find “Choose where to play sound.”
- Then click the dropdown and select your preferred audio output device. This could be your internal speakers, wired headphones, or a connected Bluetooth device.

- (Optional) Click Volume mixer to adjust output levels or assign different devices to specific apps.

Setting the Default Input Device (Microphone)
Now that your output is set, it’s time to choose which microphone your system should use by default.
#1. Using Windows Settings
- From the Start menu, click on the Settings icon.

- Make sure to click System on the sidebar, then select Sound.
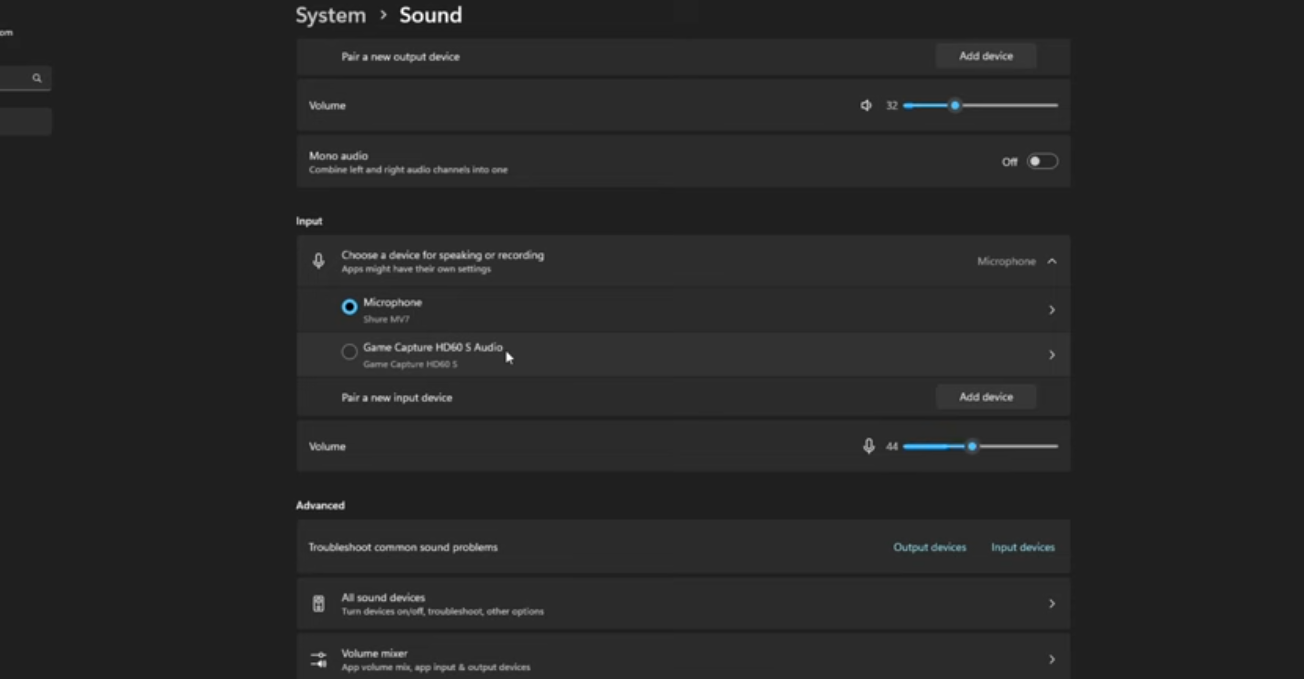
- Scroll down to the Input section, then click Choose a device for speaking or recording.

- Once you’ve clicked that, you can select your preferred microphone. This could be your built-in laptop mic, a USB mic, or a Bluetooth headset mic.

#2. Advanced Settings
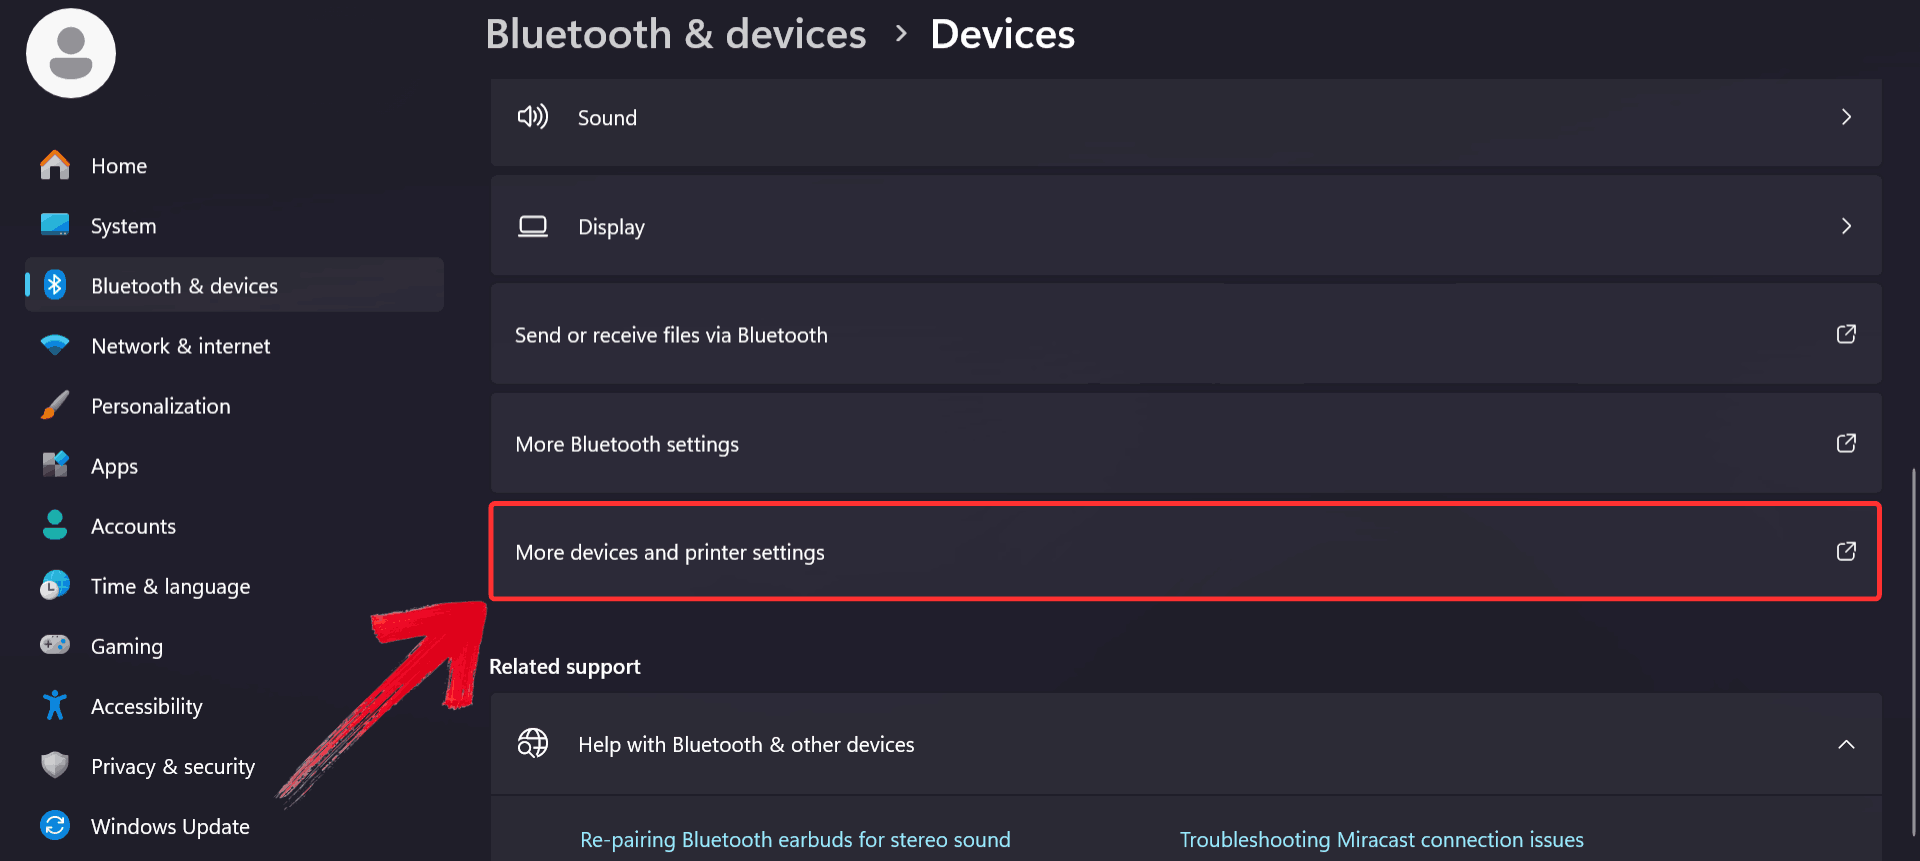
- From the previous step, scroll down to the Advanced section, and then click More sound settings.

- A pop-up will appear, then click the Recording tab.

- Now you can see all the microphone options that are available to use. Select the microphone option you prefer, then click Set Default.
Note: You can see there’s a green check mark icon; it’s your default device selected. So if you wanted to switch to a different microphone, simply click the other microphone available.

- (Pro tip) to set your default communication microphone for calls or video calls. Click the other microphone option available, then on the right Set Default button, click the arrow icon, and select Default Communication Device.

- Now it will set the other microphone as a Default Communication Device (marked with a green circle telephone icon).

Setting the Audio Output Device For Apps Individually
If you use multiple apps with different audio needs, Windows lets you control where each one sends its sound.
- Click on the Settings icon from the Start menu.

- Make sure to click System on the sidebar, then select Sound.
- From the Sound menu, scroll down to the Advanced section and click on the Volume Mixer to open the settings.

- Here you can see different apps listed, which are playing audio. Expand the settings by clicking on the output device option.

- Select the output device on which you want to get audio of a specific app. And now you’ll have a specific app playing audio to your selected output source.

- To change the volume labeled as the output source, click on the output device option and select the source whose volume label you want to change.

Tips for Managing Audio Devices in Windows 11
Once your devices are set up, a few small tweaks can make switching and managing them even easier.
Give your devices simple names.
Seeing names like “USB Audio Device” or “High Definition Audio” can get confusing. Rename them to something clear, like “Desk Mic” or “Office Headphones,” so you know exactly what you’re picking.
Turn off stuff you’re not using.
Got a long list of devices you never touch? Disable the ones you don’t need; it makes switching faster and cleaner.
Check drivers if something disappears.
If a mic or speaker suddenly vanishes, your drivers might be acting up. A quick update or even a restart can fix it.
Restart apps after switching devices
Some apps don’t catch on when you change devices. Just close and re-open them to make sure they’re using the right input or output.
Conclusion
Once you know where the settings are, managing your audio in Windows 11 is simple. Switch between devices, adjust them per app, and stay in control, whether you’re on a call, recording, or just listening to music. It only takes a few clicks to get everything working the way you want.
FAQs
- Why does Windows switch my audio device automatically?
It switches when a new device connects. Disable auto-switch or set your default device manually in Sound settings.
- Can I set different microphones for different apps?
Not by default, but apps like Zoom or Discord let you pick a mic in their settings.
- How do I stop unused devices from showing up?
Go to More sound settings, right-click the device, and choose “Disable” to hide it from the list.


.png)


