



































.png)
 简体中文
简体中文 
GarageBand makes it possible to build a full arrangement by layering instruments and vocals one track at a time, but knowing exactly how to add, arm, and record a second or third track stops a lot of beginners in their tracks. Whether you’re stacking guitar parts, dropping vocals over a demo beat, or trying to capture two performers at once, this guide walks through every approach on both Mac and iOS.

How to Record Multiple Tracks in GarageBand (Mac & iOS Step-by-Step)
Sequential vs. Simultaneous — What “Multiple Tracks” Actually Means in GarageBand
Before jumping into steps, it helps to know which workflow fits your situation:

Sequential vs. Simultaneous — What “Multiple Tracks” Actually Means in GarageBand
- Sequential overdubbing: Record one track, then add a new track and record it while previous tracks play back. No extra hardware needed. This is how most solo musicians build up a project.
- Simultaneous multi-input recording: Capture two or more live sources at the exact same moment. Requires a multi-input audio interface and some additional routing setup.
If you’re layering parts one at a time, keep reading. If you need to record multiple live sources at once, skip ahead to the Simultaneous Recording section.
How to Record Multiple Tracks in GarageBand for Mac
GarageBand for Mac gives you precise control over track types, input routing, and record-arming — all accessible from the main project window. The workflow below applies to both Audio tracks (for microphones and live instruments) and Software Instrument tracks (for MIDI keyboards and virtual instruments).
Step 1 — Add a New Track
Once you have one track recorded, adding another takes only a few clicks:
- Open your GarageBand project with at least one existing track already in place.
- Go to Track > New Track in the menu bar, or click the “+” (Add Track) icon at the top left of the Tracks area.

- The New Track dialog will appear. Choose your track type:
- Audio — for a microphone, electric guitar, or any real instrument connected to your Mac.
- Software Instrument — for MIDI keyboards, drum machines, or GarageBand’s built-in virtual instruments.

- Select your input source if prompted, then click Create.
Your new track will appear below the existing ones in the Tracks area, ready to configure.
Step 2 — Set Your Input and Record-Enable the Track
Record-enabling is the step most beginners miss. Without it, pressing Record will not capture anything on the new track.
- Click the new track header to select it.
- Press B to open Smart Controls, or click the Smart Controls button at the bottom of the screen.
- In Smart Controls, click the Input dropdown and choose your source — the built-in microphone, line input, or a specific channel on your connected audio interface.
- In the track header, click the Record Enable button (the small red circle icon) to arm the track. It should glow solid red when active.

- To monitor your input signal in real time while playing, toggle on Input Monitoring (the speaker icon beside Record Enable).
Pro Tip: In recent versions of GarageBand for Mac, activating Record Enable on a new track does not automatically disarm other tracks. Still, confirm the red indicator is lit on every track you intend to record before pressing Record — an unarmed track is the most common reason for a missed take.
Step 3 — Record Your New Track
- Press Return to send the playhead back to the beginning of the project, or drag it manually to your desired start point.
- Press R on your keyboard or click the red Record button in the transport controls at the top of the screen.

- If Count In is enabled under Record > Count In, GarageBand will play a one-bar count before capturing begins.

- Play or sing your new part. All previously recorded tracks will play back through your headphones or speakers as reference.
- Press Space or R again to stop recording.
- A new audio or MIDI region will appear on the track. Press Space to play the project back and hear both tracks together.
Repeat this process to add as many layers as your arrangement requires.
How to Record Multiple Tracks in GarageBand for iPhone and iPad
The iOS version of GarageBand shares the same core logic as the Mac version, but the layout is different enough to need its own walkthrough. The key distinction: GarageBand on iOS often opens into an instrument view, so you need to switch to Tracks View first before you can see and manage multiple tracks.
- Switch to Tracks View. When you open a project, GarageBand may display an instrument screen such as a keyboard or guitar amp. Tap the Tracks icon (two horizontal lines in the upper left corner) to access the full track list.
- Add a new track. Tap the “+” button in the upper left of Tracks View. A panel will appear with the following track type options:
- Audio Recorder — for recording through the device microphone or a connected external mic or audio interface.
- Instruments — including keyboard, drums, guitar, bass, and other software instruments.
- Loops — to place pre-recorded Apple Loops into your arrangement. Select the type that matches what you want to record.
- Choose your input source. For Audio Recorder tracks, tap the microphone or input icon at the top of the screen to select your source — the built-in iPhone or iPad microphone, or an external microphone or interface connected via USB-C or Lightning.
- Record-enable the new track. In Tracks View, tap the track header to select it. Tap the Record Enable button (red circle) in the track’s header controls to arm it for recording.
- Start recording. Tap the red Record button in the transport bar at the top of the screen. GarageBand will play back all existing tracks while capturing the new one.
- Stop and review. Tap Stop or tap Record again to end the session. Tap Play to hear all tracks together.
Note: Simultaneous multi-input recording on iOS is limited. To record two microphones or two instruments at the same time on an iPhone or iPad, you will need an iOS-compatible audio interface connected via USB-C or a Lightning-to-USB adapter.
Recording Multiple Tracks Simultaneously (Multi-Input Recording)
Sequential overdubbing handles the majority of solo recording scenarios, but when two or more performers need to be captured live at the same time — two vocalists, a vocal and guitar together, or a live band pass — you need a different setup.

Recording Multiple Tracks Simultaneously (Multi-Input Recording)
Hardware you will need:
- A USB or Thunderbolt audio interface with at least two separate input channels (one per source you want to capture simultaneously).
- If you are combining two single-input interfaces on Mac, you will use macOS’s built-in Aggregate Device feature.
Setting up simultaneous recording on Mac:
- Connect your multi-input audio interface to your Mac via USB or Thunderbolt.
- In GarageBand, go to GarageBand > Settings > Audio/MIDI and set your input device to the connected interface.

- If combining two interfaces, open Audio MIDI Setup (Applications > Utilities), click the “+” at the bottom left, choose Create Aggregate Device, and check both interfaces to merge their inputs.
- In your project, add two Audio tracks using the “+” button.
- Set Track 1’s input to Channel 1 on your interface and Track 2’s input to Channel 2.
- Click the Record Enable button on both track headers so both glow red.
- Press R to record. Both tracks will now capture their assigned inputs independently and simultaneously.
Clean source audio makes a meaningful difference on live multi-track recordings. For wireless vocal or instrument recording, feeding a receiver like the Hollyland LARK MAX 2 into your interface input delivers a reliable signal per track, backed by 48 kHz / 32-bit Float recording and AI Noise Cancellation.
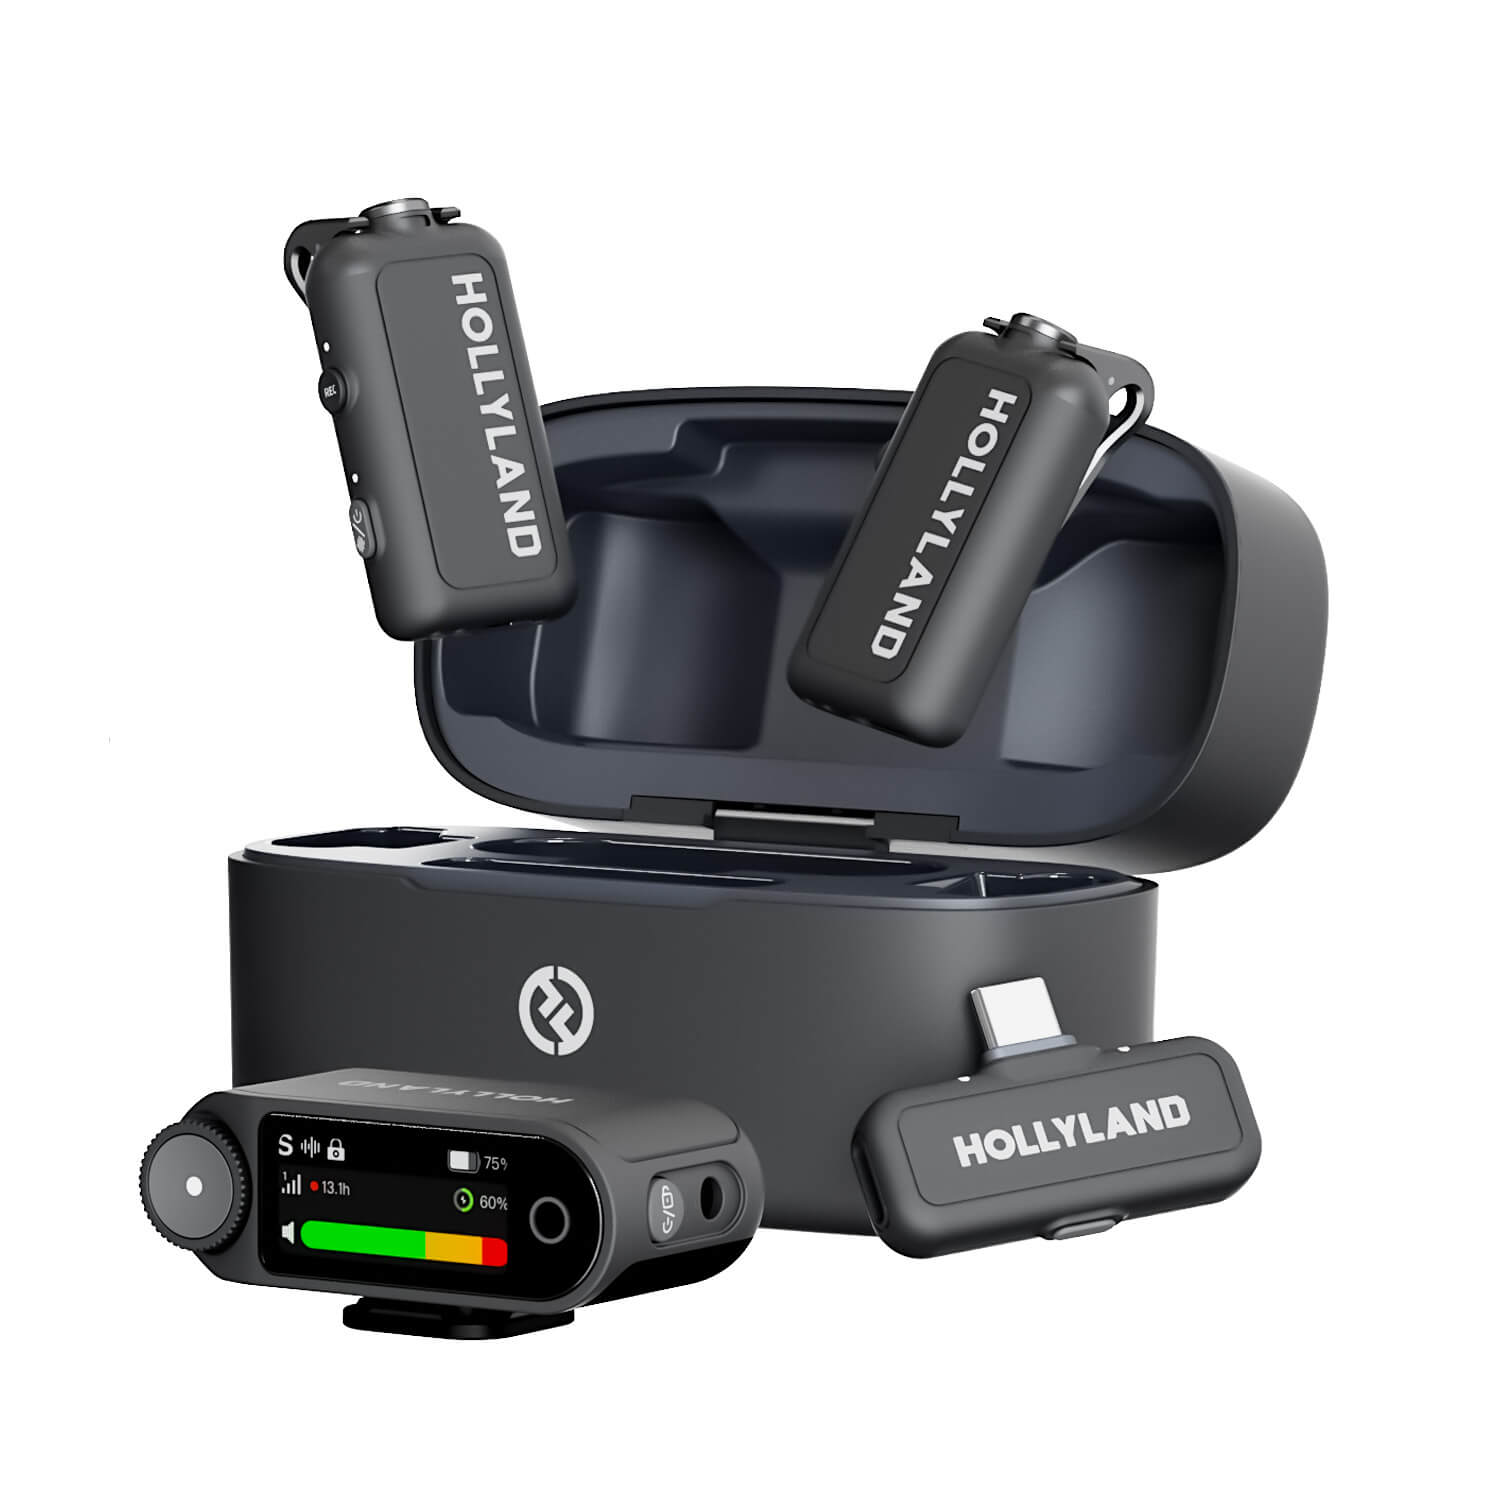
Hollyland LARK MAX 2 - Premium Wireless Microphone System
A premium wireless microphone for videographers, podcasters, and content creators to capture broadcast-quality sound.
Key Features: Wireless Audio Monitoring | 32-bit Float | Timecode
Tips for Keeping Multiple Tracks Organized
Staying organized from the start saves real time once a project grows beyond four or five tracks. These habits take seconds to adopt.

Tips for Keeping Multiple Tracks Organized
- Rename every track immediately. Double-click a track name in the header and replace the default label (“Audio 1”) with something descriptive such as “Lead Vocals” or “Rhythm Guitar.”
- Color-code track headers. On Mac, right-click any track header to access color options. Grouping similar tracks visually makes the project view far easier to scan.
- Use Mute (M) and Solo buttons freely. These let you isolate or silence individual tracks while building your arrangement without removing any recorded audio.
- Use Take Folders for multiple passes. When you record over the same region more than once, GarageBand stores each pass in a Take Folder. Expand the folder to comp your best performance from all available takes.
- Create Track Folders on Mac. Select a group of related tracks, right-click, and choose Create Track Folder to collapse them under a single header and keep the Tracks area clean.
- Record in a logical order. Finish rhythm tracks (drums, bass, rhythm guitar) before layering lead lines or vocals to reduce the temptation to redo foundation parts after the fact.
FAQ — Common Questions About GarageBand Multi-Track Recording
Can GarageBand record multiple tracks at the same time?
Yes. With a multi-input audio interface connected to your Mac or iOS device, you can assign separate input channels to individual tracks, record-enable each one, and capture them simultaneously. Without additional hardware, you can still build a full multi-track project by overdubbing each part sequentially, which covers most solo recording needs.
How many tracks can GarageBand record at once?
GarageBand for Mac supports up to 255 tracks in a single project. The number you can record simultaneously depends entirely on how many inputs your audio interface provides, not on a GarageBand-imposed limit. On iOS, simultaneous recording capability is more restricted and varies by the connected hardware.
Why does only one track record at a time in GarageBand?
Only record-enabled tracks will capture audio or MIDI during a session. If a track is not recording, confirm its Record Enable button (the red circle in the track header) is activated and that the correct input source is assigned to it. Two tracks assigned to the same input channel will both capture, but their signals will not be independent.
Can I record multiple tracks on GarageBand iOS?
Yes, sequentially. On iPhone or iPad you can overdub as many tracks as needed without extra hardware — just add a new track and record while the others play back. For simultaneous multi-input recording, capturing two microphones or instruments at once requires an iOS-compatible audio interface connected via USB-C or Lightning adapter.
Do I need an audio interface to record multiple tracks in GarageBand?
No, not for sequential overdubbing. You can build a complete multi-track project using only the built-in microphone or a standard headphone-jack connection. An audio interface is only necessary when you need to record two or more live audio sources at exactly the same time.
Next Steps
For most home recordists, sequential overdubbing is all you need: add a track, arm it, record, and repeat until your arrangement is complete. Start with that workflow, get comfortable with input routing and record-enabling, and move to a multi-input interface setup only when your sessions genuinely call for it. When you’re ready to go further, explore how to set up an audio interface with GarageBand, the basics of mixing down your tracks, and how to choose the right microphone for home recording.
