



































.png)
 简体中文
简体中文 
You pressed record, spoke into your microphone, and got a flat line. It is one of the most frustrating moments in any recording session, and it happens to beginners and experienced users alike. The good news is that Audacity’s silent-recording problem almost always comes down to one of a handful of fixable settings. Work through the steps below in order, and you will find your culprit quickly.

Audio Not Recording in Audacity? Here’s How to Fix It (Step-by-Step)
Why Audacity Isn’t Recording Audio — Common Causes at a Glance
Before diving into fixes, here is a quick map of the most common culprits. Use this list to jump straight to the step that matches your situation.
- Microphone permissions blocked — your OS is silently denying Audacity access to the mic (especially common after a Windows or macOS update) → Step 1
- Wrong input device selected — Audacity is listening to the wrong source or a generic default → Step 2
- Incorrect audio host — Windows users on WASAPI or DirectSound may experience no signal from certain devices → Step 3
- Sample rate mismatch — the mic’s native rate and Audacity’s project rate conflict, producing silence or a refused input → Step 4
- Input volume zeroed out — the recording level slider has been dragged to zero accidentally → Step 5
- Outdated or corrupted audio driver — a driver issue prevents Audacity from seeing the device at all → Step 6
Step 1 — Grant Microphone Permissions to Audacity
This is the single most common cause of sudden silent recording, particularly after a system update. Both Windows and macOS can revoke app-level microphone access without displaying any warning inside Audacity.
On Windows
- Open the Start Menu and go to Settings.
- Navigate to Privacy & Security → Microphone.
- Confirm that Microphone access is toggled On at the top of the page.
- Scroll down to Let desktop apps access your microphone and make sure that toggle is also On.

- Close Settings, then fully quit and relaunch Audacity.
- Press record and check whether the input meter shows any movement when you speak.
On Mac
- Open System Settings (or System Preferences on older macOS versions).
- Go to Privacy & Security → Microphone.
- Find Audacity in the list and switch its toggle to On.

- If Audacity is not listed, it has not yet requested access. Open Audacity, attempt a recording, and then return to this screen.
- Quit and relaunch Audacity after enabling access.
Note: macOS silently blocks applications that have not been granted microphone permission. Audacity will not display a meaningful error message — it will simply record silence. This catches a lot of users off guard, especially after upgrading to a new macOS version.
Step 2 — Select the Correct Input Device in Audacity
Even with permissions granted, Audacity may be listening to the wrong source. By default, it often selects “Primary Sound Capture Driver” or a similarly generic option, which can map to a built-in microphone, a virtual audio device, or nothing useful at all.
- Look at the toolbar at the top of the Audacity window. You will see a microphone icon followed by a dropdown menu — this is the Input Device selector.
- Click the dropdown and look for your microphone listed by its actual name (for example, “Blue Yeti USB Microphone” or “Headset Microphone (Realtek Audio)”).
- Select that specific device rather than any generic default option.
- Click the red Record button and speak to confirm signal in the input meter.

Mic not appearing in the dropdown? Your microphone must be connected before Audacity launches for it to register. If you plugged it in after opening the app, go to Transport in the top menu and click Rescan Audio Devices. Audacity will refresh the device list without requiring a full restart. If the device still does not appear, try a different USB port or cable, and verify the microphone shows up in your OS sound settings first.
Step 3 — Check the Audio Host Setting (Windows Users)
Audacity’s Audio Host setting controls which Windows audio system it communicates through. Selecting the wrong one is a common cause of devices appearing in the list but producing no signal. The Audio Host dropdown sits on the far left of the top toolbar, just before the input/output device selectors.
| Host | Best For | Notes |
|---|---|---|
| MME | General recording from microphones and headsets | Most compatible starting point; recommended for troubleshooting |
| Windows DirectSound | Low-latency playback; some USB devices | Less universal than MME; can cause device conflicts |
| Windows WASAPI | High-fidelity output and loopback (system audio capture) | Loopback mode captures what your speakers play, not a microphone input — a frequent source of confusion |

Recommended action: Set the Audio Host to MME first. If your microphone produces signal under MME, you can experiment with other hosts later once normal recording is confirmed. If you need to record system audio (for example, capturing audio playing on your computer), WASAPI Loopback is the correct setting for that specific use case — but it will not capture a microphone input.
Step 4 — Fix Sample Rate and Project Rate Mismatches
If your microphone’s native sample rate does not match Audacity’s project rate, Audacity may refuse the input signal or record complete silence. This is especially common with USB microphones that operate natively at 48,000 Hz when Audacity’s project rate is set to 44,100 Hz, or vice versa.
- Find your microphone’s sample rate on Windows:
- Right-click the speaker icon in the system tray → Sound Settings → Advanced → More sound settings.
- Go to Recording and double-click your microphone.
- Under the Advanced tab, note the sample rate shown in the Default Format dropdown (e.g., “2 channel, 16 bit, 48000 Hz”).

- Find your microphone’s sample rate on Mac:
- Open Audio MIDI Setup (search for it in Spotlight).
- Select your microphone in the left panel.
- The sample rate is displayed in the Format dropdown on the right.

- Match Audacity’s project rate to that value:
- In Audacity, look at the bottom-left corner of the window for the Project Rate (Hz) dropdown.
- Click it and select the same value as your microphone (44100 or 48000 are both standard).
- Press Record again and check the input meter for activity.
Pro Tip: Setting both your OS and Audacity to 44100 Hz is the safest universal starting point if you are unsure which rate your microphone prefers. You can always change the project rate later without affecting recording quality for most voice and podcast work.
Step 5 — Check That Recording Levels Are Not Zeroed Out
This is a quick check that solves the problem more often than users expect. Audacity’s input volume slider can be dragged to zero accidentally, especially on a laptop touchpad.
- Locate the microphone icon in Audacity’s Mixer Toolbar (usually sitting between the playback and recording controls in the toolbar area). Directly to the right of the icon is a horizontal slider — this is the input volume control. Make sure it is set above zero. Drag it to around 70–80 percent as a starting point.
- Check the Recording Meter Toolbar — the horizontal bar labeled Record with a red indicator. If it shows dashes instead of a level display, click it once to arm monitoring. Speak into your microphone and confirm that the meter reacts with upward movement.
If the meter moves when you speak but the recorded waveform is still flat, the issue is likely a project rate mismatch (see Step 4). If the meter does not move at all, work back through Steps 1 through 3.
Step 6 — Update or Reinstall Your Audio Driver
If you have completed every step above and Audacity still will not record, a corrupted or outdated audio driver is the next likely cause. This is more common on Windows and tends to appear after major system updates or hardware changes.
- Right-click the Start button and select Device Manager.
- Expand Sound, video and game controllers.
- Right-click your audio device (Realtek High Definition Audio is the most common entry on Windows laptops and desktops) and select Update driver.

- Choose Search automatically for drivers and allow Windows to find and install any available update.
- If no update is found, go to your computer or motherboard manufacturer’s support page and download the latest audio driver manually.
- Restart your computer, reopen Audacity, and retest.
Mac users rarely encounter driver-level issues unless they are running a significantly outdated version of macOS. If you are on an older Mac OS and have worked through all previous steps without success, updating your operating system is worth considering before exploring other options.
When the Problem Is the Hardware Itself
If Audacity shows no configuration errors, your permissions are confirmed, your settings match, and your microphone still produces no signal in any application, the microphone hardware itself may be the issue. A failing capsule, a damaged cable, or an incompatible impedance level can all produce silent recordings that no software fix will resolve.

When the Problem Is the Hardware Itself
For podcasters, voice-over creators, and interview recorders who find themselves repeatedly fighting connectivity and signal-dropout issues, this is a reasonable moment to consider a dedicated wireless microphone system. The Hollyland LARK MAX 2 addresses the core instability variables directly: it captures at 48 kHz/32-bit Float internally, includes AI Noise Cancellation to reduce environment interference, and supports low-latency monitoring through OWS earphones. Because the receiver outputs a consistent, stable analog or USB signal, it eliminates the driver conflicts and sample rate mismatches that make USB microphones unreliable on some systems. If you have confirmed the problem is hardware, an upgrade like the LARK MAX 2 removes the recurring troubleshooting cycle entirely.
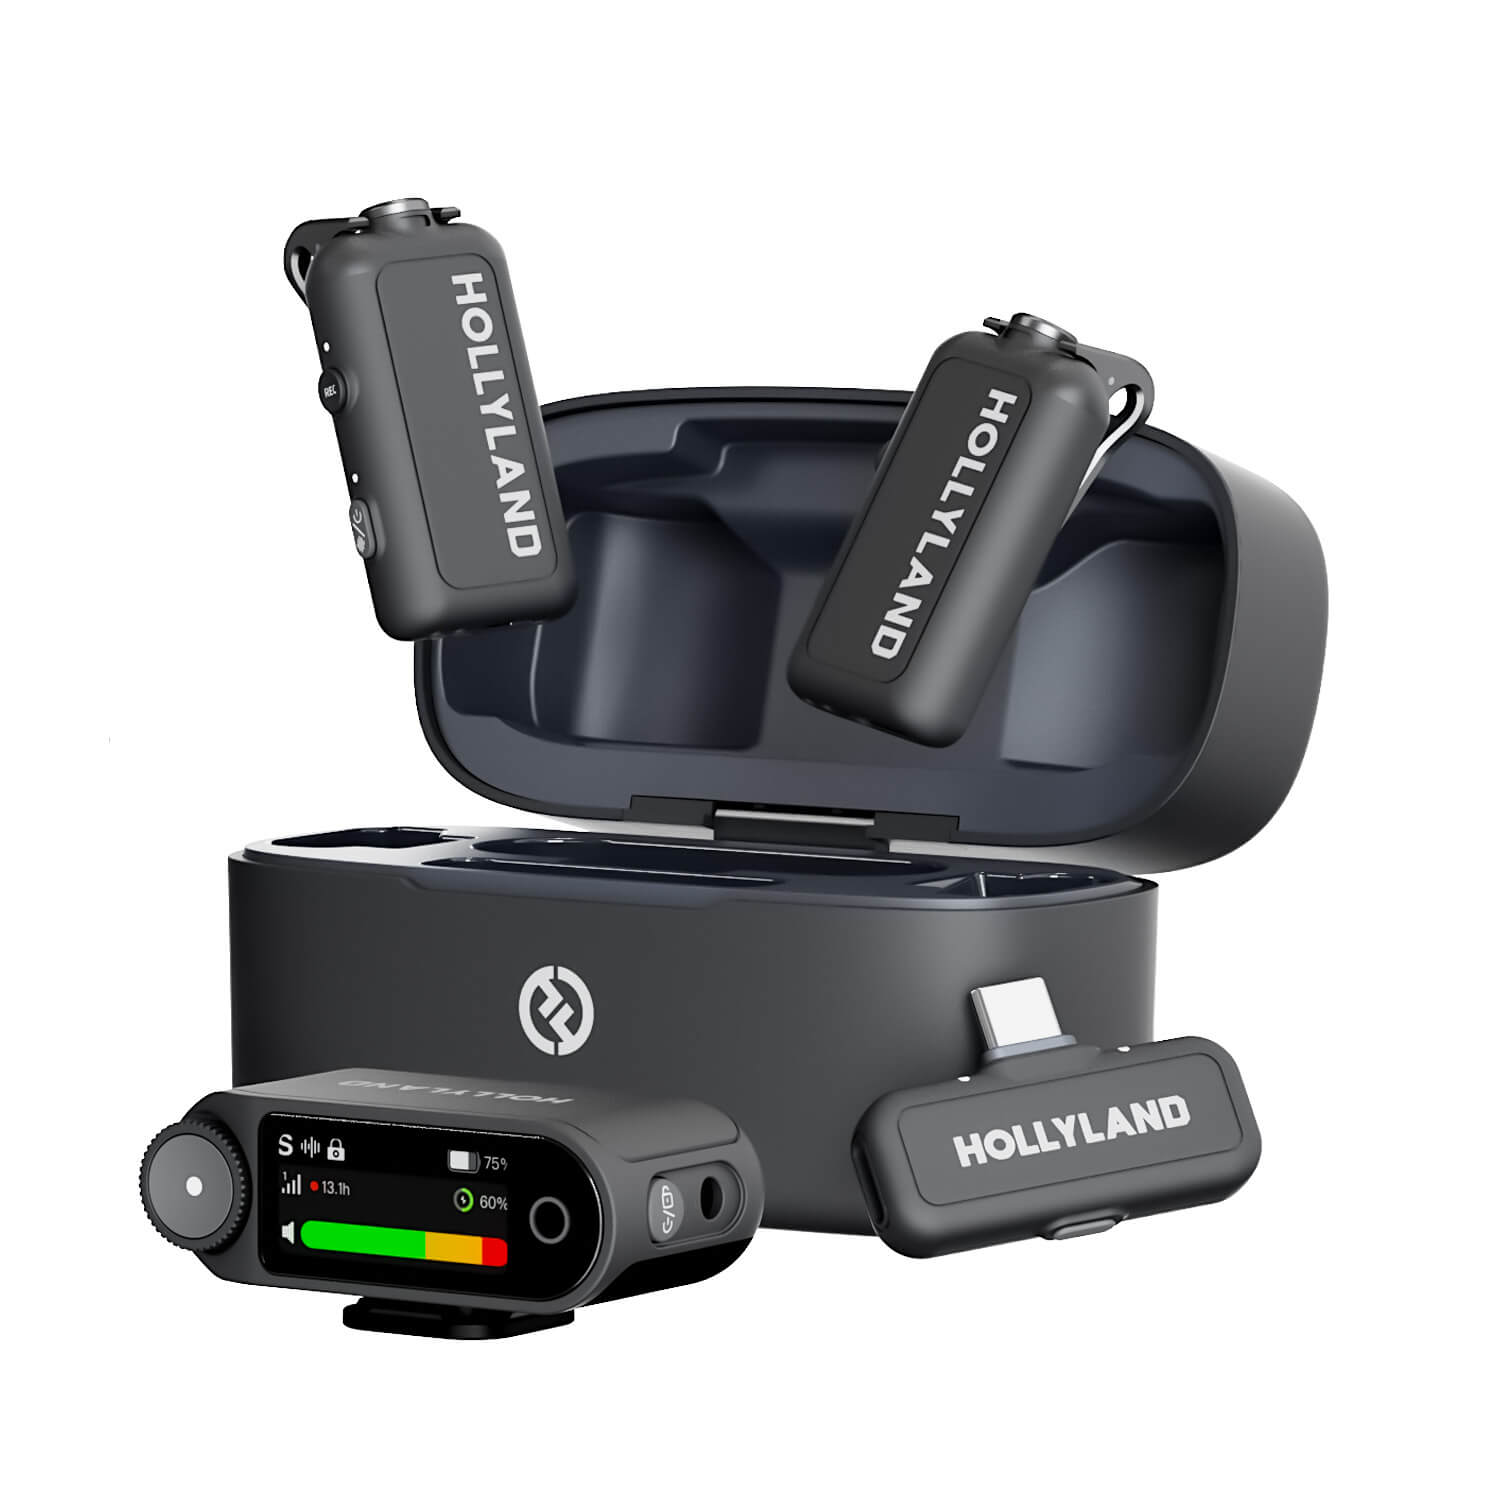
Hollyland LARK MAX 2 - Premium Wireless Microphone System
A premium wireless microphone for videographers, podcasters, and content creators to capture broadcast-quality sound.
Key Features: Wireless Audio Monitoring | 32-bit Float | Timecode
FAQ
Q: Audacity is recording but the waveform is a flat line — what’s wrong?
A flat waveform almost always means Audacity is receiving zero signal from the input source. Start by checking the input volume slider next to the microphone icon in the Mixer Toolbar — it may be dragged to zero. If the slider is above zero, return to Step 2 and confirm you have the correct physical microphone selected rather than a generic or virtual device.
Q: My mic works in other apps but not in Audacity. Why?
When a microphone works system-wide but fails only inside Audacity, the cause is almost always an app-level permission denial or an incorrect audio host setting. Revisit Step 1 to confirm Audacity has explicit microphone access in your OS privacy settings, then check Step 3 to make sure the audio host is set to MME (Windows) rather than WASAPI, which can block standard mic input.
Q: Audacity says “Error opening sound device” — how do I fix it?
This error typically points to a sample rate conflict or an audio host mismatch. Go to Step 3 and switch the host to MME, then proceed to Step 4 to align Audacity’s project rate with your microphone’s native rate in your OS sound settings. Relaunching Audacity after making both changes resolves this error in the majority of cases.
Q: Audio stopped recording in Audacity after a Windows or Mac update.
OS updates frequently reset microphone permissions for individual applications without notifying the user. This is the first thing to check. Follow the steps in Step 1 for your operating system, confirm Audacity’s microphone toggle is enabled, quit and relaunch Audacity, and test again. In almost every post-update silent recording case, restoring permissions is the complete fix.
What to Do Next
Work through the steps in order: permissions first, then device selection, audio host, sample rate, input levels, and finally drivers. Most users resolve the issue by Step 3. Once your recording is confirmed working, the next practical step is dialing in your settings for quality — check out our guide on the best Audacity settings for recording vocals to get the most out of your setup.
