.png)
 简体中文

If you are new to a MacBook, one thing may seem strangely missing. Unlike Windows and iPhone, macOS does not have a dedicated “Camera” app. Fortunately, you can still record yourself using several tools already included with your Mac. These options let you access the built-in FaceTime HD camera without installing anything extra. In this guide, you will discover four recording methods. They range from a quick, setup-free option to a powerful free tool for more advanced recording. By the end, you can pick the method that matches your needs and start recording within minutes.

Before You Record: Enable Camera Access on Your Mac
The first time any app tries to access your MacBook camera or microphone, macOS shows a one-time permission prompt. If you denied it or missed it, you will see a black preview window instead of a live camera feed.
Check these three things before recording:
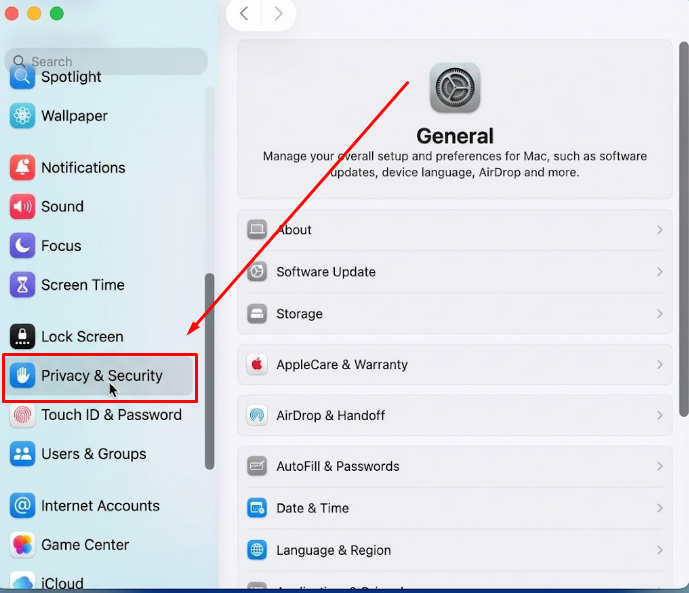
- Open System Settings > Privacy & Security > Camera (macOS Ventura or Sonoma) and toggle on access for the app you plan to use.
- Repeat the same step under Privacy & Security > Microphone to prevent silent recordings.
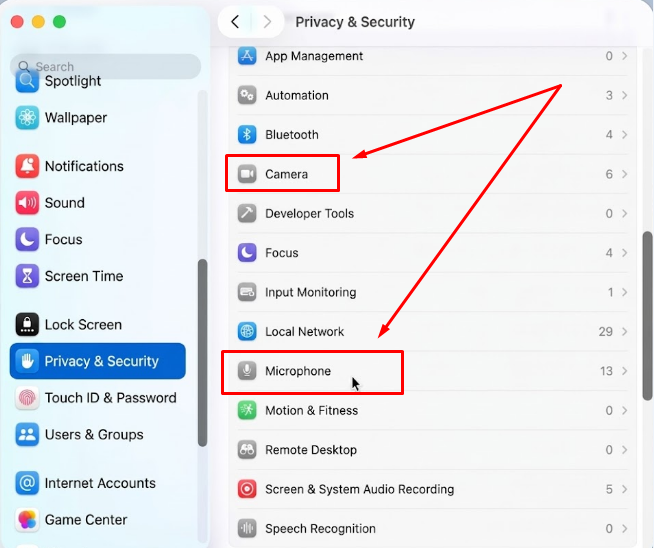
- Once the camera is active, a green indicator light appears next to the lens of the MacBook bezel to confirm it is on.
Note: If you previously denied a permission prompt, the app will not ask again automatically. You need to re-enable access manually in System Settings.
Method 1: Record with QuickTime Player (Recommended)
QuickTime Player comes pre-installed on every Mac and gives you direct control over your camera source, audio input, and output quality before you hit record. It saves a high-quality .mov file with no third-party software or account required. For most users, this is the best place to start.
Steps:
- Open QuickTime Player. Press Command + Space, type “QuickTime Player,” and press Enter. You can also find it in your Applications folder.
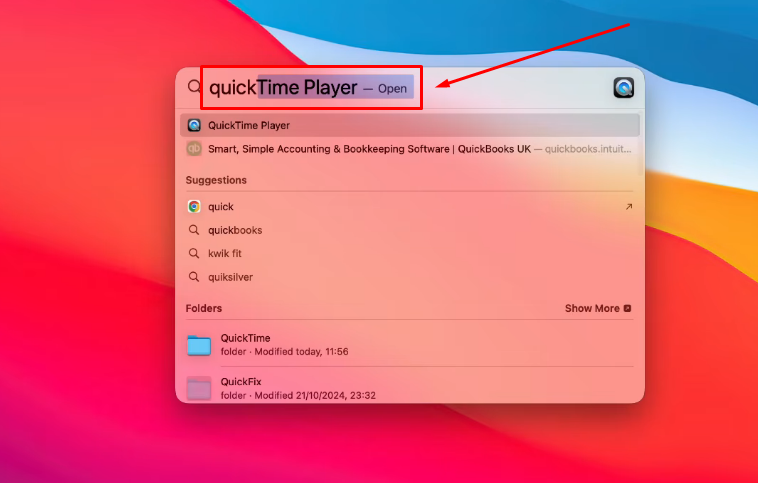
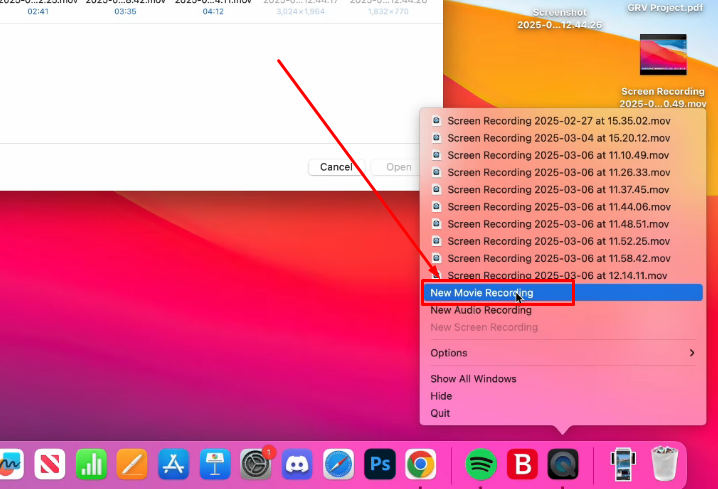
- In the menu bar, click File > New Movie Recording. A live preview window opens immediately showing your camera feed.
Alternatively, once QuickTime opens, right-click on the QuickTime icon in the dock and click New Movie Recording.
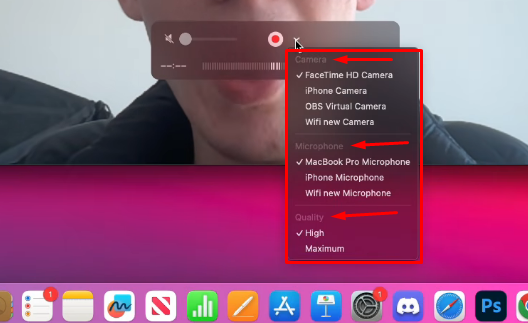
- Click the small down-arrow (chevron) next to the red record button to open the source selector dropdown.
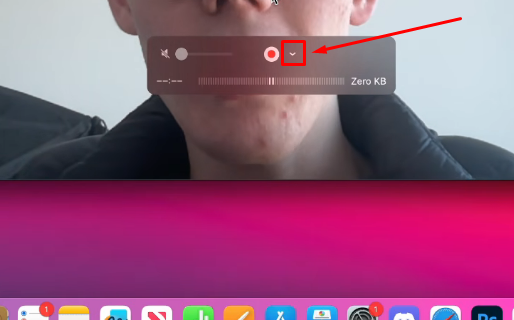
- Under Camera, confirm FaceTime HD Camera is selected.
- Under Microphone, select Built-in Microphone or any connected audio input. Make sure this is not set to “None,” or your recording will have no audio.
- Under Quality, choose High for everyday recordings or Maximum for the best resolution output.
- Click the red record button to begin. The button pulses while recording is active.
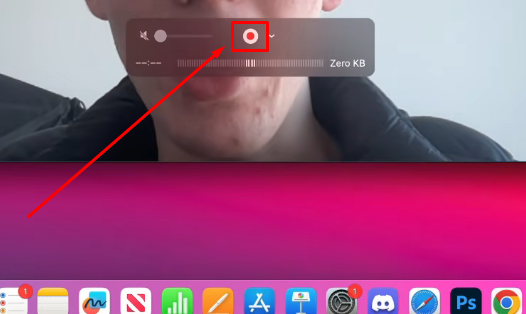
- Click the red record button again to stop. You can also press Command + Control + Esc.
- Go to File > Save, choose a file name and destination folder, and click Save. QuickTime saves the file as a .mov in the location you select. The default is your Movies folder.
Pro Tip: The source selector dropdown is easy to overlook. If you finish a recording and find no audio, this is almost always the reason. Re-record with a microphone source selected.
Method 2: Record with Photo Booth (Quickest Option)
Photo Booth is the fastest way to start recording with zero configuration. It is pre-installed, opens in one click, and requires no decisions before you hit record. The limitations: you cannot select an audio source manually, and the file saves directly to your Photos library rather than a specific folder.
Steps:
- Open Photo Booth from your Applications folder or via Spotlight search.
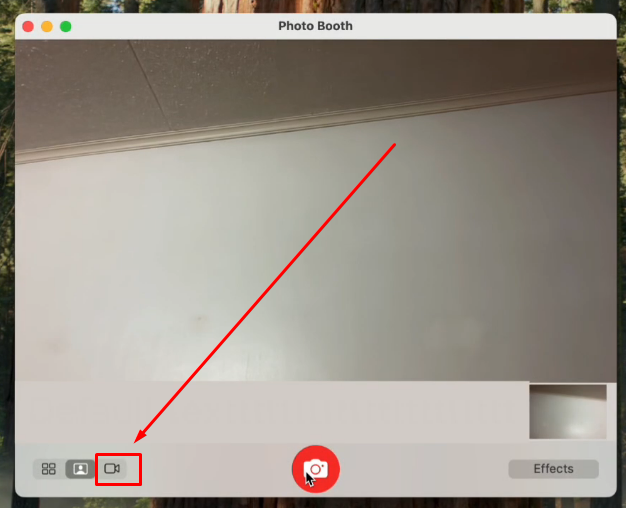
- In the bottom-left corner of the window, click the video camera icon to switch from photo mode to video mode.
- Click the red record button. A three-second countdown appears before capture begins.
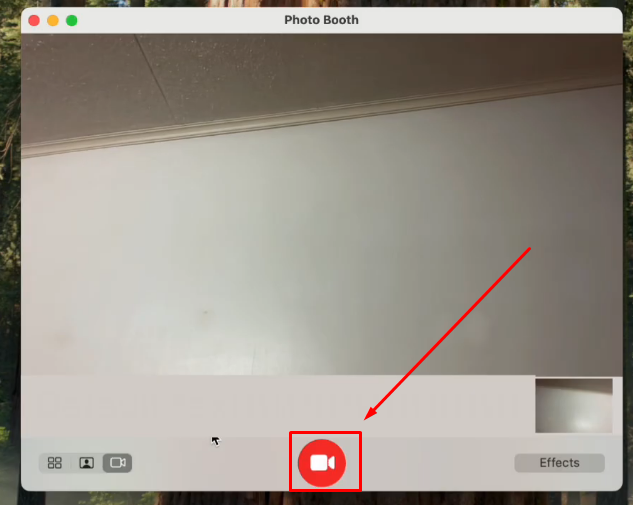
- Click the red button again to stop recording.
- Your clip appears in the thumbnail strip at the bottom of the Photo Booth window and is automatically saved to your Photos library.
- To move the file to a specific folder, right-click the thumbnail and select Export.
Note: If you need manual audio source control or a direct file save path, QuickTime Player is the better choice. Photo Booth is ideal for quick, no-fuss clips.
Method 3: Record Directly Inside iMovie
Best for: Users who want to record and edit in one continuous workflow without switching apps.
iMovie records video through your FaceTime HD camera and saves it to an Event or Project Media pool. You can then add the recorded clip to your project timeline for editing. By default, iMovie keeps these recordings inside its own Library package. They do not appear as separate video files in a Finder folder.
Steps:
- Open iMovie from your Applications folder and create a new project.
- Click File > Import Media.
- In the left sidebar of the import window, select FaceTime HD Camera. A live preview appears on the right.
- Click the Record button to begin capturing, then click it again to stop.
- The recorded clip is added automatically to your iMovie library.
- Drag the clip into your timeline to begin editing.
To export a standalone file outside iMovie, go to File > Share > Export and choose your preferred resolution and format.
Method 4: Record with OBS Studio (Advanced / Streaming)
Best for: Streamers and content creators who need multi-source recording, custom resolution or bitrate settings, or the ability to record and live-stream simultaneously.
OBS Studio is free and open-source, but it carries a steeper learning curve than the native Mac apps. If you only need simple camera recordings, QuickTime or Photo Booth will serve you faster. Use OBS when you have specific needs those apps cannot meet.
Steps:
- Download OBS Studio for free from obsproject.com and install it.
- In the Sources panel at the bottom of the OBS window, click the “+” button and select Video Capture Device.

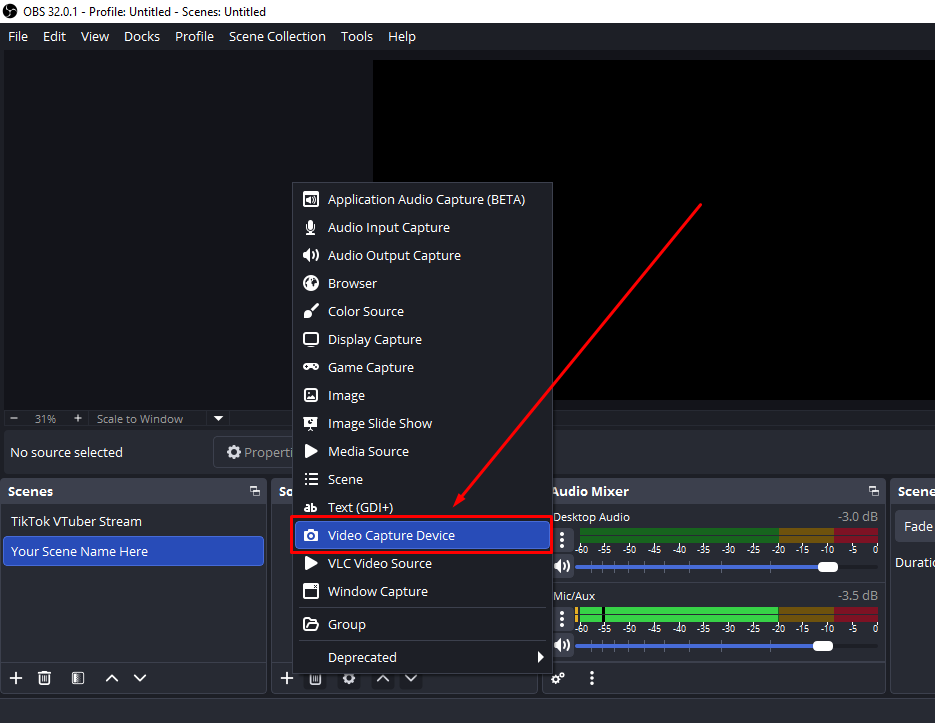
- Name the source (for example, “MacBook Camera”) and click OK.

- In the properties dialog, set the Device dropdown to FaceTime HD Camera. Adjust resolution and frame rate as needed, then click OK.

- Click “+” in Sources again, add an Audio Input Capture source, and set the device to Built-in Microphone or your preferred audio input.

- Go to Settings > Output to configure whether to save locally or stream to a platform.
- Click Start Recording in the Controls panel at the bottom right of the OBS window.

How to Get Better Audio When Recording on Your MacBook Camera
Audio quality is the most common complaint after a first MacBook recording. The built-in microphone sits near the keyboard, making it sensitive to keystroke noise, fan sound, and room echo. Even if your video looks clean, flat or echoey audio is what makes recordings feel unprofessional.

Here are three escalating improvements:
- Record in a quieter, softer space. Closing doors, drawing curtains, and adding rugs or soft furniture reduces room echo at zero cost. Hard, bare walls are the biggest contributor to reverb in home recordings.
- Switch to AirPods or wired earbuds as your microphone. An inline mic on your headset sits much closer to your mouth than the built-in mic. In QuickTime, open the source selector dropdown and select your earbuds under the Microphone option. Most users already own a compatible pair, making this a free upgrade.
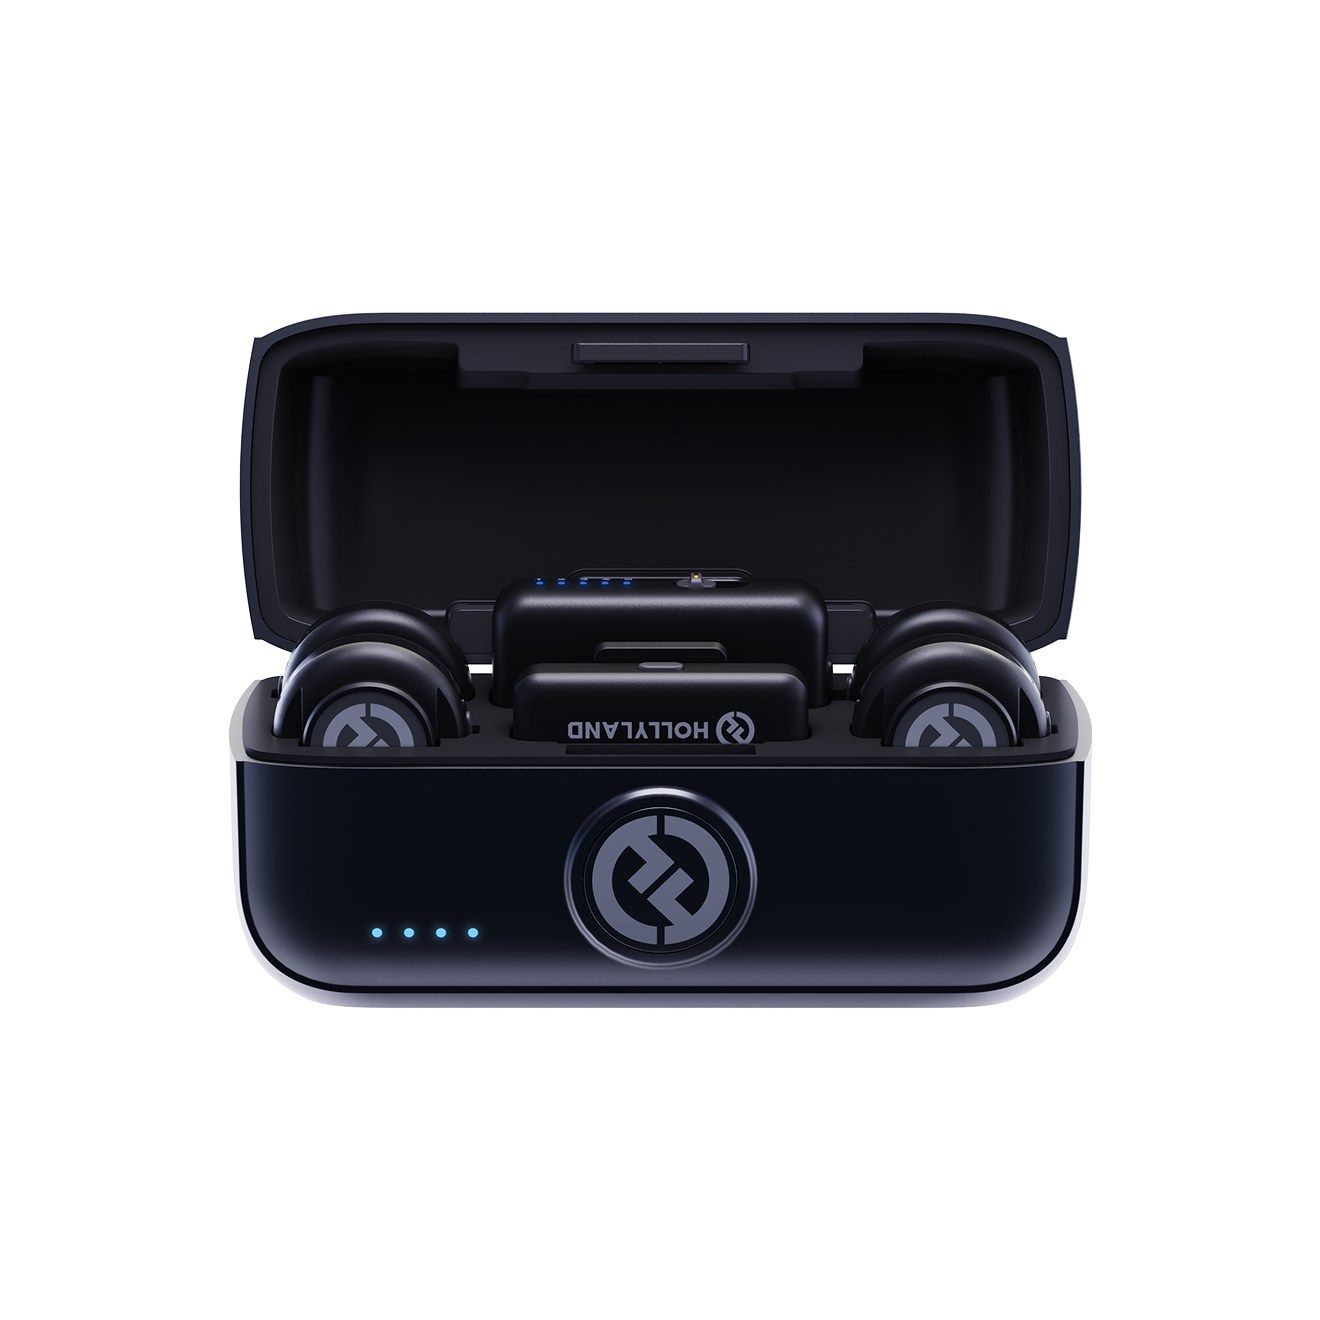
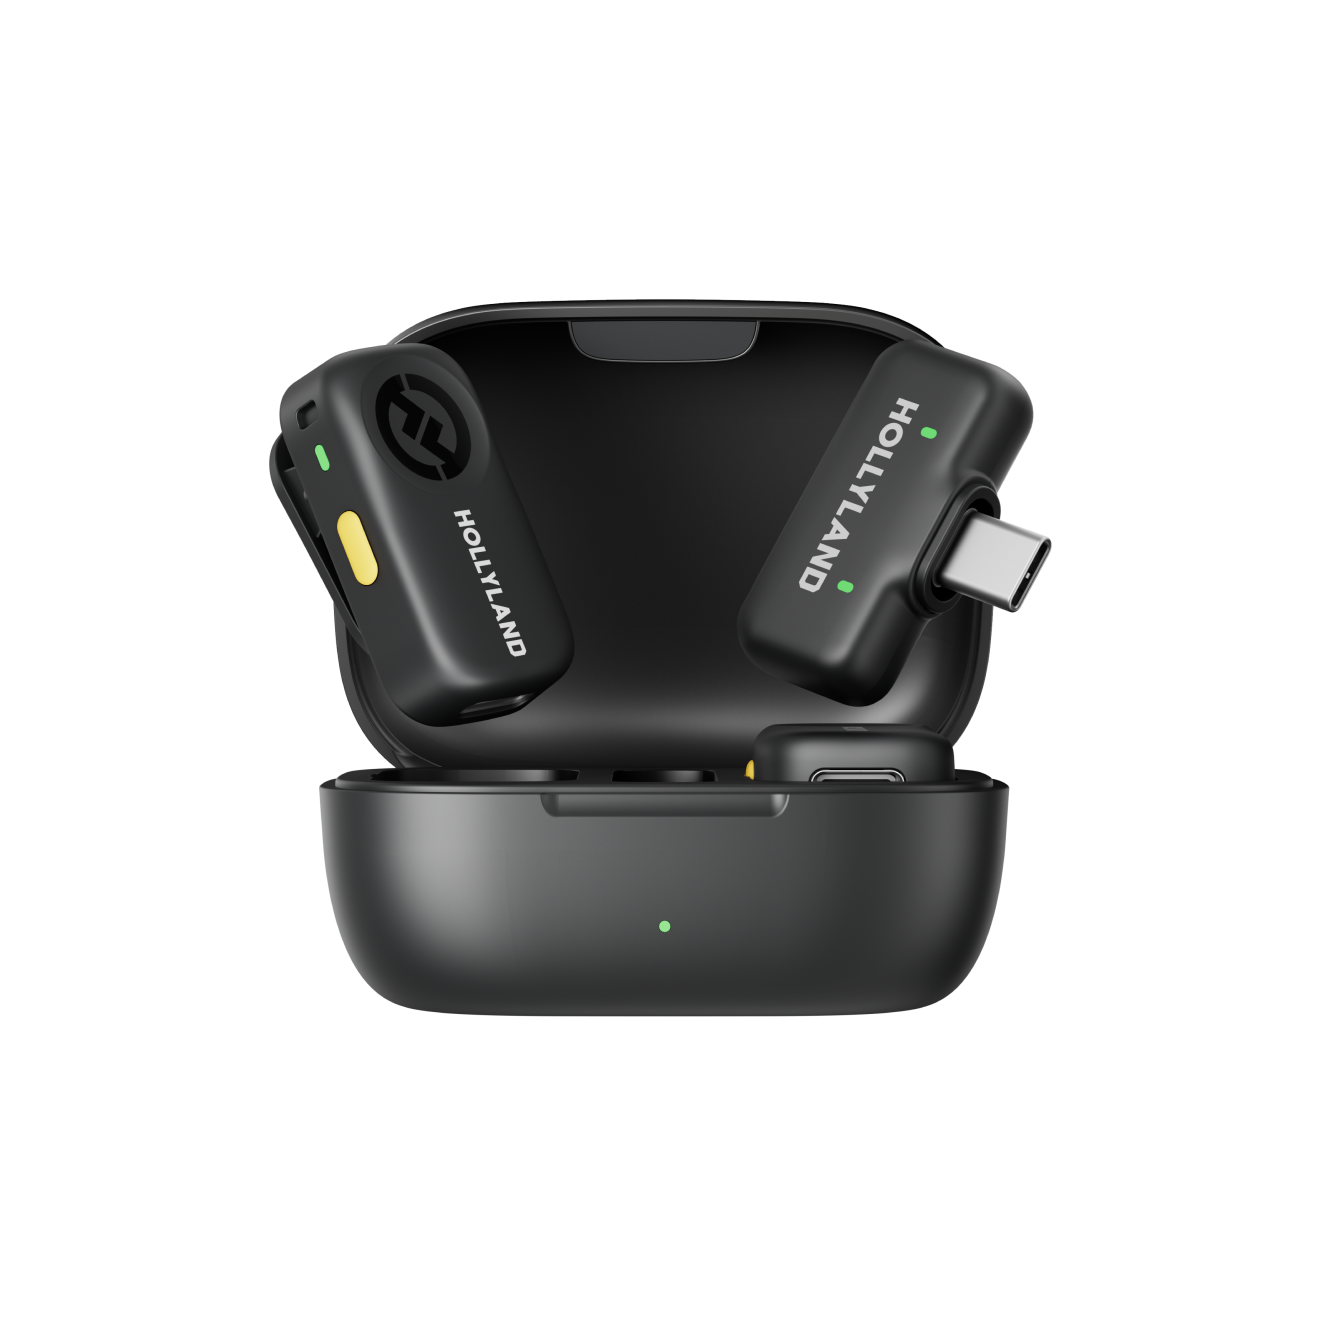
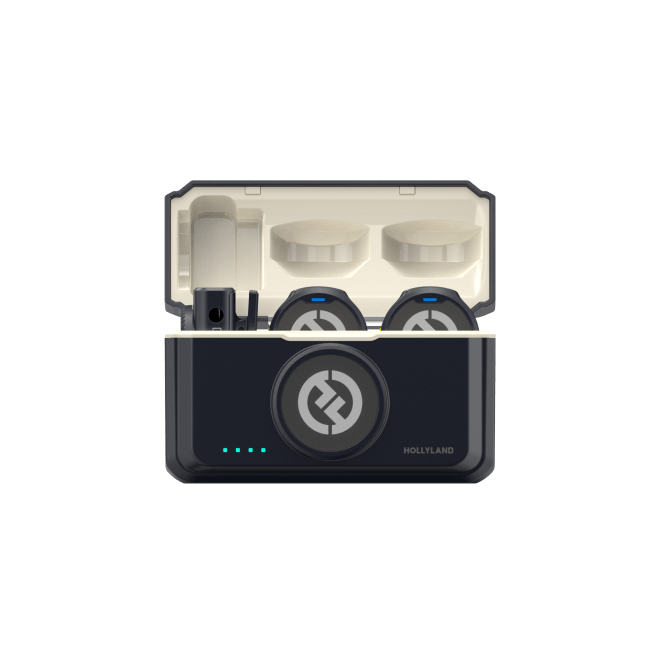
- Use a dedicated wireless clip-on microphone. For content creators who need clean, broadcast-quality vocals, an external mic is the single most effective hardware upgrade. The Hollyland LARK M2 is a compact wireless clip-on mic weighing just 9 grams; once its receiver is connected, you can select it as the audio input directly in QuickTime’s microphone dropdown or under System Settings > Sound > Input, with no drivers or complex setup required.
Quick Tips for Better MacBook Camera Recordings
- Raise the screen to eye level. Set your MacBook on a stand or stack of books so the camera lens aligns with your eyes rather than looking up at your face from below.
- Face a window for natural front lighting. Light coming from in front of you is more flattering than overhead fixtures or a bright window behind you.
- Clean up your background. Check the camera preview before recording and remove anything distracting from the frame.
- Close unused apps and browser tabs. Video recording is CPU-intensive. Fewer active applications means smoother frame rendering and a quieter cooling fan during your take.
- Set Quality to Maximum in QuickTime for important recordings. Click the dropdown arrow next to the record button and switch from High to Maximum when file size is not a concern.
- Run a 10-second test clip first. Play it back to confirm framing, lighting, and audio levels before the full take.

Frequently Asked Questions
Where does QuickTime save my video recording on Mac?
QuickTime shows a File > Save dialog as soon as you stop recording. You can choose any destination folder at that point. If you accept the default without changing it, the file saves to your Desktop. All QuickTime camera recordings are saved as .mov files.
Can I record video on a MacBook without downloading any apps?
Yes. Both QuickTime Player and Photo Booth come pre-installed on all Macs and require no downloads, purchases, or sign-ins. Open either app, grant camera and microphone permissions on the first launch, and you are ready to record immediately.
Why is there no audio in my MacBook camera recording?
A common reason for this problem is the wrong microphone source. Before recording a movie or screen, open the options menu beside the record button. Make sure a microphone is selected rather than “None.” If the setting is already correct, check QuickTime Player’s microphone permission. Go to System Settings > Privacy & Security > Microphone. Make sure QuickTime Player has permission to access the microphone. If access is blocked, QuickTime may record without audio and show no error.
How do I record my MacBook camera and screen at the same time?
OBS Studio is the most reliable method: add both a Video Capture Device (camera) and a Display Capture (screen) as separate sources in a single recording session. Alternatively, run two separate recordings and sync them during editing. For a full step-by-step walkthrough, see our dedicated Mac screen recording guide.
What video format does MacBook camera recording save in?
QuickTime saves recordings as .mov files by default. To share videos more widely, convert them to .mp4 format. Open the recording in iMovie, then select the Share button. Choose File and set the quality option to High. Avoid “Best/ProRes,” because it creates another .mov file. Then export the recording as an .mp4 file. You can also convert .mov files using HandBrake directly. HandBrake is a free third-party tool for video conversion.
Conclusion
For most people, QuickTime Player makes the best starting point. It comes pre-installed and lets you choose your audio source. Your recording also stays in the clean .mov format. Need a clip quickly without changing any settings? Photo Booth can record one within seconds. No matter which option you choose, start with better audio. Improving sound quality can make the biggest recording difference.