.png)
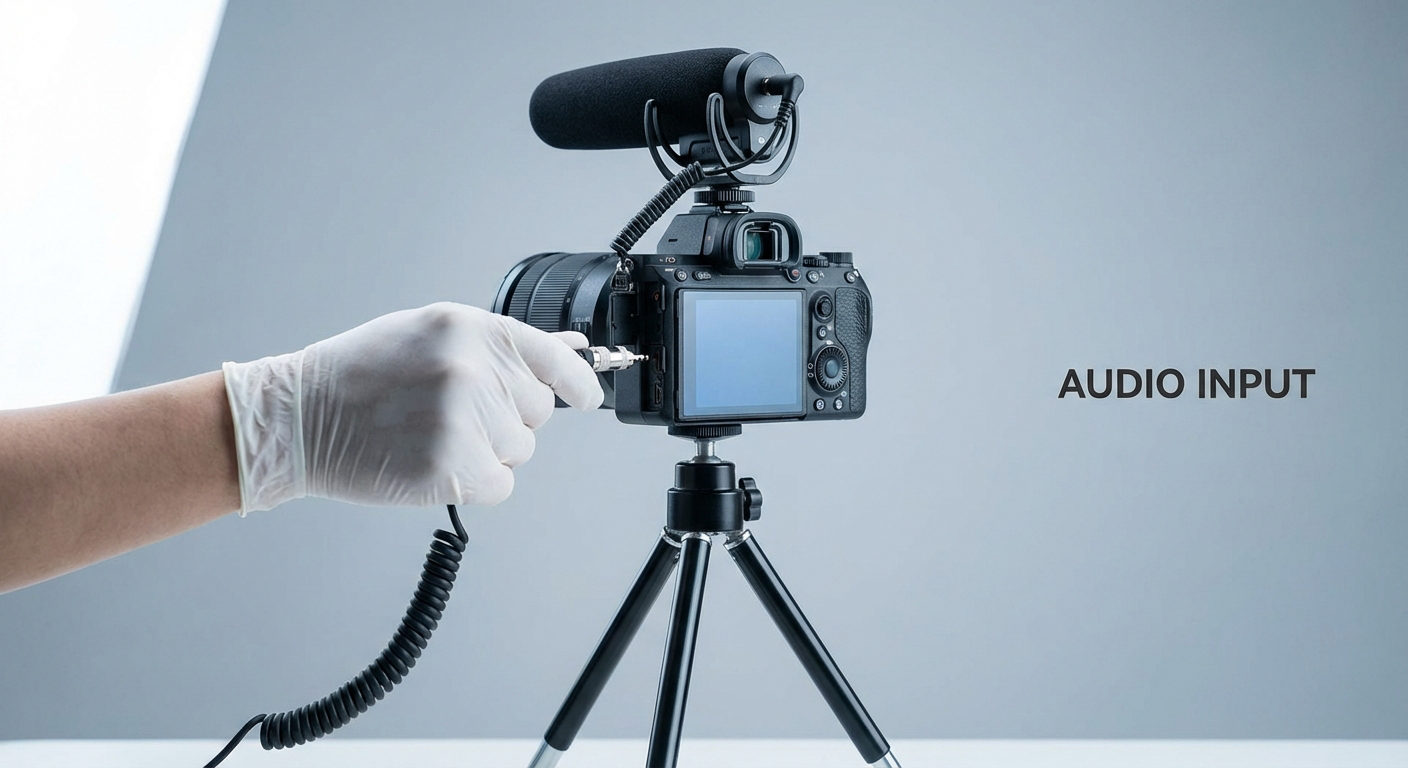
No matter how much the camera costs. You will still need to have an external mic to capture high-quality content. Just imagine shooting a vlog on your DSLR for clear visuals, but having dull audio? Such a situation may lower the retention rate of your audience. And in many scenarios, you may not get the viewership that you expected to get.
Most people know that the easiest solution is to get an external microphone. However, some creators, especially those who are new to their journey, may not know how to attach a microphone to a camera.
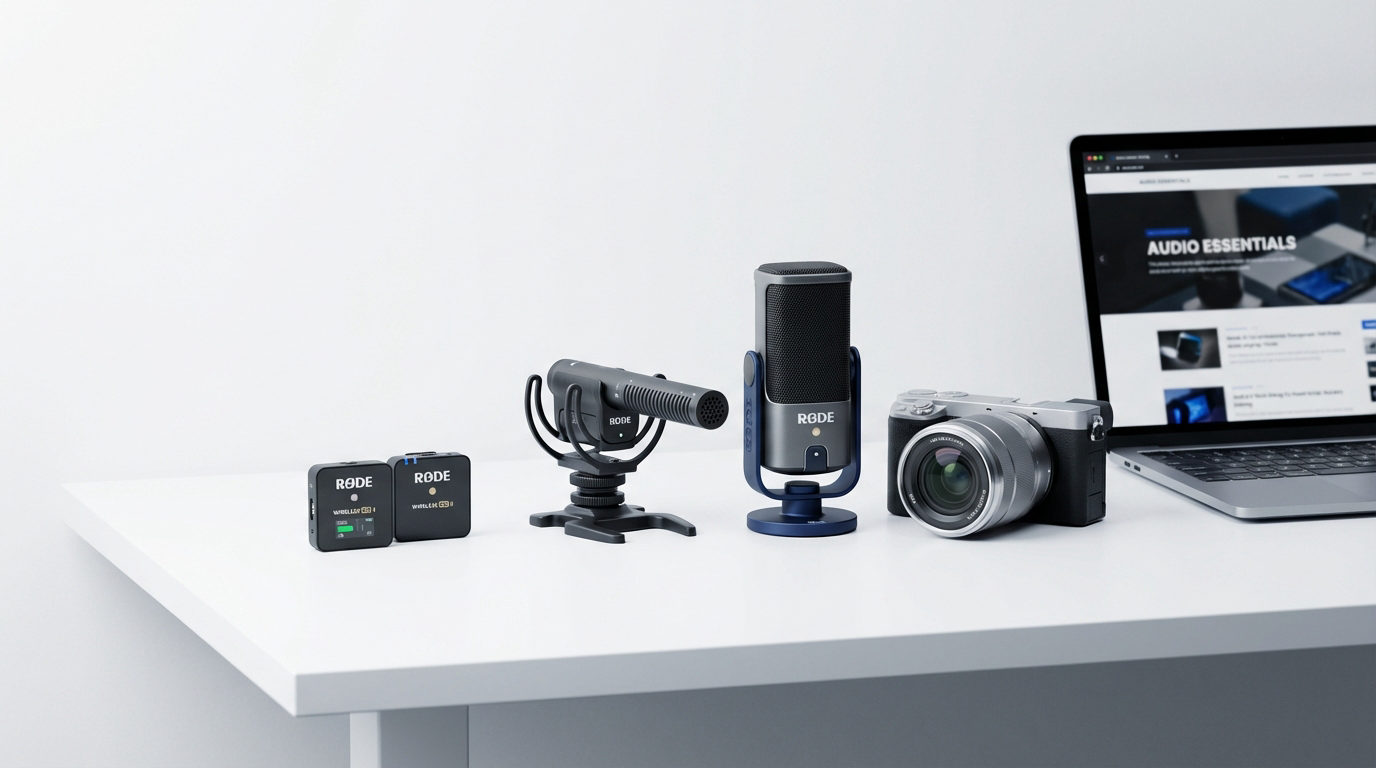
This article will show detailed steps for attaching a wireless, shotgun, and USB microphone to your DSLR or any camera with an audio port.
So, let’s get started!
Ways to Attach Different Types of Microphones to Your Camera
Here, you will explore instructions for connecting all three kinds of microphones to your camera easily.
Attaching a Wireless Lav Microphone to a Camera
First, you should understand the components of a wireless microphone system to attach it to your DSLR camera. Therefore, we have demonstrated the steps on the Hollyland Lark Max, a professional wireless lavalier microphone with an 820ft wireless recording range. Plus, it offers amazing features, like Professional Environmental Noise Cancellation and MaxTimbre technology for studio-grade recordings, even if you’re recording in a noisy environment.

Hollyland LARK MAX - Professional Wireless Microphone
A professional wireless microphone system featuring studio-quality audio with advanced noise cancellation.
Key Features: Studio-Quality Audio | Magnetic Attachment | 8GB Internal Recording
Lark Max comes with 1 and 2-person transmitters (TX), each consisting of a high-end omnidirectional microphone. Likewise, its receiver (RX) unit connects to various recording devices, including cameras, iPhones, Android smartphones, and computers (Mac and Windows).
NOTE: The following steps can be used to attach most wireless lavalier mics to your camera. However, the features depend on the microphone brand you have.
- Step 1: Pull out the transmitter and receiver units after unboxing your wireless microphone. You may need to pair both of them in order to ensure smooth wireless transmission. However, Lark Max TX and RX units are automatically paired once they are out of the storage/charging case
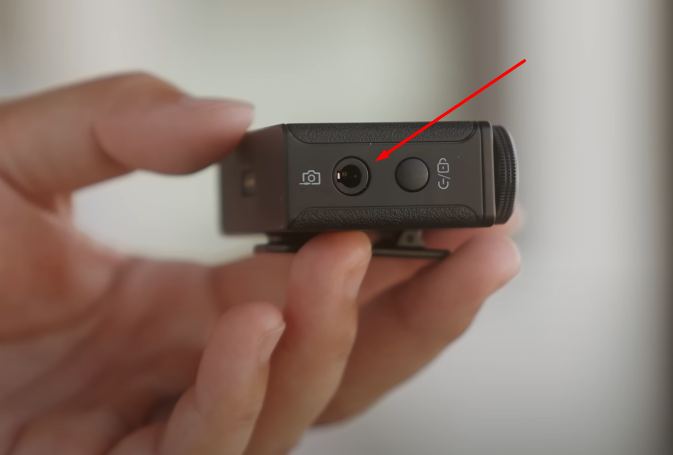
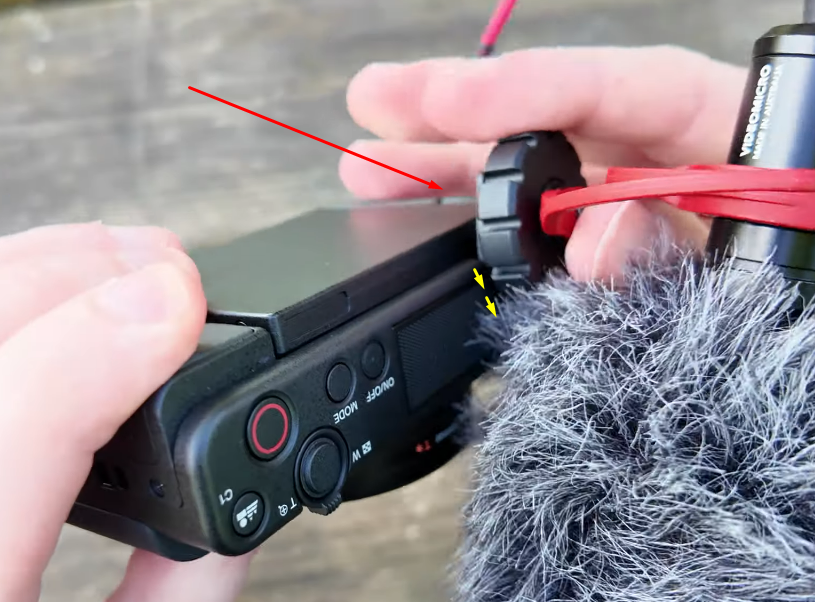
- Step 2: Now, grab the receiver and look at its back side. You should find a clip that also works as a hotshoe/cold shoe to mount the RX onto the camera


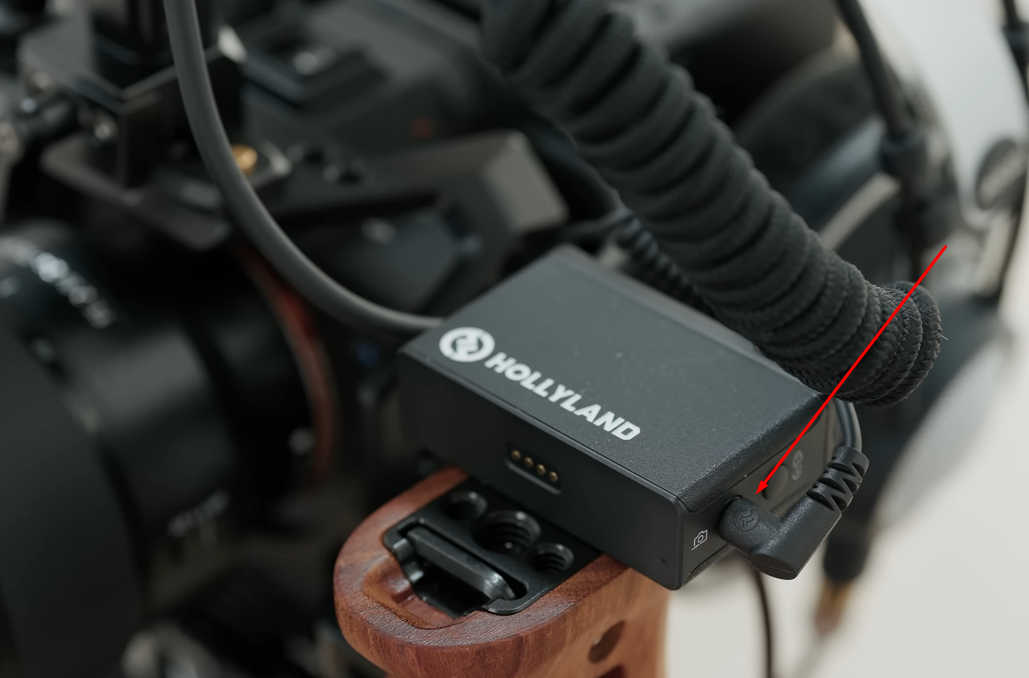
Also, pay attention to the right and left sides of the RX unit to find the audio port, like this
- Step 3: Now, gently slide the RX unit into the camera’s hotshoe/cold shoe spot, usually on the top of your DSLR
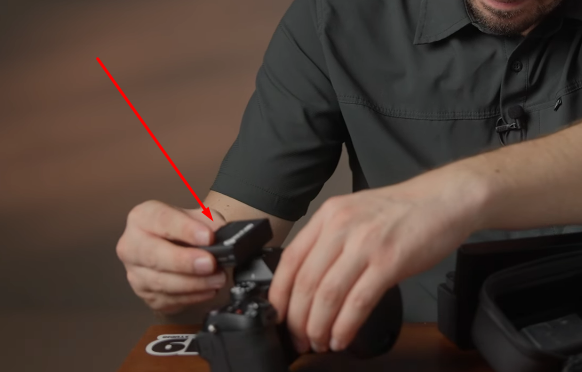
However, make sure the RX unit sits perfectly in its place to avoid any accidental drops, especially when recording videos while moving around.
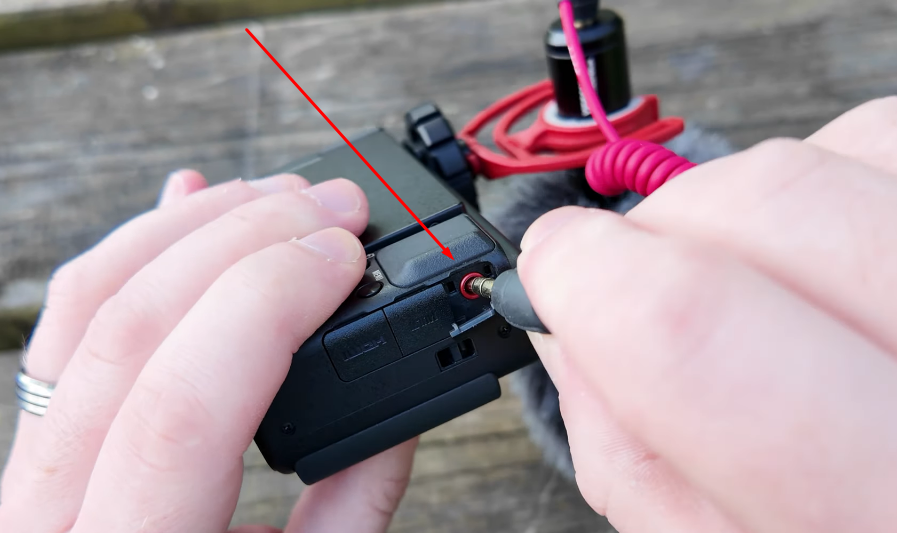
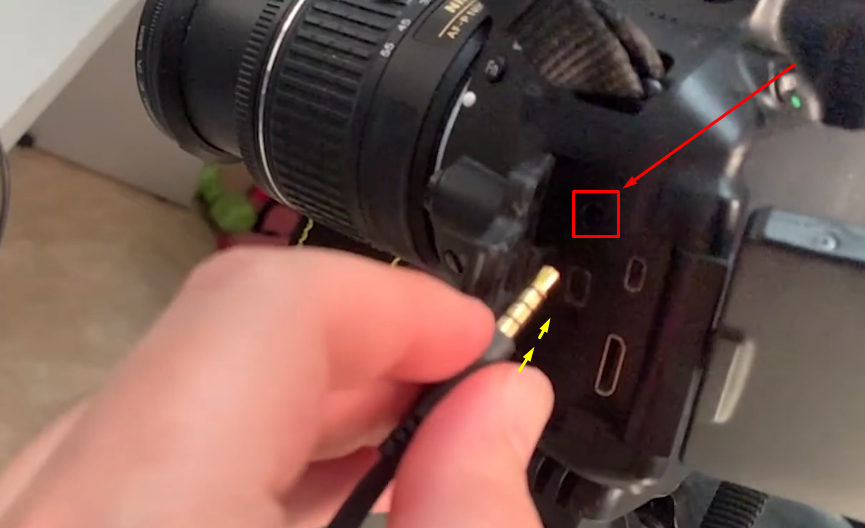
- Step 4: Once you have attached the RX unit, insert the audio cable (3.5mm) into the audio port of the receiver. Then, insert the other end of the cable into your DSLR
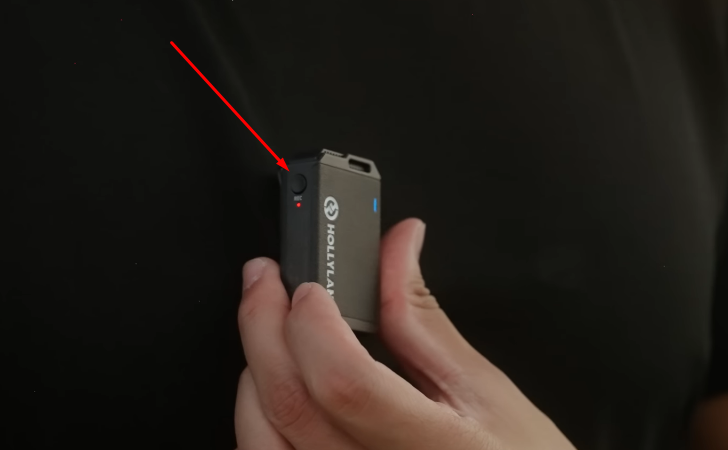
- Step 5: Now, turn on the transmitter unit by pressing the power button
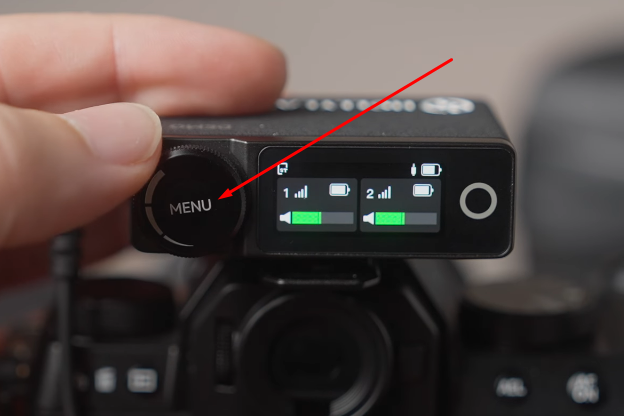
- Step 6: If you have a dedicated menu on the receiver unit like Lark Max, modify the settings as per your preference
And now you should be able to record audio on your camera using an external wireless lavalier microphone since you have successfully attached it.
Attaching a Shotgun Microphone to a Camera
A shotgun microphone is usually favored for its highly directional sound-capturing capability. It prevents sound from being captured from the back while ensuring good-quality audio from the front.
So, to connect a shotgun microphone, we have shown you the steps demonstrated on the RODE VideoMicro. Following the same steps would help you attach shotgun-styled microphones from other manufacturers.
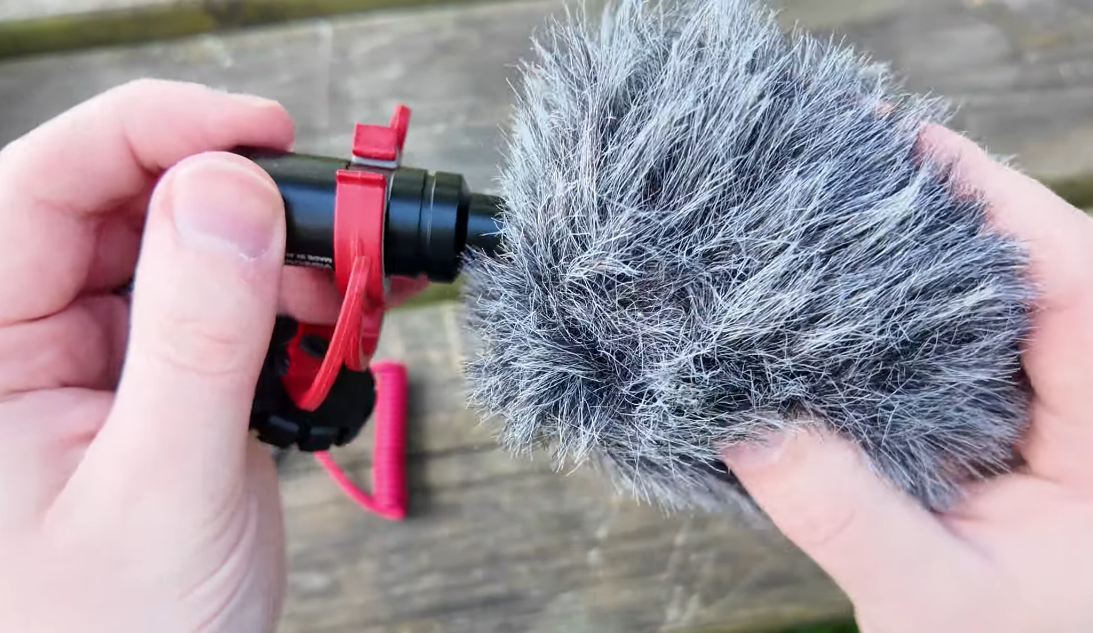
- Step 1: A shotgun mic could be a few inches long and comes with various accessories, such as a furry windshield and a shockmoun
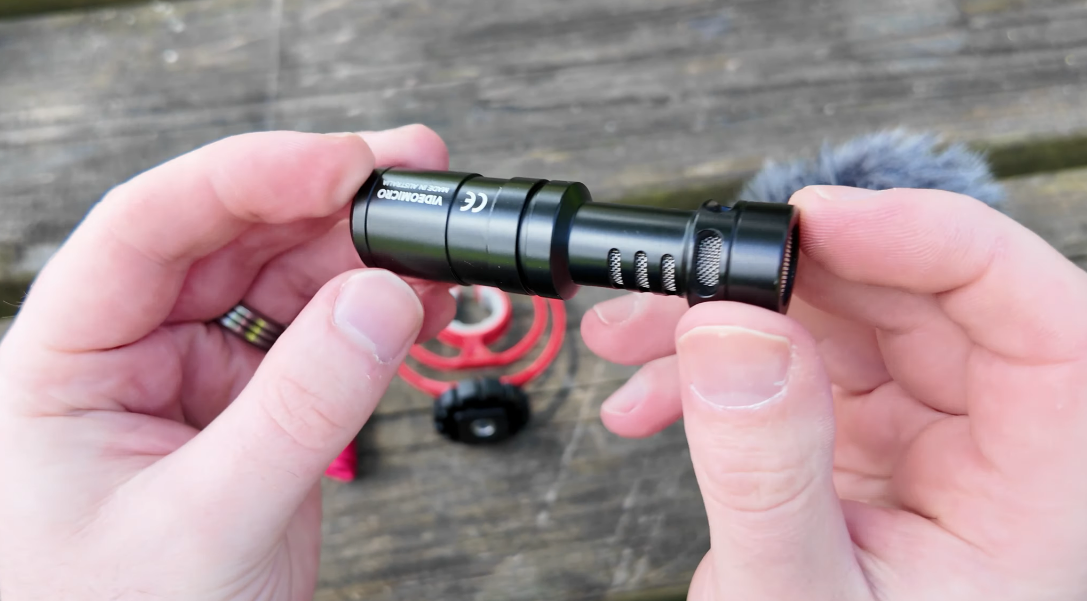
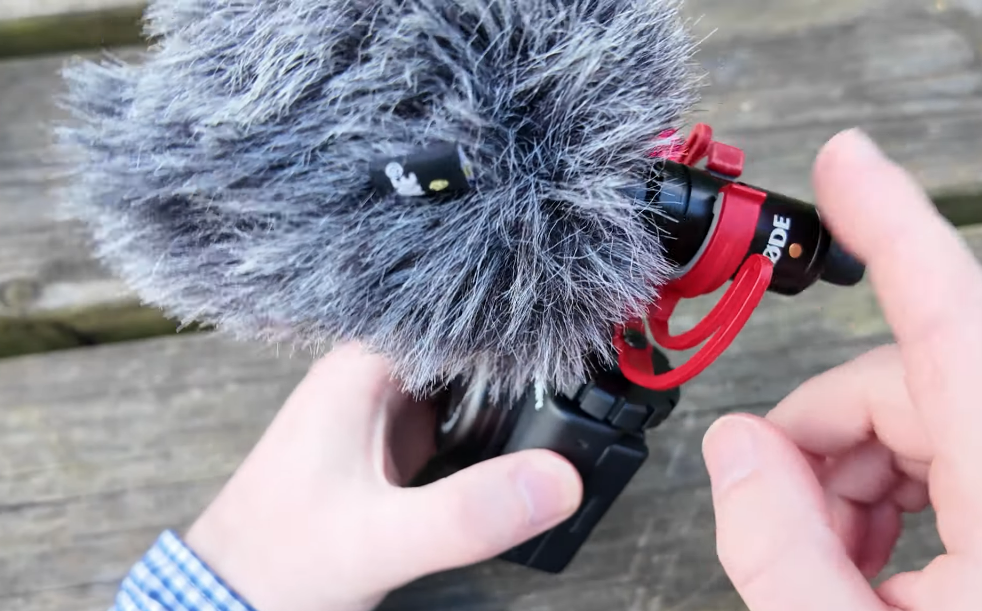
So, hold the microphone in one hand and use the other hand to grab the shockmount. Then, gently slide the mic inside the shockmount’s area until it sits perfectly
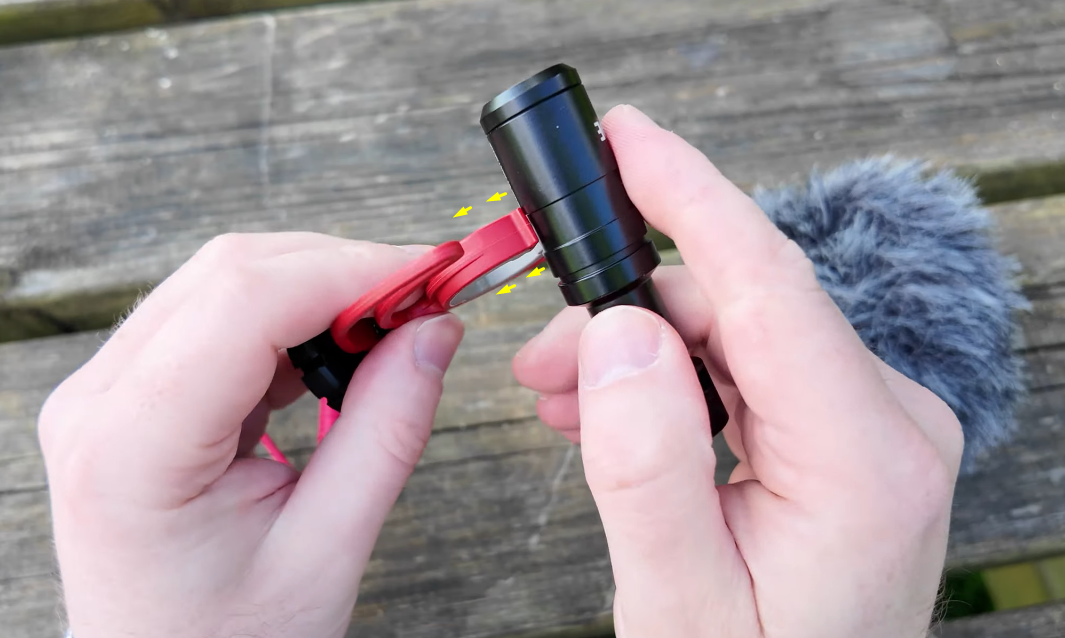
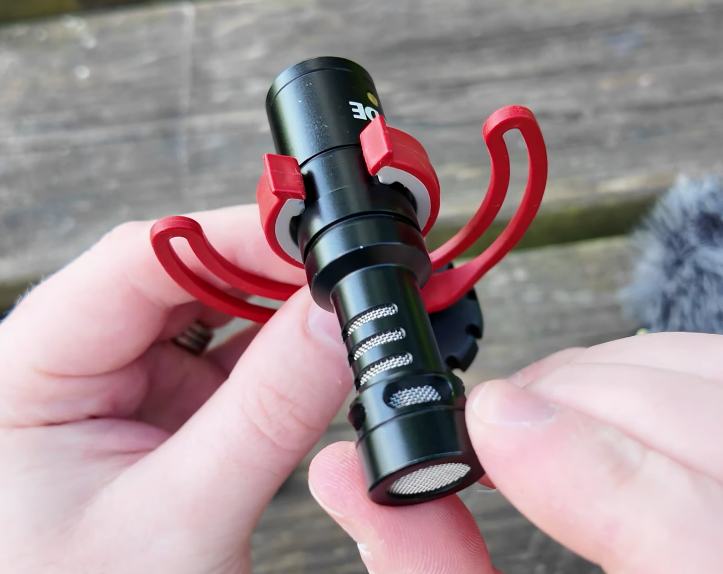
If you have done it correctly, your microphone should look like this.
NOTE: You may need to purchase a shockmount and other accessories separately since not all brands may provide them.
- Step 2: Pick the furry windshield and find the area where you insert the mic
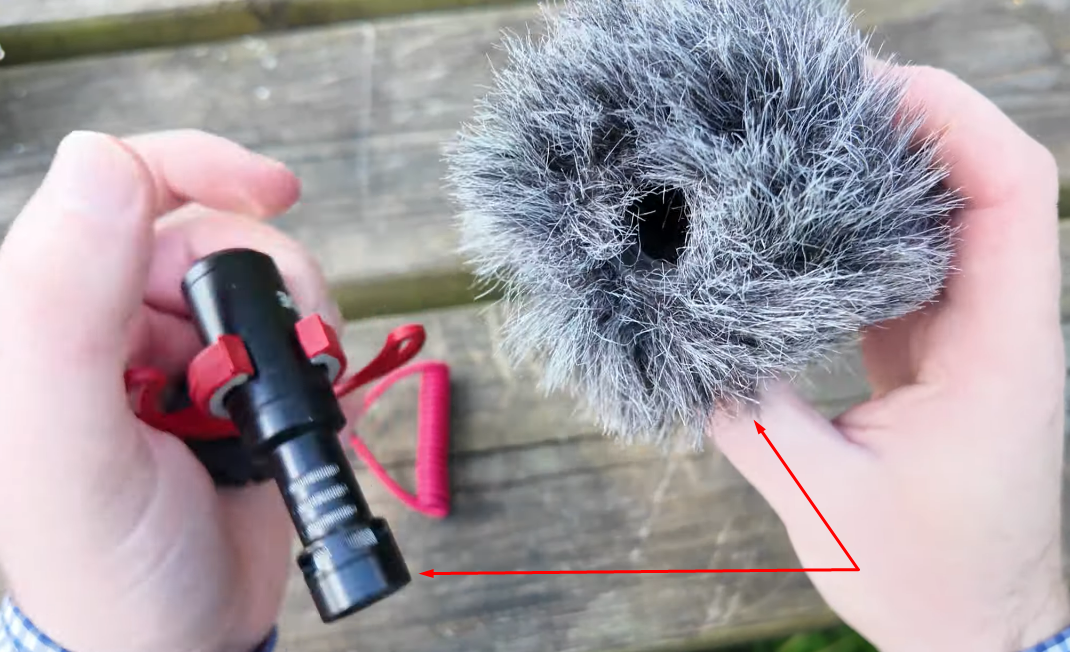
Carefully insert the microphone into the windshield and make sure no gap is left between the tip of the mic and the windshield’s internal area
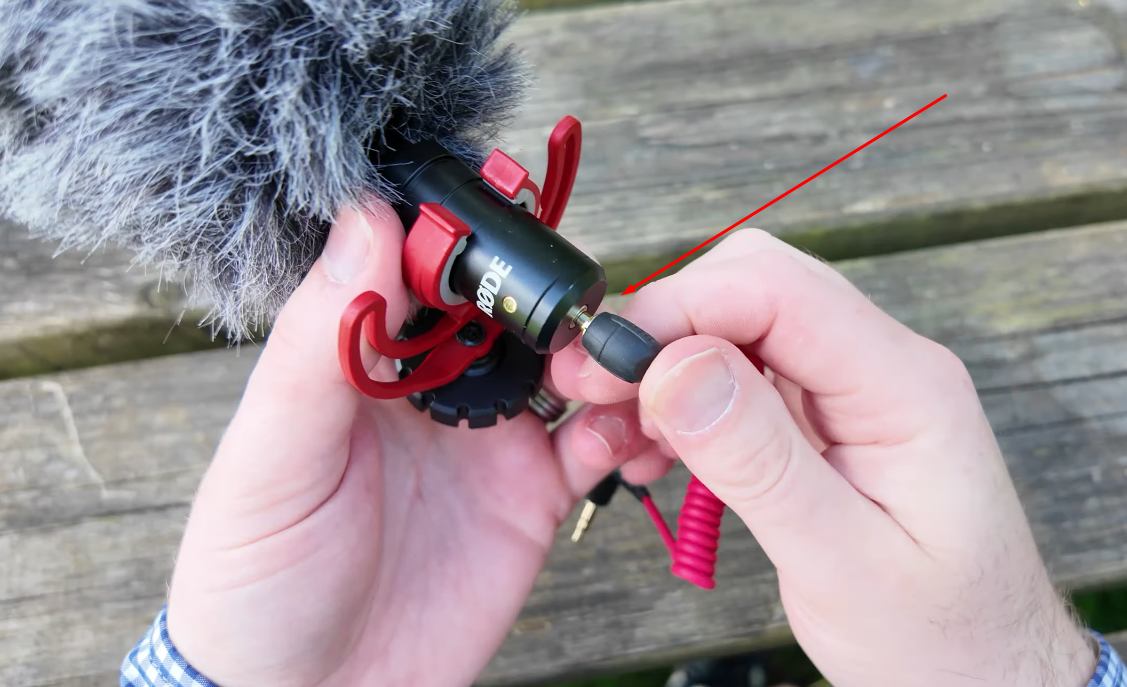
- Step 3: Then connect the 3.5mm TRS cable. To do that, take one end of the cable and insert it into the audio port of the microphone
- Step 4: You will notice that the microphone (or the shockmount – in case of RODE VideoMicro) has a cold shoe adapter, as seen in the screenshot below
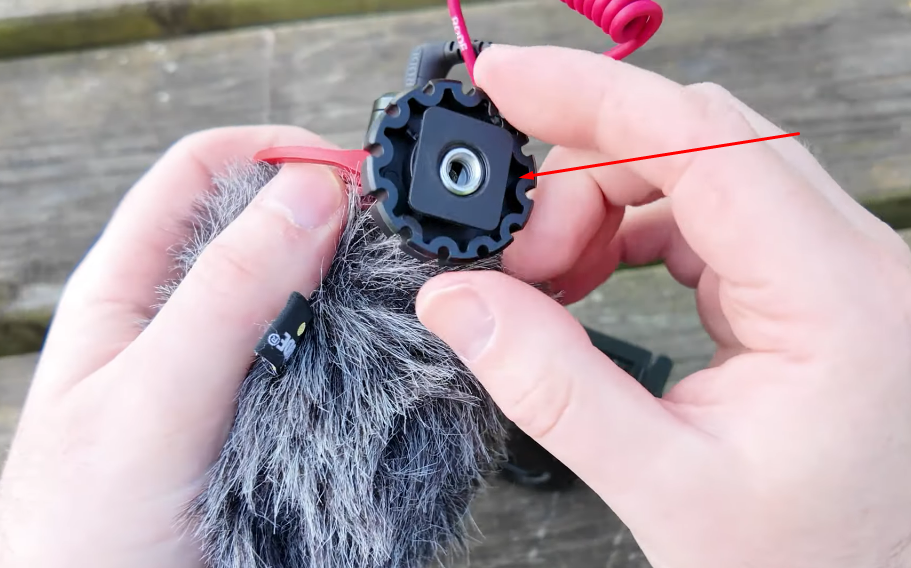
So, place the mic on the camera’s cold shoe mount and slide it until it’s fixed
NOTE: You may also need to tighten the knob on the cold shoe adapter for better grip if you have that component in your microphone’s shockmount.
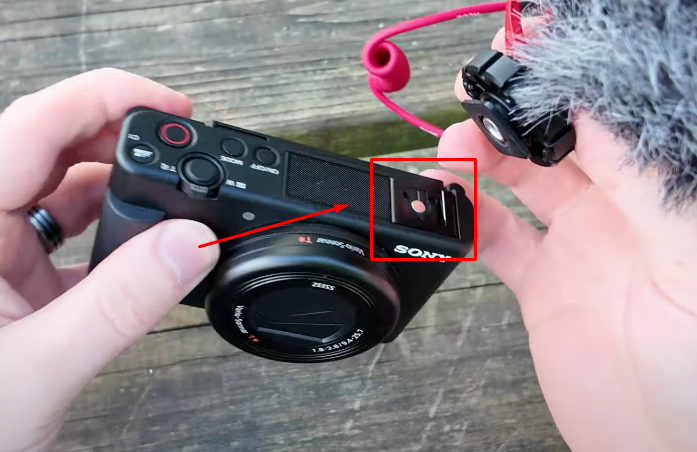
- Step 5: Now, insert the other end of the 3.5mm TRS cable into your camera’s audio port
The overall setup should look like this and is ready to capture sound through your camera.
Attaching a USB Microphone to Your Camera
Ever thought of using the USB microphone with your DSLR camera, but were too scared to try since you’re not sure if that works? Guess what? You can attach a USB mic to your camera. However, you need to understand a few things.
- The connection is not difficult
- But the process includes a PC/Computer
Many users are not sure why a computer is required in this entire setup. But some creators speculate that the connection between the mic and the computer is to provide power.
Nevertheless, without going into the technological details, here’s how you can attach a USB microphone like the Blue Yeti to your DSLR.
- Step 1: Insert one end of the USB cable into the microphone
In Blue Yeti, the microphone has a microUSB port, so make sure you have the right cable or adapters for smooth connectivity.
- Step 2: Now insert the USB plug into your Mac or Windows computer through the USB port

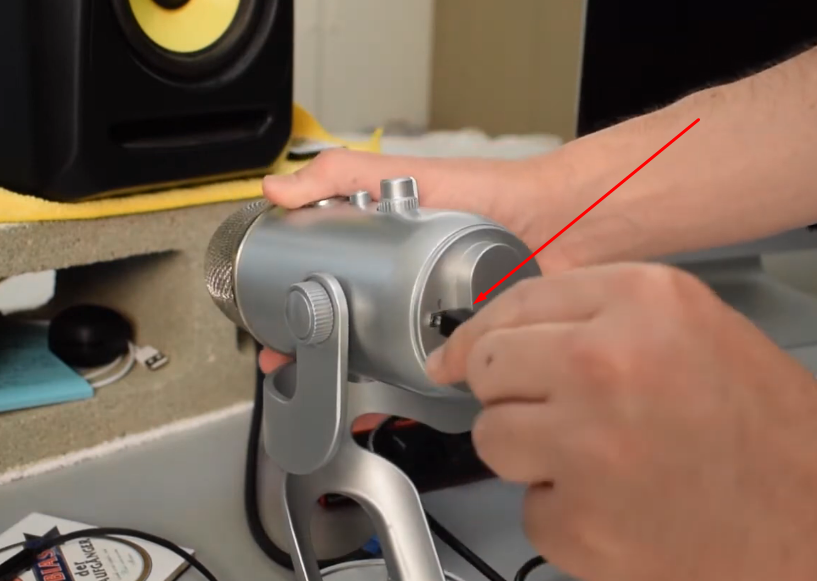
- Step 3: Look for a 3.5mm audio jack/port on your USB mic. It should be below, in front, or on the sides of the microphone

Then, insert the 3.5mm auxiliary cable into the mic.
- Step 4: Similarly, plug the 3.5mm cable’s other end into the audio port of your camera
Turn on your devices and test the audio by recording a video clip with audio. Your USB microphone should be working now.
Conclusion
Understanding how to attach a microphone to a camera can help you achieve impressive audio quality for your videos. However, the process for connecting the mics may differ from one another. For instance, a wireless lavalier and shotgun mics can be mounted on the cold/hotshoe and are set to record right away. But, on the other hand, attaching a USB microphone requires a little additional step. You may not rely on a direct connection since a PC or laptop might be needed. Moreover, you must ensure that you have all the necessary cables and adapters (if required) for successful attachment.
Frequently Asked Questions about Attaching a Microphone to a Camera
Q1. How to attach a wired lapel microphone to a camera?
Start by clipping the mic onto the speaker’s (your) shirt or coat. Keep it close to the mouth but not touching the skin. This helps reduce noise and improves sound quality. Plug the mic into the camera’s mic port. Some cameras mark this with a small icon. If there’s no audio, open the camera’s audio settings. Make sure the external mic input is active. If it still fails, test with another mic or a new cable. That will help find where the problem is coming from..
Q2. How do wireless mics work with a camera?
A wireless mic system has a transmitter and a receiver. The mic connects to the transmitter, sending sound wirelessly to the receiver. The receiver plugs into the camera’s mic port. Both parts must be on the same channel. Make sure both batteries are charged before filming. Place the transmitter near the speaker’s mouth. That improves the sound pickup and reduces background noise. Wireless mics work well when subjects are moving freely. They allow more freedom without tangled wires.
Q3. How to connect microphones to a camera for a podcast?
Identify the kind of microphone being used. Some use 3.5mm plugs, while others need XLR. A 3.5mm mic plugs straight into the camera. For XLR mics, an audio interface or mixer is required. These convert the signal into one that the camera accepts. Devices like Zoom H4n Pro or PodTrak P4 are popular. They support multiple mics and sync sound with video.
Q4. Should a microphone be used with a camera?
Yes, using an external mic gives much better sound quality. Built-in mics often pick up echo or background noise. An external mic captures clearer audio with less unwanted sound. It also makes editing the video much easier. Good sound adds value to the final video. Many people prefer adding a mic for cleaner results. Unless all mic ports are taken, it’s worth using one. It’s a simple fix that improves your recordings a lot.
Q5. Can a condenser mic be plugged into a camera?
Yes, but only if the mic setup matches the camera. Most condenser mics need phantom power to operate. Many cameras don’t offer that power directly. If the mic has an XLR output, use a preamp or interface. Tools like the Focusrite Scarlett or Zoom H6 work well. They power the mic and pass sound to the camera. Some smaller condenser mics have batteries inside. Those can be plugged in without extra gear. Check both the mic and camera compatibility first.