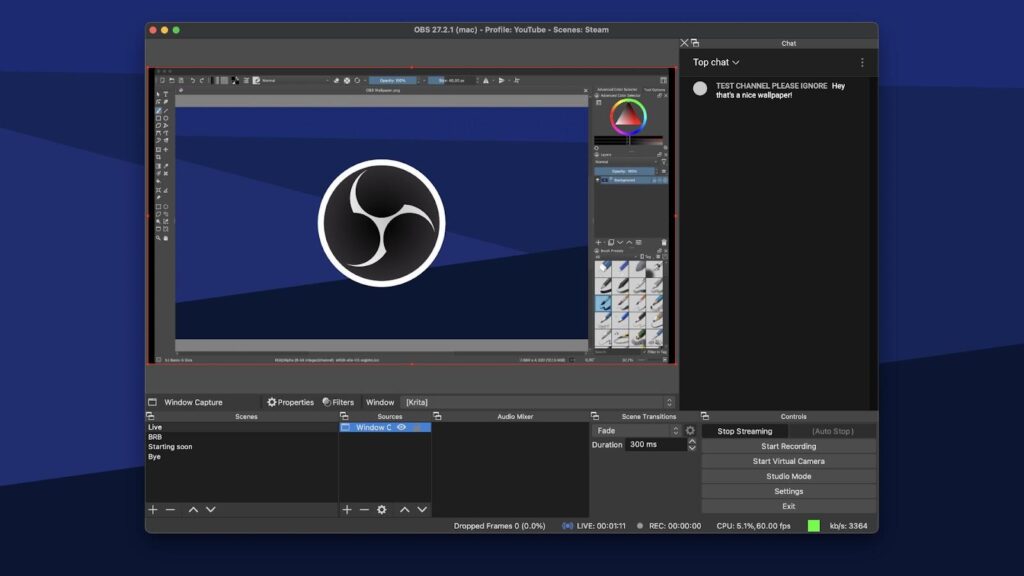
The OBS Studio offers a lot of freedom to choose the optimal settings for your broadcasts. Well, it can be overwhelming if you’re new to live streaming. You need just the right settings to both capture and broadcast high-quality live streams on Youtube.
As you settle in behind your computer, I’ll guide you through configuring OBS to give your audience the rich, engaging experience they crave. You’ll learn how to adjust the output to balance video quality with smooth streaming and set up audio to ensure you’re heard loud and clear.

It’s about finding that sweet spot where technical excellence meets your unique style. Let’s get your streams looking and sounding as professional as your content deserves and keep your viewers coming back for more.
General Interface Configuration
Start by launching OBS Studio and head over to the control panel. Once you’re there, click on the settings tab to start customizing your experience.
The general settings do not have any effect on the quality of your audio/visual stream but on your experience of the platform.
It’s a good idea to select the dark theme under general settings. Not only is it easier on the eyes (when working in a low-light environment), but it also makes the various menu options stand out more clearly.
Next, you’ll want to ensure your output settings are optimized for recording. Check dialog boxes for starting and stopping recordings. Now you will get a pop-up every time you start/stop recording. This would prevent you from data loss or accidental streaming.
Don’t forget to hit apply to make sure your changes take effect.

Here are some quick adjustments you might want to consider here:
- Theme: Dark
- Output mode: Advanced
- Source Alignment Snapping: Enabled
Stream Service Setup
Once you are done configuring your optimal recording outputs, let’s move on to setting up your stream service in OBS for seamless integration with YouTube. This is a very important step, as it’s the bridge between your content and your viewers.
To configure your streaming setup, go to the ‘Settings’ and then the ‘Stream’ tab on the left.
Here’s how you can set it for a sleek and professional streaming experience:
- Choose the Stream Service: From the ‘Service’ dropdown menu, select ‘YouTube / YouTube Gaming.’
- Connect Your Account: Click on ‘Connect Account’ to log in to your YouTube account for a more straightforward setup, or use the ‘Use Stream Key’ method for a manual connection.
- Set the Server: Pick the ‘Primary YouTube ingest server’, unless you have a specific reason to choose another.
- Optimize Your Bitrate: YouTube has recommended bitrate based on your resolution and frame rate. For 1080p at 60fps, aim for a bitrate of around 4500 to 9000 Kbps.
- Keep Your Stream Key Secret: Never share your stream key. It’s your unique code that allows you to stream to your channel.
Again, save your changes to implement them. This gets you a step closer to broadcasting high-quality live streams to your YouTube audience.
Optimal Streaming Outputs
The output menu allows you to customize the encoding settings and file formats for your videos and streams.
To start, ensure that the output mode is set to ‘Advanced.’ This gives you full control over your recording settings.
Next, decide on your encoder. A powerful CPU with x264 would work just fine for high-quality default recording. However, if you’ve got a strong graphics card, consider using hardware encoders like NIVIDIA NVENC, H.264 to offload work from your CPU.
Set your bitrate to 6000 Kbps for optimal quality and resolution of the recordings. You might go higher, but remember that larger files will take longer to upload.
Lastly, stick with a single audio track to keep things simple. One audio track is sufficient unless you have a plan for a detailed post-production with multiple tracks.

Here are the recommended settings for YouTube in the output menu:
- Audio track: 1
- Encoder: x264 (if using CPU) or Nvidia encoder (if using GPU)
- Encoder settings:
- Rate control: CBR
- Bitrate: 6000 kbps
- Keyframe interval: 2
- Preset: P5
- Tuning: High quality
- Multi-pass mode: Two passes (Quarter Resolution)
- Profile: High
- Psycho visual tuning: Enabled
- Max B frames: 2
Recording Path and Format
You can select your own recording path in OBS to save all your live stream recordings at a specific location on your computer. Well, you would like first-hand access to your content after the stream is over.
Easily select your preferred folder against the ‘Recording Path’ option.

The OBS studio can be set up to automatically name your files with the date and time to make sorting and organising easier.
Now, let’s talk about the format; your choice here can impact the quality and size of your recordings. YouTube works best with MP4 recording format, and it is easy to edit too. This works best with single audio track.
In case you are into post-recording editing, opt for the MKV format that supports multi-track audio. But again, it is recommended to remux your recordings to MP4 for easier editing and uploading.
Underneath the ‘Encoder Settings’ in this tab, keep the rate control now to CQP. This has a high impact on the audio and visual quality and takes it to the best level.
Here are the settings you need to follow in this menu:
- Recording path: Select the location where you want to save your recordings
- Recording format: MP4
- Audio track: 1
- Encoder: x264 or Nvidia encoder
- Encoder settings:
- Rate control: CQP
- CQ level: 14
- Keyframe interval: 2
- Preset: P5
- Tuning: High quality
- Multi-pass mode: Two passes (Quarter Resolution)
- Quarter resolution: High
- Psycho-visual tuning: Enabled
- Max B frames: 2
Audio Configuration Essentials
Good quality audio is as vital as video quality for the best experience. And for sure, OBS Studio gives multiple options to fine-tune your audio settings. Let’s get that pitch-perfect audio background for your videos.
First is your sample rate. Set it to 48 kHz. In general, the higher the sampling rate, the more accurate the representation of sound waves will be. 48 kHz is the standard for high-quality audio. Any higher would require more bandwidth with not any significant quality improvement.
Next, in the Channels tab, configure audio to your ‘Headset’ or ‘Speakers’. You would want to make a choice that lets your audience hear all game sounds or background music you’re sharing.
To get your own voice across clearly, select your microphone as the Mic/Auxiliary Audio device.
It is the audio bitrate that mostly affects the quality of audio in your broadcast. Most YouTube streams work best at 128 kbps, but you can go up to 160 kbps.
OBS Studio has a great feature to limit unwanted background noice to get mixed in the stream audio. Enable ‘Push-to-talk’ or ‘Noise Suppression’ to avail this feature.
Lastly, use the audio mixer to balance game, music, and mic levels so none overpower the others.

These settings will ensure that your stream is crisp and clear.
- Audio settings:
- Sample rate: 48 kHz
- Desktop audio: Select your headset
- Mic audio: Select your microphone
Video Quality and Frame Rate
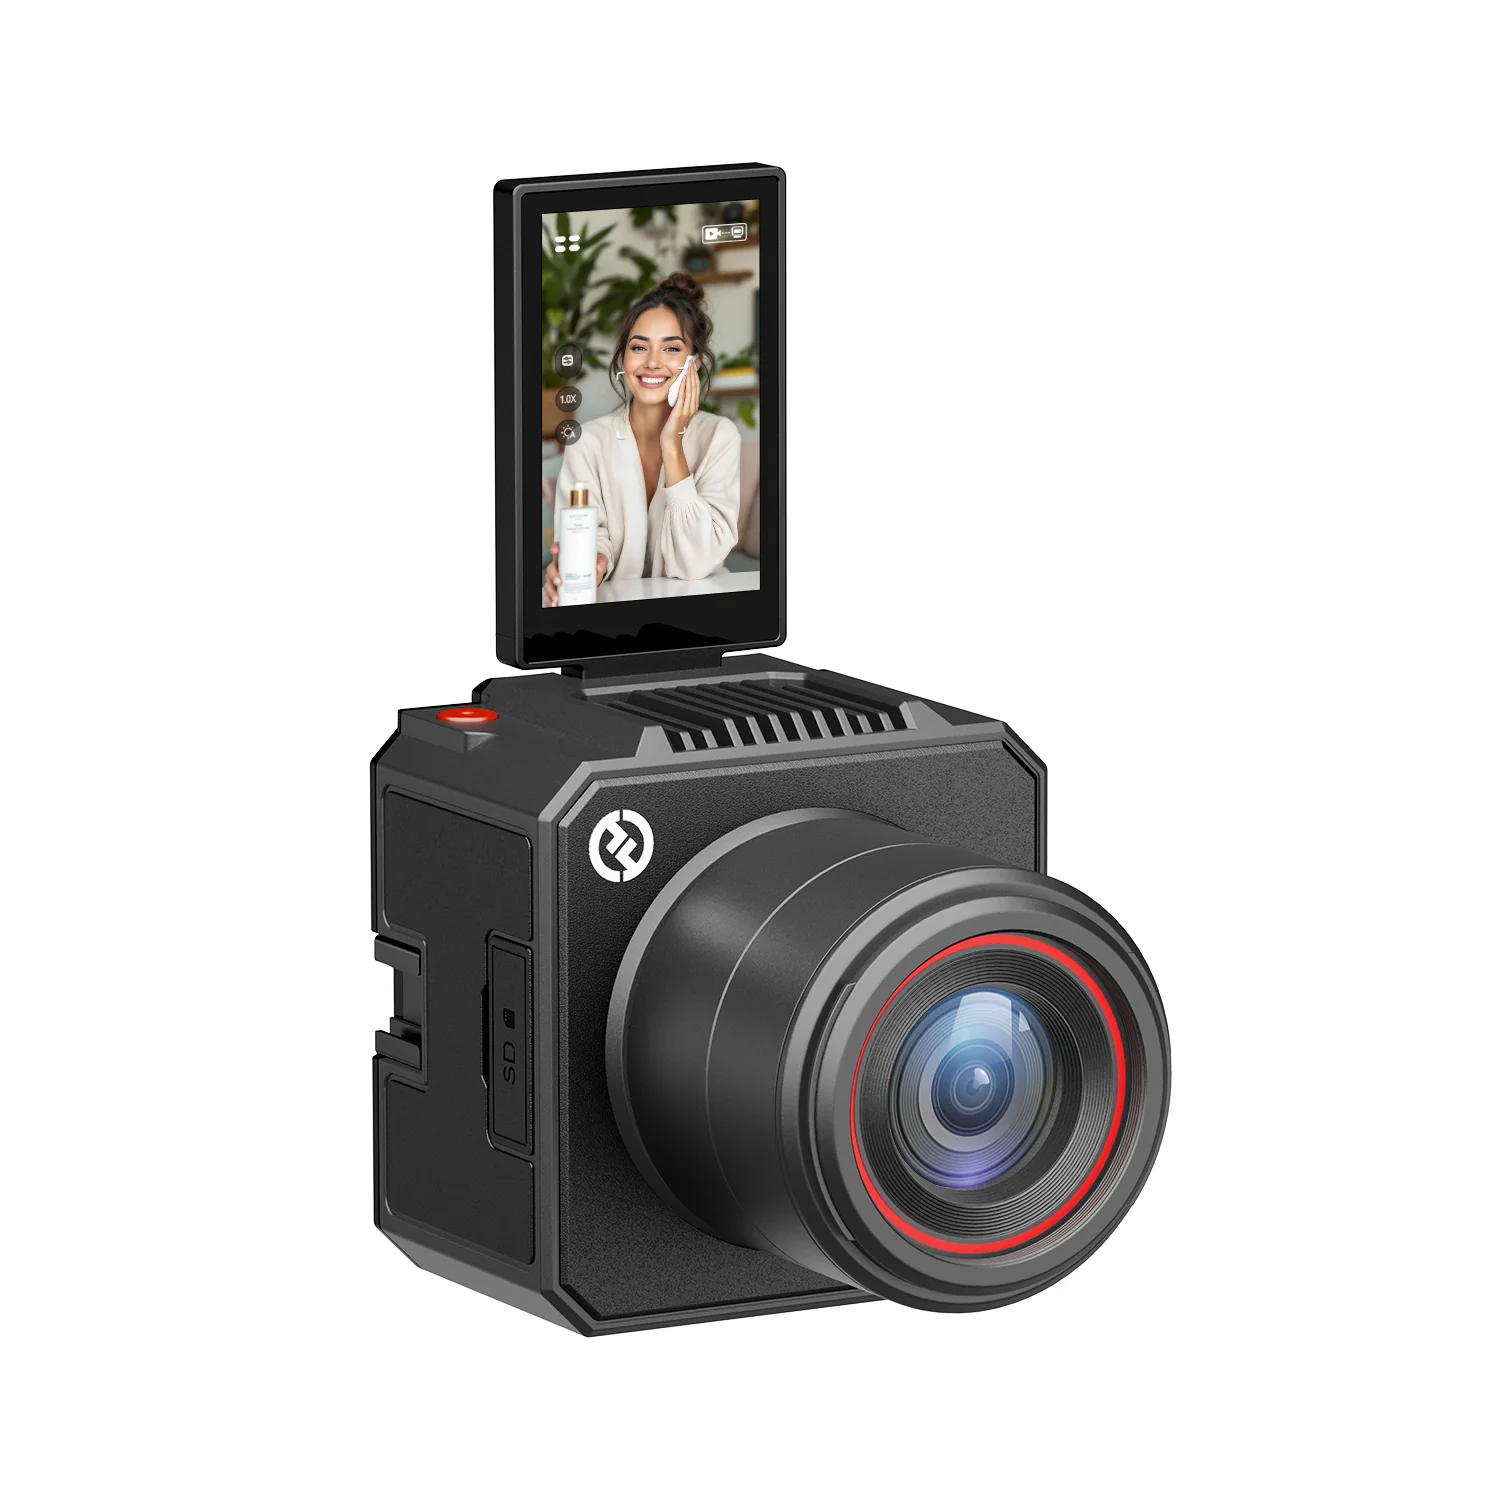
It is the primary requirement to have a high-quality video to make your stream look professional and keep your viewers engaged. Therefore, the first and foremost step to achieving high streaming quality is to use a professional camera with at least 1080p resolution. Whether you are using a DSLR or a dedicated streaming camera like the Hollyland VenusLiv V2 for video streaming on any platform, make sure it offers high resolution.


Hollyland VenusLiv Air - Compact 4K Streaming Camera
A compact, all-in-one 4K live streaming camera with a large sensor and fast lens, featuring AI-powered tools.
Key Features: 4K30 | 1/1.3″ CMOS | AI Tuning | 24/7 Streaming
The ‘Video’ tab has options of Base (Canvas) Resolution and Output (Scaled) Resolution to control video quality and frame rate. The best way to get the highest quality video output would be to match the resolution settings to the size of your monitor full screen. Ideally it is 1920×1080. Remember to set your bitrate to either 60 FPS., which is great for streaming games on Youtube.

- Video Settings:
- Base (Canvas) resolution: 1920×1080
- Output (Scaled) resolution: 1920×1080
- Common FPS values: 60
Advanced Streaming Parameters
Advanced streaming parameters let you smooth out the small details that can have a big impact on your YouTube live stream quality. You’ll want to navigate to the ‘Output’ section and switch the output mode to ‘Advanced’. This will reveal a range of options that can significantly impact your stream’s performance.
For starters, focus on your encoder. If your PC can handle it, use the hardware encoder (NVENC for NVIDIA, or AMD for Radeon). It’ll offload the task from your CPU, allowing your game or content to run more smoothly. Set your bitrate according to your internet’s upload speed; for 1080p, you can start with 4500 to 6000 kbps, though you might adjust this based on the stability of your connection.
Keyframe intervals are crucial for YouTube—set this to 2 for optimal compatibility. The ‘Preset’ and ‘Profile’ settings should be adjusted for the best quality your PC can manage without causing lag. Low-latency tuning is great for interaction, but only if your internet can handle it. Lastly, set ‘Max B-frames’ to 2 for a good balance between quality and performance. Remember, these settings may require tweaking over time to ensure the best streaming experience.

Set up your OBS Studio with the following Advanced settings:
- Processing priority: Normal
- Renderer: Direct3D 11
- Color settings: NV12, 709, and full
Conclusion
There you have it! You’re now all set up with the best OBS settings for optimum streaming experience for YouTube.
Remember, the right balance of video quality and frame rate, coupled with crisp audio, makes all the difference. With your interface tailored, output fine-tuned, and stream service locked in, you’re ready to go live.
So, fire up OBS, hit that stream button, and show the world what you’ve got – your audience awaits your next great broadcast!


.png)


