.png)
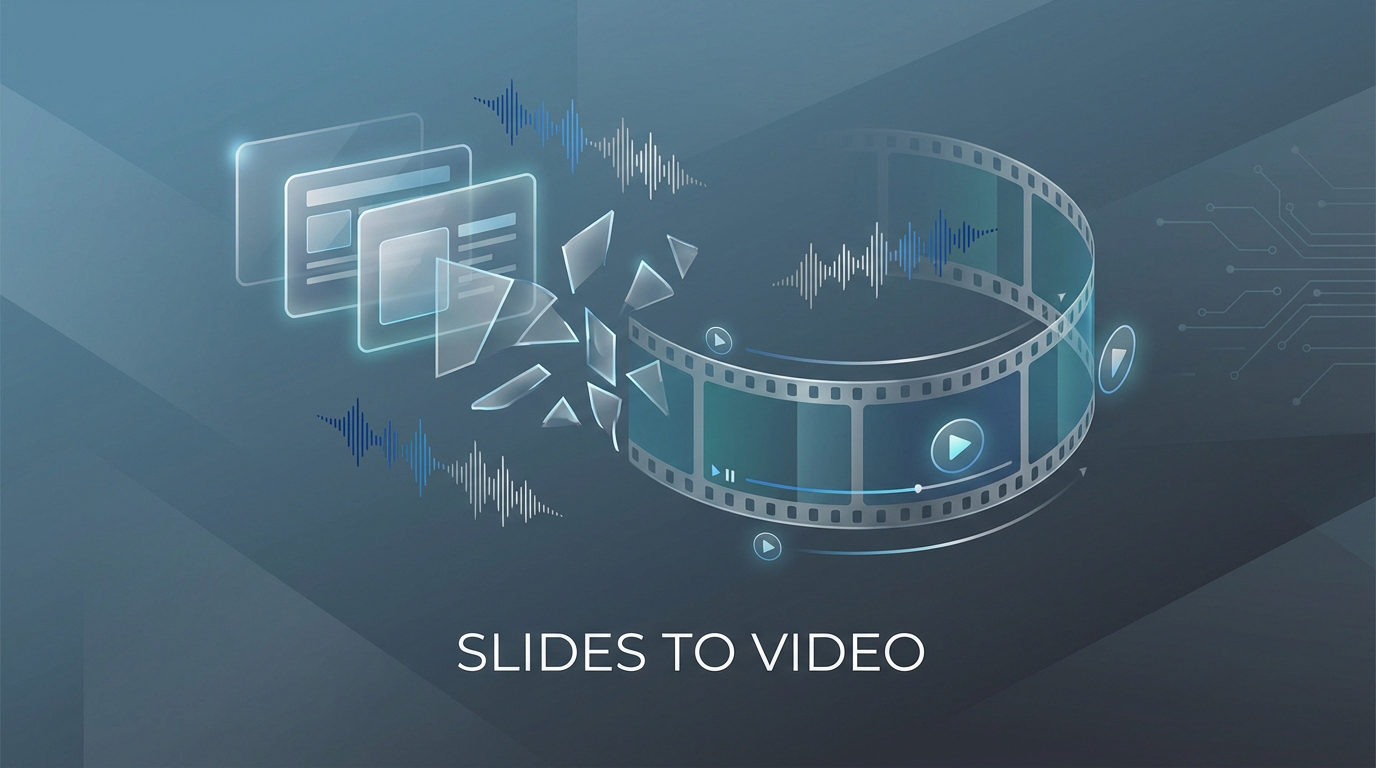
GIFs are great for grabbing attention. They are short, looping visuals that say a lot without sound. But what if you want sound? Maybe you’re making a meme, a reaction post, or a quick story. You want to add music, a voiceover, or a sound effect. The problem is that GIFs don’t support audio.

Here’s the fix: convert the GIF to a video and then add your audio. It’s quick, easy, and anyone can do it with the right tools. This works for marketing, content creation, or just making better social media posts. By the end of this guide, you’ll know exactly how to add audio to a GIF and turn it into a scroll-stopping video.
Why You Can’t Add Audio to a GIF
So when people say they want to “add audio to a GIF,” what they really mean is: combine the visual from a GIF with an audio file and export the result as a video. The most common output is MP4.
To do this, you need a tool that lets you stack the audio on top of the animation. That’s the only practical way. The GIF becomes a silent video loop, and the sound is layered during the editing process. The final product looks like a GIF but behaves like a video, with both motion and sound.
Tools You’ll Need

To add audio to a GIF, you’ll need three tools. All are free, easy to access, and beginner-friendly:
- EZGIF – Converts GIFs into MP4 format. Since GIFs don’t support audio, this step is required before combining visuals with sound.
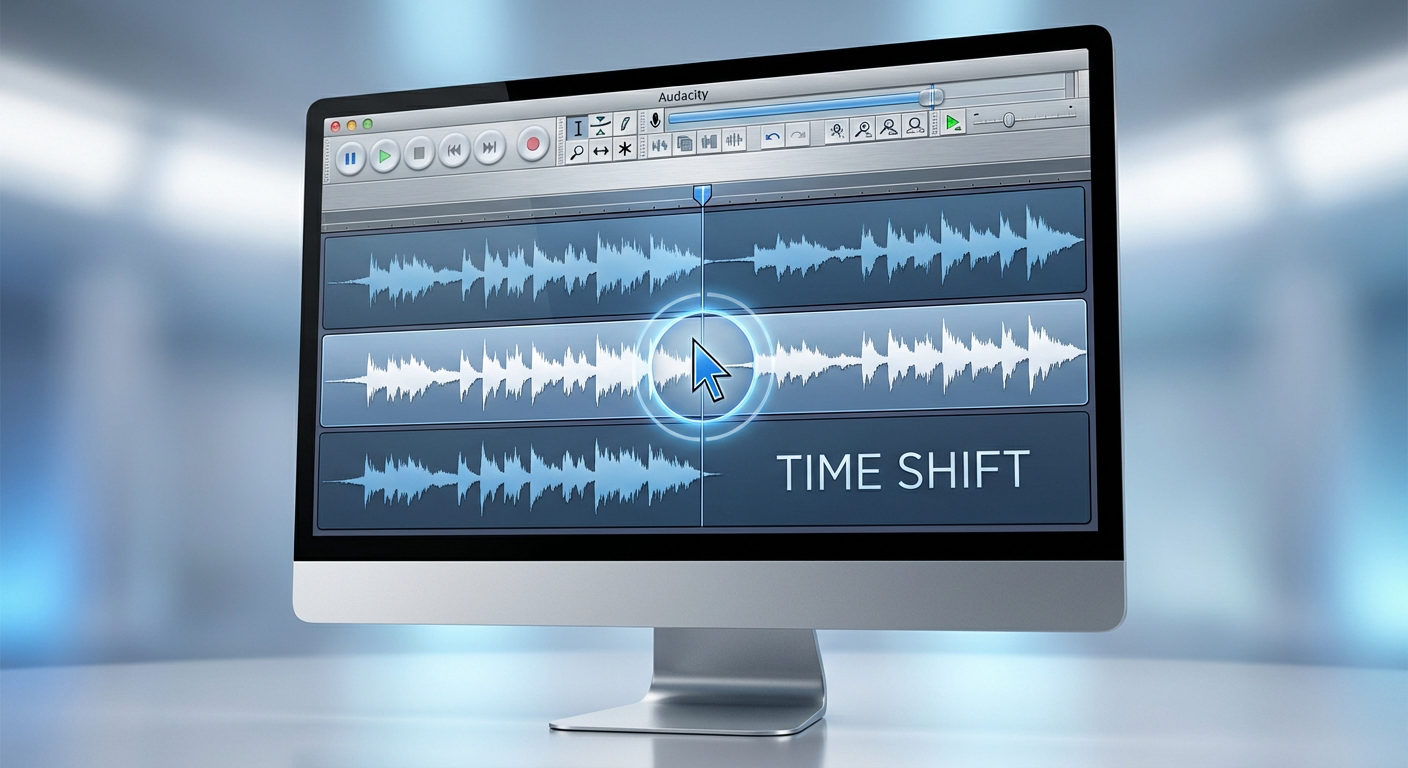
- Audacity – A desktop audio editor for recording, trimming, or enhancing sound. It supports MP3 and WAV exports and works on Windows, macOS, and Linux.
- Kapwing – A browser-based video editor. It lets you upload the MP4, add audio, align tracks, and export the final video.
All three tools work well on most computers. You don’t need editing experience. Just follow each step carefully, and you’ll have a clean, shareable video with audio.
Step-by-Step – How to Add Audio to a GIF
To add sound to a GIF, you need to convert it to a video, record or choose audio, then combine both using a video editor. You can use free tools like Audacity to record audio and EZGIF to convert GIFs. The steps below show how to complete the process from start to finish.
Step 1: Prepare Your GIF
If your file is already in MP4 format, skip this step.
If it’s a GIF, convert it using EZGIF:
- Open EZGIF’s GIF to MP4 tool.
- Upload your GIF.
- Click Convert to MP4.
- Download the MP4 file.
This step ensures your GIF can be edited with audio in the next step. Most video editors do not support direct editing of GIF files, especially when syncing sound. Converting to MP4 makes the process compatible with standard timelines and audio tracks.
Step 2: Choose and Record Audio
Select the audio you want: voice, music, or sound effect. Keep the duration close to your video length.
To record your own audio, use Audacity, a free audio editor:
- Download and install Audacity.
- Open the app.
- Connect your microphone.
- Click the red Record button.
- Stop and export as MP3 or WAV.
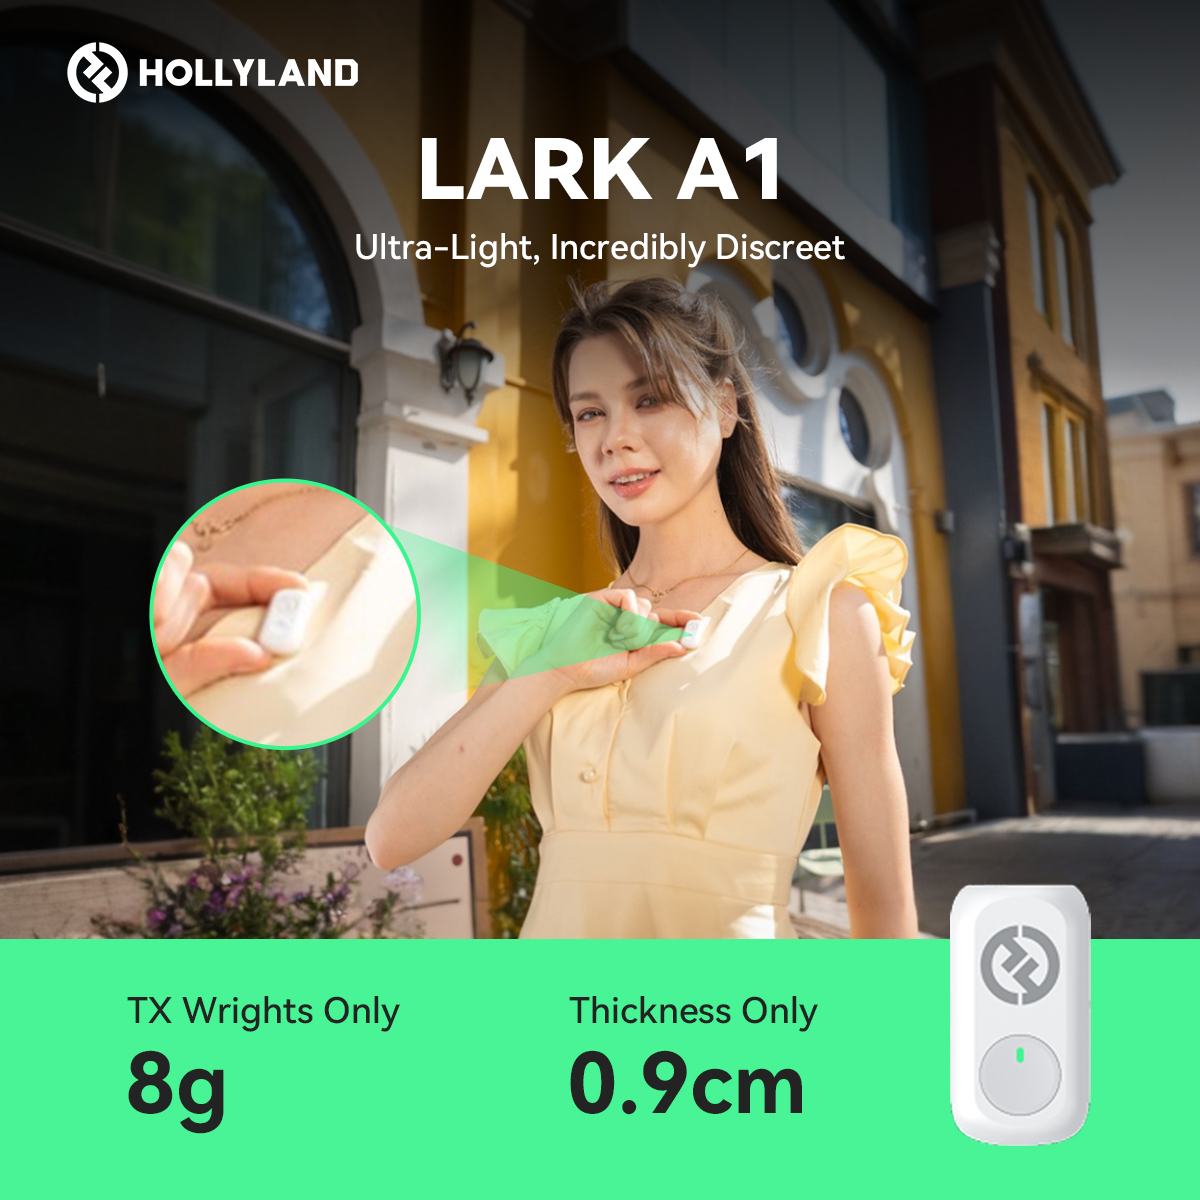
For a cleaner voice, use the Hollyland LARK A1. It delivers 48 kHz/24-bit high-fidelity audio that captures clear sound. Its 3‑level intelligent noise cancellation adapts to settings, blocking wind, traffic, and room echo.

Step 3: Upload GIF and Audio to Editing Tool
Use a free editor like Kapwing:
- Go to Kapwing Studio.
- Upload your MP4 file (converted GIF).
- Upload your audio file (MP3 or WAV).
- Drag the audio onto the timeline.
Kapwing works directly in your browser. No software installation is required. It supports multiple file types and allows basic editing functions like trimming, volume adjustment, and splitting. You can also add subtitles, background color, or simple effects to enhance the final result.
Step 4: Align and Sync Audio
Now that you have uploaded the converted GIF and the selected audio file on Kapwing, enable timeline view on the editor. Drag the audio track until its starting point coincides with the beginning of the video, or the point where you want the audio to begin. Click on play to ensure both audio and video are in sync. If not, drag the audio track back and forth to ensure both are properly aligned.
Step 5: Export and Save

Now that the audio and video are synced, click on Export Project in the top-right corner of Kapwing. Click on MP4 under Format, and choose the resolution and compression level. You may choose not to tweak these settings and leave them on the default settings. Then, click on Export as MP4 and wait for Kapwing to process the file.
Conclusion
GIFs can’t carry sound, but turning them into short videos solves that. With tools like EZGIF, Audacity, and Kapwing, you can convert, record, and sync audio in minutes.
This method is simple, flexible, and works across devices. Whether you’re creating a meme, tutorial, or reaction clip, combining motion with sound makes your content more engaging and professional.
FAQs
1. Can you add sound directly to a GIF?
GIF files cannot hold audio on their own. To add sound, you must convert the GIF into a video format like MP4.
2. What tools can I use to add audio to a GIF?
Use EZGIF to convert the GIF, Audacity to record or edit audio, and Kapwing to combine the two into a single video.
3. Will the audio play on social media platforms?
Yes. Once exported as an MP4, the video will play with sound on platforms like Instagram, Twitter, and WhatsApp.
4. Can I use a custom voice recording?
Yes. You can record your voice using a phone or computer. For better clarity and noise reduction, use the Hollyland LARK A1, which works with mobile devices and supports real-time monitoring.
5. Why isn’t my audio syncing correctly?
Check the timeline. Trim, loop, or drag the audio track to match the video length exactly.