.png)
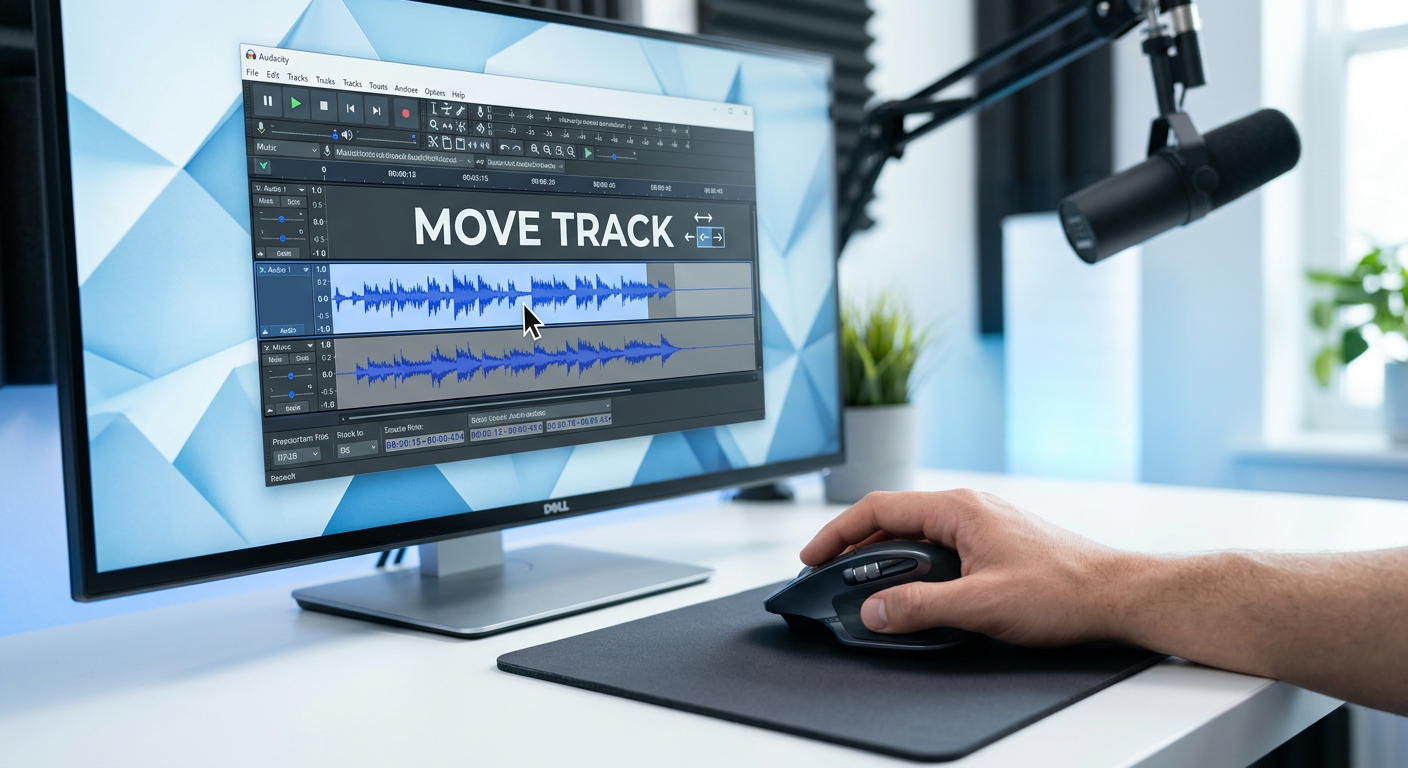
If you recently updated Audacity and are frantically searching for the double-headed arrow icon to move your tracks, stop looking—it’s gone.
For years, figuring out how to use the Time Shift Tool in Audacity was the first thing a new editor learned. You had to manually switch to the tool (shortcut F5), drag the clip, and then switch back to the Selection Tool to continue editing.
In Audacity 3.1 and later, the developers removed this extra step to streamline the workflow. The functionality still exists, but it looks different. Here is everything you need to know about moving audio in both the modern and legacy versions of the software.
Where Did the Time Shift Tool Go? (The Audacity 3.1+ Update)
The short answer: The Time Shift Tool was merged into the Selection Tool and the Multi-Tool.
In the past, Audacity treated “selecting audio” and “moving audio” as two completely different modes. Now, the software is smarter. It distinguishes between these actions based on where you click on the track.
- To Select/Highlight: Click on the waveform itself (the jagged blue, green, or black lines).
- To Move/Time Shift: Click and drag the Clip Handle (the lighter bar displaying the track name) at the top of the clip.
This “Smart Tool” approach brings Audacity in line with modern DAWs (Digital Audio Workstations). You no longer need to toggle between F1 and F5 constantly; you can select, cut, paste, and drag audio seamlessly without ever changing your mouse cursor.
How to Move Audio in Audacity (The Modern Method)
If you are using Audacity 3.1 or later, moving clips is now a drag-and-drop process. Here is the step-by-step method:
- Locate the Clip Handle: Look at the top of your audio waveform. You will see a lighter-colored bar containing the clip name. This is the Clip Handle.
- Wait for the Hand Icon: Hover your mouse cursor over this handle. Your cursor will change from the standard “I-Beam” selector to an open Hand Icon.

- Click and Drag: Once the hand icon appears, click and hold the left mouse button. You can now drag the clip left or right along the timeline to change when the audio plays.
- Move Between Tracks: To move a clip to a completely different track, simply drag it upward or downward while holding the mouse button.
Crucial Note: If you click the waveform below the handle, you will highlight the audio instead of moving it. You must grab the title bar at the top to shift the clip.
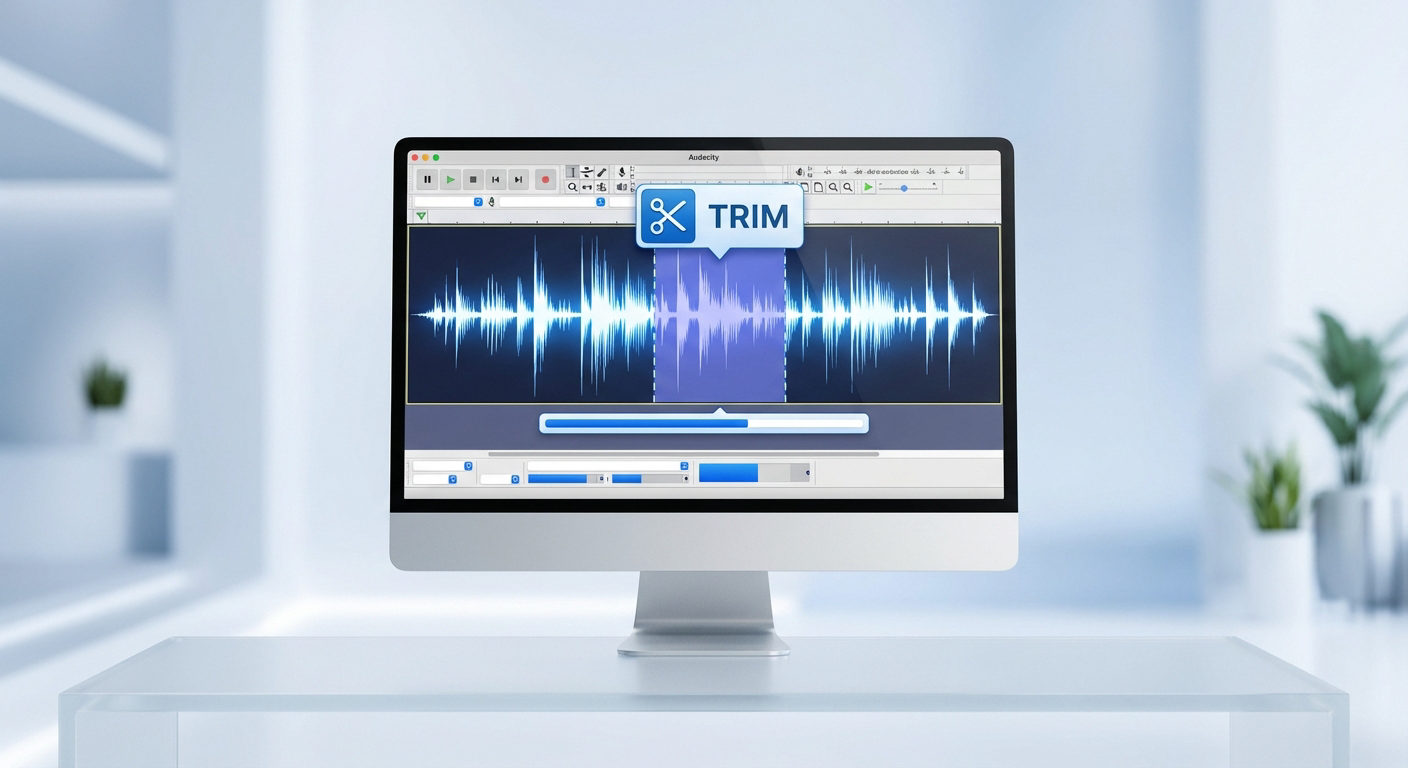
Pro Tip: Splitting Clips for Easier Arrangement
Often, you don’t want to move an entire recording—you only want to shift a specific section (like a cough or a pause). To do this, you must separate that section first.
- Click the specific point in the waveform where you want to make a cut.
- Press Ctrl+I (Windows) or Cmd+I (Mac) to use the Split Clip function.
- This creates a new, independent clip with its own Clip Handle that you can drag freely without affecting the rest of the track.
Using the Legacy Time Shift Tool (For Audacity 2.4 – 3.0 Users)
If you are running an older version of Audacity (3.0.5 or older) on a legacy machine, you won’t see “Clip Handles.” You still need to use the dedicated tool.
Locating the Tool
Look at the Tools Toolbar in the upper-left section of the interface. You are looking for the icon represented by a double-headed arrow pointing left and right (↔).
How to Move Audio in Legacy Versions
- Activate the Tool: Click the double-arrow icon in the toolbar, or press F5 on your keyboard.
- Select the Clip: Click anywhere on the audio waveform. In older versions, you don’t need a specific handle—clicking the waveform works.
- Drag to Position: Slide the clip left or right along the timeline.
- Return to Editing: Important: Once you have placed your audio, you must switch back to the Selection Tool (press F1) to resume standard editing tasks like cutting or applying effects.
Precision Editing: How to Shift Audio to an Exact Timestamp
Dragging clips with your mouse is fine for rough arrangements, but it isn’t accurate enough for professional work. If you are syncing a voiceover to a specific video frame or aligning a sound effect to a beat, you need mathematical precision.
Audacity 3.1+ allows you to input exact time coordinates for any clip without manually sliding it.
- Locate the Clip Handle at the top of the audio clip.
- Right-click anywhere on the Clip Handle to open the menu.
- Select Edit Clip, then choose Set Clip Start…
- In the pop-up window, enter the exact hours, minutes, seconds, and milliseconds where the clip should begin.
- Click OK.
The clip will jump to that specific timestamp instantly. This eliminates the risk of accidentally shifting a track by a few milliseconds while trying to place it manually.
Pro Tip: Better Source Audio Means Less Editing
Mastering the “Time Shift” workflow is crucial for arranging your timeline, but the fastest way to edit is to reduce the amount of “fixing” you have to do in the first place.
If you are constantly slicing up clips to remove background hiss, or struggling to fix distorted audio where you spoke too loudly, you aren’t just arranging—you are rescuing. High-quality source audio allows you to simply drag your file into Audacity, shift it into place, and export.
For creators looking to streamline their workflow, the Hollyland LARK MAX 2 offers a significant advantage here.

Hollyland LARK MAX 2 - Premium Wireless Microphone System
A premium wireless microphone for videographers, podcasters, and content creators to capture broadcast-quality sound.
Key Features: Wireless Audio Monitoring | 32-bit Float | Timecode
Why 32-bit Float Changes Your Workflow
The LARK MAX 2 features 32-bit Float Recording. In traditional recording, if you laugh too loudly or scream during a gaming session, the audio “clips” (distorts). In Audacity, a clipped waveform is flat-lined and usually impossible to fix.
With 32-bit float, the LARK MAX 2 captures such a massive dynamic range that audio clipping is virtually impossible. Even if the waveform looks blown out, you can simply lower the volume in Audacity, and the detail is preserved.
This means your file is ready for the timeline the moment you hit stop. You can focus entirely on Time Shifting your clips for pacing, rather than spending hours on noise reduction and equalization.
Monitor Before You Move
The other major time-saver is knowing exactly what you captured before you open your laptop. The LARK MAX 2 supports Wireless Audio Monitoring via Open Wearable Stereo (OWS) earphones. This lets you catch issues like wind noise or clothing rustle during the recording phase, ensuring the clip you drag into Audacity is clean and professional.
Common Issues When Moving Audio (Troubleshooting)
Even with the simplified drag-and-drop workflow, Audacity can sometimes behave unpredictably. If your clips are stuck or dragging other tracks along with them, check these settings.
1. Why Is Everything Moving at Once? (Sync-Lock Tracks)
The most common frustration for new editors occurs when you try to move a single sound effect, but your voiceover, background music, and intro track all shift with it.
This happens because Sync-Lock Tracks is enabled.
Sync-Lock is designed to keep complex multi-track recordings aligned. However, when you are just trying to arrange clips, it gets in the way.
How to Fix It:
- Look for the Clock Icon: In the toolbar, check the button with a Clock icon on it. If it is highlighted, Sync-Lock is ON. Click it to turn it OFF.
- Use the Menu: Go to Tracks > Sync-Lock Tracks to toggle it off.

2. Why Can’t I Drag One Clip Over Another? (Overlapping Clips)
If you try to drag a clip to the right, but it suddenly stops moving when it hits another audio clip, you have encountered Audacity’s collision behavior.
Unlike video editors like Premiere or DaVinci Resolve that automatically overwrite or crossfade when you drag one clip on top of another, Audacity treats clips on the same track as solid objects. You cannot drag “Clip A” onto “Clip B” on the same timeline layer; it will simply bump against the edge and stop.
How to Fix It:
If you need two sounds to overlap or crossfade:
- Create a New Track: Go to Tracks > Add New > Mono Track (or Stereo).

- Move Vertically: Drag the clip you want to overlap down to the new empty track.
- Position Horizontally: Now that the clips are on separate lanes, you can slide them left or right to overlap as much as you need.
Frequently Asked Questions (FAQ)
What is the shortcut for the Time Shift Tool in Audacity?
In versions prior to 3.1, the shortcut was F5. In Audacity 3.1 and later, this shortcut is no longer necessary because the function is built into the default Selection Tool. You can simply click and drag the Clip Handle.
How do I move multiple tracks at once in Audacity?
To keep multiple clips in sync while moving them, use Shift-Click:
- Click the Clip Handle of the first clip.
- Hold down Shift on your keyboard.
- Click the handles of any other clips you want to move.
- Release Shift, click any of the selected handles, and drag. They will move together.
Why can’t I move my audio track in Audacity?
If your clip is “stuck,” check two things:
- Is it Paused? Audacity locks editing if playback is Paused (not Stopped). Click the yellow Stop button.
- Are you grabbing the handle? You cannot move a clip by clicking the waveform (the blue lines). You must drag the lighter bar at the very top of the clip.
Conclusion
The “Time Shift Tool” hasn’t disappeared; it has simply evolved. While long-time users might miss the familiar F5 shortcut, the modern Clip Handle system in Audacity 3.1+ is faster and cleaner. It reduces the need to switch tools, allowing you to arrange, split, and layer your audio with a simple drag-and-drop motion.
Mastering audio placement is the first step toward professional editing. However, remember that the quality of your edit depends heavily on the quality of your source material. No amount of precise time-shifting can fix distorted audio.
To streamline your production, consider upgrading your input chain alongside your software. Tools like the Hollyland LARK MAX 2 ensure your raw audio is distortion-free thanks to 32-bit float recording. When you pair clean audio with Audacity’s modern timeline, you spend less time rescuing bad takes and more time telling your story.