In today’s world, capturing every detail of a call is essential—for work, interviews, or personal memories. Screen recording calls with clear audio ensures you don’t miss important moments.
Leveraging an advanced microphone, like the Hollyland LARK MAX 2, enhances this process with 32-bit float recording for pristine sound quality and OWS Bluetooth monitoring to hear exactly what’s captured in real time.
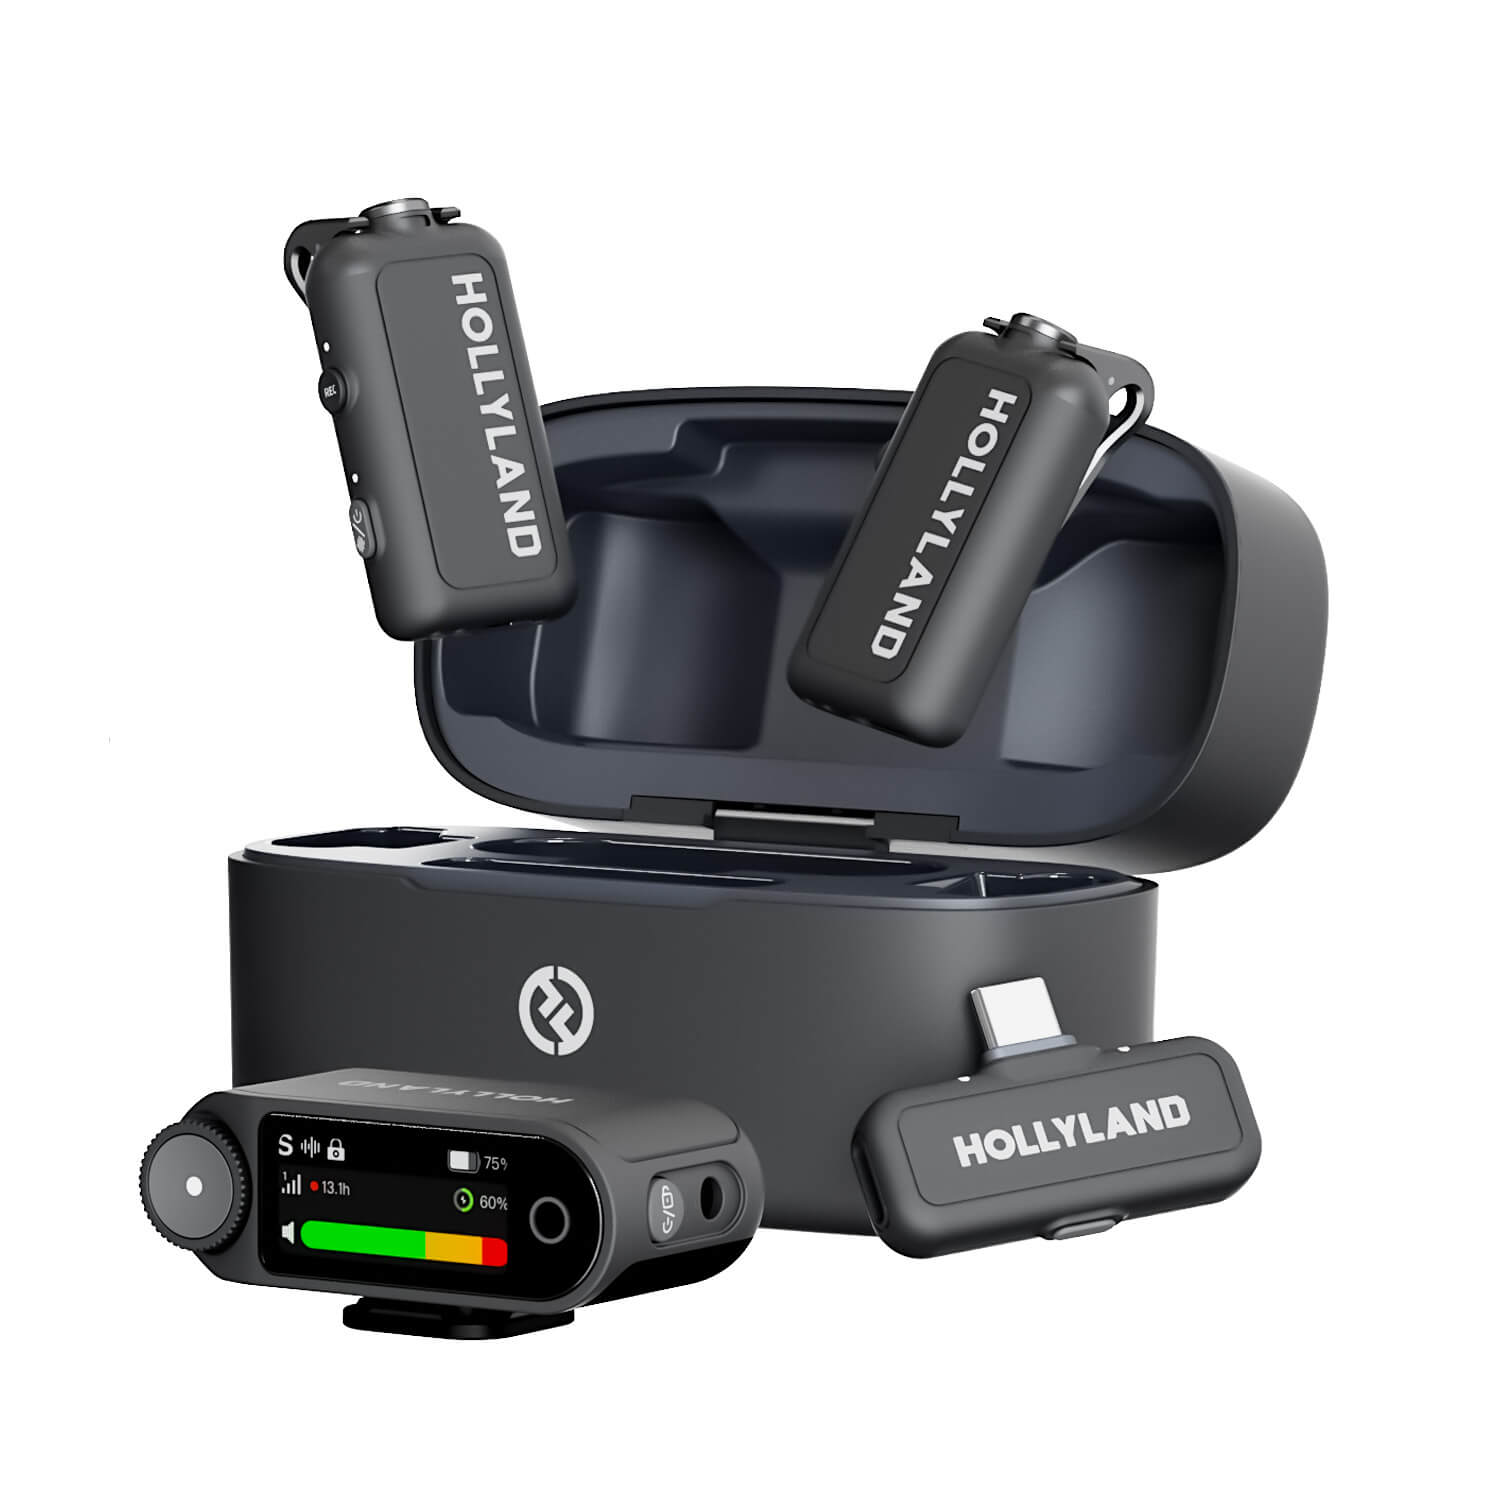

Hollyland LARK MAX 2 - Premium Wireless Microphone System
A premium wireless microphone for videographers, podcasters, and content creators to capture broadcast-quality sound.
Key Features: Wireless Audio Monitoring | 32-bit Float | Timecode
Whether on phone, computer, or tablet, mastering screen recording with audio helps you preserve valuable conversations effortlessly and professionally, keeping you connected and informed like never before. In this guide, we’ll show you how to screen record a call with audio using four different methods.
Top 5 Methods To Screen Record A Call With Audio
Method 1: Screen Recording Calls With Audio on iPhone
Recording a call with audio on your iPhone is straightforward once you know the right steps. Here’s a detailed guide:
NOTE: iPhone may not allow recording a regular call or a FaceTime call with privacy restrictions.

- Add Screen Recording to Control Center: Go to Settings > Control Center > Customize Controls. Add “Screen Recording” if not already included.
- Turn On Microphone Audio: Open Control Center. Press and hold the Screen Recording icon. Tap the microphone icon to enable audio.
- Start Recording: Tap “Start Recording” after enabling the microphone. Wait for the countdown.
- Make or Answer the Call: Launch the Phone app and place or receive your call. The screen and audio will be recorded.

- Stop Recording: Open Control Center and tap the red Screen Recording icon, or tap the red bar at the top and confirm “Stop.”
- Access Recording: Find your video in the Photos app to watch, edit, or share.
Remember to inform the other party before recording, as required by law. Audio quality may vary with the app or iOS version. Additionally, some apps or calls may restrict recording features due to their privacy policies.
Method 2: Using Third-Party Apps for Call and Screen Recording
1. TapeACall for iOS (and Android):

- Download and install TapeACall from the App Store (or Google Play).
- Open the app and set up your account by following the prompts.
- To record an outgoing or incoming call, open TapeACall and tap the record button.
- The app merges calls to record both sides in high-quality audio.
- After hanging up, access your recordings inside the app or export them.
- Features include automatic call recording, call transcription with 99% accuracy, and easy sharing via email or cloud apps.
- Professionals widely use this app for interviews, meetings, and legal documentation.
2. Google Voice (for call recording on Android and web)

- Google Voice lets you record incoming calls only.
- To enable, go to Google Voice settings → Calls → turn on “Incoming call options.”
- During a call to your Google Voice number, press the number 4 on the keypad to start recording.
- All callers hear an announcement that the call is being recorded.
- Press four again or hang up to stop recording.
- Recordings are saved in the Google Voice app under the Calls tab.
- Not Recording Video Calls on WhatsApp: Google Voice does not support recording outgoing calls and requires all parties to be notified.
Method 3: Screen Recording Call Audio on Windows and Mac
You can record calls with audio on both Windows and Mac using their built-in tools. Here’s a simple, step-by-step guide for each platform:
Windows: Using Xbox Game Bar

- Enable Xbox Game Bar: Go to Settings > Gaming > Xbox Game Bar. Toggle it on if it’s not already enabled.
- Open Xbox Game Bar: Press Windows key + G to open the Xbox Game Bar overlay.
- Set Audio Recording Preferences: Ensure your microphone is enabled in the audio settings to record your voice. System audio (including call sound) is recorded by default unless muted.
- Start Screen Recording: Click the “Record” button or press Windows key + Alt + R to start recording. Begin your call in any calling app (Skype, Teams, Zoom, etc.).
- Stop Recording: Press Windows key + Alt + R again or click the stop button on the overlay. A notification will confirm the video is saved, typically in the Videos > Captures folder.
Mac: Using QuickTime Player

- Open QuickTime Player: Find QuickTime Player in Applications and launch it.
- Start a New Screen Recording: Go to File > New Screen Recording.
- Configure Audio Settings: Click the small arrow next to the record button. Select the appropriate microphone to capture your voice and system audio (using tools like Soundflower or Loopback may be needed to capture system audio alongside the microphone on macOS).
- Start Recording: Click the record button. Choose to record the entire screen or drag to select a specific area. Start your call on any app.
- Stop Recording: Click the stop button in the menu bar or press Command + Control + Esc. Save your recording from the prompt.
Conclusion
Screen recording a call with audio is simple once you know the right tools and steps for your device. Whether using built‑in features or third‑party apps, you can capture important conversations clearly and securely. Always check local laws and inform participants before recording to ensure compliance while capturing valuable moments.
FAQs
Can I legally record phone calls and video calls?
This depends on the laws in your country or state. Some regions require consent from all participants (two-party consent), while others only require the consent of one person on the call. Always inform everyone before recording to avoid legal issues.
Why is the call audio not being captured in my screen recording?
Many devices and apps block call audio recording due to privacy regulations or technical limitations. On iOS, third-party apps may be required; on Android, enable the correct audio source in the recorder settings or use a compatible app.
How can I improve call recording quality?
Use a stable internet or network connection, record in a quiet room, enable high‑quality audio settings in the recording app, and use an external microphone if available. Reducing background noise will enhance clarity.


.png)


