.png)
Even with a solid recording setup, microphones can still pick unwanted sounds—room echo, background hum, traffic, or distant chatter. The best way to avoid this is by using a microphone with advanced features like environmental noise cancelling and 32-bit float, such as the Hollyland LARK MAX 2. These features help cut down on noise right from the moment you start recording.

Hollyland LARK MAX 2 - Premium Wireless Microphone System
A premium wireless microphone for videographers, podcasters, and content creators to capture broadcast-quality sound.
Key Features: Wireless Audio Monitoring | 32-bit Float | Timecode
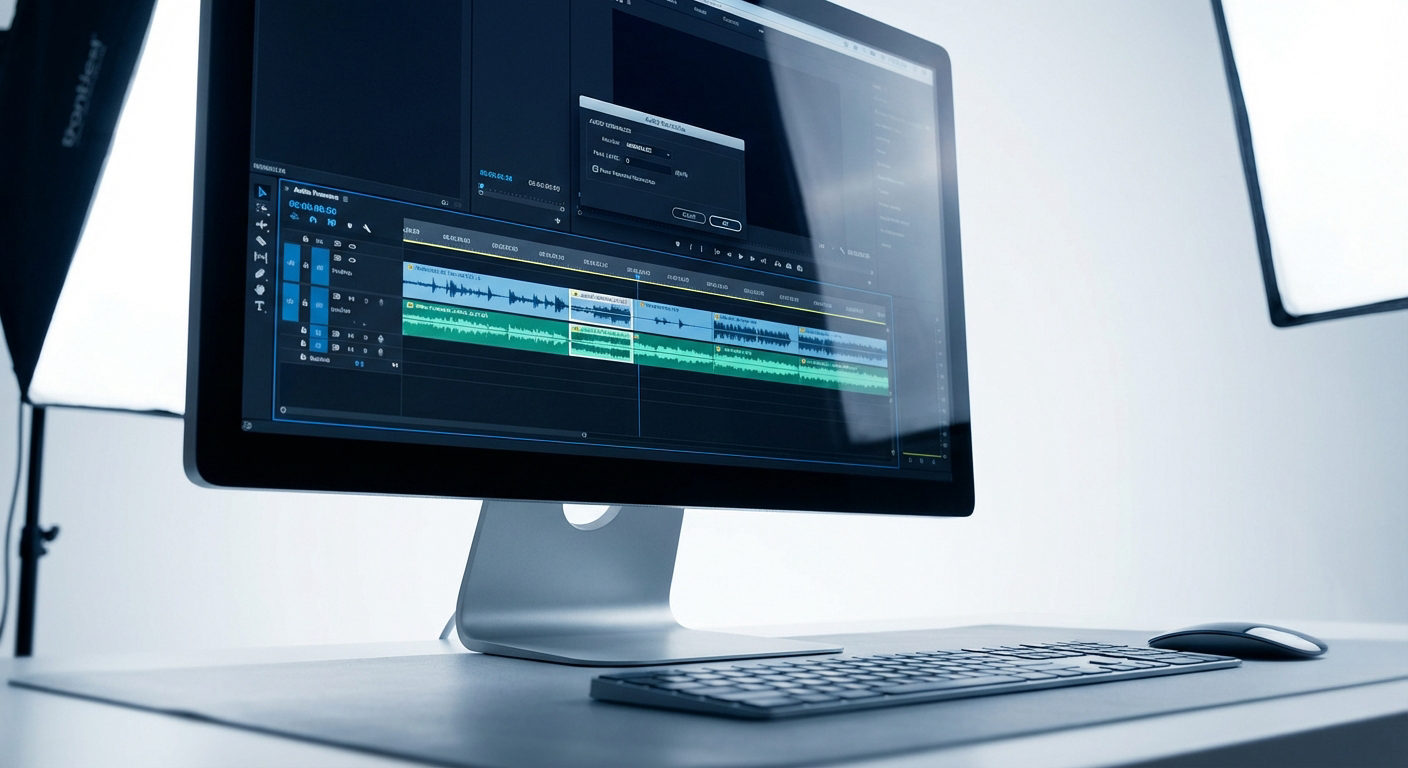
But what if you already have audio that needs a clean-up to sound truly professional? In most cases, this responsibility also falls to the video editor. If that’s you, and your editing tool of choice is Adobe Premiere Pro, you’re in luck—Premiere offers a range of built-in tools to help you polish your audio without ever leaving the program.
11 Audio Cleanup Tools in Premiere Pro
These are the most commonly used tools and effects within Premiere Pro to clean up, balance, and enhance your audio, no plugins or external apps required:
1. Normalize Audio Levels
Normalizing ensures your entire clip plays at a steady, professional volume without sudden jumps or drops. Here’s how to normalize audio in Premiere Pro:
- Right-click your audio clip and select Audio Gain.
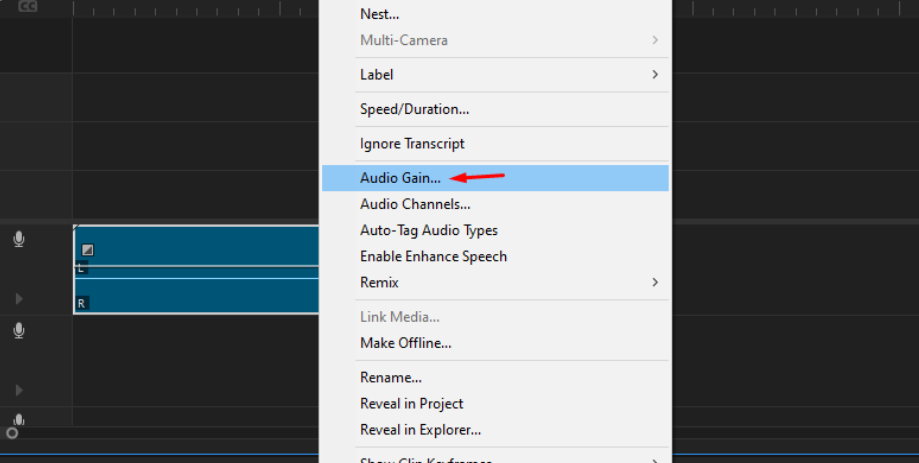
- Choose Normalize All Peaks To, then set a level like -3 dB. This keeps your audio from getting too loud or distorted.

- Click OK to apply.
2. Reduce Background Noise with DeNoise
If your recording includes hum, fan noise, or distant traffic, Premiere Pro’s DeNoise can help clean it up quickly. This improves clarity and makes your dialogue stand out. Here’s how to use it:
- Go to the Effects panel and search for DeNoise.

- Drag the DeNoise effect onto your audio clip.

- In Effect Controls, adjust the Reduce Noise By slider to fine-tune the result.
3. Use EQ to Enhance Voice Clarity
EQ helps shape your audio by boosting or cutting specific frequencies, ideal for making voices clearer and more natural. It’s especially useful for dialogue that sounds muddy or dull.
Here’s how to apply EQ in Premiere Pro:
- Search for Parametric Equalizer in the Effects panel and apply it to your clip.

- In Effect Controls, open the custom settings.

- Boost frequencies around 3–5 kHz for clarity, and reduce below 100 Hz to cut rumble.
4. Remove Reverb (Echo)
Reverb from recording in large or empty spaces can make audio sound distant or hollow. Premiere Pro’s DeReverb effect helps tighten and clean up that echo.
Here’s how to remove reverb in Premiere Pro:
- Search for DeReverb in the Effects panel and drag it to your audio clip.

- In Effect Controls, adjust the Reduce Reverb slider until the echo is minimized.

5. Use Compression for Balanced Audio
Compression evens out your audio by making loud parts quieter and soft parts louder, resulting in a smoother, more consistent sound throughout the clip.
Here’s how to apply compression in Premiere Pro:
- Search for Multiband Compressor in the Effects panel and apply it to your clip.

- In Effect Controls, adjust the threshold and ratio (start with a 3:1 ratio) to balance the dynamics.

6. Apply a Hard Limiter
A hard limiter prevents your audio from getting too loud and distorting by setting a maximum volume threshold, ideal for keeping peaks under control.
Here’s how to apply a hard limiter in Premiere Pro:
- Search for Hard Limiter in the Effects panel and drag it onto your clip.

- In Effect Controls, set the Maximum Amplitude to around -3 dB or -6 dB to avoid clipping.

7. Add Fade In/Out for Smooth Transitions
Fading audio in or out helps prevent abrupt starts or stops, creating a more natural transition between clips or scenes.
Here’s how to add fade in/out in Premiere Pro:
- Hover over the start or end of the audio clip in the timeline.
- Click and drag the white fade handle (a small square) to create a fade curve.

- Adjust the length to control how gradual the fade is.
8. Manual Keyframing for Precision
Keyframing lets you control volume at specific points in a clip, perfect for lowering background sounds or emphasizing speech.
Here’s how to keyframe audio in Premiere Pro:
- Select your clip and open Effect Controls.
- Under Volume, click the stopwatch icon to enable keyframes.
- Add and adjust keyframes directly on the timeline or in the panel to raise or lower volume as needed.

9. Use Noise Gate via Dynamics
A noise gate mutes audio when it falls below a certain volume, helping eliminate low-level background noise during silent moments.
Here’s how to use a noise gate in Premiere Pro:
- Search for Dynamics in the Effects panel and apply it to your audio clip.

- In Effect Controls, click Edit under Dynamics.
- Enable AutoGate and adjust the Threshold to control when the gate activates.

10. Use the Essential Sound Panel for Quick Fixes
The Essential Sound panel simplifies common audio repairs with easy-to-use sliders, ideal for cleaning up dialogue.
Here’s how to use it:
- Open Window > Essential Sound and select your audio clip in the timeline.

- Set the clip type to Dialogue to unlock repair options.

- In the Repair section, adjust these sliders as needed:
- Reduce Noise (removes steady background sounds)
- Reduce Rumble (cuts low-frequency hums or vibrations)
- DeHum (eliminates electrical hum from AC or appliances)
- DeEss (softens sharp “S” sounds)
- Reduce Reverb (reduces echo in reflective spaces)
11. Remove Hiss with CrumplePop AudioDenoise Plugin
CrumplePop AudioDenoise is a third-party plugin that uses AI to remove hiss, static, and other background noise with minimal setup.
Here’s how to use it:
- Download and install the CrumplePop AudioDenoise plugin from the CrumplePop website.
- In Premiere Pro, go to Preferences > Audio > Audio Plugin Manager, click Scan, then enable the plugin.

- Import your video and apply AudioDenoise from the Effects panel to your audio clip.

- In the plugin interface, adjust the Strength knob and use frequency sliders (Low, Mid, High) to fine-tune the noise removal.

Challenges of Removing Background Noise in Premiere Pro
While Adobe Premiere Pro provides several built-in tools for audio cleanup, they often come with trade-offs, especially if you’re relying on it to fix audio that wasn’t clean to begin with.
- Removing background noise can flatten or dull your audio, making voices sound less natural.
- Premiere’s interface is built for advanced users, which can make even simple noise reduction steps feel complicated.
- Audio effects like DeNoise and DeReverb can slow down editing, especially on lower-end machines.
To preserve the best possible quality, stick to only the tools you truly need and apply them in moderation.
Conclusion
While Premiere Pro offers a wide range of tools for cleaning up audio, the best results often come from a combination of good recording habits and smart editing choices.
Keep an eye on your audio levels while recording, and wear headphones so you can catch any problems right away. You can also make your space sound better with simple tweaks, like adding foam panels or hanging heavy curtains, to cut down on echo and block outside noise.
FAQs
Q: Is Premiere Pro good enough for professional audio cleanup?
Premiere Pro is basically a video editing tool that also offers basic and intermediate audio cleanup, but does not have a full audio editing suite. For complex fixes, like restoring distorted audio or isolating voice from noisy environments, use dedicated software like Adobe Audition or third-party plugins.
Q: What if DeNoise or DeReverb isn’t working?
Lower the reduction amount and adjust gradually. If there’s still no change, the noise may not match what the effect removes—DeNoise targets steady hums, DeReverb tackles echo. In that case, use EQ to cut problem frequencies or pair the effect with light compression for better results.
Q: Can I apply audio cleanup to multiple clips at once?
Yes. Select all the clips you want to adjust in the timeline, open the Essential Sound panel, assign them a type (like Dialogue or Music), and apply your noise reduction or EQ settings. This applies the same settings to all selected clips instantly. You can also save these settings as a preset to reuse later.