.png)
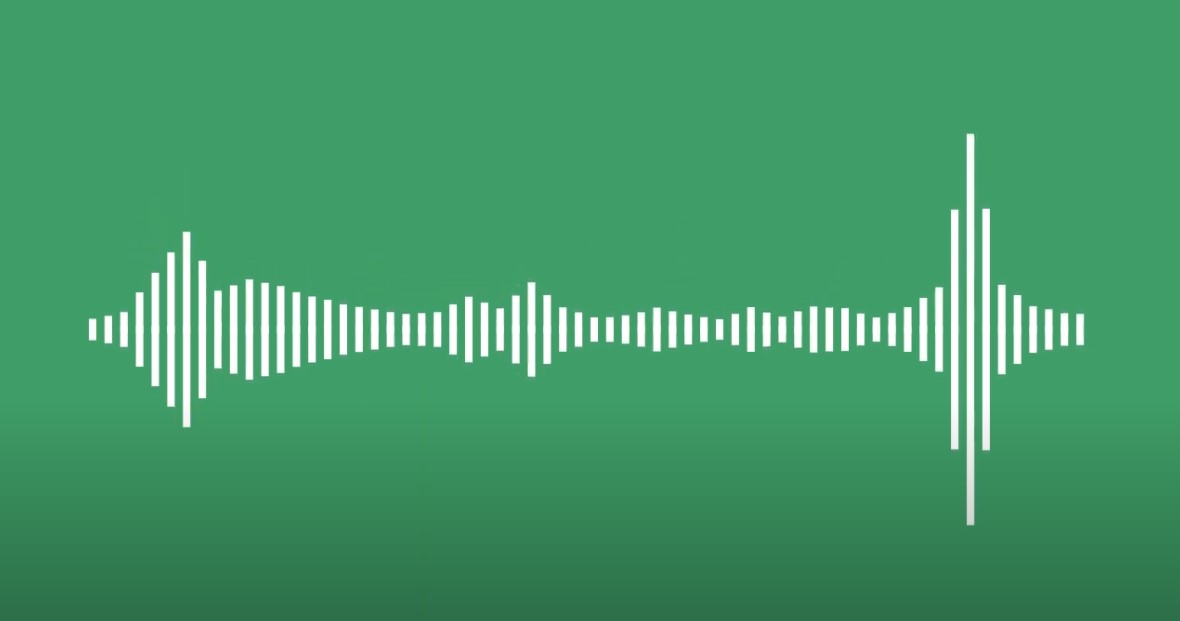
Audio visualizers turn sound into visuals. They help music, podcasts, and voice clips stand out on platforms like YouTube, TikTok, and Instagram. These animations respond to volume, rhythm, and pitch, making your audio feel more alive. They also help with engagement. Viewers are more likely to watch and share if something is moving on-screen.
To get started, you need clean audio. Use a mic that captures both quiet and loud parts. Avoid distortion and background noise as much as possible. Record in a format that preserves quality.
Now let’s look at a step-by-step process to create an audio visualizer.
How to Create an Audio Visualizer? (Step-by-Step Process)
Step 1: Record the Audio
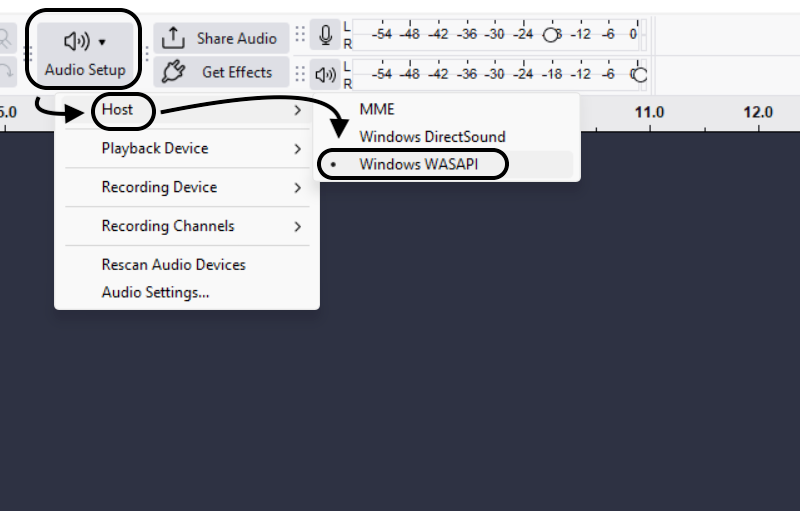
Start with a solid recording setup. Use a wireless mic that delivers consistent quality. For example, the Hollyland LARK MAX 2 wireless microphone system features industry-leading 32-bit float recording and OWS Bluetooth monitoring, ensuring crystal-clear audio with real-time, wireless quality checks.


Clip the mic to your voice source or instrument. Connect the receiver to your computer via USB-C or 3.5mm cable. Open an audio recording program such as:
- Audacity
- GarageBand
- VEED
- Reaper
Set levels to peak around -6 dB. Monitor live using headphones or the mic’s monitoring feature. Once you’re done, export the audio in WAV format. This maintains full audio quality for syncing with visuals.
Step 2: Upload Your File
Next, choose your visualizer tool. Options include:
- VEED.io
- Kapwing
- Headliner
- Descript
To use VEED:
- Go to VEED.io

- Start a new project
- Upload your WAV audio file
- Select your canvas size:
- 16:9 for YouTube
- 9:16 for TikTok or Shorts
- 1:1 for Instagram
You can add a background here, such as an image or looped video.
Step 3: Add the Visualizer
Once the file is uploaded:
In VEED:
- Open the Elements panel
- Click Sound Wave
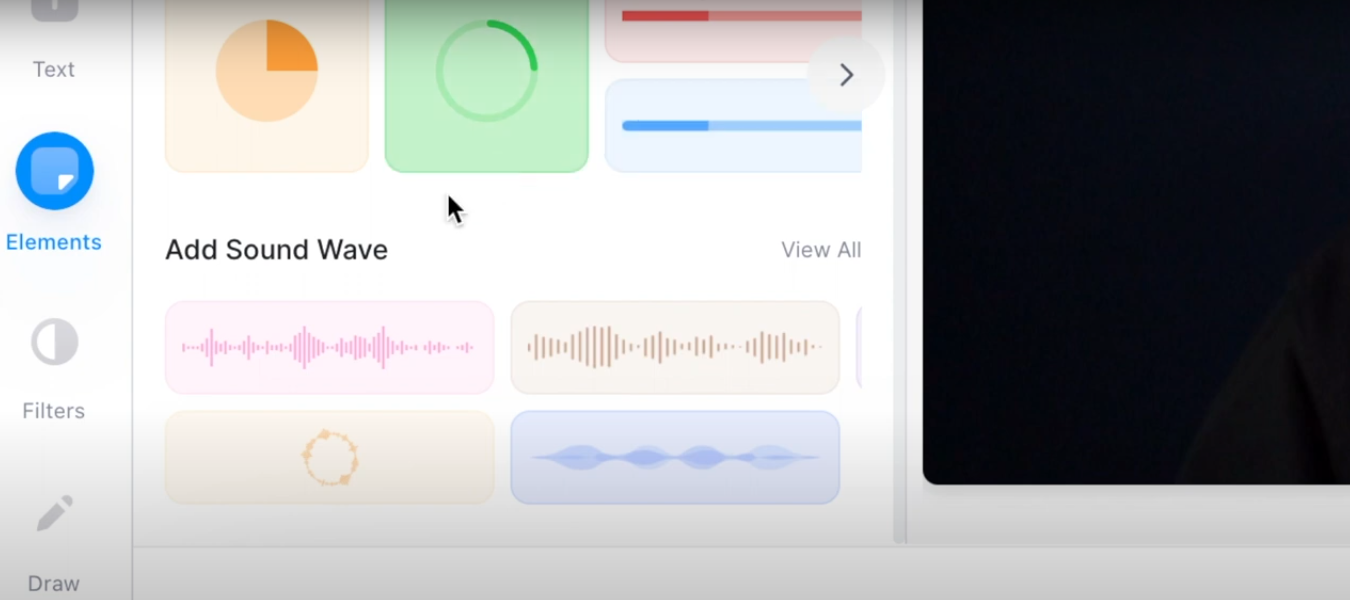
- Drag your preferred waveform onto the canvas
- Resize and position it
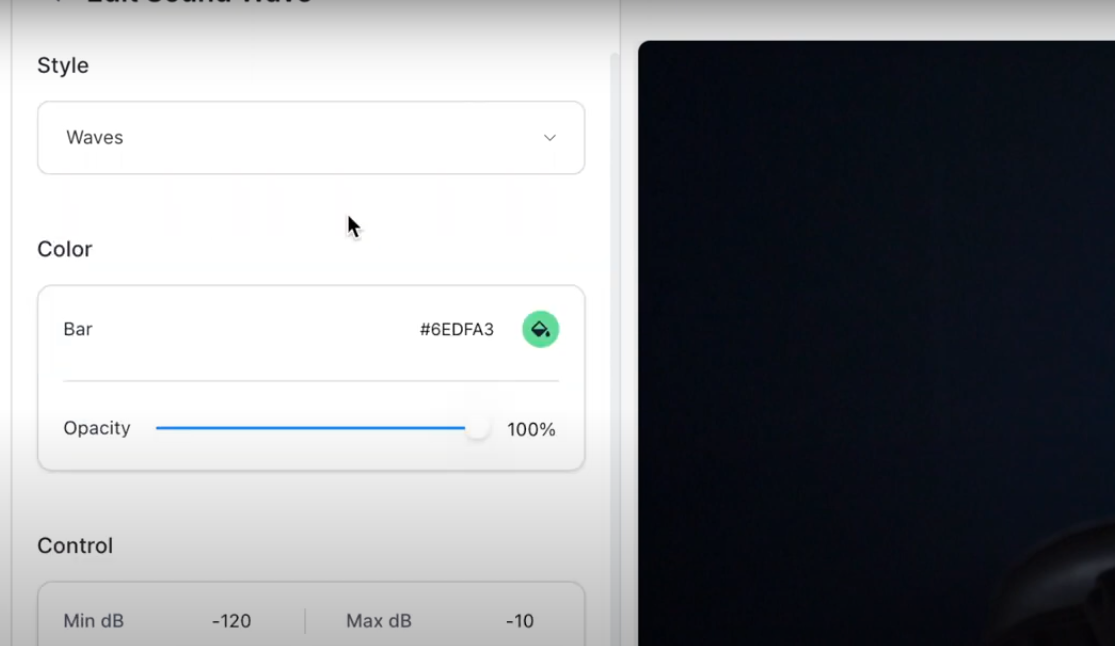
Adjust the look of your waveform:
- Choose waveform style: bars, line, circle, or pulse
- Change the color to match your theme
- Adjust size and alignment
You can also add:
- Text overlays (song title, speaker name)
- Branding (logos, tags)
- Backgrounds (looping video or image)
Step 4: Sync and Customize
Preview your project. Watch how the waveform reacts to the beat and tone of the audio.
Tweak the following settings:
- Waveform speed
- Positioning and size
- Keyframes for color or size changes
- Waveform start alignment with audio
Use timeline controls to fine-tune audio and visual timing. Confirm everything is in sync before export.
Step 5: Export Your Video
When you’re ready:
- Click Download MP4 format
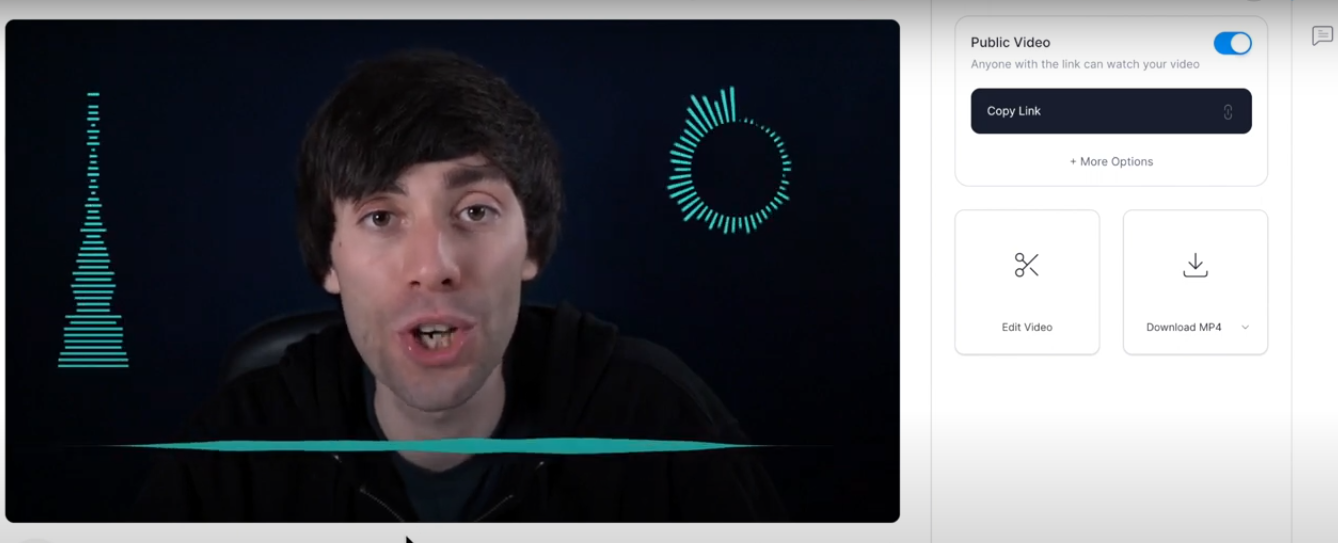
- Set resolution like 1080p or higher for YouTube, and 720p is fine for social posts.
- Download your video
Upload your new audio visualizer to YouTube, TikTok, or your website.
How to Common Visualizer Issues?
Always use clean audio
Start with high-quality recordings. Visualizers react better to crisp, clear audio. Background noise or distortion will reduce the impact of your visuals.
Trim silence from the start and end
Cut any long gaps at the beginning or end. This keeps the waveform animation tight and avoids awkward delays at the start of your video.
Normalize volume before importing
Balanced volume helps the visualizer react consistently. Peaks and quiet sections will animate properly without unexpected drops or spikes.
Use colors that match your music or brand
Choose colors that reflect your content’s tone. For example, dark blues for chill mixes or bold reds for high-energy tracks. Keep your color scheme consistent across videos to build recognition.
Preview before you export
Always watch the full timeline before exporting. Look for sync issues, spacing problems, or clipped waveforms. Fixing these before export saves time and improves quality.
Use a consistent layout and theme
Stick to the same background style, font, and visualizer shape across multiple videos. This builds your visual identity and helps your content feel more professional.
Add your handle or logo
Place your social handle or logo in the corner of the frame. Make sure it’s not too large or distracting. It helps brand your content when it’s reshared.
Use short loops for testing
Before rendering the full video, test a 5–10 second loop. You’ll quickly see how the waveform responds to beats or vocals, and can adjust sync or styling as needed.
Frequently Asked Questions
1. What’s the best format for uploading audio?
Use WAV files whenever possible. They keep the full quality of your recording and sync better with visualizer tools. MP3s can work, but may lose clarity and timing accuracy.
2. Can I use this for podcasts or voiceovers, not just music?
Yes, most visualizers work great with speech-based content. Use slower waveform styles, add your podcast name or speaker title as text, and choose a calm background to match the tone.
3. Will a wireless mic affect sync or audio quality?
Not if you’re using a reliable system and recording directly to a computer or external recorder. For example, mics that support real-time monitoring and 32-bit float, like the LARK MAX 2, help prevent clipping and make syncing smoother later.
4. Do I need video editing experience to do this?
Most tools like VEED, Headliner, or Kapwing are built for beginners. You can drag, drop, and customize without needing to learn traditional editing software.
5. Can I use the same visual layout for multiple videos?
Create a template with your visualizer, colors, logo, and background. Then, just swap out the audio and update any text. This saves time and keeps your branding consistent.