.png)
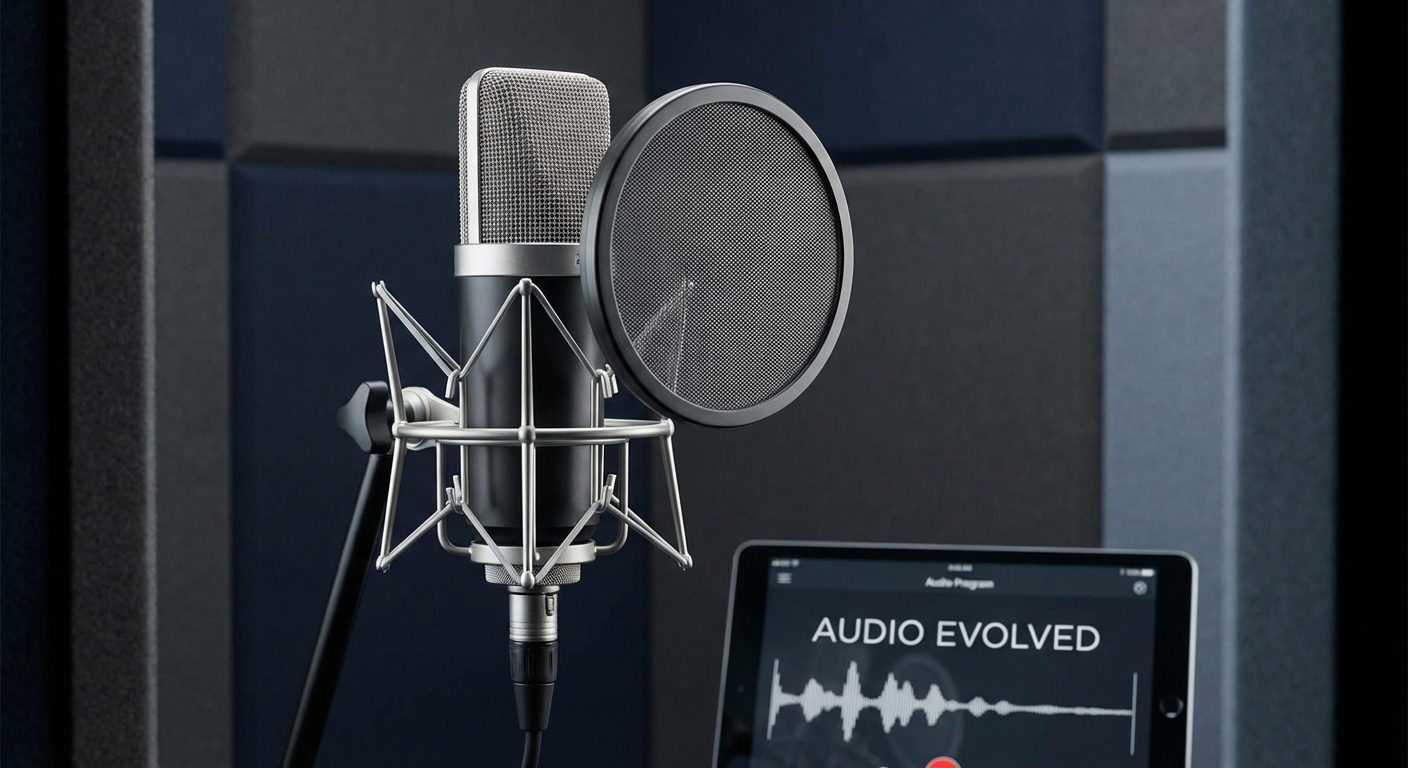
Capturing clear, professional audio is essential for any project. There are several tools that stand out for this purpose. With high-quality microphones, like the Hollyland LARK MAX 2, recording high-quality sound is always simple. Its advanced 32-bit float recording is an incredible feature that minimize distortion, and with OWS Bluetooth monitoring, you get to listen in real-time with ultra-low latency. This is how you can capture crisp and flexible audio.

Hollyland LARK MAX 2 - Premium Wireless Microphone System
A premium wireless microphone for videographers, podcasters, and content creators to capture broadcast-quality sound.
Key Features: Wireless Audio Monitoring | 32-bit Float | Timecode
But sometimes, you want muffled for your content to create a certain mood, simulate distance, or add unique texture. If that’s your creative goal, here are a few detailed but straightforward methods to help you achieve the perfect muffled sound.
Main Methods to Create Muffled Audio
1. Low-Pass Filter and Equalization (EQ) in Popular Audio Software
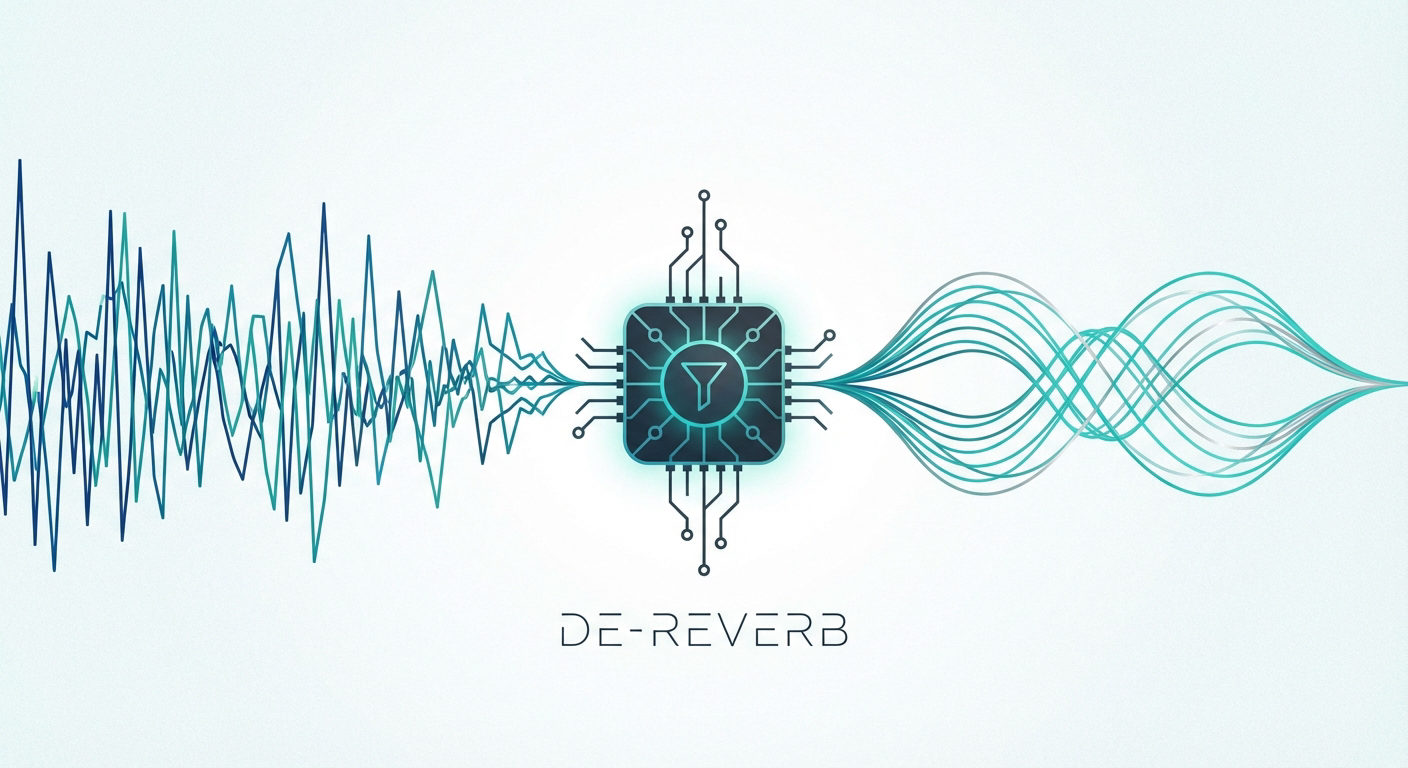
Using Equalization (EQ) is the most direct and effective method to make audio sound muffled. EQ works by cutting or reducing the high frequencies, which are responsible for clarity and brightness in sound. You can do it by using a low-pass filter via digital audio software.

The general method is as follows:
- Step 1: Apply a low-pass filter. This filter lets the low frequencies pass through but cuts off the highs above a certain point.
- Step 2: Typically, set the cutoff frequency between 600 Hz and 3,000 Hz, depending on how muffled you want the audio to sound. For a subtle muffling, keep it higher around 3,000 Hz; for a thick, heavy muffling, go lower toward 600 Hz.
- Step 3: Adjust the slope or “rolloff” of the filter. A steep slope (e.g., 24 dB/octave) cuts the highs sharply, producing an intense muffled effect which can sometimes sound unnatural. A gentler slope (12 dB/octave) produces a smoother, more natural muffling.
Let’s walk you through some popular digital audio workstations (DAWs) or editors. Here’s how to get the muffled sound in the most widely used programs, step by step:
Audacity (Free and Powerful)

- Import your audio file.
- Select the region you wish to affect.
- Click “Effect” → “Filter Curve EQ.”
- Drag down all points above 1,500Hz until the curve looks like a cliff.
- Preview. Adjust until the whole sound feels dull but not lifeless.
- For a heavier effect, try “Effect” → “Low-Pass Filter,” set cutoff to 1,000Hz and rolloff to 24dB.
- Don’t forget to amplify if the new sound feels too quiet.
Adobe Premiere Pro

- Import your audio clip and place it on the timeline.
- Open the Effects panel and search for “Parametric Equalizer.”
- Drag the Parametric Equalizer effect onto the audio clip.
- Select the audio clip and open Effect Controls.
- Click “Edit” on the Parametric Equalizer effect.
- Choose the “Generic Low Pass” preset.
- Lower the cutoff frequency slider to around 900–1,200 Hz.
- Adjust the gain if the volume drops too much.
- Preview and tweak the cutoff frequency to your liking.
- Close the editor and continue with your project or export.
After Effects (For Video Audio)
- Place audio on the timeline.
- Search for the “Bass & Treble” effect.

- Drop the “Treble” slider to -100 for instant muffling.

- If needed, duplicate the effect or combine with another EQ to intensify.
- Add automation or keyframes to sweep from clear to muffled, great for “closing door” moments in your video projects.
DaVinci Resolve

- Select your audio track.
- Activate the “EQ” section in the mixer.
- Pull down bands above 1,000Hz.
- Use Band 4 (high mids) for surgical precision.
- Adjust in context—does your muffling fit the visual “distance” or obstacle in your shot?
Online Tools (No Installation Needed)

If you don’t want to hassle with downloads:
- Use platforms like “Veed,” “Audioalter,” or “TwistedWave.”
- Upload your file, use graphic EQ sliders, and experiment with cutoff between 1,000–2,000Hz.
- Preview, download, and insert the result right into your project.
2. Using Voice or Audio Effects Plugins
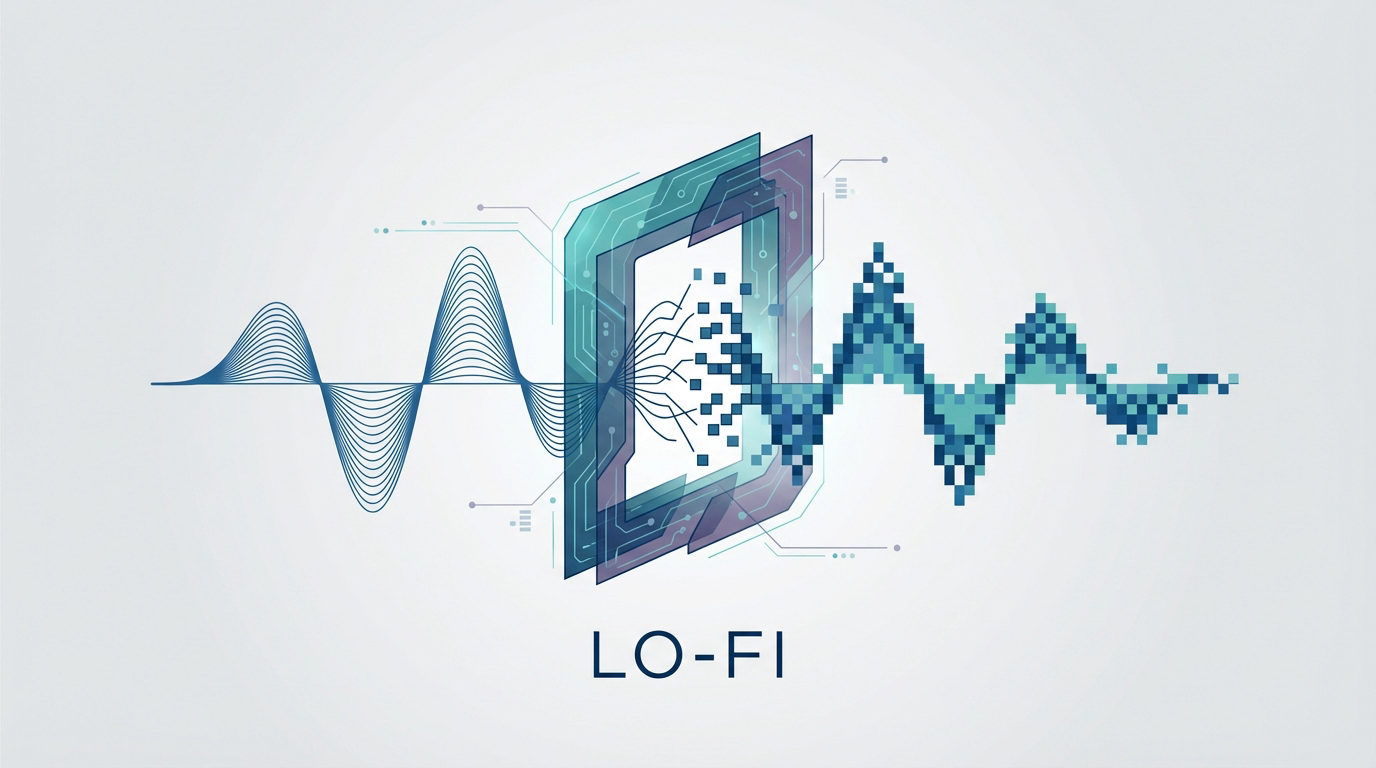
Plugins can be a great way to create a muffled effect. Load your audio into your DAW or editor. Then, add a muffling plugin or effect. Many plugins also let you add reverb or saturation alongside EQ filtering, which makes the muffled sound richer and more natural. You’ll find countless free and paid options designed to simulate “muffled,” “underwater,” “telephone,” or “lo-fi” sounds. Some functional choices include:

- Softube OTO Biscuit (emulation): Delivers 1980s-style lo-fi crunch and rich muffling—great for genre podcasting or moody music.
- Ableton Live’s Redux or stock EQ: Offers bit reduction for heavy filtering, if you need both muffling and a digital edge.
- Analog filter VSTs: Most DAWs have good built-in ones.
- Lo-fi, phone, and tape simulation VSTs: Designed for musical vintage or storytelling aesthetics.
Stacking plugins helps make your muffled audio sound more realistic. Try adding a little reverb or a short delay—this makes the sound feel like it’s in a bigger room.
3. Physical Methods (Recording Techniques)
Sometimes, you want genuine authenticity in your audio, and creating real-life muffled sound is refreshingly simple. Using thick materials like blankets and pillows to drape over your microphone or wrap around the sound source can instantly absorb high frequencies.
Recording your voice or instrument in another room, with doors or walls acting as barriers, also helps filter and soften the sound. Foam windscreens—which aren’t just for outdoor use—can make studio vocal takes sound as if they’re coming from behind an obstacle. Additionally, placing the microphone several yards away, with furniture or half-open doors in between, naturally reduces treble.
These physical methods introduce unpredictable and organic variations that digital processing can’t replicate, and often it’s these unique quirks that bring your audio texture to life.
4. Creative Transitions and Automation
Muffling isn’t always static. Often, it enhances storytelling as it ebbs and flows with the scene.

- Duplicating Tracks: Make a copy of your original audio; apply the muffling effect only to the duplicate.
- Crossfades and Envelopes: Fade between the clear and muffled versions using your DAW’s automation tools. As one track rises, the other falls.
- Automating EQ: Use keyframes to gradually drop the EQ cutoff frequency, simulating someone moving behind a closed door or diving underwater.
- Sequencing in Film/Podcasting: Use muffling to signal flashbacks, dream sequences, realism, or changes in character perspective.
Conclusion
If you want your audio to sound muffled, you now have a full range of options—EQ adjustments, plugins, and practical techniques. Experiment with each method to find the best fit for your specific medium, context, or story.
FAQs
What does it mean when audio sounds muffled?
Muffled audio lacks high-frequency content. It sounds like voices heard through a closed door or pillow. The clarity and brightness drop; low and midrange sounds dominate. This is different from just a quiet (soft) sound—a muffled sound has been filtered so the tone itself is changed, not just its loudness.
Can muffled audio be reversed or cleared up?
Some lost clarity can be restored with an EQ boost in the higher frequencies (above 3,000Hz). But if the recording never captured those highs, digital tricks can only do so much—you can’t get back what was never there.
What mistakes should I avoid when making audio sound muffled?
Don’t be too aggressive with EQ. If you roll off too much, you’ll end with unintelligible mush. Avoid sharp, unnatural curves unless the effect is meant to be cartoonish. Monitor your volume; muffled tracks often need gentle amplification.
What artistic genres use muffled effects heavily?
Lofi hip-hop uses muffling for mood. Ambient and experimental producers employ it to evoke place or memory. Filmmakers use muffling for offscreen dialogue, tension, or perspective shifts. Video games use it for “through the wall” or “underwater” sound signals.
How does bit reduction or “bitcrushing” differ from traditional muffling?
Bitcrushing (or bit reduction) decreases the digital resolution, causing crackles, distortion, and an “8-bit” video game sound. Muffling from EQ removes clarity by reducing high frequencies but keeps the rest intact. Both are effective, but for different vibes.