.png)
Creating your ibisPaint animation, but something feels missing? Perhaps, it’s the sound. Music and audio effects can take your work from great to unforgettable.
Plus, it can engage your viewers for a long time, and as a creator, that’s exactly what you want.
While ibisPaint doesn’t let you add sound directly, there are easy ways to achieve this.
In this article, we are going to talk about how to add audio to the ibisPaint animation in detail.
So, let’s get started!
Tools You’ll Need Before You Start
First things first, before you jump into syncing sound with your ibisPaint animation, make sure you’ve got the right tools ready. Here’s what you’ll need:
- ibisPaint – For creating your animation, frame by frame.
- A Video Editor – To combine your animation with audio (EasyCut, KineMaster, iMovie, etc.).
- A Microphone – For recording voiceovers or sounds. You need an external mic that can work with the right setup.
- A Mobile or PC Device – To run your video editor and export the final product.
Step-by-Step Guide to Add Audio to iBis Paint Animation
Now that you have all the required tools, it’s time to start with your video, right away. Here are some of the easy-to-follow steps to insert music in IBIS Paint animation.
- Create and Export Your Animation
If you haven’t created your animation yet, start by designing your animation in ibisPaint using the frame-by-frame feature (also known as the Animation Timeline).
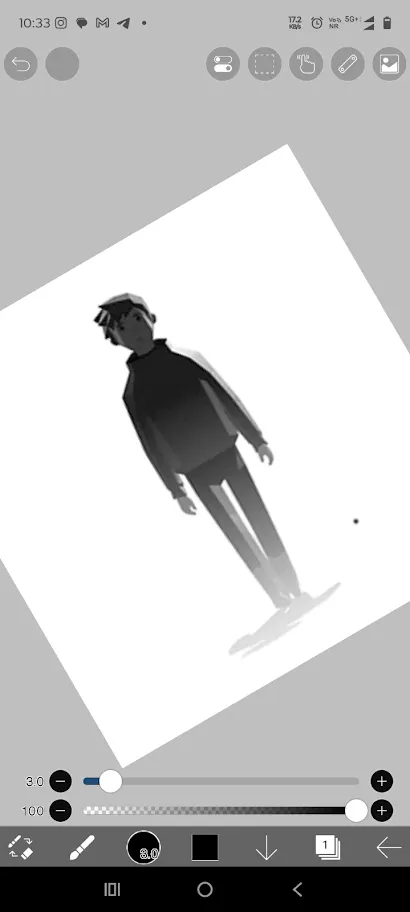
You can adjust frame speed, timing, and play around with layers to create smooth movement.
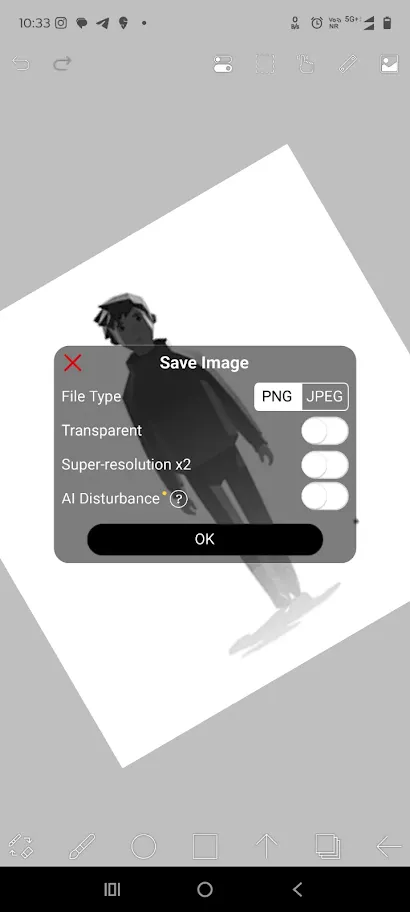
When you’re done, simply go to Export → choose Save as Video → and export it as an MP4 file. This format is compatible with most video editors.
- Go to a Video Editing App
As mentioned, ibisPaint doesn’t let you add audio directly; you’ll need a video editing app to combine visuals and sound. For this tutorial, we will choose EasyCut as it is an easy-to-use tool.
- Open the EasyCut app and click on the “Video” button, and your phone gallery will open.
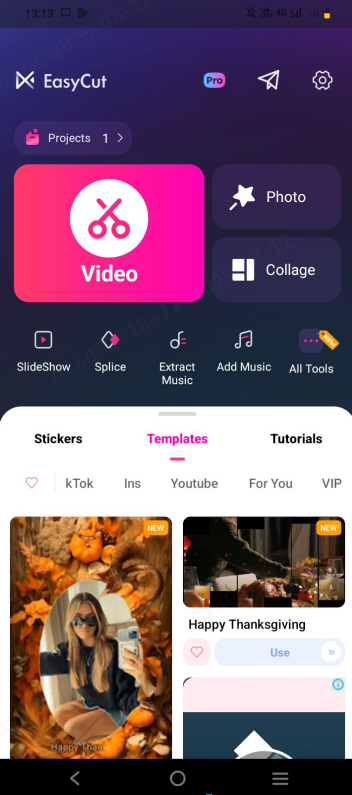
- Select the MP4 video (your iBis Paint animation) and use the arrow to add it in.

Once done, it will appear on the video timeline, where you can see all your frames playing in real time.
- Add the Audio Track and Record
Under the video frame, you will find a “Select Music” button. After clicking this button, you will then be prompted to choose “Music”, “Extraction”, and “Voiceover”.

If you already have a royalty-free sound in your library, click on “Music”.

But if you want to extract sounds from a video, you can go to “Stock Videos” in this app and extract audio.
If you are recording the real-time audio, simply tap on the “Voiceover” option.

Now, click on the “Record” button and stop when you are done. After that, save this audio by clicking on the tick mark.
If you are doing a voiceover, you have to ensure high-quality audio. Music and sound effects carry emotion. A powerful moment can fall flat without the right audio cues. Good sound reinforces mood, like tension, joy, and sadness, and makes the scene hit harder. That’s why internal mics often don’t do your animation justice.
If you’re aiming for a clearer, more consistent sound, consider the Hollyland LARK MAX 2. It offers 32-bit float recording, which means your audio won’t distort even if the volume spikes, and OWS Bluetooth monitoring, so you can listen in real-time without delay.

Hollyland LARK MAX 2 - Premium Wireless Microphone System
A premium wireless microphone for videographers, podcasters, and content creators to capture broadcast-quality sound.
Key Features: Wireless Audio Monitoring | 32-bit Float | Timecode
- Edit or Sync the Audio and Video
You will be able to see that an audio timeline has been added just above the video timeline.

Here, you have to drag the audio wherever you want to add the sound in the ibisPaint video.
If you are using the same audio more than once in your video:
- Select the audio track
- Click on the “Duplicate” button.

- Now, drag the duplicate audio to the section as required.
Also, for further editing the audio, select any of the individual tracks and adjust their speed, volume, or even split them.
5. Export the Final Video
- Once everything is in place, click on the “Save” button in the top-right corner.
- Select the resolution you want, ranging from GIFs to 1080p.

- Select the ideal frame rate and save the video.
You can directly export to the final video to WhatsApp, TikTok, Instagram, and many other social media apps.
Final Thoughts
So, that’s all on how to add audio to ibisPaint animation easily. All you have to do is follow these simple steps, and you can create highly engaging animation just like that! Lastly, for smoother, more impactful sound, consider using a reliable external mic. This simple upgrade can make your animation look more professional and engaging.
FAQs
1. How do I avoid audio drifting out of sync after export?
Audio drift usually happens when the animation frame rate and audio sample rate don’t align well in the editor. Always export your animation in standard formats (MP4 at 24 or 30 FPS) and match settings in the editor to prevent sync issues.
2. Will adding sound affect the video quality of my animation?
No. Adding audio through a proper editor will not reduce video quality. Just ensure you’re exporting in high resolution (like 1080p). Plus, make sure that the editor doesn’t compress the final file too much during export.
3. How do I make voiceovers sound clean and clear in my animation?
The basic tip is to record in a quiet room. Plus, you should speak at a steady pace. Using an external microphone is highly beneficial, as built-in mics often capture background noise or distort sound, making the voiceover feel less professional.
4. Can I animate to audio instead of syncing audio afterward?
While ibisPaint doesn’t support live audio preview, you can pre-edit your audio track. After that, you can animate with the timing in mind. Later, sync your animation to the audio using a video editor for best results.
5. What’s the best way to time sound effects with frame changes?
Use the video editor’s timeline to zoom in and match sound cues with specific frames. Preview your animation multiple times to fine-tune the sync. You should do this, especially if you’re working with fast transitions or detailed movements.