


.png)
Recording something on your iPhone is easy. Getting that recording off your phone can be a different story. Whether it’s an interview, lecture, or voice note you want to save or share, exporting recordings isn’t always as straightforward as you’d expect.
Some methods are quick and built-in, while others give you more control over where the file goes. If you’ve ever wondered how to move your recordings to another device, app, or cloud service, this guide covers all the reliable ways to do just that. Keep reading to find the method that works best for you.
How to Export Recordings from iPhone
There’s no single way to export recordings from your iPhone. The method you choose depends on where you want the file to go. Do you need to send it quickly to a friend nearby? Or back it up to the cloud? Maybe you want to email it or save it for later. Luckily, the iPhone gives you several built-in options to move your recordings with ease. Below, you’ll find the most effective ways to export your audio files, each with simple steps to help you get it done fast.
- Export via AirDrop
AirDrop is one of the fastest ways to export a voice memo, but it only works with AirDrop-supported iOS devices like a Mac, iPad, or another iPhone. It’s perfect for quick, wireless transfers without needing any cables or internet connection. If your target device supports AirDrop and is nearby, here’s how to send your recording:
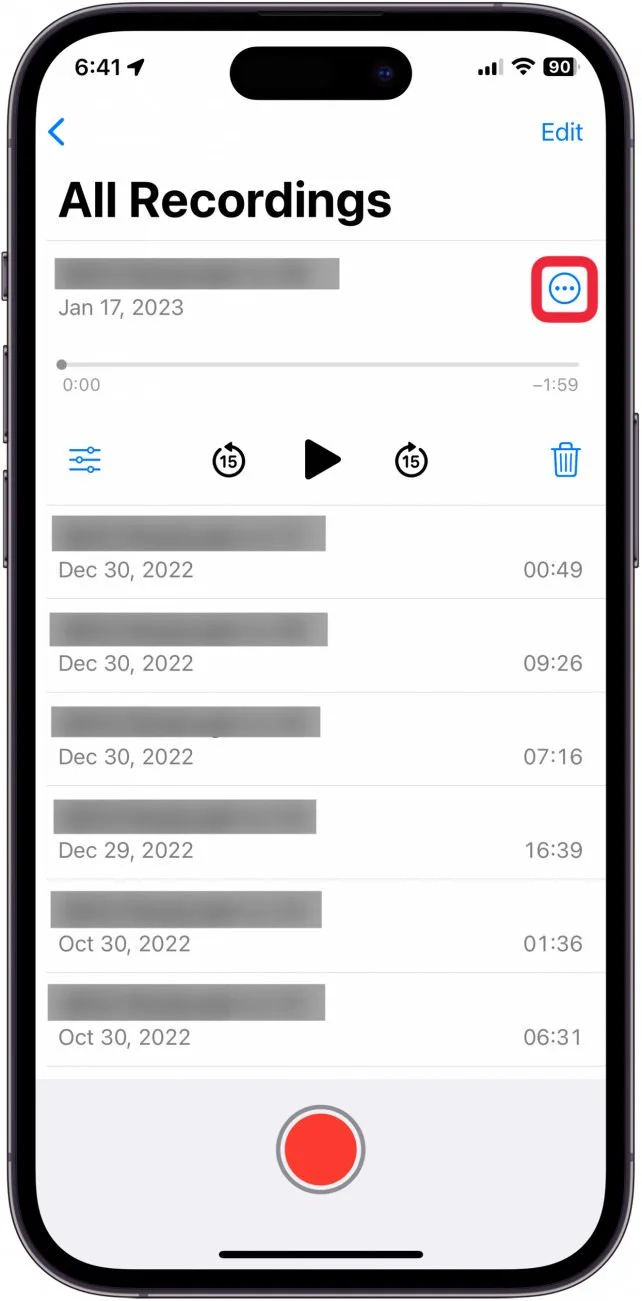
- Open the Voice Memos app on your iPhone and tap the recording you want to export.
- Tap the More icon (three dots) and select Share.

- Choose AirDrop from the sharing options.
- On the target device, tap Accept to receive the file. You can then open or save the voice memo.
It’s quick, easy, and works great for Apple-to-Apple sharing.
- Export via iCloud
If you want to access your voice memos across all your Apple devices, iCloud is the way to go. It syncs your recordings automatically, so there’s no need to transfer them manually. As long as you’re signed in with the same Apple ID, your memos will show up everywhere. Here’s how to set it up:
- On your iPhone, go to Settings, select [your name], tap iCloud, and toggle on Voice Memos.
- On your Mac, open the Voice Memos app at least once to activate it.
- Click the Apple icon, then go to System Settings.
- Select Apple ID, then click iCloud.
- Click Show More Apps, find Voice Memos, and toggle it on.
- Click Done when finished.

Now, when you open the Voice Memos app on your Mac, your iPhone recordings will appear under All Recordings.
- Export via Email or Message
If you want to send a recording to someone or save it to another app, the Share feature in Voice Memos makes it easy. You can export recordings through email and messaging apps, or even save them to cloud services like Google Drive or OneNote. This is a great option if you’re sending a file to someone who isn’t using an Apple device. Here’s how to do it:
- Launch your iPhone’s Voice Memos app and tap the recording you want to export.
- Tap the More icon (three dots) and select Share.
- Choose how you want to send the file — Email, Messages, Google Drive, or another app.
- On the receiving device, open the app or service you used and download the voice memo.
It’s a simple way to move recordings to almost anywhere.
- Export to Files App
If you want more control over where your voice memos are saved, exporting to the Files app is a great choice. It lets you store recordings directly on your iPhone or in cloud services like iCloud Drive, Dropbox, or Google Drive. You can even organize them into folders for easy access later. Here’s how to do it:
- Open the Voice Memos app on your iPhone.
- Select your recording, then tap the three dots.
- Tap Share from the menu.
- Scroll down and select Save to Files.
- Choose where you want to save the file — either in a linked cloud storage option or On My iPhone.
Once saved, you can find your recording in the Files app, ready to share, upload, or back up whenever you need it.
- Export using iTunes
If you use an older Mac with macOS Mojave or earlier, or a Windows PC, iTunes offers a straightforward way to transfer your voice memos. It works similarly to syncing music, making it easy to move multiple recordings at once. Before you start, make sure your computer has the latest version of iTunes installed. Here’s how to transfer your voice memos using iTunes:
- Plug your iPhone into the computer using a USB cable.
- Open iTunes on your computer.
- Click the device icon that appears in iTunes.
- Select Music from the sidebar menu.
- Make sure Sync Voice Memos is checked.

- Click Sync to begin syncing your voice memos to the computer.
Once completed, your recordings will be available on your computer alongside your music files.
Conclusion
Exporting your iPhone recordings is easier than you might think. Whether you prefer quick sharing with AirDrop or storing files in the cloud, there’s a method that fits your needs. Using these simple steps, you can move your voice memos wherever you want. Try out the options and find what works best for you.
FAQs
How do I bulk transfer voice memos from my iPhone?
If you need to transfer multiple voice memos at once, iTunes offers a handy way to do it. After connecting your iPhone to your computer, open iTunes and select your device. Then, navigate to the “File Sharing” section where you’ll find the Voice Memos app. Here, you’ll see a list of all your recordings. Simply select all the memos you want to move and drag or copy them to a folder on your computer. This method makes it easy to back up or organize large numbers of files quickly.
How do I back up my iPhone recordings?
Backing up your iPhone recordings is essential to keep your files safe. To do this, open Settings on your iPhone and tap your name at the top. Next, go to iCloud and make sure the toggle for Voice Memos is turned on. After that, scroll up to find the iCloud Backup option. Enable it if it’s not already active, then tap Back Up Now to start saving your data. This process ensures your recordings are stored securely in iCloud and can be easily restored if needed.
Where are iPhone voice memos stored?
iPhone voice memos are stored within the Voice Memos app on your device. When you use iCloud, these recordings sync automatically across all your Apple devices signed in with the same Apple ID. This means you can access your voice memos on your iPhone, Mac, iPad, and even Apple Vision Pro. If you record memos on your Apple Watch, those will appear as well. This seamless syncing makes it easy to find and listen to your recordings no matter which device you’re using.


