.png)
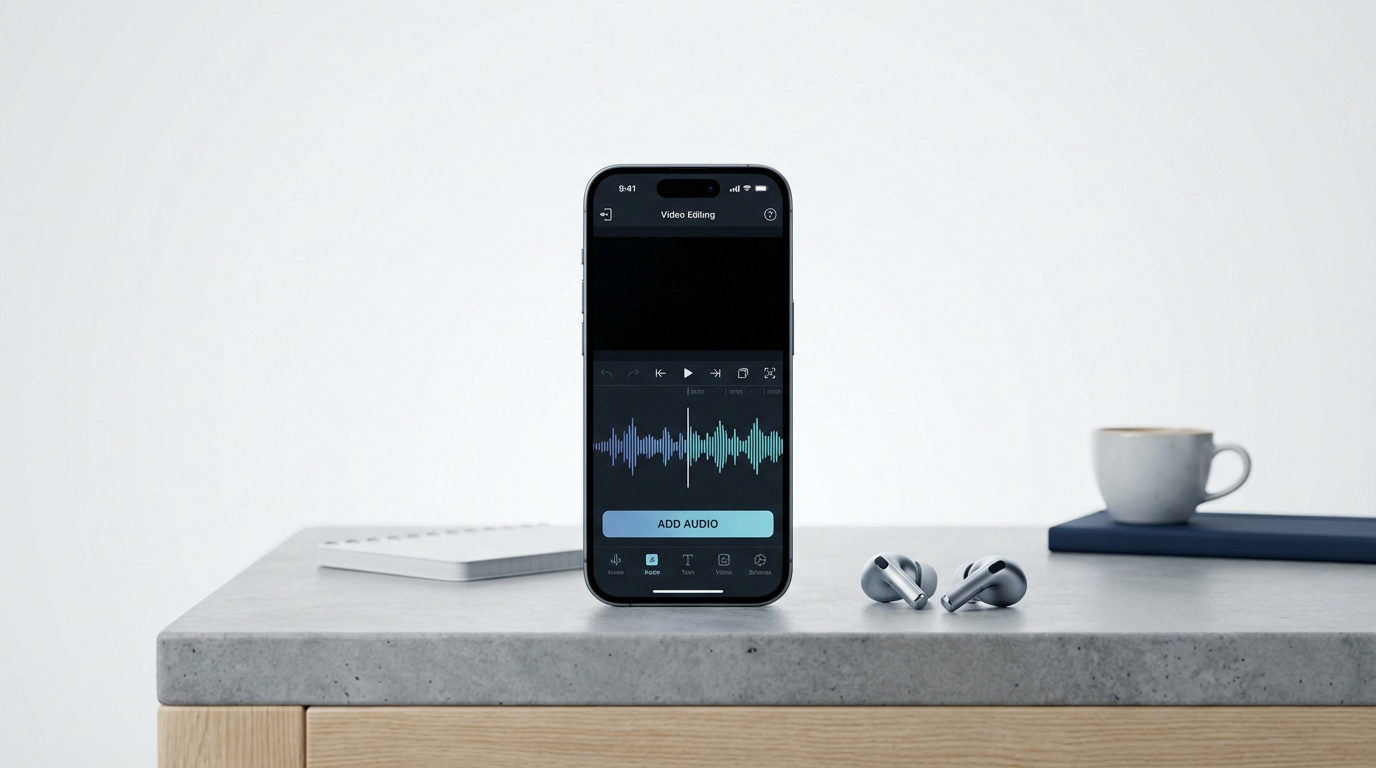
In this digital era, our smartphones have become powerful tools for various tasks beyond just making calls and sending messages. One of the versatile features of smartphones, particularly iPhones, is their ability to record high-quality audio. Whether you’re capturing a lecture, conducting interviews, or recording your own music, your iPhone can serve as a reliable recording device. In this comprehensive guide, we’ll walk you through everything you need to know about recording audio on your iPhone.
Understanding Built-in Recording Apps
Apple devices come pre-equipped with a native Voice Memos app, which offers basic audio recording functionality. This app allows you to capture audio effortlessly with just a few taps. Open the Voice Memos app, tap the red record button to start recording, and tap it again to stop. Your recordings are automatically saved and can be easily accessed later. To access voice memos, turn on Voice Memos by going to Settings > [your name] > iCloud, selecting Show All.
Features of the Voice Memos app
- Recording Audio
- Editing and Organizing Audios
- Sharing and Exporting Audios
Before diving into recording with the Voice Memos app on your iPhone, it’s essential to take a few precautions to ensure the best possible outcome. Firstly, scout out a quiet environment to minimize background noise, which can detract from the clarity of your recording.
If you’re aiming for professional-quality audio, consider investing in external microphones like Hollyland Lark C1. The Lark C1 ensures you catch every detail of your recordings with its streamlined design and dependable performance.
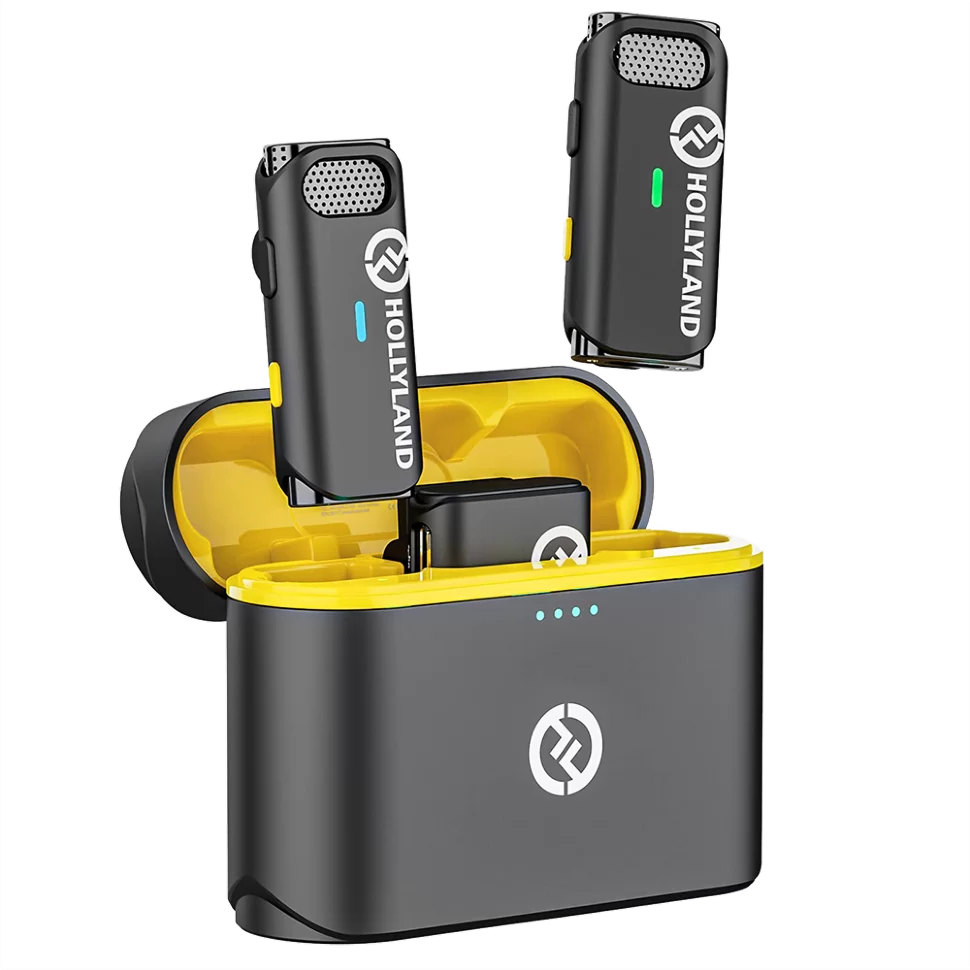
Hollyland Lark C1 - Wireless Microphone for Mobile
A plug-and-play wireless microphone system designed for mobile devices.
Key Features: MFi-certified | Hi-Fi Audio | 32 Hours Duration
Finally, take a moment to set up your iPhone for optimal recording by adjusting settings such as volume levels and microphone sensitivity. These simple steps will help you lay the groundwork for successful recording sessions, ensuring that your final audio captures exactly what you intend without any unwanted distractions.
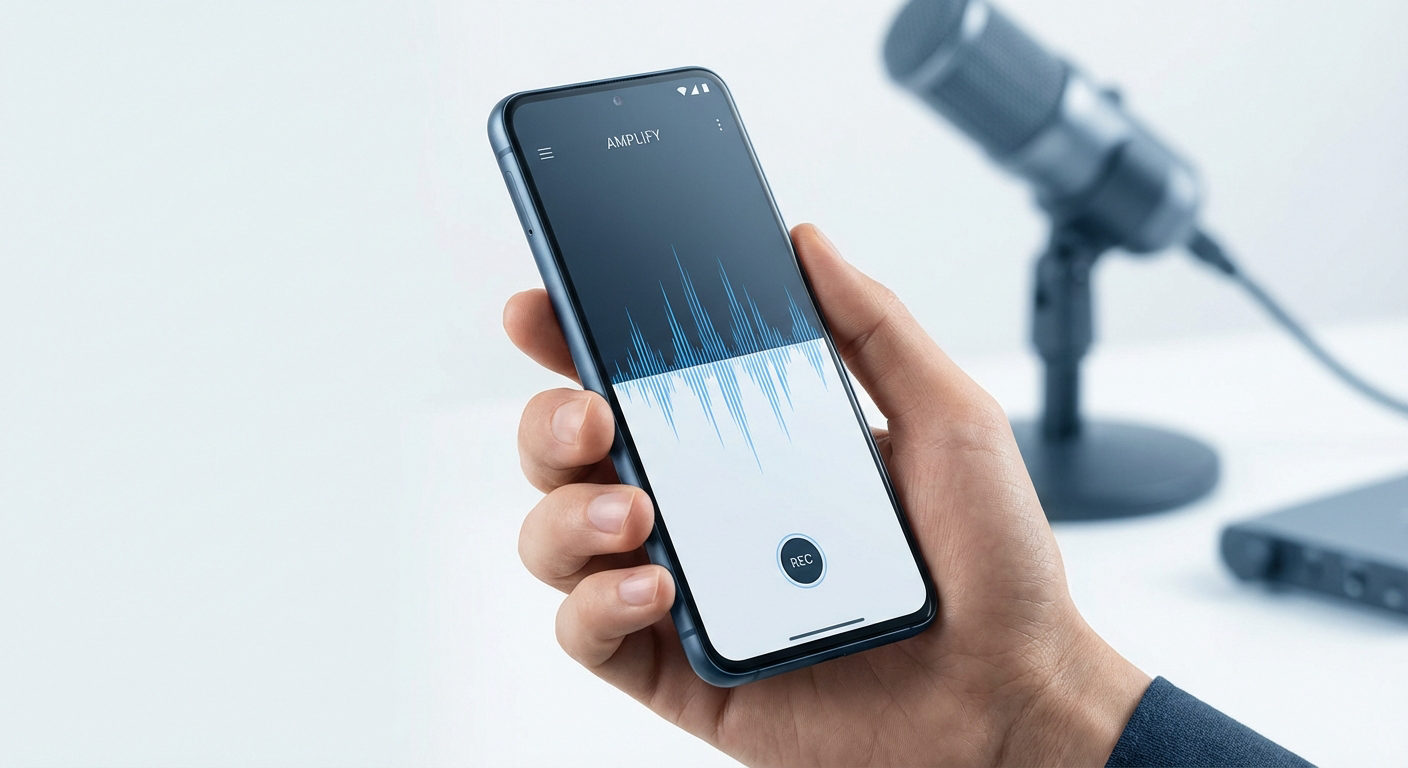
Recording Audio Via Voice Memos App
Voice memos are a great way to record audio content on an iPhone. Follow the below instructions to record:
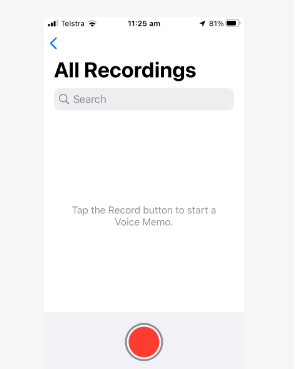
- Step 1: Open the Voice Memo App on your Iphone.
- Step 2: Open the home screen, And Press the red button to start Recording.
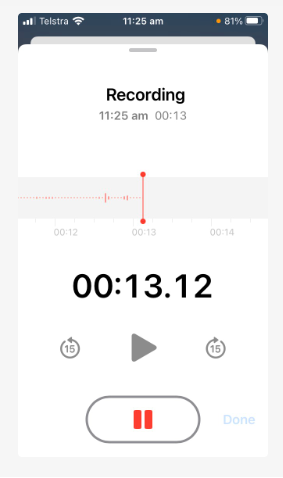
- Step 3: Record audio content. When finished, hit the stop or pause buttons to put the recording on hold or stop it.
- Step 4: Enter a new title for your recording in the title text field.
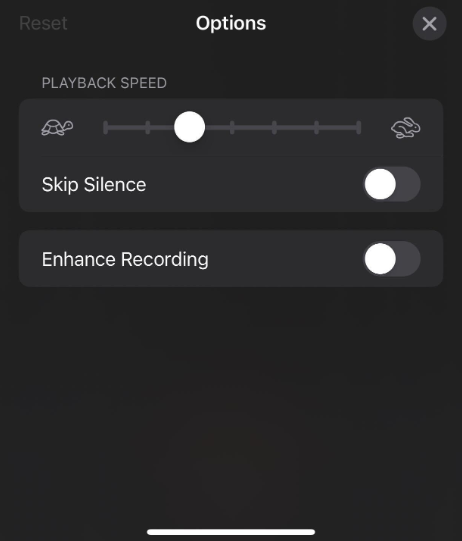
- Step 5: To access the settings menu, click the slider symbol located on the bottom-left corner of your recording tile.
- Step 6: Access and edit your recorded audio.
Edit Your Recorded Audios
On the main screen of the Voice Memos app, you’ll find all your recordings neatly organized. Simply tap on any recording to play it back. If you need to make changes or remove recordings, select them and use the available options.
- Within the Voice Memos app, you have the ability to fine-tune your recordings to perfection. You can adjust playback speed, eliminate silent sections, and enhance overall sound quality to ensure your final product is top-notch.
- When it comes to editing your recordings, Voice Memos offers a range of options to tailor your audio exactly how you want it. You can trim unwanted parts, record over sections, or even replace the entire recording if needed.
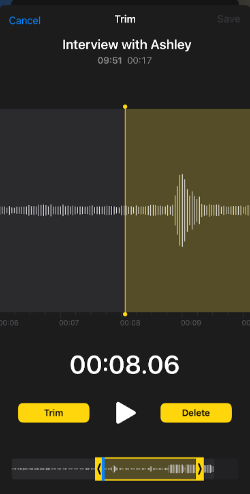
- To trim a recording, start by tapping the More Actions button, then select “Edit Recording.” From there, tap the Trim button located at the top right corner. Use the yellow trim handles to enclose the section you want to keep or delete.
- Once you’ve selected the desired section, tap “Trim” to keep it and discard the rest, or tap “Delete” to remove the highlighted part entirely. After making your edits, don’t forget to save your changes by tapping “Save,” then finalize the process by tapping “Done.”
Advanced Recording Apps
While the Voice Memos app is sufficient for most users, there are also third-party apps available on the App Store that offer advanced features for audio recording. Apps like GarageBand provide additional tools for editing and enhancing your recordings, making them ideal for musicians and podcasters. Here’s the list of a few notable third-party apps for iPhone for recording
- Dolby On
- Smart Voice Recorder
- Alice
- Voice Record Pro
Using the Third-Party App like GarageBand for Recording
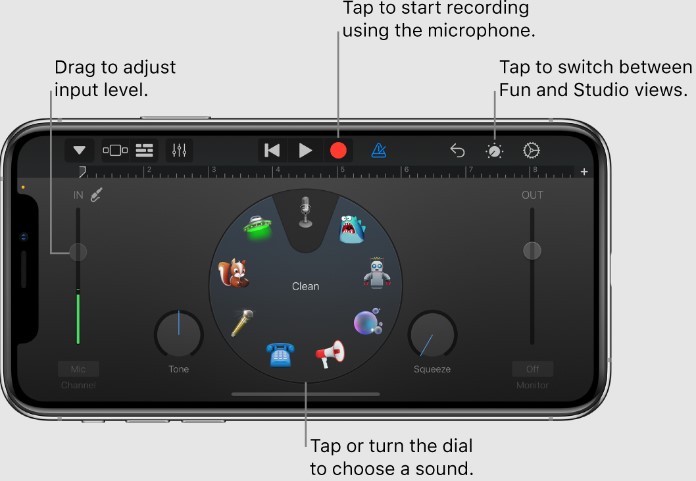
Utilize the Audio Recorder feature within GarageBand for iPhone to capture various sounds, whether it’s your voice, an instrument, or any other auditory input, utilizing your device’s built-in microphone.
- Additionally, you can connect an external microphone like Hollyland Lark C1 to your iPhone for recording purposes.
- Within the Audio Recorder, you’ll encounter two sets of controls that enable you to modify the recorded sound.
- The Fun view provides quick and straightforward adjustments to alter the sound of your recording swiftly.
- On the other hand, the Studio view offers a more extensive array of options, allowing you to further enhance and refine your recorded audio.
Tips for Better Audio Quality
- Position your iPhone close to the sound source for better clarity.
- Use an external microphone such as Hollyland Lark C1 for improved audio quality, especially in noisy environments.
- Experiment with different angles and distances to find the best recording setup for each environment.
- Find a quiet location with minimal distractions for recording.
- Enable the noise reduction feature on your iPhone, if available, to minimize background noise.
- Use blankets or foam panels to create a makeshift sound booth for recording purposes.
- Adjust the microphone sensitivity in the Voice Memos app settings for better control over recording levels.
- Use the uncompressed audio format (WAV or AIFF) for higher quality recordings.
- Enable the Auto Level feature in Voice Memos to automatically adjust recording levels for consistent audio quality.
Troubleshooting Common Problems
- Verify that nothing, not even a case, is blocking your iPhone’s microphone from producing a muffled sound.
- Verify in your iPhone’s settings whether the app you are using to record audio has access to the microphone.
- To reset the system and perhaps fix any software bugs impacting the recording feature, restart your iPhone.
Recordings aren’t saving
- Make sure there is adequate space on your iPhone for recording files. Under “iPhone Storage” in the Settings app, you may verify this.
- Check the app’s permissions in the settings to make sure the audio recording app is authorized to save files to your iPhone’s storage.
- To make room on your iPhone for new recordings, try moving existing recordings to a computer or cloud storage.
Recover deleted recordings
- Check the Photos app’s “Recently Deleted” folder to see if there are any audio recordings there that you may have recently erased.
- If you have automated backups configured for your iPhone, you can use iCloud backup to recover deleted recordings.
- To search for and perhaps retrieve deleted recordings from your iPhone, think about using third-party data recovery software.
Conclusion
Recording audio on an iPhone with the Voice Memos app offers a user-friendly and versatile solution for capturing various audio content effortlessly. By understanding the various recording apps, optimizing settings, mastering techniques, and exploring advanced accessories and editing tools, you can harness the full potential of your device. Whether you’re capturing memories, creating content, or pursuing artistic endeavors, your iPhone can serve as a powerful tool for capturing and sharing high-quality audio.
We value your opinion! Share your thoughts on our comprehensive guide to iPhone audio recording. Did you find the information helpful? Are there any topics you would like us to cover in more detail? Let us know your feedback and suggestions in the comments below. Your input helps us improve and tailor our content to better serve your needs.
To achieve clear, professional-grade audio on your iPhone, consider using a wireless lavalier microphone. It’s incredibly easy to set up, provides maximum mobility, and significantly enhances the audio quality of your recordings.
Frequently Asked Questions
Can I record phone calls with the Voice Memos app on my iPhone?
No, the Voice Memos app doesn’t support direct phone call recording due to legal restrictions. However, some third-party apps claim to offer this feature, but their legality varies.
How long can you record audio on an iPhone?
The Voice Memos app on your iPhone can record for an unlimited duration, limited only by your device’s storage capacity. However, your phone will notify you if storage space becomes insufficient.
How much recording time do I have on the Voice Memos app?
The available recording time depends on your iPhone’s storage and quality settings. Generally, you can record for hours without a specific time limit, but higher quality recordings consume more space.
How do I record a conversation on my iPhone?
To record a conversation on your iPhone, put it on speakerphone and place the recording device next to it with the recording app open. When ready, hit the record button and begin your call. Remember to obtain consent from the other party before recording.
Can I edit my Voice Memos recordings on my computer?
Yes, you can edit Voice Memos on your Mac using macOS Catalina or later versions. Sync your recordings with Finder or iCloud, then edit them using software like GarageBand or third-party apps.
Where is audio recording on an iPhone?
To access audio recording on your iPhone, locate the Voice Memos app. It can typically be found in the “Extras Folder” on your device. Simply tap the Voice Memos icon, resembling an audio graph, and press the red “Record” button to start recording.
Why is my Voice Memos app not recording sound?
Check if your microphone is clear and permissions are enabled for the Voice Memos app. Try restarting your iPhone or updating the app. If issues persist, there may be a hardware problem, and contacting Apple Support may be necessary.
Can I record good audio with my iPhone?
Yes, you can achieve high-quality audio recordings with your iPhone. Properly positioning your iPhone’s microphone is crucial. Ensure it’s neither too close nor too far from the sound source you’re capturing to maintain audio quality.