.png)
Many users twist the camera on their tripod. However, that’s an incorrect way of attaching it. Thus, doing it wrong can lead to shaky videos or even damage. This guide explains the steps in plain and simple English. It’s written for beginners, creators, and anyone trying a tripod for the first time.
Tripods are useful tools for photos and videos. Still, knowing how to use them properly makes all the difference. Here’s how to get started.
Step 1: Remove the Quick Release Plate First
The quick release plate is the small piece under the camera. It connects the camera to the tripod’s top head. This is always the first thing to check.
- Locate the lever on top of the tripod head.
- Pull the lever open to unlock the plate.

- Once unlocked, lift the plate gently from the tripod.
Some plates slide out instead of lifting. It depends on the tripod. Look carefully before using force. Every model may have a slightly different release system.

Step 2: Understand How the Plate Goes Back
Before learning how to mount your camera on a tripod, check this. You need to know how the plate fits back into place.
- Find the groove where the plate slides back in.
- It’s usually at the front or side of the tripod head.
- The short edge of the plate slides into that groove.

- The camera drops into place when the plate is aligned.
- Once it’s down, swing the lever back over to lock it.

This step is key to keeping the camera stable during use.
Step 3: Attach the Plate to the Camera Bottom
Now that you know the direction, attach the plate to the camera. Turn the camera upside down. You’ll find the screw hole underneath.
- Match the screw on the plate with the camera’s hole.

- Turn the screw slowly until it catches the thread.
- Keep turning until the plate is loosely attached.

Before tightening fully, make sure it faces the right way.
- The short edge should point toward the lens.
- The long edge should face the back of the camera.

- Once it’s aligned, tighten the screw completely. Make sure the plate doesn’t shift when touched.

Step 4: Mount the Camera on the Tripod
This is where you fully apply how to mount a DSLR or mirrorless camera on a tripod. The camera is ready, and the tripod plate is installed.
- Hold the camera with one hand near the base.
- Open the tripod lever or lock with the other hand.
- Slide the plate’s short edge into the tripod’s groove.

- Lower the camera slowly until it clicks into place.
- Swing the lever shut to lock everything down.
If the steps were followed correctly, the camera faces forward. The screen should be in line with the tripod handle.
Step 5: Learn How to Move the Camera Smoothly
Once the camera is locked in, you can adjust the angles. This allows for flexible shooting and better control of the frame.
- Turn the handle left or right to pan the camera.

- Tilt the handle forward or backward to angle the shot.

Some tripods allow you to roll the camera sideways. This is useful for leveling or getting creative angles.
- Twist the roll handle clockwise to tilt the camera.

- Turn the handle back the other way to lock it again.
Always double-check the view on your screen or monitor.
Step 6: Know That Tripods Are Not All the Same
Some models do not have handles or levers. Instead, they come with knobs and locks. These are often used in video production.

- Each knob controls a different direction or axis.
- Turn the knob to adjust, then tighten to hold it steady.
Get familiar with your specific tripod. Read the manual if needed. Some systems take time to understand.
Step 7: Adjust the Camera Height with the Center Column
Tripods allow vertical adjustments in two ways. The first is by using the center column in the middle.

- Locate the small knob or latch near the center.
- Twist it open to unlock the height adjustment.
- Raise or lower the center column to your preferred level.
- Twist the knob back to lock the camera’s new height.
- This method works well when fine-tuning the vertical position.
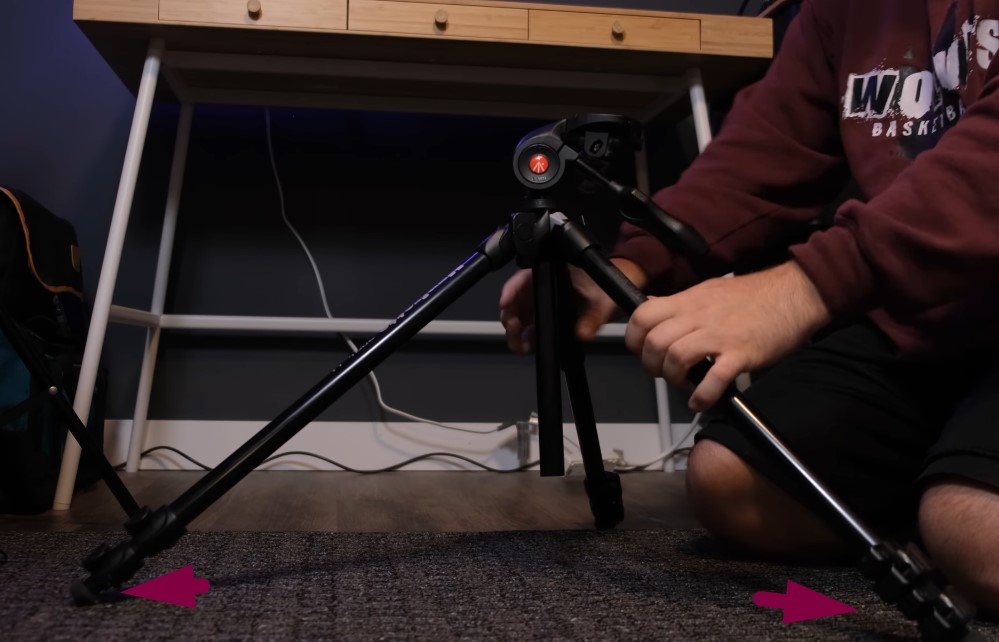
Step 8: Extend the Legs for More Height and Balance
The second method uses the tripod legs. These come in segments. Each segment is locked in place with a latch or twist grip.
Latching Type:

- Open the latch on each leg section with your fingers.
- Pull the leg to the needed length and close the latch.
Twist Type:

- Hold the collar and twist it to loosen the leg.
- Extend the leg, then twist back to tighten the grip.
To avoid uneven shots, extend each leg to the same length. This helps the camera stay level and prevents tilting.
Step 9: Use Leg Locks to Control the Tripod’s Base
Some tripods have additional locks near the top of the legs. These change how wide the legs can spread.

- Flip the lock one way to keep the legs closer together.

- Flip the lock the other way to widen the tripod base.
A wider base gives more support, especially outdoors. It also lowers the tripod’s center of gravity for heavy gear.
Step 10: Take the Camera Off the Tripod the Right Way
Learning how to mount camera on a tripod is just one part. Removing the camera the safe way is also important.
- Hold the camera firmly with both hands.
- Open the tripod’s locking lever or mechanism.
- Lift the camera up and away from the tripod slowly.
Avoid removing the camera without gripping it first. This prevents slips and protects the gear.
Wrap Up
Tripods seem simple, but details matter more than people expect. A shaky setup ruins the whole frame. Even worse, a loose camera could fall off. Take a few seconds each time to double-check everything. Use both hands when locking and unlocking. Align the plate with care, and make sure the locks are secure.
Each tripod brand may feel different in the hand. So, spend time learning your own model. Practice before using it in important shoots or events. Also, avoid forcing the camera or the tripod parts. If something feels stuck, stop and check for alignment. Smooth and safe setup is always the goal.
FAQs
1. How to balance a tripod when my DSLR is mounted on it?
Place the tripod on a firm and straight surface. Make sure it’s not tilted. If there’s no built-in bubble level, use a flat object in the frame. Place the camera and move it slightly forward or back. It should hold still without dropping. Adjust the counter-weight setting until it stays level when tilted. A balanced setup won’t move when hands are off.
2. What makes using a camera tripod so helpful?
Tripods stop the camera from shaking while taking a shot. That’s key when light is low or when holding the camera is hard. They also let you frame better and try new angles. Long exposure, self-portraits, or close-up shots are easier. You get more time to think and line things up without rushing the shot.
3. What can work if there’s no tripod around?
If there’s no tripod, something flat and steady can help. Try a table, desk, or kitchen shelf. Place the camera at the edge and angle it gently. Need height? A few books stacked together can do the job. Just keep everything still and make sure the shot is straight. It’s a quick fix that works when needed.