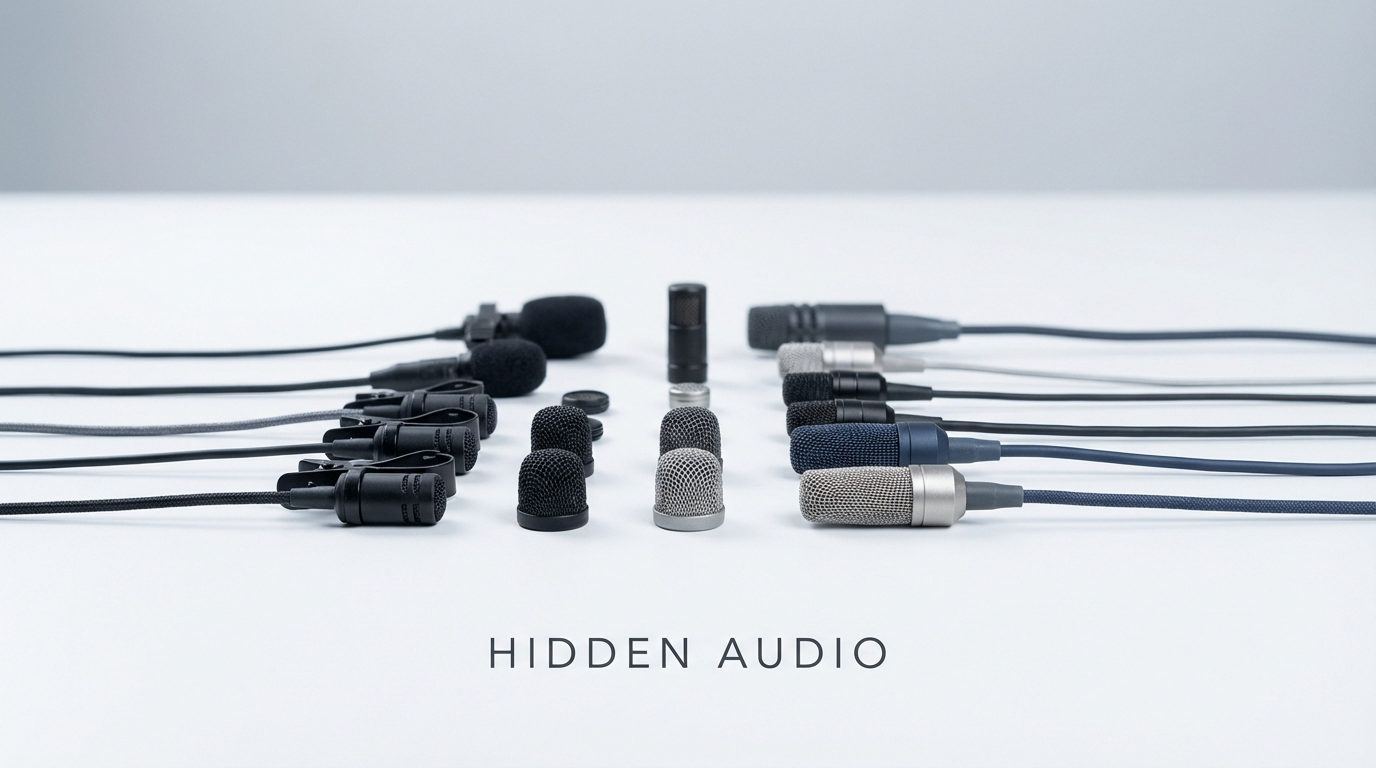
.png)
Hiding a lavalier microphone is important for anyone working in video, film, theatre, or live events. When the mic is hidden well, the audience pays attention to the speaker, not the equipment. Good mic concealment also helps keep the sound clear and natural. It’s not just about making the mic invisible—it’s about keeping it in place, cutting down on noise, and making sure it works with any outfit.
This guide will show you simple, step-by-step ways to hide a lav mic. We will discuss the tools you need and how to solve common problems you might face.
Essential Tools and Materials
To hide a Lavalier mic effectively, you’ll need a few basic supplies:

- Gaffer’s tape or medical tape
- Moleskin or soft foam
- Safety pins
- Adhesive strips (like Vapon Topstick)
- Lavalier concealers or overcovers
- Clips (standard, vampire, or magnetic)
- Scissors
These items help secure the mic, reduce noise, and protect the cable from accidental tugs.
General Principles of Lavalier Concealment
- Keep the mic close to the mouth (ideally 6-8 inches or about 15 cm) for clear audio.
- Avoid direct contact with moving fabric, which can cause unwanted noise.
- Create a strain relief loop in the cable to prevent tugs from pulling the mic loose or causing noise.
Test placement before recording to ensure the mic is both invisible and sounds good.
Step-by-Step Techniques for Hiding Lavalier Mics
1. Under a Dress Shirt (Between Buttons)

- Step 1: Run the mic cable under the shirt, bringing it up to the button area.
- Step 2: Form a small loop in the cable near the mic head for strain relief.
- Step 3: Use a piece of gaffer’s or medical tape to secure the mic just behind the shirt placket, between two buttons, with the mic capsule facing out or slightly exposed for clear sound.
- Step 4: Tape the cable along the inside of the shirt for extra security and to prevent movement noise.
- Step 5: Close the shirt, making sure the mic isn’t pressed too tightly against the fabric.
Tip: For dark shirts, this method is especially effective, as the mic will be nearly invisible.
2. In a Tie Knot

- Step 1: Thread the mic cable up through the shirt and into the back of the tie.
- Step 2: Place the mic capsule inside the knot of the tie, with only the tip exposed if possible.
- Step 3: Secure the cable behind the tie with tape or a small clip.
- Step 4: Adjust the tie to ensure the mic is hidden but not muffled.
Tip: This is a classic trick for business or formal settings, keeping the mic close to the mouth and out of sight.
3. On the Sternum (Direct to Skin or Undershirt)
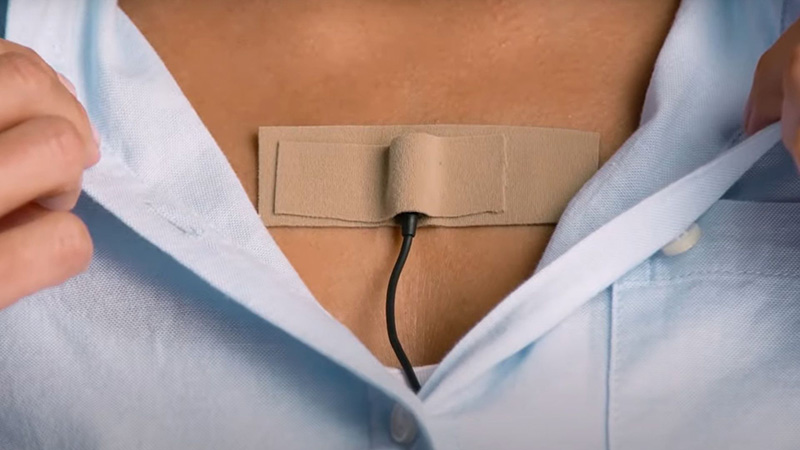
- Step 1: Use hypoallergenic tape or an invisible lav cover to stick the mic directly to the skin or an undershirt, centered on the sternum.
- Step 2: Place a piece of moleskin or foam over the mic to reduce friction noise.
- Step 3: Tape the cable down the side of the torso for strain relief and to keep it hidden.
- Step 4: Dress as usual, making sure the mic isn’t covered by heavy or noisy fabric.
Tip: This method works well for t-shirts, tank tops, or when minimal clothing is worn.
4. Inside a Jacket or Coat

- Step 1: Run the cable under the shirt and up into the jacket or coat lapel.
- Step 2: Use tape or a clip to secure the mic inside the lapel, just below the collarbone.
- Step 3: Tape the cable along the inside seam of the jacket for strain relief.
- Step 4: Make sure the jacket isn’t too tight against the mic to avoid muffling.
Tip: This technique is ideal for outerwear or when the subject is wearing multiple layers.
5. Sewn Into Costumes
- Step 1: During costume prep, sew a small pouch or channel into the fabric near the chest or collar.
- Step 2: Place the mic in the pouch and run the cable through the sewn channel.
- Step 3: Make sure the mic is secure and not pressed tightly against thick fabric.
Tip: This method is common in theatre and film for period costumes or elaborate outfits.
6. Using Lavalier Concealers and Overcovers

- Step 1: Place the mic in a Lavalier concealer or wrap it in an overcover (like Rycote or Bubblebee).
- Step 2: Use the adhesive to stick the mic to the inside of the clothing or directly to the skin.
- Step 3: Choose a cover color that matches the clothing for better concealment.
- Step 4: Tape down the cable for strain relief.
Tip: These products reduce friction noise and make it easier to hide the mic in tight or noisy outfits.
7. Safety Pin and Moleskin Method
- Step 1: Wrap the mic in moleskin for noise reduction and comfort.
- Step 2: Pin the moleskin-wrapped mic to the inside of the clothing with a safety pin.
- Step 3: Tape or pin the cable along the inside of the garment for strain relief.
Tip: This method is great for t-shirts, hats, or costumes where adhesive may not stick well.
8. Inside Accessories (Hats, Scarves, Helmets)

- Step 1: Attach the mic to the inside of a hat, helmet, or scarf using tape or a clip.
- Step 2: Position the mic near the mouth or chin, but out of sight.
- Step 3: Secure the cable along the accessory and down to the transmitter.
Tip: This works well for sports, theatre, or when headwear is part of the costume.
Conclusion
Hiding a lavalier mic is as much about preparation and creativity as it is about technical skill. With the right tools, careful placement, and a bit of practice, you can achieve invisible miking and clean, professional audio in any situation. Always test your setup, adapt to the wardrobe and environment, and don’t be afraid to experiment with new techniques. Mastering these methods will keep your productions looking and sounding their best.
Frequently Asked Questions (FAQ)
Q: How do I keep the mic from picking up clothing noise?
Use soft materials like moleskin or special lav covers to cushion the mic and reduce friction with the fabric. Secure the cable with a loop or clip to stop it from rubbing and causing noise. Always test your setup and adjust until you hear clear, clean audio.
Q: What if I can’t hide the mic in the talent’s clothing?
Try placing the mic in the hairline, behind the ear, or inside a hat or helmet if the clothing won’t work. You can also sew the mic into costumes or use accessories like scarves for concealment. If nothing works, use a boom mic and keep the lav out of the shot.
Q: Are there quick solutions for last-minute wardrobe changes?
Yes, keep adhesive pads, moleskin, and clips ready for fast fixes. Tape the mic to the sternum, use the tie knot, or hide it in the hair for a quick setup. Always have extra supplies on hand to adapt to any outfit change.
Q: Can I use these techniques for live events as well as video shoots?
Absolutely, these methods work for both live events and recorded shoots. Just make sure to test the mic placement before the event starts. Quick adjustments and good preparation help you stay ready for any situation.