.png)
If you want clear, professional audio, learning how to use an audio interface is essential. This device connects your microphone or instrument to your computer and converts sound into a digital format for recording or streaming.
It instantly improves audio quality, making it ideal for musicians, podcasters, streamers, and content creators seeking professional results at home.
Unlike built-in sound cards, audio interfaces offer precise control, low latency, and cleaner sound. They let you adjust inputs, outputs, and monitoring for balanced recordings.
While commonly used in studios, some modern wireless microphones can connect directly to a PC, offering a quick, cable-free setup for those who prefer simplicity without sacrificing quality.
What Is an Audio Interface?
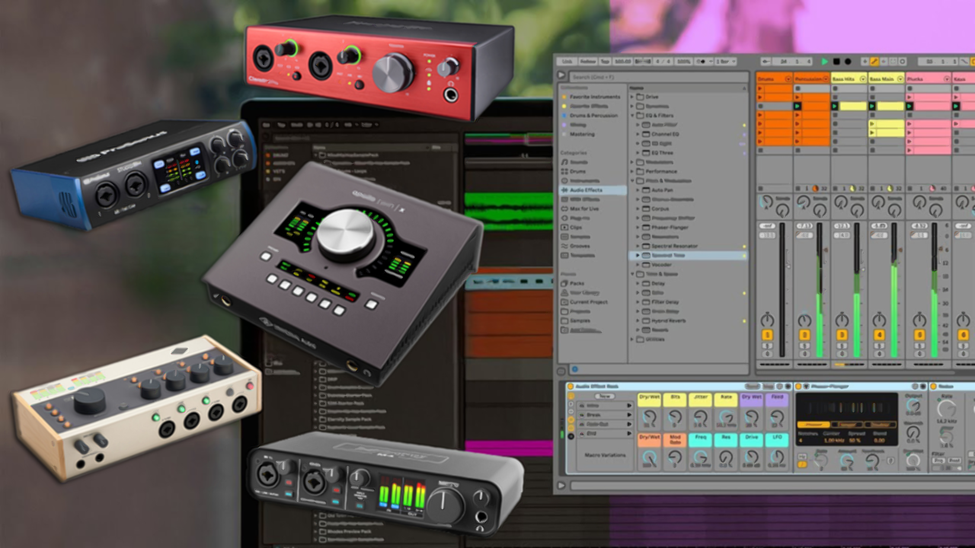
An audio interface is a device that improves how your computer records and plays sound. It is far more advanced than the basic sound card found in most computers and is built specifically for high-quality audio work.
It takes sound from a microphone or instrument and converts it into a digital signal that your computer can process. This conversion ensures recordings are clean, accurate, and ready for editing or streaming. Unlike built-in sound cards, interfaces are designed to reduce lag and improve sound clarity, making them ideal for creators who need precise monitoring.
For example, a singer recording vocals will hear every small detail of their voice through an interface, allowing better control and adjustments. Musicians, podcasters, and streamers all rely on it to capture audio that sounds polished and professional without needing expensive studio setups.
Key Components of an Audio Interface
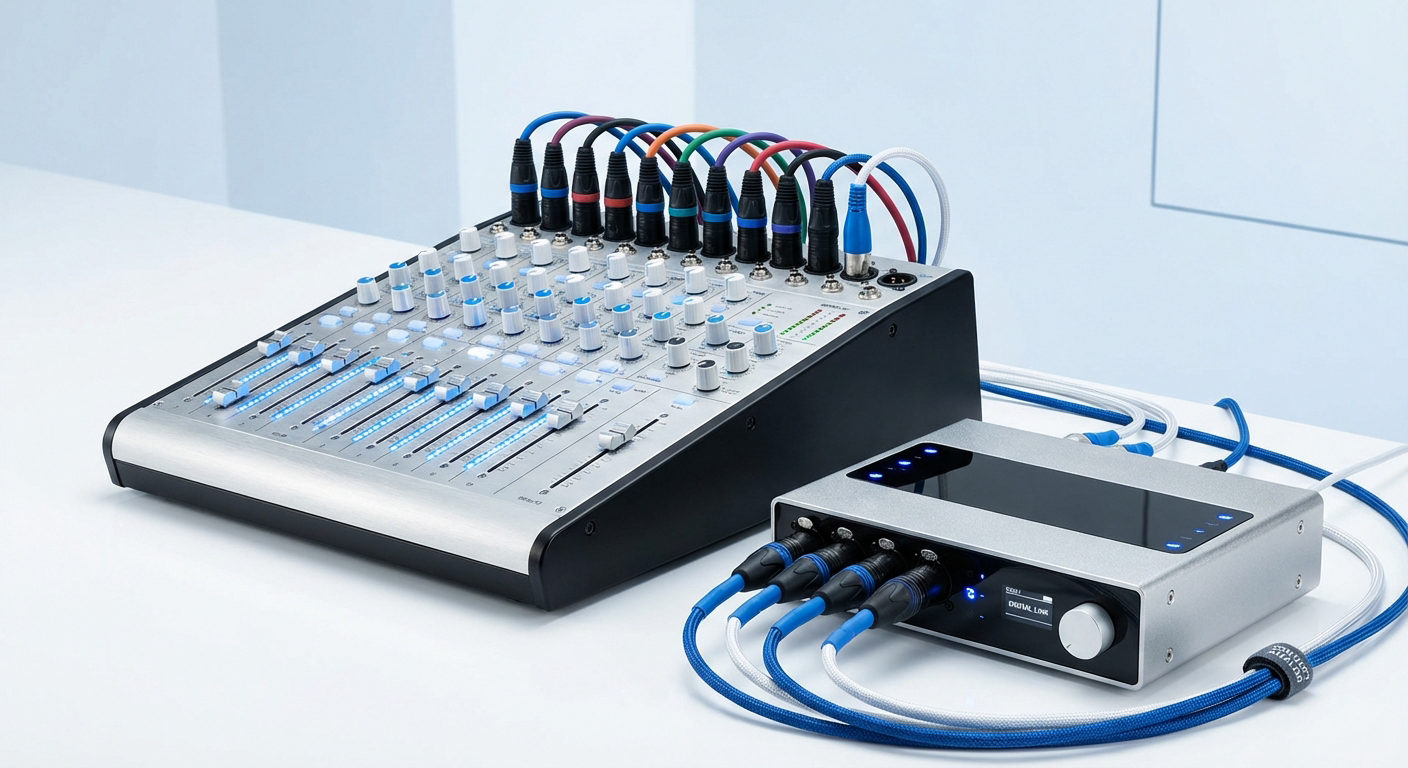
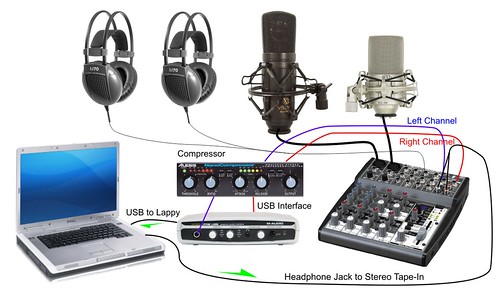
An audio interface has several important parts that control how sound is captured and played. The inputs are used to connect microphones, instruments, or other audio sources. Common input types include XLR ports for microphones and line-in ports for guitars, keyboards, or mixers.
The outputs let you connect headphones or studio monitors so you can hear your audio clearly while recording or editing. Quality outputs are essential for accurate monitoring, helping you catch even small details in your sound.
You’ll also find gain controls, which adjust the strength of your input signal. Too high, and you risk distortion; too low, and your audio sounds weak. Many interfaces include phantom power (48V), necessary for powering condenser microphones.
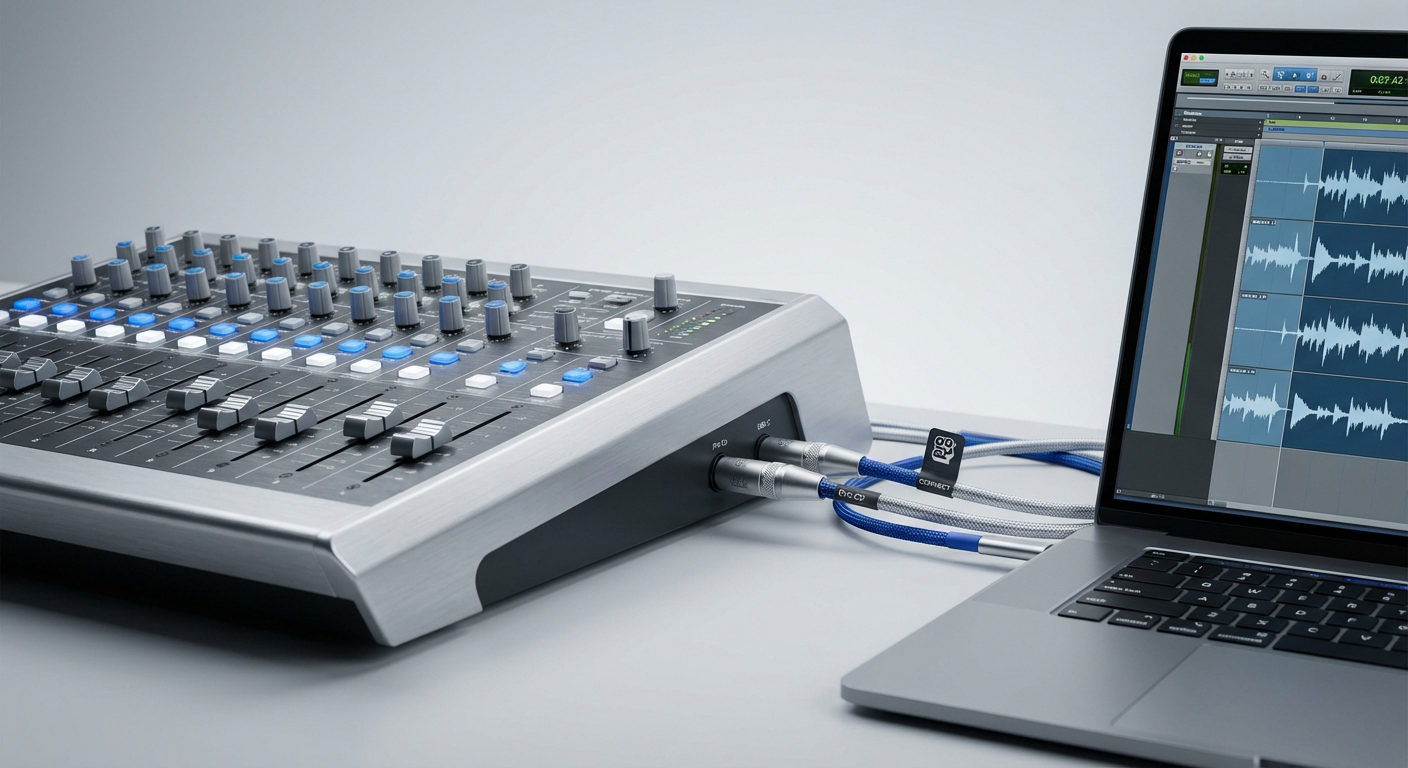
Most modern interfaces also feature LED indicators or level meters that display your signal strength in real time. These help prevent clipping and guide proper level adjustments. Finally, interfaces connect to your computer through USB, Thunderbolt, or sometimes FireWire, ensuring stable, high-speed audio transfer without interruptions.
These components work together to give you clear control over your recordings, whether you’re capturing vocals, instruments, or streaming live.
Step-by-Step: How to Use an Audio Interface
Learning to use an audio interface is simple once you understand the basics. The setup only takes a few minutes, and most interfaces follow the same process.
Whether you’re recording music, streaming, or podcasting, these steps will help you connect your gear, adjust sound levels, and achieve clear audio.
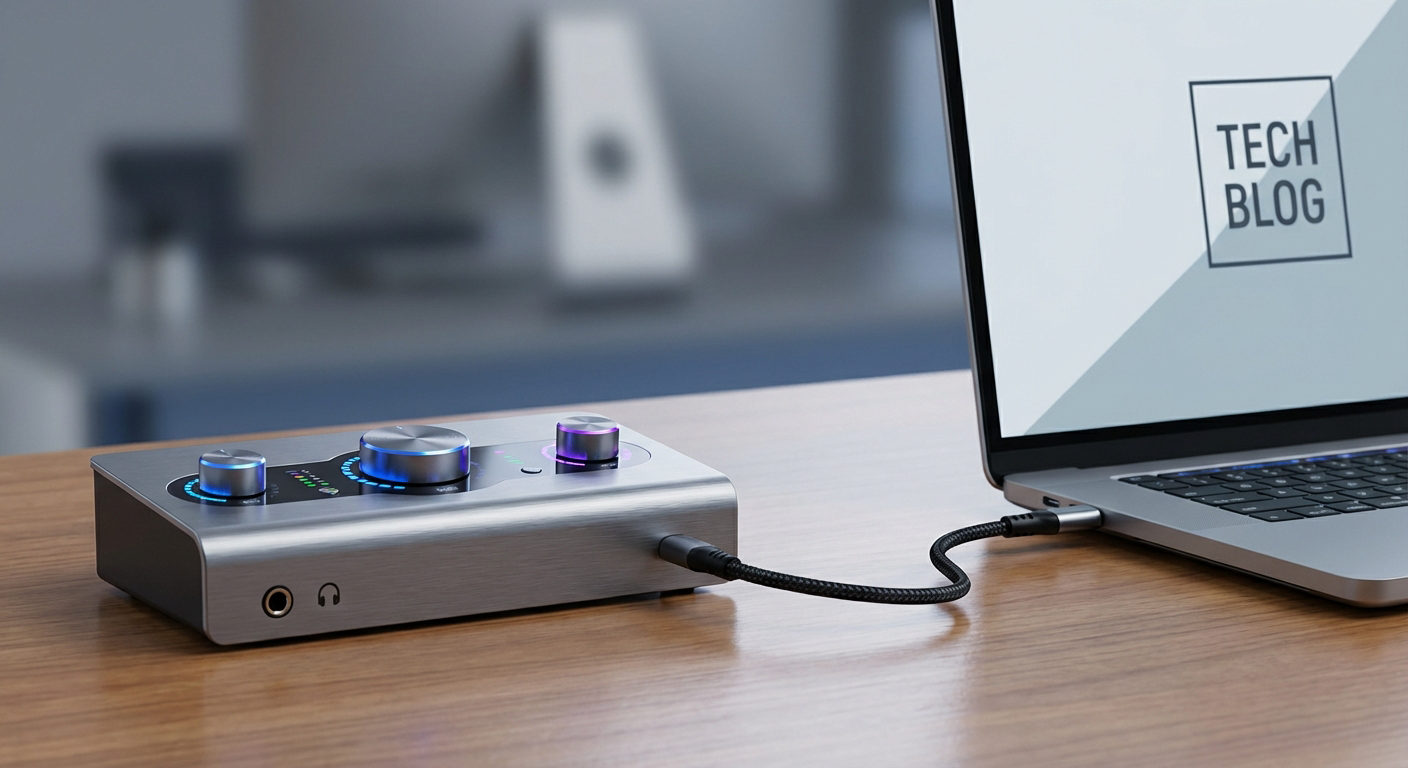
Step 1: Connect the Audio Interface to Your Computer

Start by plugging the interface into your computer using a USB or Thunderbolt cable. Most interfaces are plug-and-play, but some may require driver installation. If prompted, download the drivers from the manufacturer’s website. This ensures your computer recognizes the device and allows stable audio transfer without glitches or dropouts.
Step 2: Set Up Your Microphone or Instrument
Use the XLR input for microphones or the line-in port for instruments like guitars or keyboards. If you’re using a condenser microphone, switch on the phantom power (48V) button on the interface. This feature supplies the necessary power to the mic and allows it to capture sound accurately and with proper clarity.
Step 3: Adjust Gain Levels
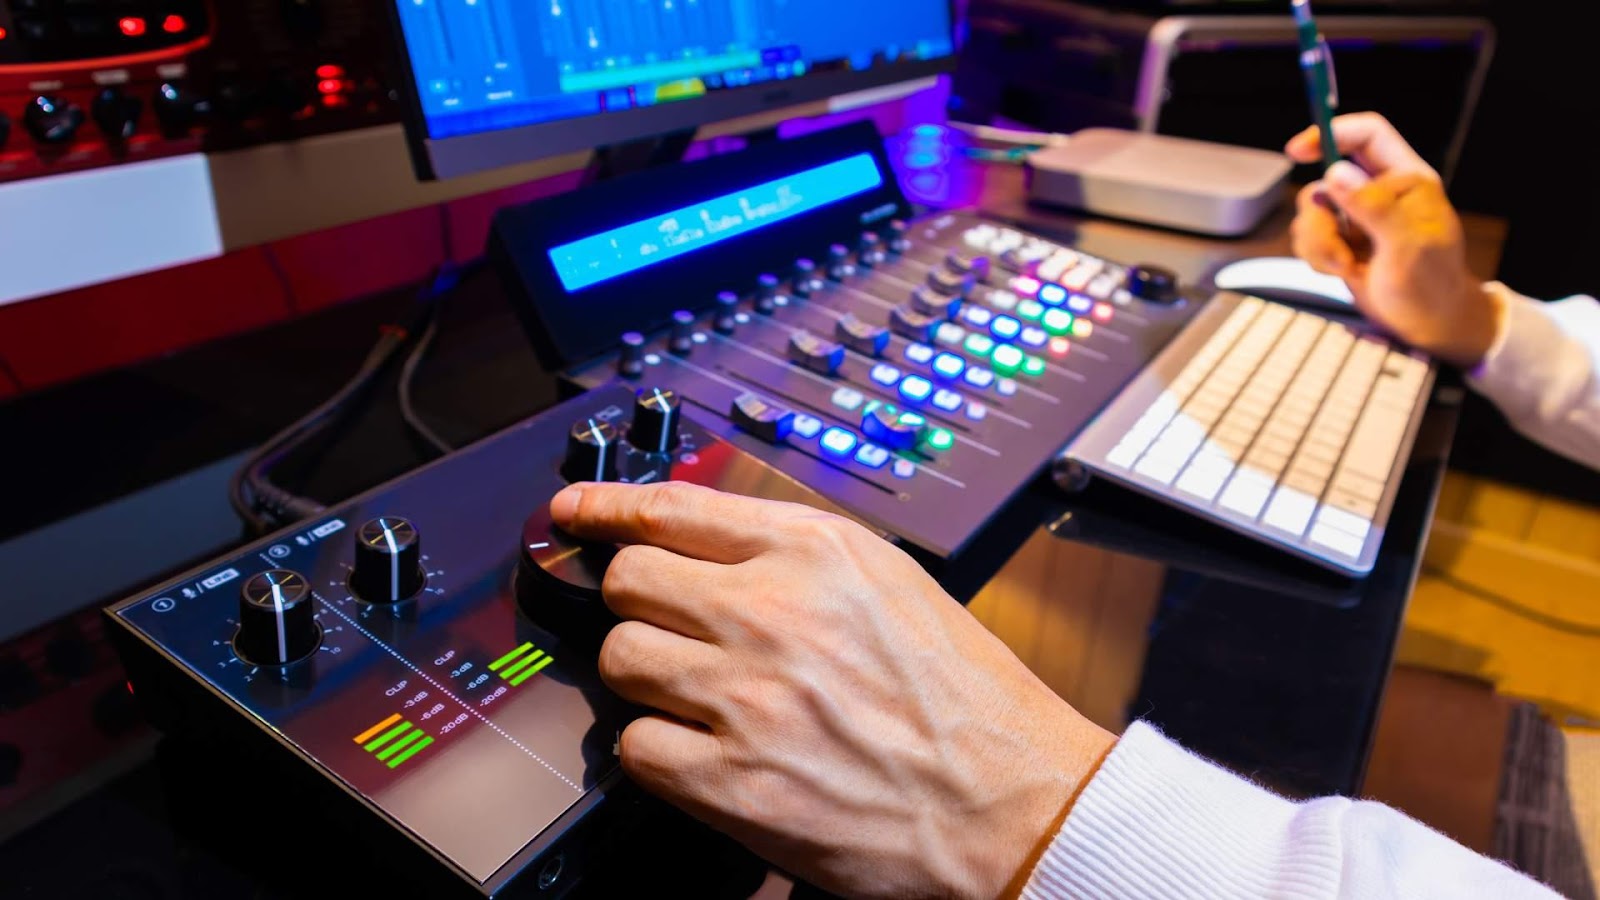
Turn the gain knob slowly while speaking or playing your instrument. Watch the input meter on the interface or in your DAW. The levels should stay in the green and avoid hitting red, which causes distortion. Proper gain ensures your recordings are clear and free from unwanted clipping or noise.
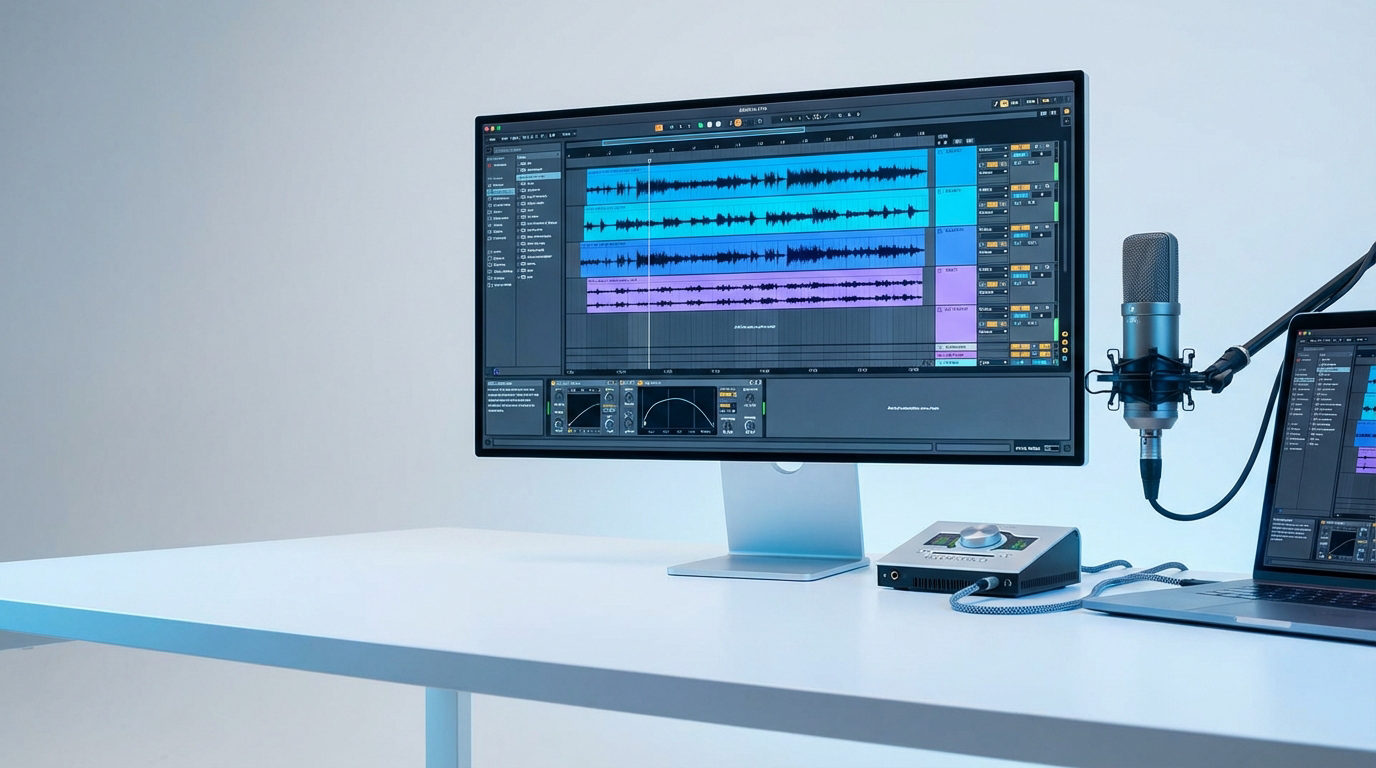
Step 4: Configure Your DAW/Software
Open your digital audio workstation (DAW) or recording software. In the settings menu, select your interface as both the input and output device. Set the sample rate (commonly 44.1kHz or 48kHz) and adjust the buffer size. A lower buffer reduces latency for live monitoring, while a higher buffer is better for mixing and editing.
Step 5: Monitor Your Audio
Connect your headphones or studio monitors to the output ports on the interface. Enable zero-latency monitoring if available. This feature lets you hear your audio in real-time without delay, making it easier to perform or speak naturally during recording sessions.
Step 6: Record and Test
Run a short test recording to check sound quality. Listen for background noise, distortion, or low levels. Adjust gain, mic placement, or DAW settings if needed. Using high-quality equipment like the Hollyland LARK MAX 2, which features 32-bit float recording and OWS Bluetooth monitoring, can simplify setup and deliver professional results even without needing an audio interface.

Hollyland LARK MAX 2 - Premium Wireless Microphone System
A premium wireless microphone for videographers, podcasters, and content creators to capture broadcast-quality sound.
Key Features: Wireless Audio Monitoring | 32-bit Float | Timecode
Common Audio Interface Mistakes to Avoid
Even though an audio interface is simple to use, a few common mistakes can lead to poor sound or wasted time.
1. Mismanaging Gain Levels
Improper gain is one of the most frequent problems. Setting it too high results in distortion, while setting it too low makes your audio sound weak and lifeless. Always adjust again while speaking or playing at your normal volume. Watch the input meter, keep it steady in the green, avoiding red peaks that indicate clipping.
2. Selecting the Wrong Input or Output
If your microphone isn’t being detected or you hear no sound, it’s often due to incorrect input/output settings in your software. Check your DAW or system settings to confirm the right device is selected. This simple fix solves most “no sound” issues.
3. Ignoring Driver and Firmware Updates
Skipping updates can cause audio dropouts, lag, or even device errors. Keeping drivers and firmware current ensures better compatibility and performance. Updates often add useful features or bug fixes that make your setup more reliable.
4. Overlooking Cable Quality and Connections
Loose or damaged cables are another hidden culprit. A faulty cable can create static or disconnect your mic mid-session. Use sturdy, well-shielded cables and check connections before you hit a record.
5. Poor Recording Environment
Even with a perfect interface setup, recording in a noisy or echo-heavy room will hurt your sound. Close doors and windows, switch off fans, and record in a quiet space to minimize unwanted noise.
By addressing these small mistakes, you’ll avoid common frustrations and produce cleaner, more professional recordings.
Tips for Getting the Best Audio Quality

Clear audio often comes down to a few simple habits. If you’ve learned how to use an audio interface correctly, pairing it with quality cables, quiet spaces, and proper mic placement will instantly improve your recordings.
Choose a quiet space for recording. Turn off fans, close windows, and silence any humming or buzzing devices. Even small background noises can be distracting when you play the audio back. A quiet room instantly improves clarity.
Keep your firmware and recording software updated. These updates fix bugs and improve performance. Checking for updates before a session prevents unexpected problems.
You can also improve sound by using proper mic placement. Keeping the microphone close but slightly off-center reduces breath noise and room echo. Combine this with a pop filter, and your voice or instrument will sound sharper and more natural.
Conclusion
Learning how to use an audio interface is simple once you know the basics. Proper setup, gain control, and good cables lead to clean recordings. With practice, these steps become second nature. You’ll spend less time troubleshooting and more time creating, giving you confidence and professional-quality audio for music, podcasts, or streaming.
Frequently Asked Questions
Do I need an audio interface for USB or wireless mics?
No. USB and many wireless microphones connect directly to your computer. They have built-in converters, so an interface isn’t required. However, an interface offers more control and better sound for professional setups.
What’s the difference between an audio interface and a mixer?
An audio interface converts sound for recording, while a mixer blends multiple audio sources. Mixers are great for live sound, but interfaces are designed for clean recording and integration with software. Some devices combine both functions.
Can I use an audio interface for live streaming?
Yes. Many streamers use audio interfaces for clear sound. They connect your mic directly to your computer and improve audio quality for live platforms like Twitch, YouTube, or Zoom.
Why is my interface not detected by my PC?
This often happens due to driver issues or faulty connections. Reinstall drivers, try a different USB port, and check your cables. Restarting your computer can also help the interface reconnect properly.