.png)
.png) Français
Français .png) Deutsch
Deutsch .png) Italiano
Italiano .png) 日本語
日本語 .png) Português
Português  Español
 GarageBand is a versatile digital audio workstation (DAW) for macOS and iOS, allowing you to produce music, podcasts, and audio projects with professional results. Whether you’re working with voice memos, instrumentals, or sound effects, a key part of the creative process involves importing existing recordings into your projects.
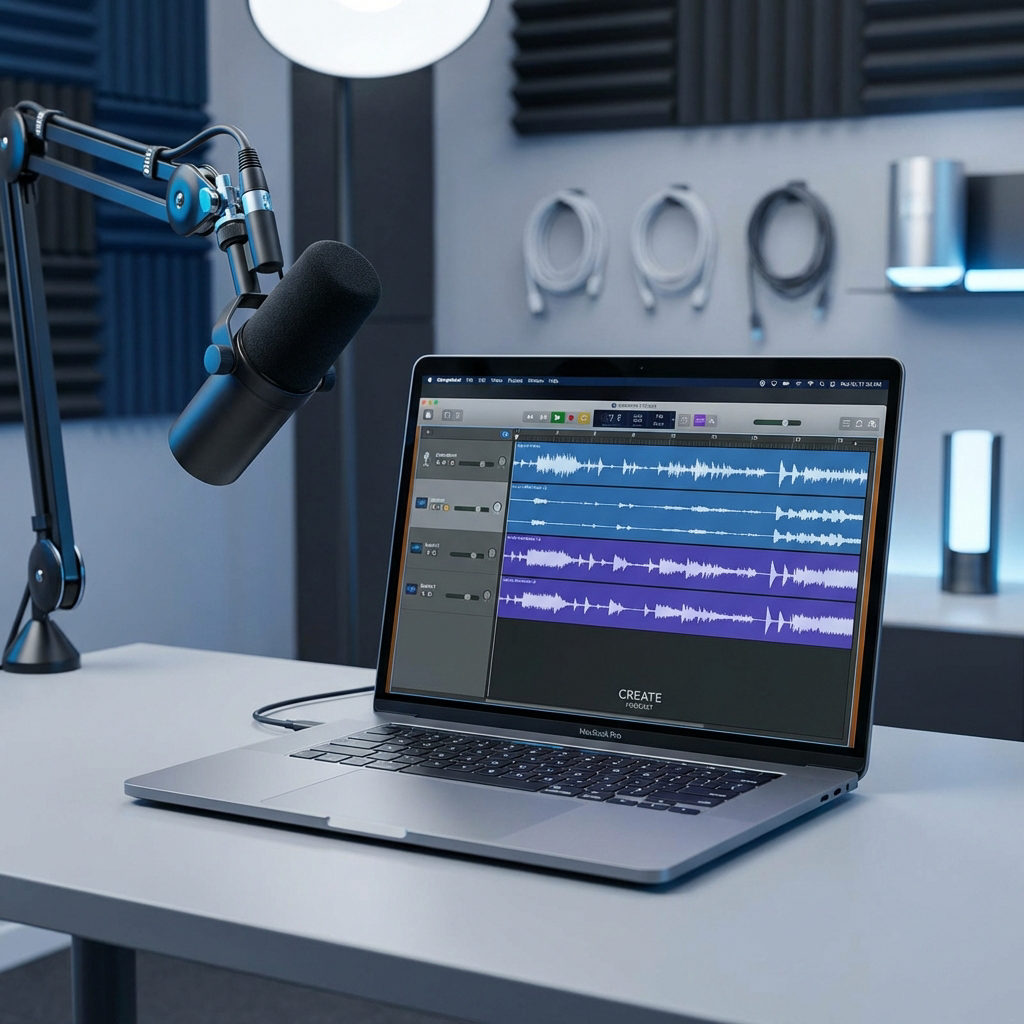
In this guide, let’s find out how to import audio files into GarageBand step by step and position them on your tracks and timeline. You can also record your voice or music using the built-in or external microphone, such as the Hollyland LARK M2, and add it to your GarageBand project.

Hollyland LARK M2 - Mini Lavalier Microphone
An incredibly lightweight and compact wireless button microphone that captures high-fidelity audio.
Key Features: 9g Button Size | 48 kHz/24-bit | 40 Hours Battery
Importing Audio Into GarageBand on Mac
GarageBand has three different ways to let you import a file into the DAW.
Method 1: Using The Import Function Built Into GarageBand
- Open GarageBand app, and create a new project or open an existing one. For a new project, you need to select Mic or Line among the four available track types to import an audio file into it.
- Select the track where you want to import the audio file. If you want to create a new track to import audio, click on the + icon at the top-left corner, select the track type, and click the Create button
- Move the pointer to the desired timeline on the selected track, right-click, and select Add Audio File.

- Locate the audio file you want to import in the Finder window.
- Select the file and double-click on it or select Open. This will add it to the track right where you had right-clicked.

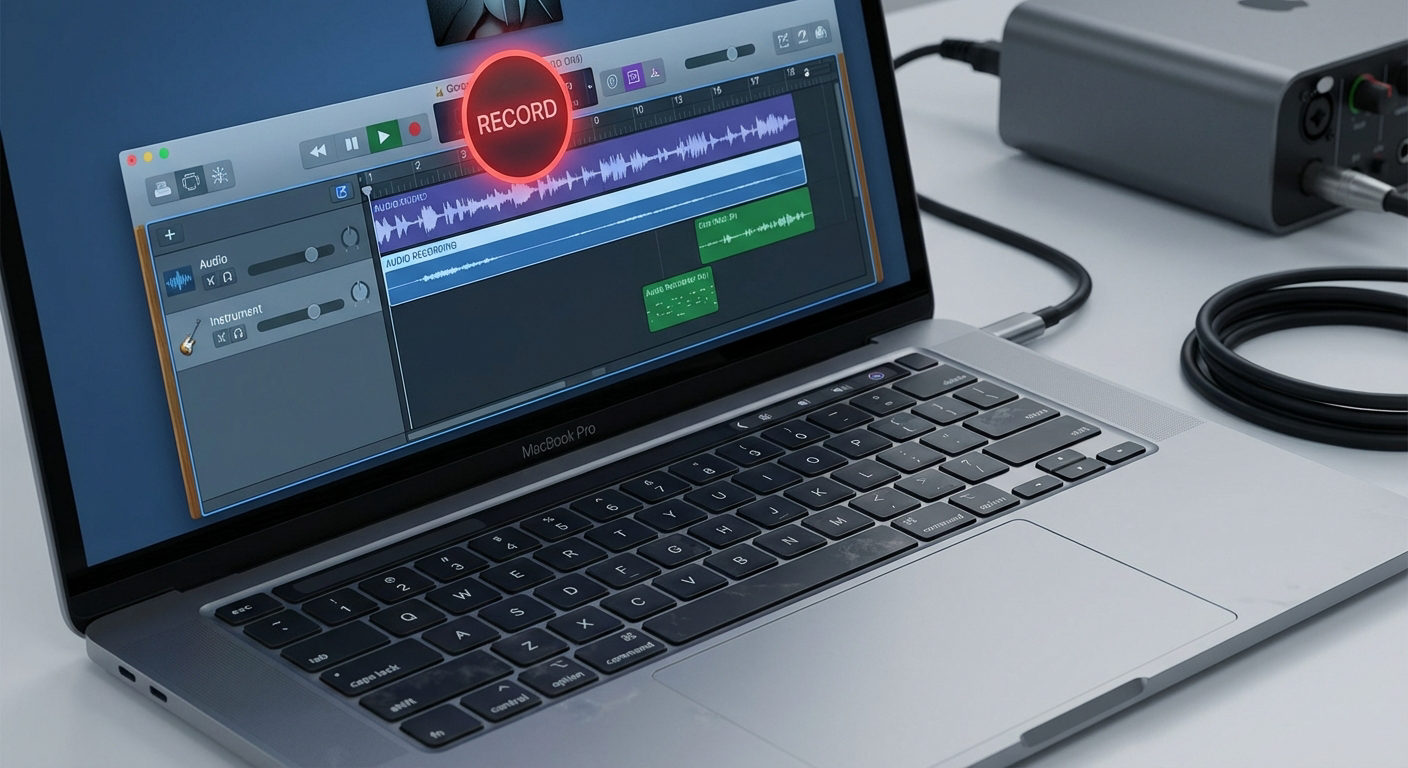
- If the audio file you want to add is saved on another device, like your iPad or iPhone, you can connect it to your Mac using a USB cable. The connected device will appear in the Finder window sidebar under Locations.
- If you want to record audio instead of importing, click on the record button at the top and start recording. Click the same button to stop recording.
- If you want to align the audio with the desired bar or beat on the ruler, simply click on it and move it around the timeline. You can also drag it to another track, if you’d like to.
You can use the slider at the top-right corner to adjust the display size of tracks. To see the entire track, move the slider to the left side.
Method 2: Importing Via Drag And Drop
- Open your project in GarageBand and the Finder window on your Mac simultaneously.
- Locate your audio file in a Finder window. Drag the file from Finder directly onto the GarageBand timeline, and position it on the desired track.

Method 3: Importing From Media Browser
The Media Browser allows you to access and import audio files from the Music library, Sound Effects, and other media within GarageBand.
- In GarageBand, click on the Loop Browser button at the top-right corner. The media files will appear on the right side of the screen.
- Scroll down to locate your desired audio file. You can also apply filters or use the search option to find a specific file.
- Drag the audio file from the Media Browser onto your track and position it as needed.

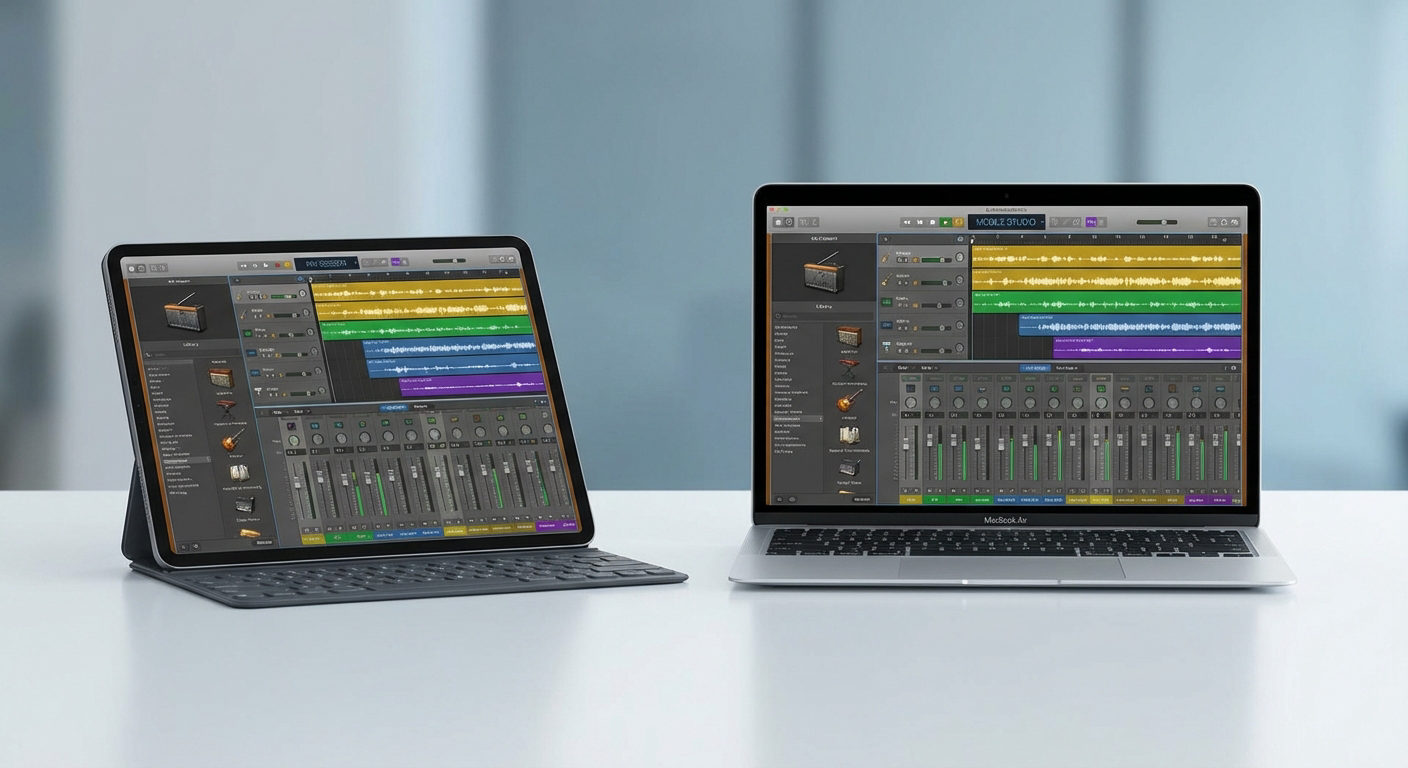
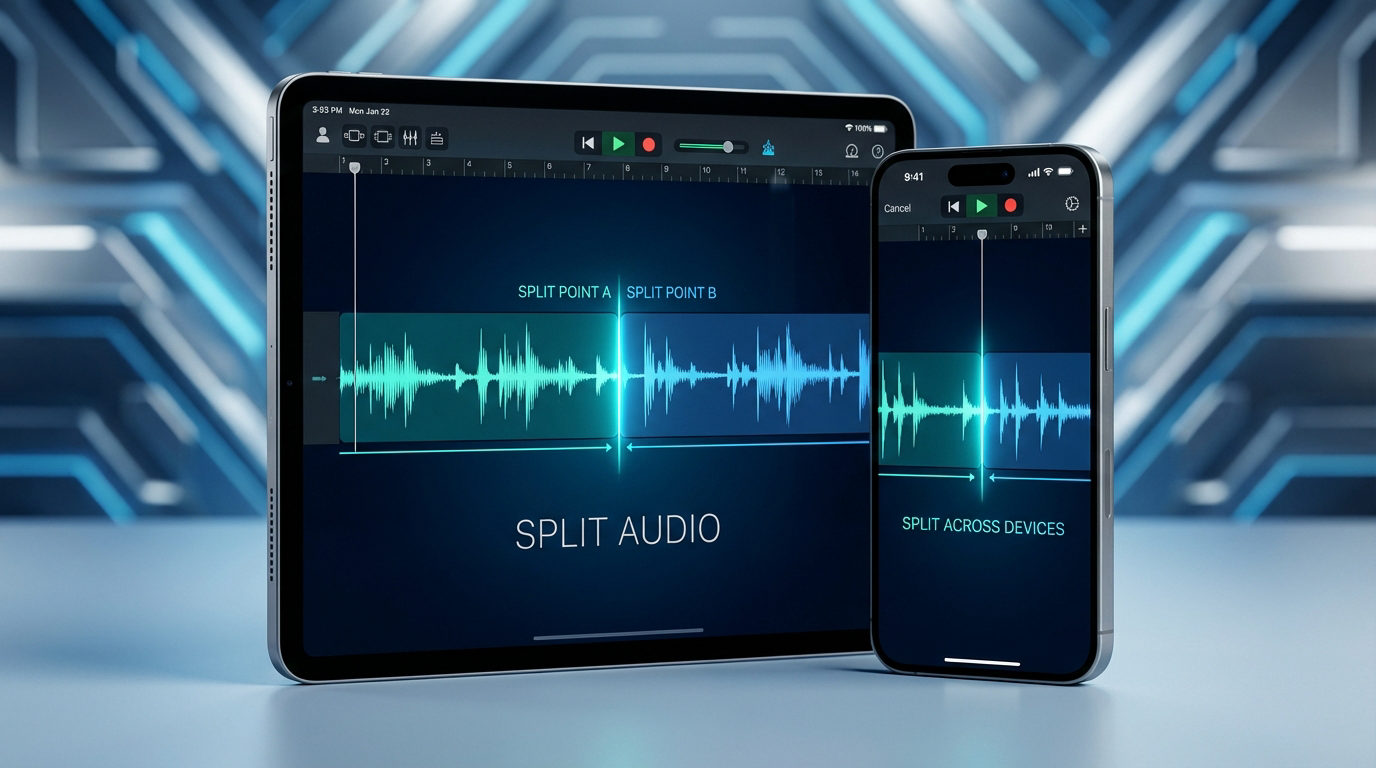
Importing Audio Into GarageBand on iOS (iPad or iPhone)
Here’s a how you can share an audio file from your Files app (iCloud, Google Drive, Dropbox, etc.) to the GarageBand app on iOS.
- Open GarageBand and create or open a project.
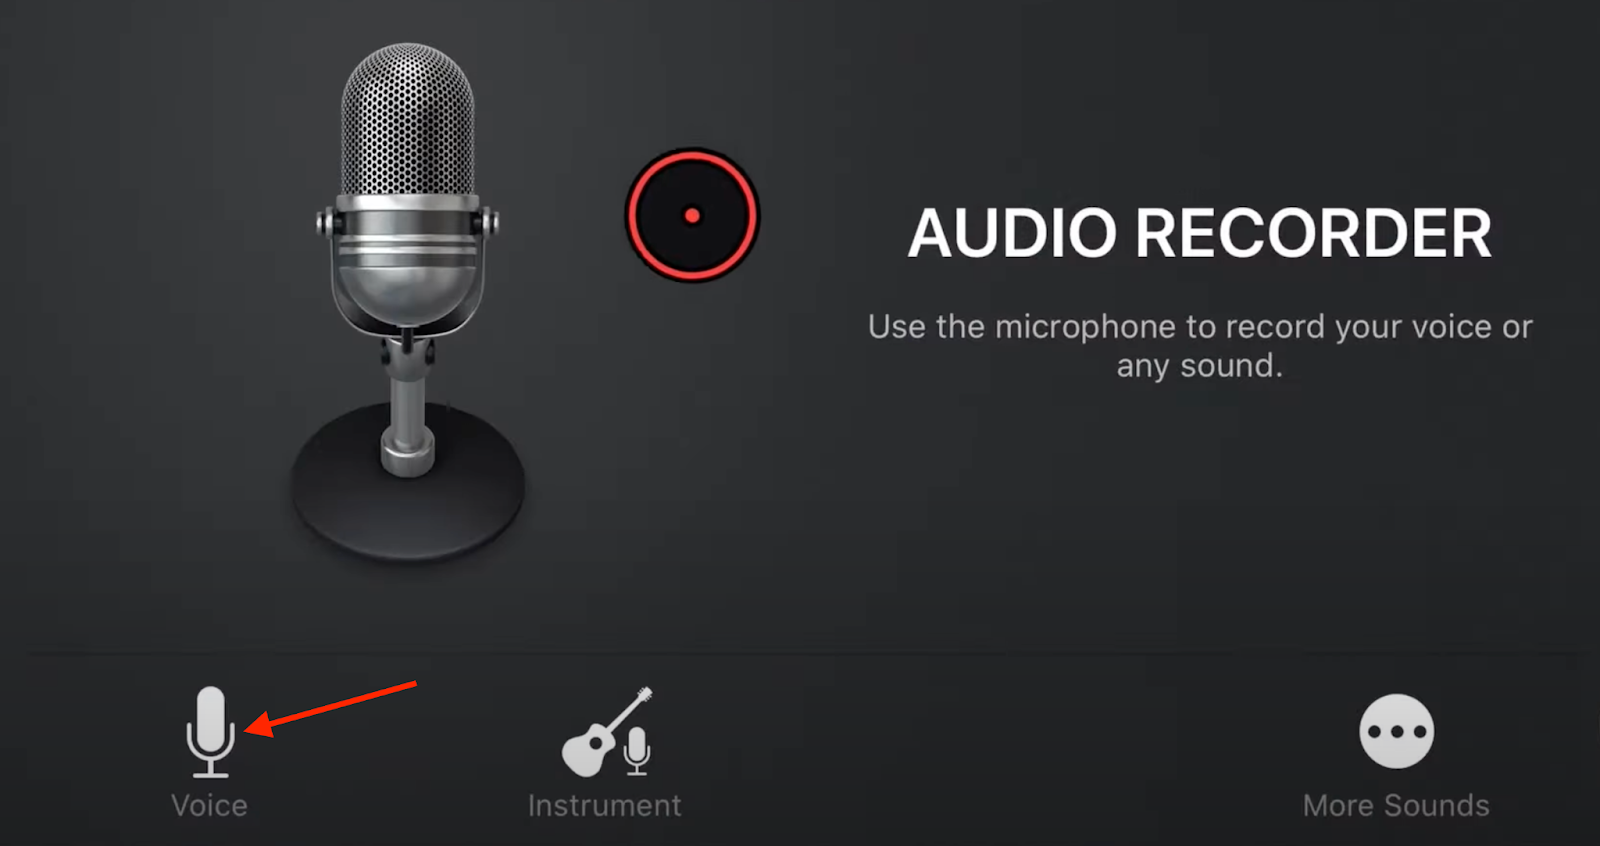
- In the instrument browser, select the Audio Recorder (mic) and tap Voice.
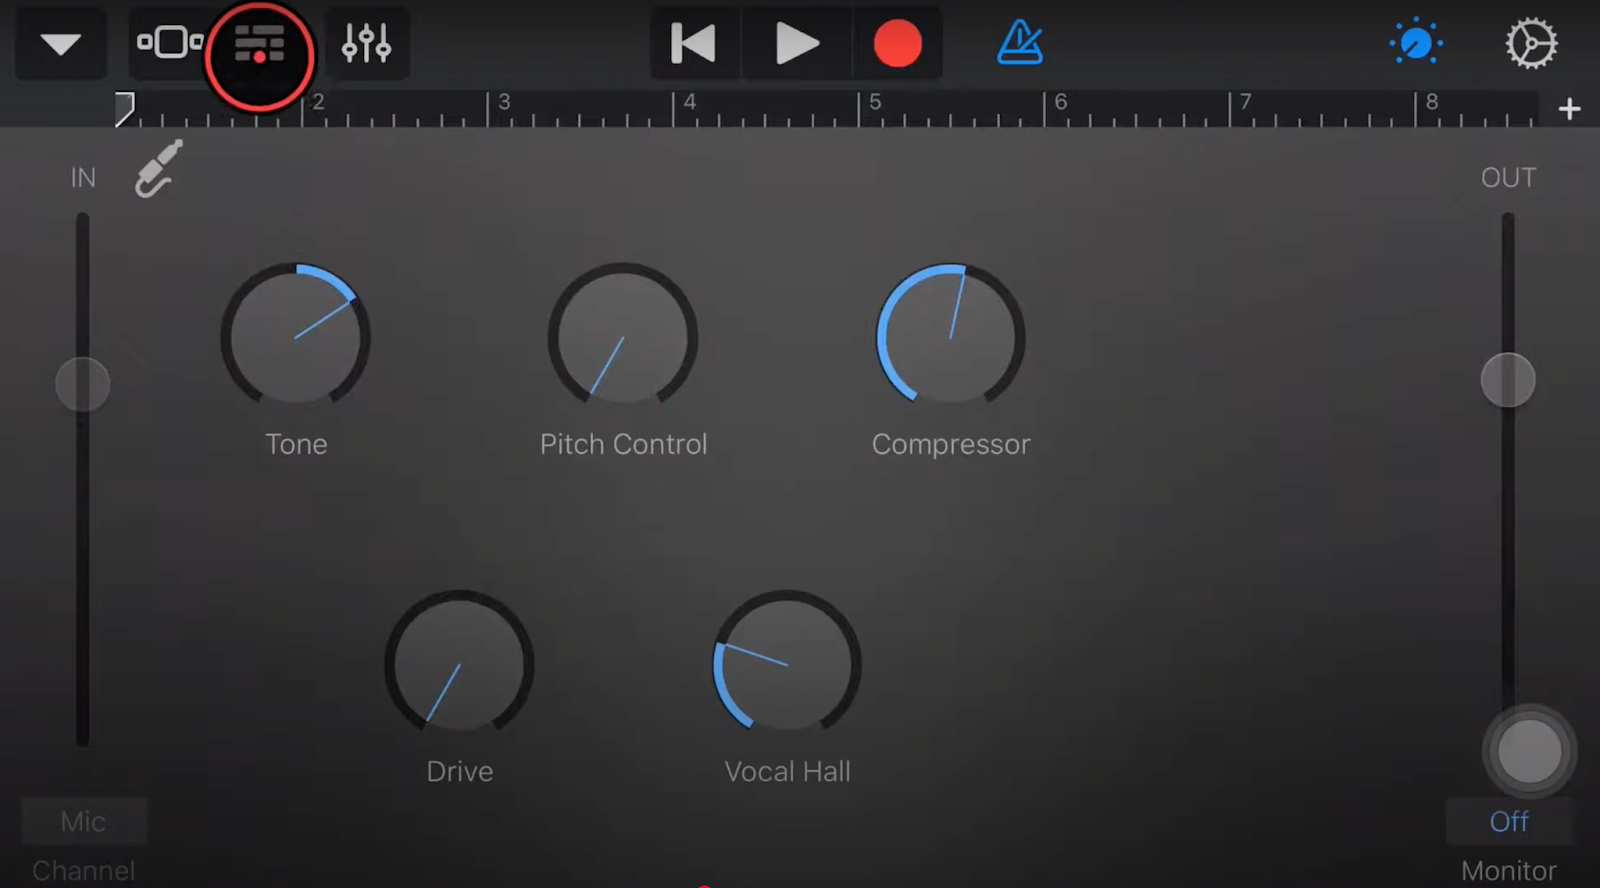
- Tap the Tracks View button.
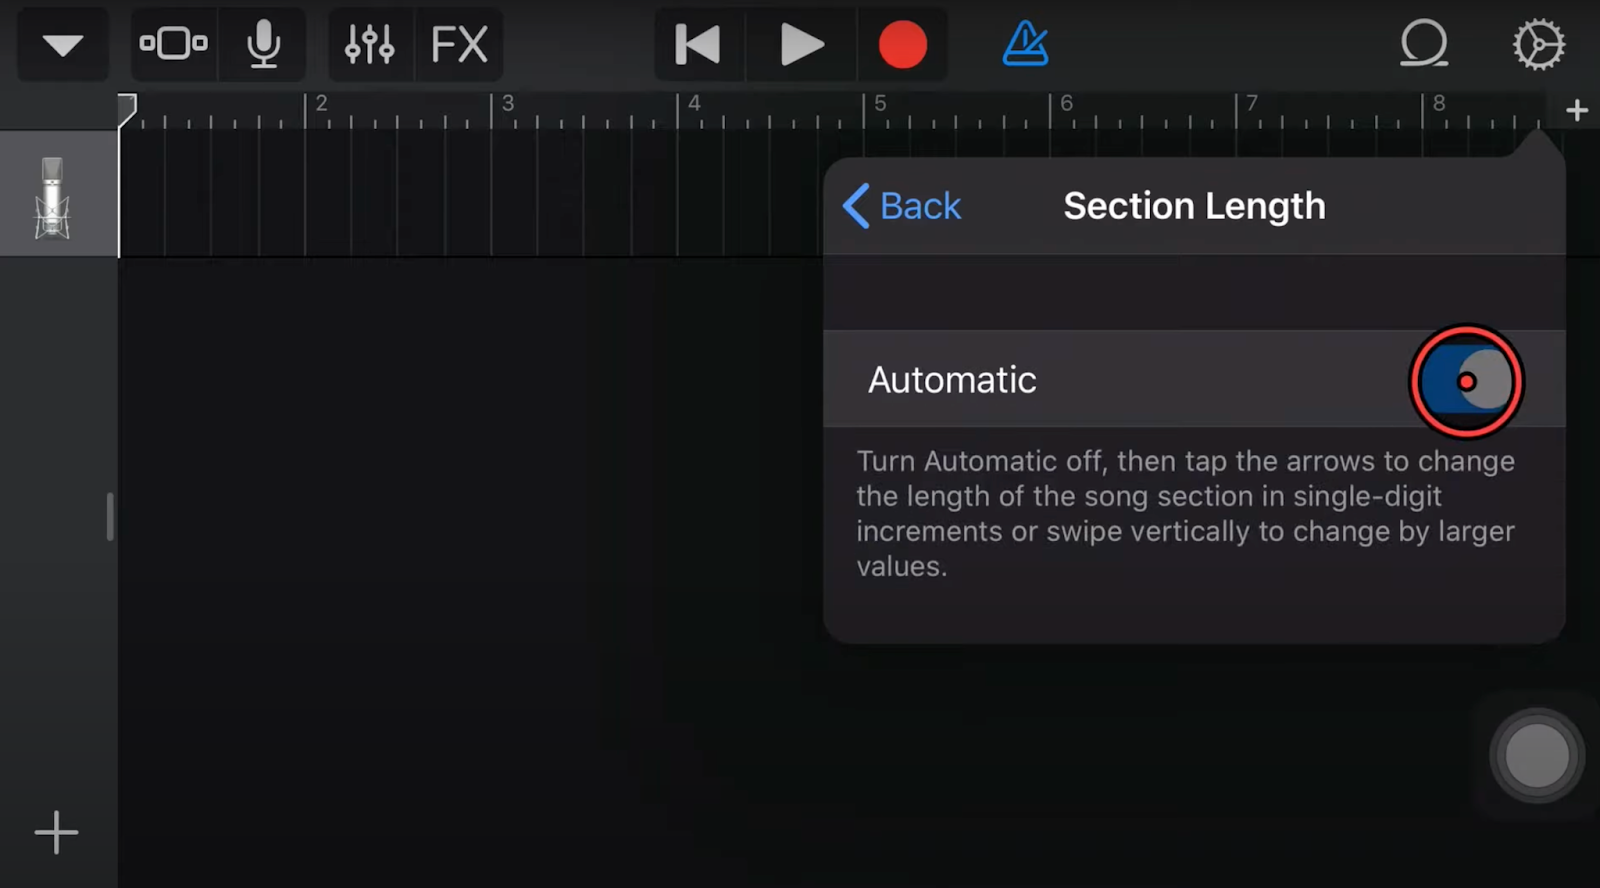
- Tap the ‘+’ at the top right, then tap Section A and enable Automatic.
- Tap the Loop Library button, then the Files tab, tap Browse items from the Files app at the bottom.

- In the Files app, locate and select your audio file. It will be added to the GarageBand file list.

- Drag the audio file into your project by tapping and holding, then dragging it to the audio recorder track (or underneath).

Optional Tips for Better Audio Import
- After importing the audio, normalize the audio Levels by adjusting volume in GarageBand for consistency.
- You can also edit audio or apply effects as needed after importing using GarageBand’s built-in edit tools.
Conclusion
GarageBand offers multiple convenient methods for importing audio, allowing you to create projects with external files from various sources easily. You can drag files, record live, or use the media library. Experiment with different methods to find what works best for your workflow. For professional recordings, consider using reliable mics like the Hollyland LARK M2 for superior clarity.
FAQs
Q1. What audio formats can I import into GarageBand?
GarageBand supports a variety of audio formats for import, including AIFF, WAV, Apple Loops, AAC, and MP3. If your file is in an unsupported format, you can use an Online Audio Converter before importing it to GarageBand.
Q2. Can I record vocals and instruments simultaneously?
Yes, GarageBand allows you to record vocals and instruments simultaneously. To do this, you’ll need an audio interface with multiple inputs, and you’ll have to set up separate tracks for each input and enable them for recording within GarageBand.
Q3. How do I import multiple audio files at once into GarageBand?
On Mac, you can simply drag and drop multiple files from the Finder window to GarageBand. For iOS, you first need to import the files into the GarageBand file transfer folder within the Files app. Then, you can drag them individually into your GarageBand project from the Loop Browser.
Q4. Is it possible to import YouTube or Voice Memos directly into GarageBand?
You can’t directly import a YouTube video into GarageBand. But you can download it, convert the video to a supported audio format (like MP3, WAV, or AAC), and import that audio file instead. For Voice Memos, you can directly drag and drop into GarageBand on Mac. On iOS, tap the Share button in the Voice Memos app, then save the file to the GarageBand File Transfer folder in the Files app. The memo will appear in the Loop Browser, and you can drag it into your project from there.