.png)
Since its inception in 2011, Zoom has become a go-to platform for virtual and video conferences, particularly after the pandemic made remote communication essential. From CEOs to students, anyone can connect with people worldwide in seconds. Sometimes, you may only need the audio from a meeting, rather than the full video. In this guide, we’ll walk through simple, effective ways to record just the audio on Zoom.
Method 1 – Record Audio Only with Zoom Cloud Recording (Pro Accounts)
You can record audio straight to the cloud and listen to it on any device if you have a Zoom Pro, Business, or Enterprise plan.
- Go to the Zoom website or the Desktop application and log in to your account.
- Choose the Recording tab after selecting Settings from the menu on the left

- Turn on the Record your live meetings to cloud option under the Cloud Recording section.
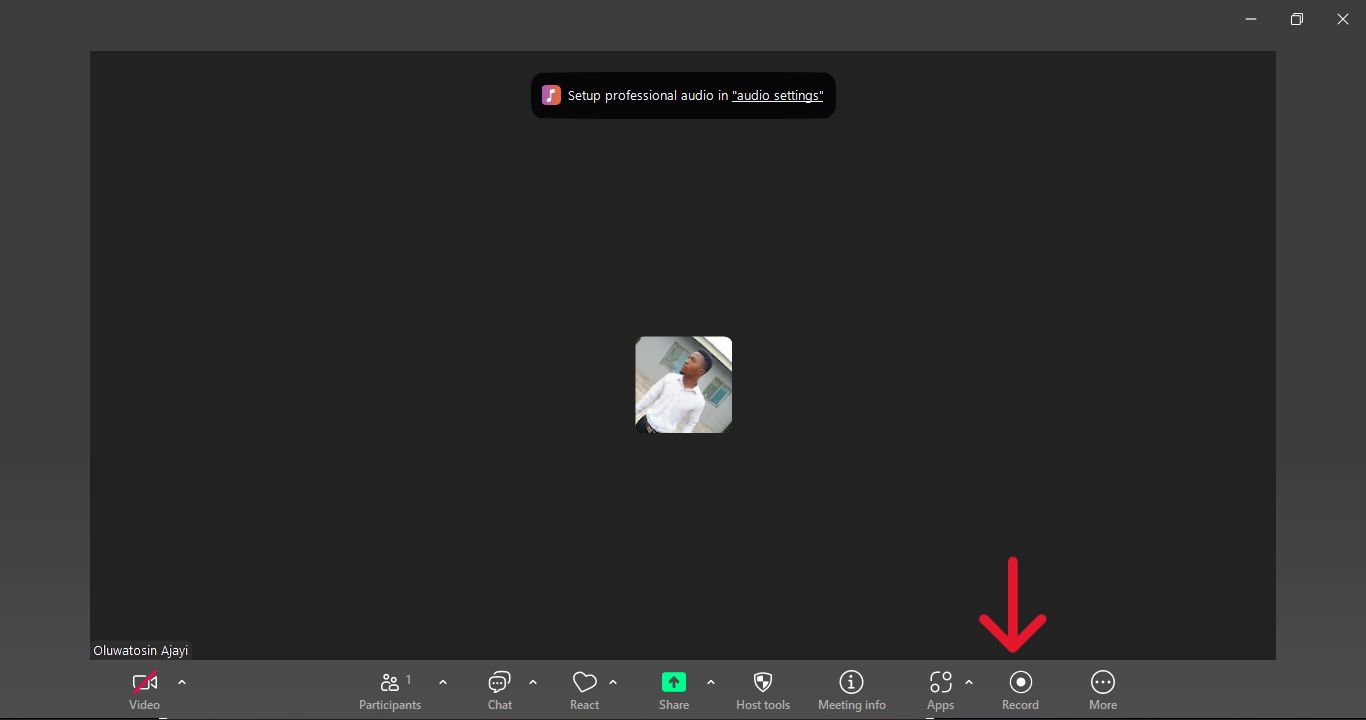
- In the meeting controls, select Record to the Cloud after starting your Zoom meeting.

- Zoom will process the recording after the meeting is over and save the audio file in the Recordings section of your account.
- When you are ready to use the file, download it from the Zoom Cloud.
Cloud recordings are useful for automatic backups and easy sharing, especially if you switch between devices.
Extra tip: To ensure that every conference is recorded without having to click Record, enable automatic recording in Zoom’s cloud settings. Download and arrange your audio in certain PC folders for easy access after it has been stored in the cloud.
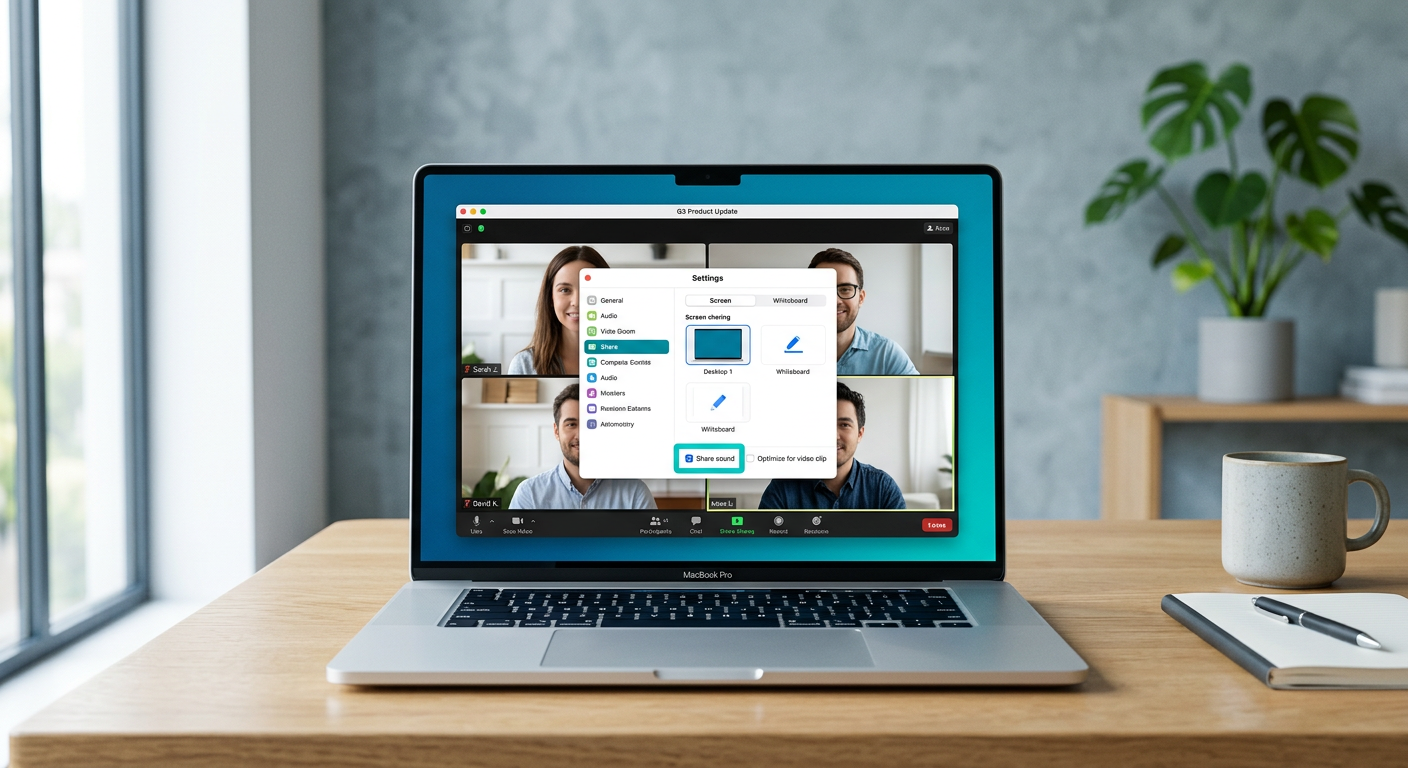
Method 2 – Record Audio Using External Recording Software
Using External Recording Software: Third-party recording software is a great option if you want more control over audio quality or formats. Programs such as Audacity, OBS Studio, or QuickTime Player can record Zoom’s audio output directly.
- Open your sound settings on your computer.
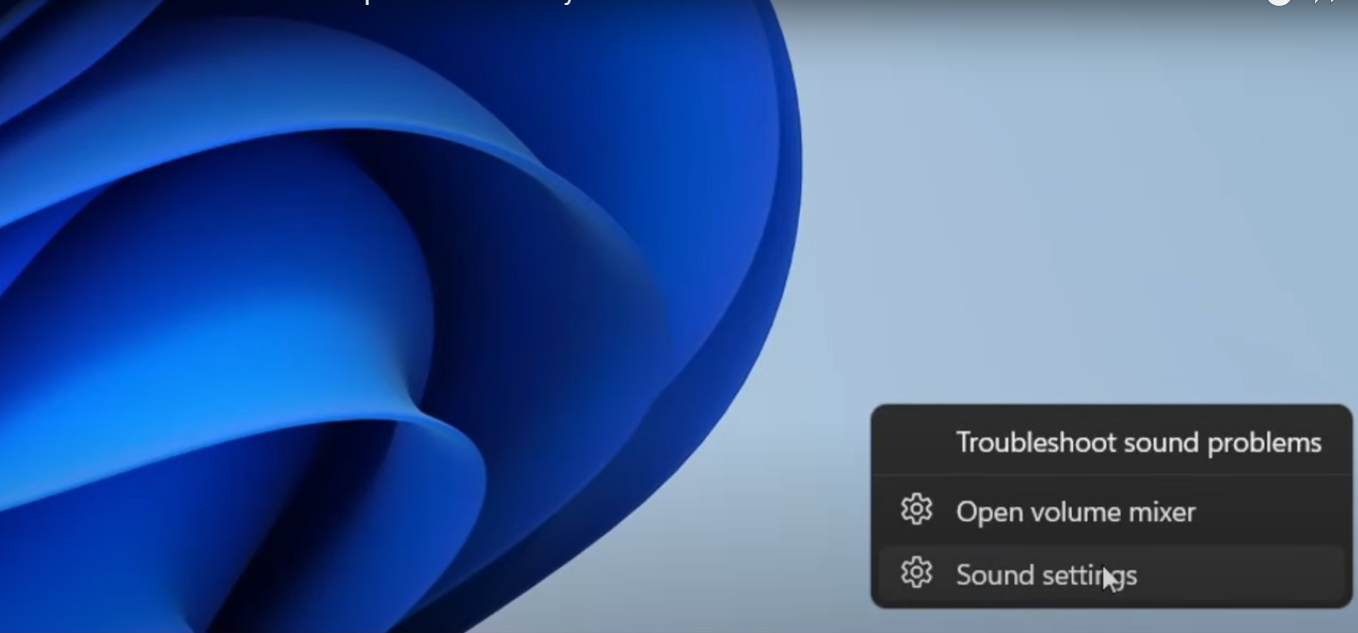
- Go to More settings → Recording.

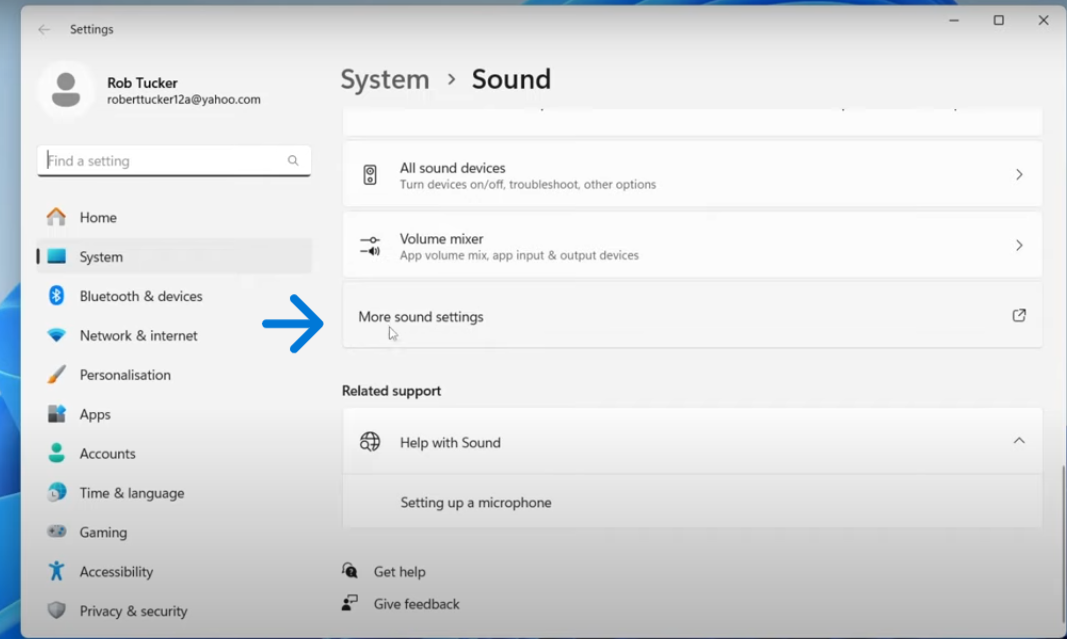
- Right-click in the open menu and select Show disabled devices.
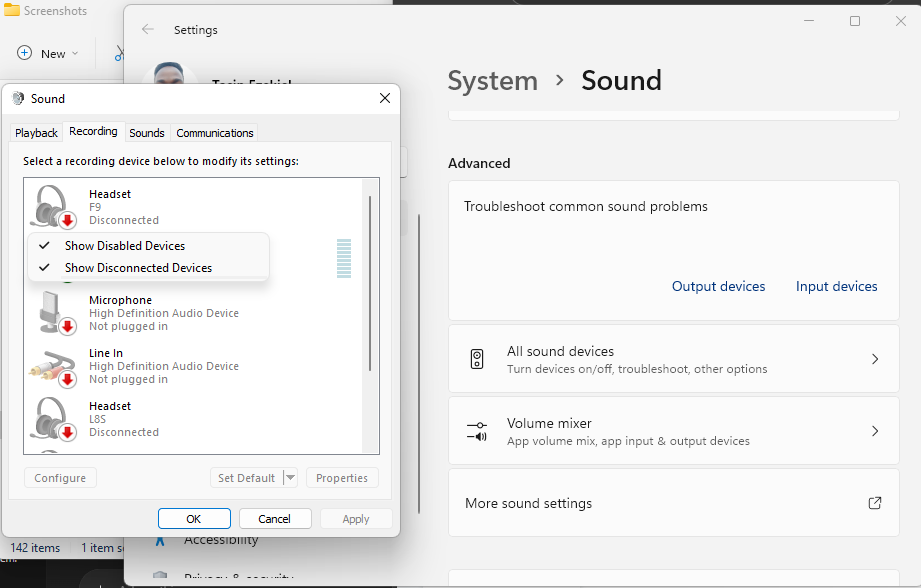
- Enable Stereo Mix (or your system’s audio loopback source, if available). If your PC doesn’t have this option, select your speaker output or install a virtual audio cable to capture Zoom audio.
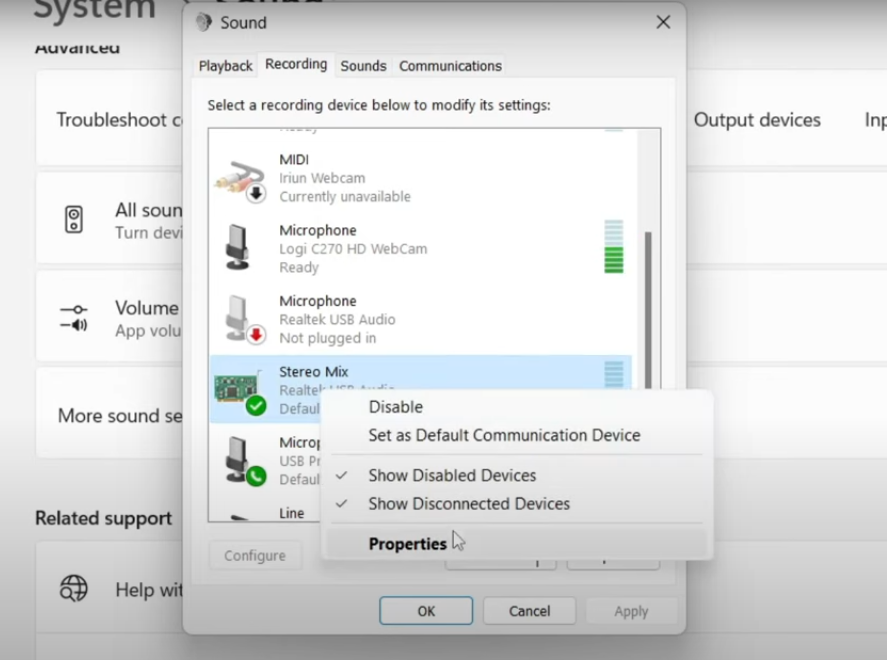
- Right-click on it, choose Properties, and make sure Listen to this device is not selected. Click OK.

- Join your Zoom meeting as usual.
- Start recording in your chosen software.
- Stop the recording when the meeting ends.
- Save the file in your preferred format, such as WAV, MP3, or M4A.
External software frequently offers more customization, such as advanced editing, multiple audio tracks, or higher bitrates.
Extra tip: Before your meeting, perform a quick test to ensure Zoom is set to output sound through the correct device.
Method 3 – Use a Portable Recorder for Audio Capture
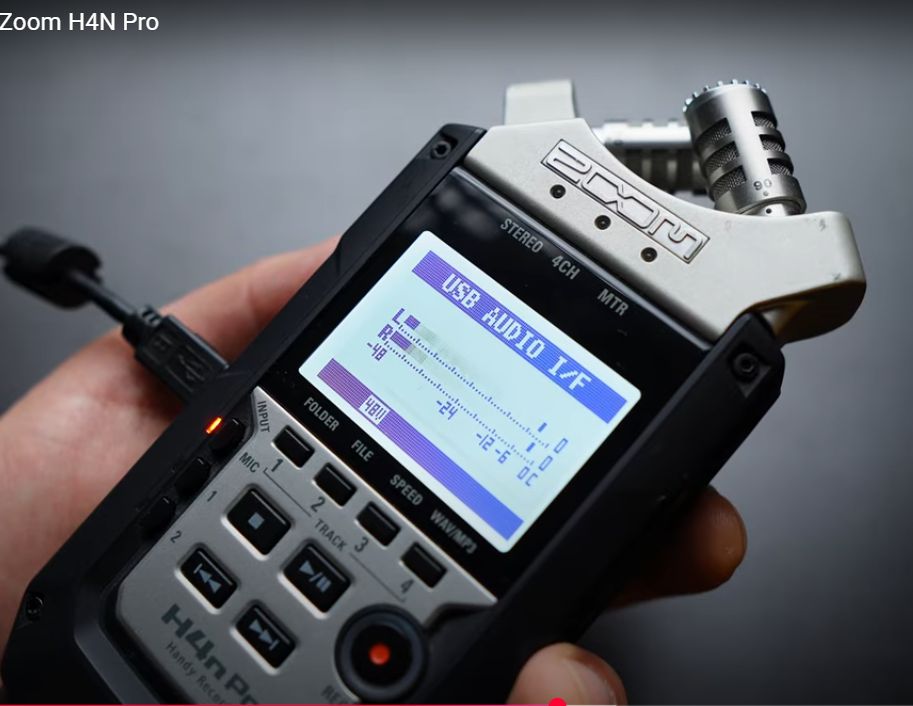
A portable recorder like the Zoom H4n Pro is perfect for creating a separate, high-quality copy of your Zoom meeting audio, unaffected by your computer’s settings or internet connection.
- Connect the Zoom H4n Pro to your computer via a USB cable and select Audio Interface mode, or place it near your computer speakers for direct sound capture.

- Adjust input levels on the recorder so voices are clear but not clipping.

- Position the recorder on a desk stand about 12–18 inches from the sound source to minimize background noise.
- Join your Zoom meeting as usual.
- Press the record button on the H4n Pro to begin capturing the session.

- When the meeting ends, press stop and save the file.
- Transfer the audio to your computer using the SD card or USB connection.
- For cleaner results, open the file in free software like Audacity to trim silence, normalize volume, or remove background noise.
This method is reliable for backup purposes and can maintain audio quality even if your Zoom call lags or disconnects.
Extra tip: If using a microphone, add a small pop filter or windscreen to reduce unwanted noise during speech.
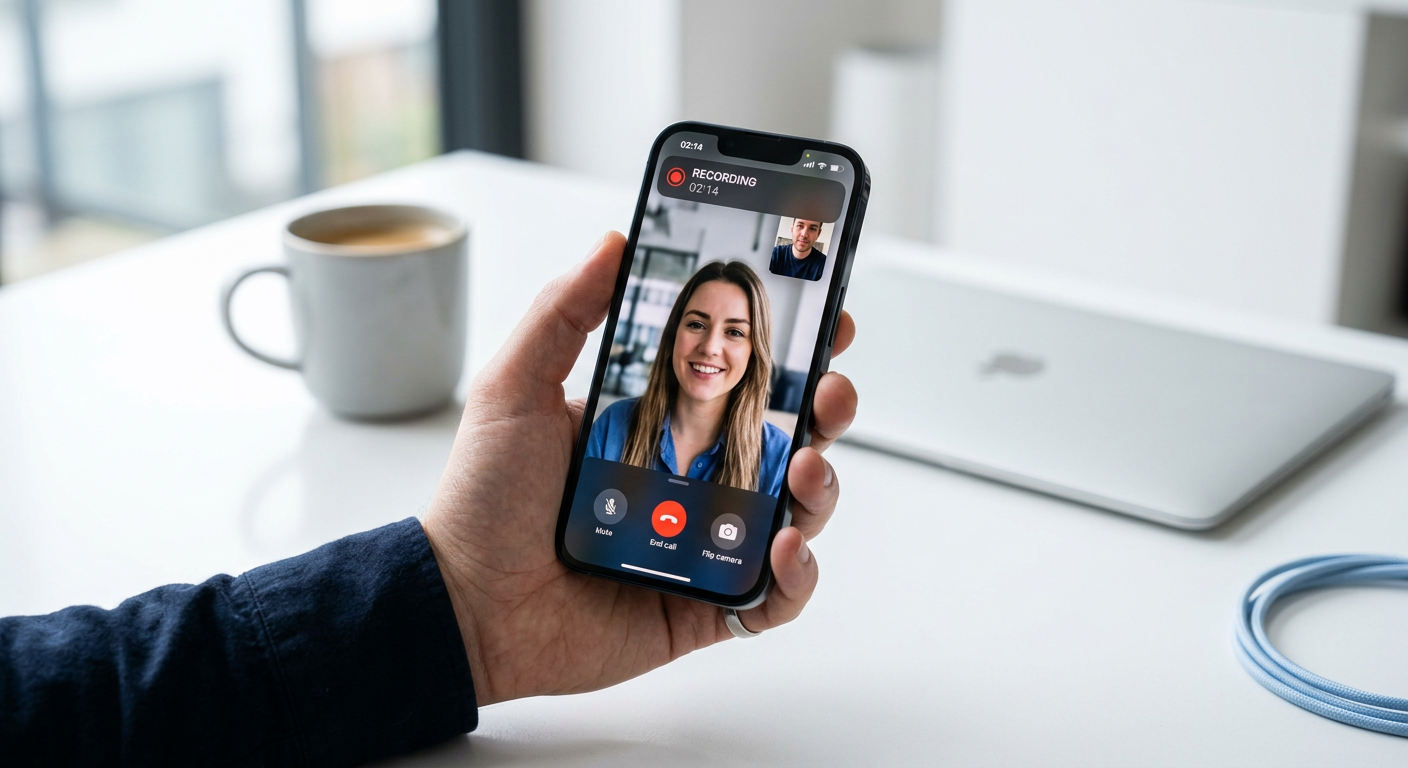
Method 4 – Record Audio with a Mobile Device
Zoom audio recording with a phone is quick and easy, and the quality is enhanced when combined with the Hollyland LARK MAX 2. You will always obtain crystal-clear audio with this wireless microphone system’s 32-bit float internal recording, AI noise suppression, and ultra-low latency monitoring.

Hollyland LARK MAX 2 - Premium Wireless Microphone System
A premium wireless microphone for videographers, podcasters, and content creators to capture broadcast-quality sound.
Key Features: Wireless Audio Monitoring | 32-bit Float | Timecode
- Use your phone to participate in the Zoom meeting.
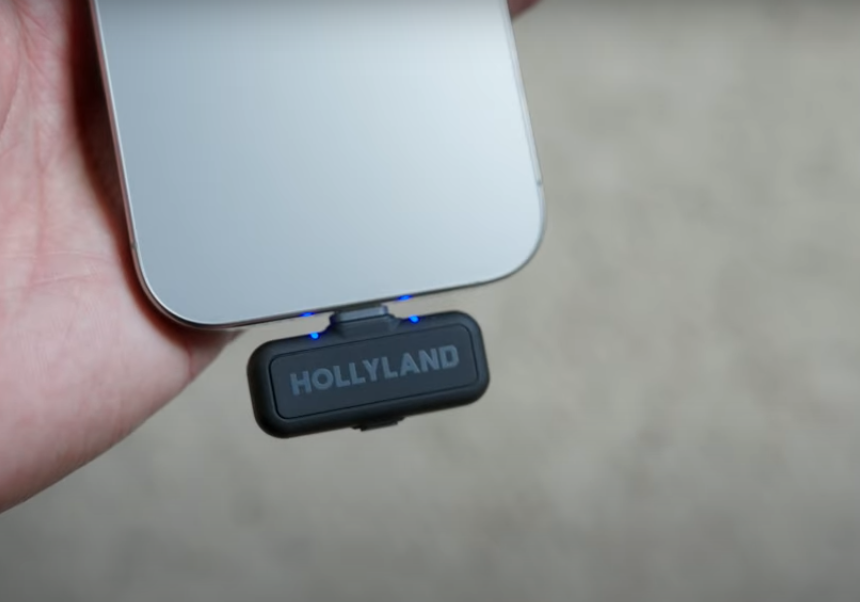
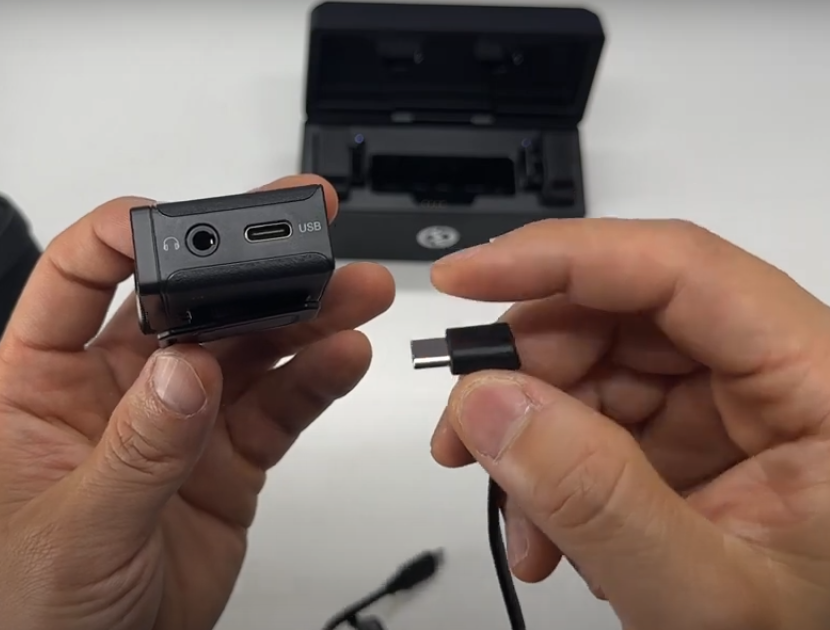
- Depending on the model of your phone, use the USB-C or Lightning converter that comes with the LARK MAX 2 receiver to connect it to your device.
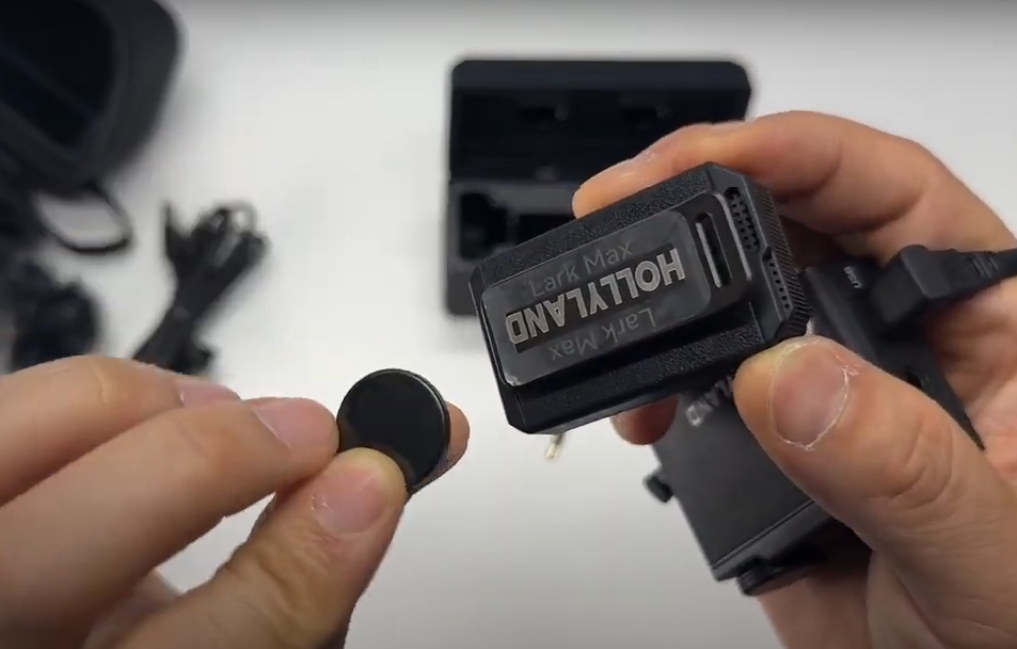
- Turn on the transmitter or transmitters, then use the hover-clip or magnet mount to covertly attach one to your collar for stability and comfort.
- Launch the built-in audio recorder app on your phone, or any other top-notch recording app.
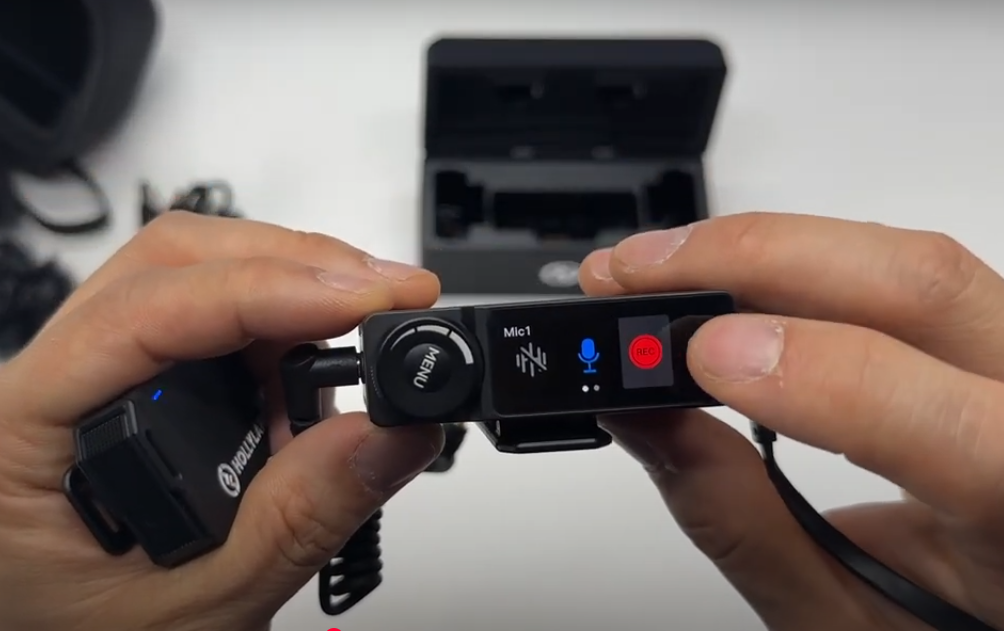
- To simultaneously broadcast and store audio, tap Record on the LARK MAX 2.

- Stop the recording in the app when the meeting is over.
- Transfer the internal recording from the transmitter (up to 8GB of 32-bit float audio stored directly on the device) to your computer for post-production or backup.
- Before sharing, edit or improve your audio using any editing program.
Extra Tip: To ensure crystal-clear communication free from background noise in noisy environments, turn on the LARK MAX 2’s stepless AI noise cancellation.
Conclusion
Recording only audio in Zoom is straightforward once you know where to look in the settings or what tools to use. Whether you’re using Zoom’s Pro account’s cloud feature, or external devices, each method helps you focus on clear sound without the distraction or storage demands of video. Choose the approach that best suits your needs and equipment.
FAQs
Is recording audio only in Zoom legal?
Yes, as long as you have consent from all participants before recording.
What file format does Zoom use for audio recordings?
Zoom saves audio-only recordings in the .m4a format.