Have you ever listened to a song that feels like it’s moving all around your head? That’s 8D audio. It gives you a surround sound experience through headphones, making music feel more fascinating.
In this guide, you’ll learn step-by-step how to create your own 8D audio using Adobe Premiere Pro, Audacity, and CapCut. We’ll also use the Hollyland Lark M2S as an example for recording clear, detailed audio during testing. Its excellent wireless range and crisp sound capture make it useful when creating or fine-tuning 8D audio tracks.


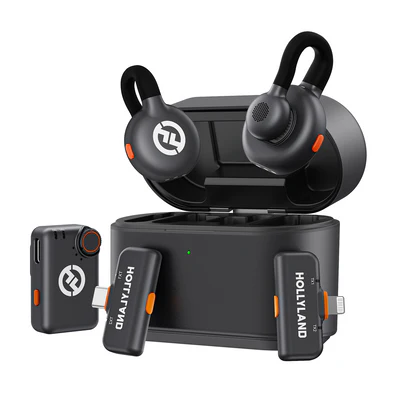
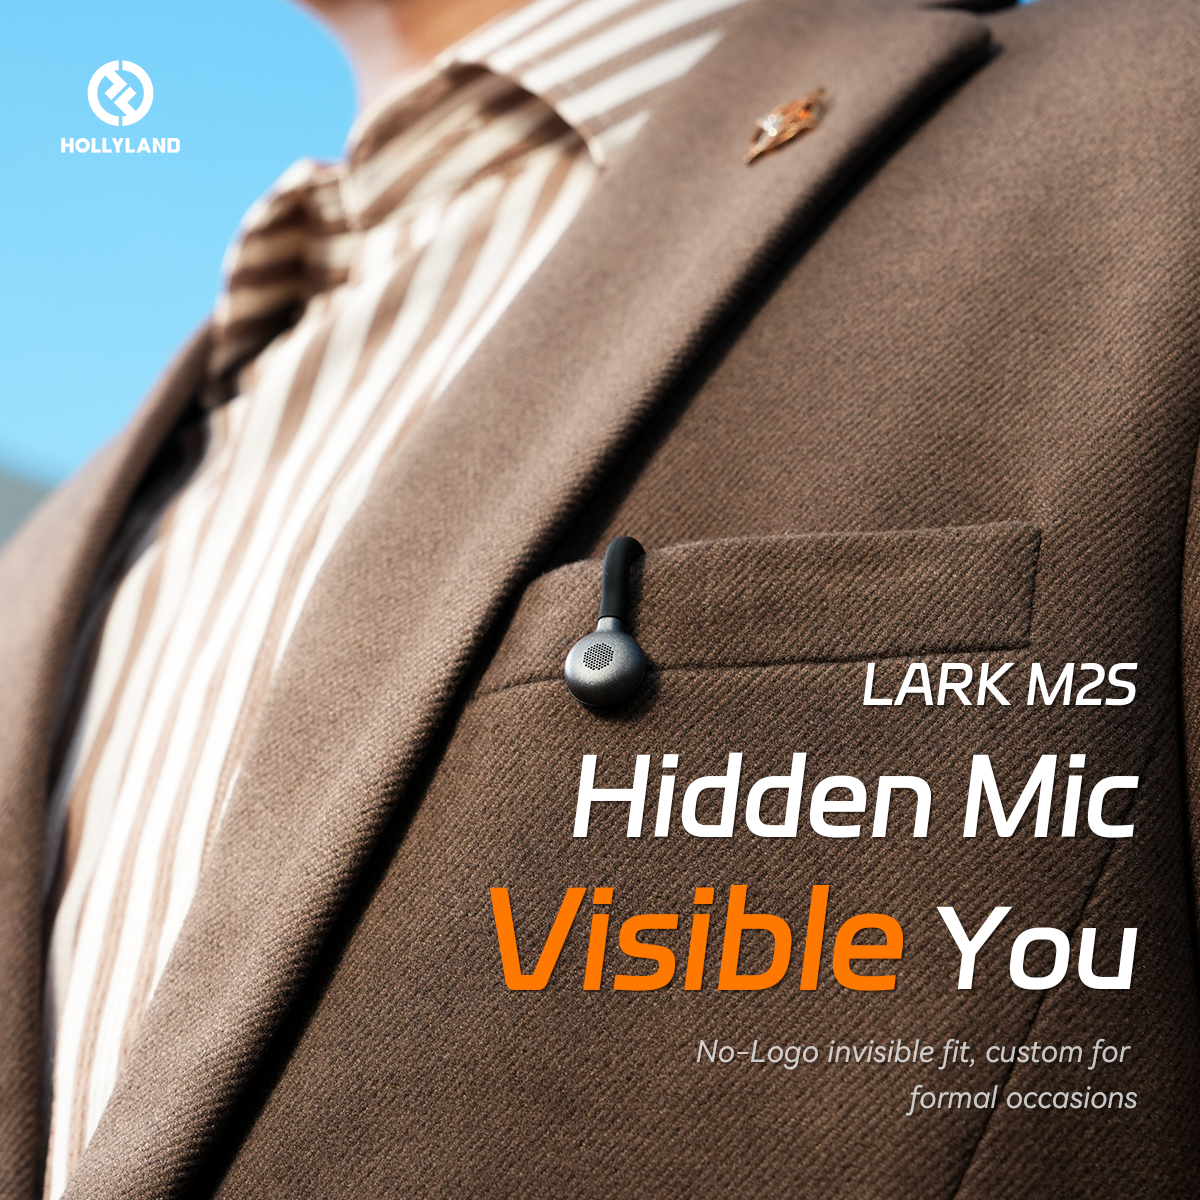
Hollyland LARK M2S - Wireless Hidden Microphone
An ultra-discreet wireless microphone featuring a clip-on transmitter for an “invisible” fit.
Key Features: No-Logo Fit | Ti+ Design | 48 kHz/24-bit
How to Prepare for Making 8D Audio?
For the best 8D audio effect, good stereo headphones are necessary. They help you clearly hear the left and right sound movement. Work in a quiet place so you can notice small changes in the audio. Close other heavy apps so your device runs smoothly.
A microphone, such as the Hollyland Lark M2S, is optional. It can help if you want to record your own sounds before adding the 8D effect.
Steps to Create 8D Audio in Adobe Premiere Pro
Adobe Premiere Pro is one of the most powerful editing tools for both video and audio. It’s perfect for making 8D audio because it gives you full control over panning, keyframes, and sound balance. With a few simple steps, you can create a surround-like effect that moves sound around the listener’s head.
- Open Adobe Premiere Pro.
- Click New Project. Name it and choose a save location. Click OK.


- Import your audio file into the Media Panel.

- Drag the audio onto Audio Track 1 in the timeline.

- Cut a short section to work with (optional). This makes testing faster and easier; you can apply the same effect to the full track later.
- Hold ALT and drag the audio to create copies on Audio Track 2 and Audio Track 3.

- Go to Window > Workspace > Audio.

- You will see the audio track mixer with many options and default settings.

- If you want to start from the left side of your headphone, in the Audio Track Mixer, set Track 2 to Right (100) and Track 3 to Left (-100). Leave Track 1 as original. Panning moves sound between left and right headphones; this is the core of the 8D effect.

- Return to the Editing workspace.
- Select Track 2. In Effect Controls, create a keyframe for audio level.

- To make keyframes, click where you want to make the effect. For example, start with 0.1 dB, then click the Stopwatch icon next to “Level” to create the first keyframe.

- Create the same keyframe on Track 3 at the same time point.
- Move forward 1–2 seconds, and add more matching keyframes on both tracks.
- Adjust levels alternately: lower Track 3 while Track 2 stays high, then switch. Use smooth fades rather than sharp jumps for a natural motion.


- Repeat the pattern to make the sound move from left to right. This creates the sensation of sound moving around the listener’s head.

- Play it back and listen to the 8D effect through your headphones. To test, first listen to audio track 1 (original) and then the other edited tracks.
Steps to Make 8D Audio in Audacity
Audacity is a free, beginner-friendly audio editor that works on Windows, Mac, and Linux. It’s one of the best tools for creating 8D audio because it gives you full control over volume, panning, and effects without needing a high-end computer. Its simple interface makes it easy to see and shape your audio movement visually. Here’s how you can use it to make 8D audio:
- Download and install Audacity. You can get it free from the official Audacity website.
- Open Audacity. Use File > Import > Audio and load your stereo song.

- Once the song loads, you’ll see it displayed as a stereo track in the timeline.

- Duplicate the audio: Press Ctrl + A, then Ctrl + C, click below, and press Ctrl + V. Duplicating helps us control left and right channels independently.

- Set the top track to the left and the bottom track to the right.

- Select all audio (Ctrl + A).
- Go to Effects > Reverb (Reverb makes the sound fuller and gives it a sense of space, like it’s coming from all around you), apply the given settings, and click OK.


- Turn the gain of both tracks to -5 dB to prevent clipping when volumes overlap.

- Select the Envelope Tool from the toolbar to shape volume changes. This is where you “draw” the movement of the sound between ears.

- Scale both audio channels the same with the envelope tool.

- Scale the top track down at one point and up at another.

- Scale the bottom track up where the top is down and down where the top is up.

- Keep repeating the up/down pattern along the timeline. This alternating pattern is what creates the circular movement in 8D audio.
- Play the audio to hear the moving 8D effect.
- Save and export your 8D audio as WAV.

Steps to Make 8D Audio in CapCut
CapCut is a free and easy-to-use editing tool available for both desktop and mobile. It’s one of the best choices for quick 8D audio creation because it combines simple controls with powerful audio effects. You can apply stereo movement, reverb, and depth without needing advanced audio skills. Here’s how you can use CapCut for making 8D audio:
- Open CapCut on desktop or mobile.
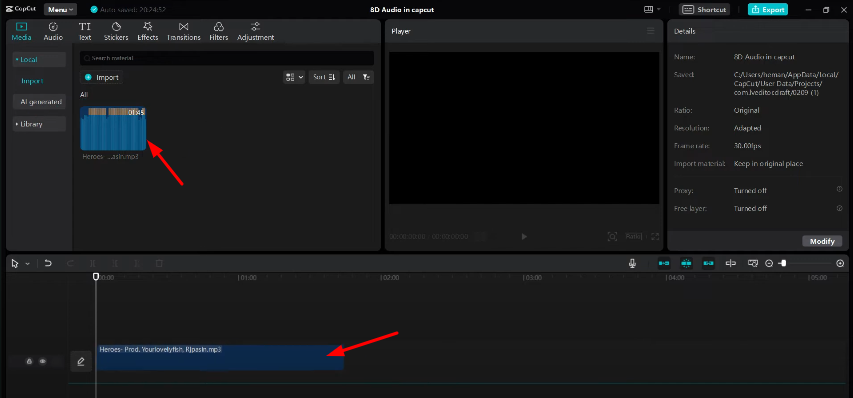
- Upload your audio file by clicking import.

- You will see audio in all options. Hold the left button of the mouse and drag the audio to the timeline.

- Click the audio clip.
- The settings bar opens at the top-right.
- You will see tabs: Basic, Voice Changer, and Speed.

- Split the clip where you want to compare before and after.
- Go to Voice Changer.
- Open Voice Filters.

- Select the Mic Hog option. This preset helps create a wide stereo spread that works well for 8D.
- Adjust room size to change reverb.
- Adjust Strength to set the effect level.

- Play the clip and listen to the stereo movement.
- Tweak split points and sliders until it sounds right.
- Export the file from the top in WAV format.

Conclusion
Making 8D audio is about playing with how sound moves around. When you finish the steps, you’ll have a track that feels more alive and exciting to hear. It’s a fun process where you can follow the basics but still add your own style to make it unique. Try adding echo, adjusting speed, or layering multiple effects for your own signature 8D sound.
FAQs
- Is 8D audio real?
Yes, but it’s not actually eight dimensions. The effect works by moving sound between the left and right channels. You need headphones to hear it properly, as they let you enjoy the full movement of the sound.
- What does 8D audio sound like?
It feels like the music is moving around your head. Sometimes it bounces from ear to ear, and sometimes it circles all around you. This is why headphones give the best experience.
- What’s the difference between 8D audio and binaural audio?
8D audio uses simple left-right panning to simulate movement, while binaural audio uses precise head-related transfer functions (HRTFs) to create true 3D positioning. Binaural audio sounds more realistic but requires specialized recording techniques or processing. 8D audio is easier to create and works with any stereo track, making it more accessible for beginners.


.png)


