.png)
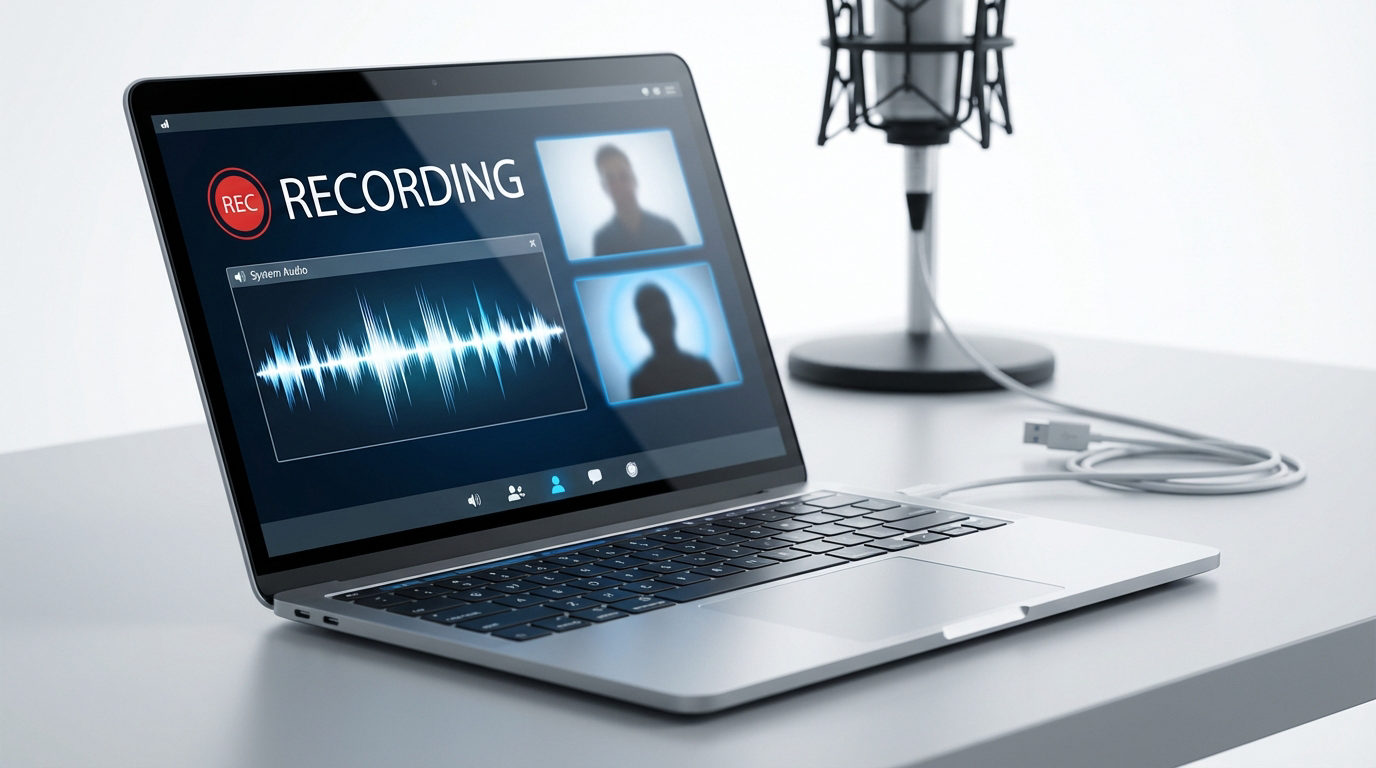
Recording videos on your Mac is easier than you think. Whether you’re creating tutorials, recording reviews, or making any content for YouTube, your Mac has the tools to make it happen. With the right setup, like the Hollyland LARK M2S mic, you can capture clear sound and smooth screen recordings without any hassle.

Hollyland LARK M2S - Wireless Hidden Microphone
An ultra-discreet wireless microphone featuring a clip-on transmitter for an “invisible” fit.
Key Features: No-Logo Fit | Ti+ Design | 48 kHz/24-bit
Check out the easiest way to record both your screen and audio step-by-step. No tech skills needed; just follow along and start recording clear, professional videos right from your Mac.
Tools You’ll Need to Record a YouTube Video on Mac
Before you start, make sure you have the following:
- MacBook or iMac
- QuickTime Player (comes pre-installed on Mac)
- Hollyland LARK M2S wireless microphone
- OBS Studio (optional for advanced features)
- External camera or webcam (optional)
Step-by-Step Guide to Record a YouTube Video with Audio on Mac
To start recording your YouTube video, you’ll need two main things: your Hollyland LARK M2S microphone and your Mac. Once you have both ready, just follow these steps. The process is simple and only takes a few minutes.
Step 1: Connect the Microphone to the Mac
- Unbox the mic set. You’ll find a transmitter, receiver, charging case, and cables.

- Fully charge both the transmitter and receiver.
- Use the USB-C receiver and plug it into your Mac’s port.

- Turn on the transmitter. It connects wirelessly to the receiver.
- Clip the transmitter to your shirt, close to your mouth.
Even after connecting the transmitter and receiver, the mic won’t work until you select it as the sound input on your Mac. To do that, follow these steps:
- Open System Preferences on your Mac.
- Click on the sound option.

- Go to the Input tab.
- Find and select LARK M2S from the list.

Your Mac will now use the LARK M2S microphone for audio input.
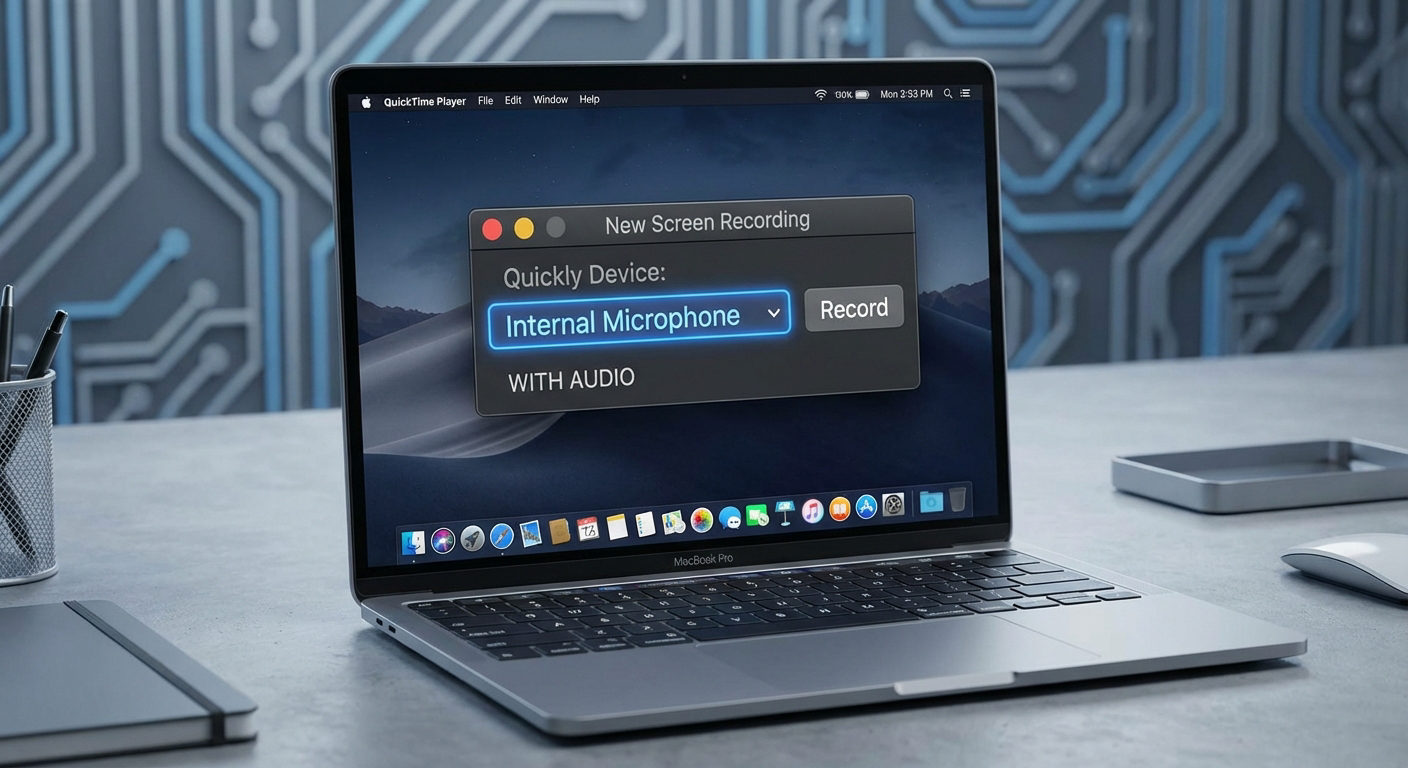
Step 2: Recording a YouTube Video with Audio on Mac using QuickTime Player
QuickTime Player is a built-in app on every Mac, so you don’t need to download anything extra. It’s simple, clean, and works great for quick recordings. Just follow these simple steps to record your screen for a YouTube video:
- Go to System Preferences, click Applications, and open QuickTime Player.

- Click File > New Screen Recording

- Click the options button. A new bar will pop up.

- Under Microphone, select Hollyland LARK M2S. You can select your preferred save option, timer, or other options from this bar.
- Click Record and select the screen area from the side options.

- Speak naturally with your microphone while presenting. Now, you are recording a screen video with your audio on a Mac.
To stop the video, click on the “stop screen recording option.” It will automatically save with audio on your preferred save option, which you had already selected.

How to Record with OBS Studio for More Control?
If you want more control over your videos, like showing multiple screens, adding a webcam overlay, or background music, try using OBS Studio. It’s a free and powerful recording tool that works great with your Mac and the Hollyland LARK M2S microphone.
Here’s how to record your screen and voice with OBS:
- Install OBS Studio. Search “OBS Studio for Mac” on Google, go to the official site, download, and install it.

- After launching OBS, go to the top menu and click Scene Collection > New to create a new scene setup.

- Then click on Profile > Screen Recording to switch to screen recording mode.

- In the “Sources” box at the bottom, click the + icon.
- From the dropdown, select Display Capture.

- Give it a name (like “Screen”) and click OK. Your Mac screen will now appear in OBS.
- Click the + icon again in the “Sources” section to add your microphone input. There’s already a display capture in sources.
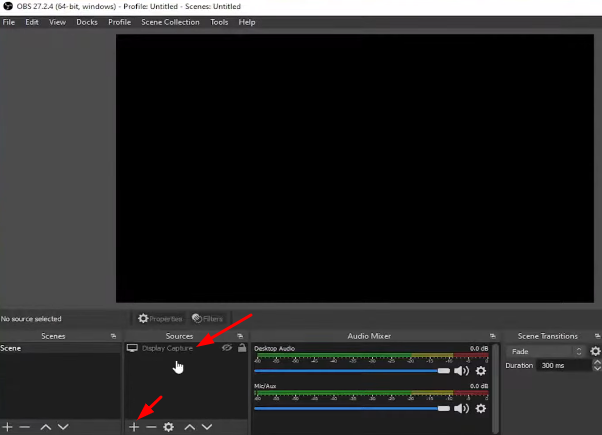
- Select Audio Input Capture from the dropdown menu.

- Name it (like “Mic”) and click OK.

- A new window will open with a Device dropdown. Click on it, and you will see a dropdown.
- If your Hollyland LARK M2S mic is connected to your Mac, it will show up in the list. Select it and click OK.

- Now both your screen and microphone are ready to be recorded.
- If you also want to record your face, click the + icon again, choose Video Capture Device, and select your webcam.
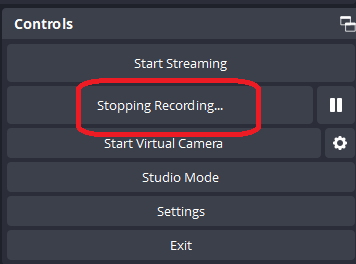
- Once everything is set, click Start Recording in the bottom right corner.

- When you’re done, click Stop Recording from the same bottom right corner. Your file will be saved automatically (usually in the Movies folder).
Why Should You Choose Hollyland LARK M2S?
If you want your voice to sound clear and professional in your YouTube videos, using a good microphone is very important. Built-in mics often pick up background noise or sound too softly. That’s where this microphone can really help.
The LARK M2S wireless mic is small, easy to carry, and works great even in busy or noisy places. You don’t need to install any app or deal with complicated settings. Just plug it into your Mac using the USB-C receiver, and you’re ready to go.
Here are a few reasons why this is a smart choice:
- Simple plug-and-play setup
- No extra apps or software needed
- Works smoothly with Mac through USB-C
- Light and easy to wear
- Long battery life for longer videos
- Strong connection with clear sound quality
Whether you’re making tutorials, vlogs, teaching online, or attending virtual meetings, this mic makes your voice sound better and keeps your setup simple. It helps you stay focused on your content instead of worrying about your audio.
Pro Tips for Recording High-Quality YouTube Videos
Recording videos on a Mac is easy once you know what to look out for. These small steps can make a big difference in how your video and audio turn out. Before you start recording your next YouTube video, keep these tips in mind:
- Test your microphone before you begin. Say a few lines and check if the sound is clear and at the right volume.
- Choose a quiet space for recording. Close doors and windows, and avoid places with background noise like fans or traffic.
- Clip the microphone near your mouth, but not too close. This helps capture your voice clearly without distortion.
- Use headphones to listen to your recordings. They help you catch background noise or echo that you might miss through speakers.
- Close all unnecessary apps and tabs on your Mac before recording. It helps your system run smoothly and avoids random pop-ups in the video.
- Check that your Mac has enough free storage. Screen recordings and videos can take up a lot of space.
- Always do a short test recording. This helps you check if the audio, video, and screen are working as expected before recording the full video.
- Always save your video in MP4 format.
Conclusion
Mac makes it easy to record high-quality YouTube videos with both screen and audio. Whether you’re using built-in tools or third-party apps, the process is smooth and beginner-friendly. With just a few simple steps, you can start creating clear, professional content right from your Mac.
FAQs
- How can I edit my recorded video on a Mac before uploading it to YouTube?
You can use iMovie, which is free and already available on most Macs. Open iMovie, import your video, and use it to trim, cut, add music, or add text. Once done, export the final video in MP4 format.
- What should I do if my Mac doesn’t recognize the microphone?
First, unplug and replug the mic. Then, go to System Settings > Sound > Input and check if the mic appears. Restart your Mac if it still doesn’t show up. Also, make sure the mic is fully charged.
- How can I add background music or remove background noise from my voice?
You can use iMovie or a free tool like Audacity. Import your audio, reduce background noise with the noise reduction tool, and add music by dragging a music file onto the timeline. Keep the music volume low so your voice stays clear.