


.png)
Nothing’s more frustrating than recording something important and ending up with distorted sound, too loud, too sharp, or just plain messy. Suppose you’re creating content; clean audio matters just as much as visuals. That’s why using a solid mic like the Hollyland LARK M2S from the start can make a huge difference.

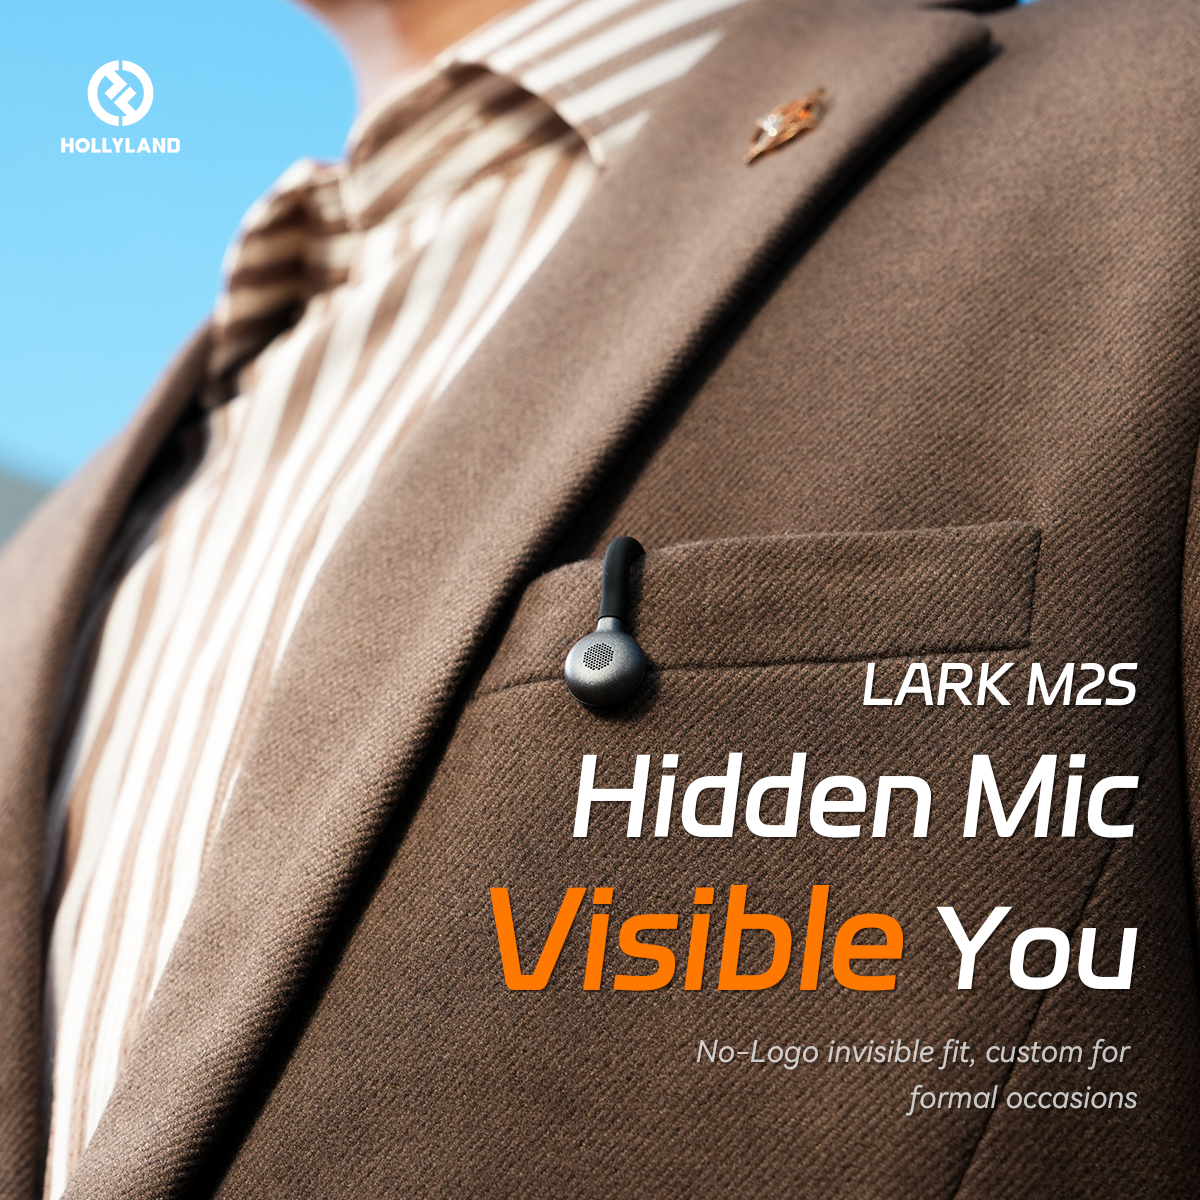
It’s wireless, compact, and designed to deliver clear audio without background noise, perfect for creators who need reliable sound in noisy environments. But if you’ve already got distorted files on your hands, don’t worry, this guide will walk you through how to fix them step by step.
Best Tools to Fix Distorted Audio
Whether you’re fixing a podcast, voice-over, or music track, the right tools can make distorted audio sound clean and professional again. Here are your best options.
#1: Adobe Podcast
For a tool that cleans up distortion with almost zero effort, Adobe Podcast Enhance does the job well.
- Go to podcast.adobe.com from your browser.
- Once you’re in the main menu, you’ll see two options: Enhance Speech and Record a Podcast. Click on the Enhance Speech.

- Sign up to create an account, and tap the Sign up button. And then fill it with your email.

- Upload your distorted audio file by clicking the Choose File button. You can also drag the file straight away to the button.

- Once you’ve uploaded your distorted audio file, click the Start free trial button.
Note: You can upgrade to the Premium Plan for more editing features.

- Now it’s going to do a bit of processing.

- When it’s finished, you’ll be able to play the audio back to hear the fixed version. Click the play button to check that out.

- Once you’re happy with the result, you can download the audio file by clicking the Download button.

#2: Adobe Audition
When you’re ready to dive deeper and need precision editing, Adobe Audition offers a clean way to bring distorted audio back to life.
- Launch Adobe Audition from your computer, then import your audio by clicking File > Import > (select file).

- Once you’ve uploaded your audio file into the app, select the entire audio file by pressing the shortcut Ctrl + A (Windows) or Command + A (Mac).
Note: This ensures all parts of your audio will be processed

- Next, go to the top menu, then click Windows > Diagnostics.

- The Diagnostics tab will appear on the left side of your screen. Then look for the effect dropdown menu and select DeClipper.

- Now choose a preset based on the severity of the distortion
Note: Select Restore Heavily Clipped for heavily distorted audio, select Restore Lightly Clipped if the distortion is minor.

- With your preset selected, click Scan to analyze your audio.

- The Diagnostics tab will then display a list of time stamps where clipping or distortion was detected.

- Click Repair All to apply the Declipper effect.
Note: This will smooth out the peaks and fix the distortion. Now you can see your wave sounds no longer harsh.

- To finalize the cleanup, ensure your entire audio file is still selected. Then go to Effects > Amplitude and Compression > Normalize (process).

- In the normalized window, set the target level to -3.00, then click Apply.
Note: This step ensures your audio stays balanced

- Now you can select the audio format and export your audio file.

#3: Descript
Mics like the LARK M2S help reduce distortion from the start, but if your file still needs work, Descript gives you a smart, beginner-friendly way to fix distorted audio fast.
- Navigate to Descript from your browser, then click the upload button.

- Sign in or create a free account.

- Upload your video file by clicking the upload file ” button. You can also drag & drop a file here.

- After uploading, Descript will identify and name all the speakers in your video.

- Inside the project, find the layer you want to fix (gray sound waves).
- Then click the layer where you want to cancel out.

- Go to the Properties Panel on the right side of your screen, then select Studio Sound.

- Under Audio Effects, find “Studio Sound” and toggle it on. This built-in AI feature in Descript automatically enhances your audio by reducing background noise, reducing audio distortion, and giving it a more professional sound, with minimal effort on your part.

- Now you can explore by adjusting the intensity; higher settings often reduce more distortion, but may sound slightly artificial.

- Next, click the range tools right here.

- It will allow you to select a specific portion of your layer, click, and drag all those gray sound waves (the part you want to remove).

- Under the audio section, click the speaker icon.
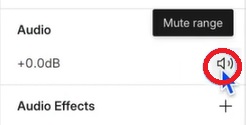
- And it’s now muted (you’ll see no gray sound waves).

- Once done, click Export at the top-right corner to save your audio file.

#4: iZotope RX Elements
Sometimes, even after cleanup, certain audio still sounds off, too sharp, too crushed, or weirdly clipped. This next tool helps smooth that out with more control.
- Download and launch the iZotope RX from your computer. Here is the main page when you open the app.

- Upload your distorted audio file by clicking the open file button, or you can drag the file.

- The interface will look like this once you’ve uploaded your audio file.

- Select the audio part you want to fix.

- Then click the AudioSuite tab > Noise Reduction > RX 8 De-clip.

- A new window will appear, and then dive back on the threshold and find the sweet spot that you’ll use by playing it.

- You can explore by adjusting the Threshold slider, selecting the quality, and enabling Post-limiter to tackle the distortion part. Once you’re done, click the RENDER button at the bottom.

- Now the render process will run.

- Then you can review the audio by listening to the fixed audio version.

- Once you’re happy with the result, you can select the audio format and save your audio file by clicking File > Export > OK.

#5: Audacity
For those who want more manual control over fixing distortion without relying on AI, a dedicated audio editor like Audacity gives you the precision you need.
- Launch the Audacity app from your computer, then import your distorted audio file.

- Select your audio in the timeline by pressing Ctrl + A (Windows) or Command + A (Mac). Then go to the Effect tab > Volume and Compression > Amplify.

- Now you can adjust the slider, increase or reduce it to some amount, make sure the Allow clipping option is unchecked, then select the Apply button.

- Then you can review the fixed audio, and now the volume has been decreased already.

- If your audio is still distorted, go to the tab Effect again, then go to EQ and Filters > Graphic EQ.

- Now adjust the setting by exploring it. Once you’re done, click apply.

- Now you save your audio file by selecting the format you want, and then click the Export button.

#6: DaVinci Resolve
If you’re aiming for studio-level control over audio distortion, this next option gives you professional-grade tools in one workspace.
- Launch the Davinci Resolve, then import and select your distorted audio.

- Go to the audio tab and turn these two dials on, and then drag the voice isolation slider to where you need.

- Then you can review the fixed version audio by playing it.
- Once you’re done, export it.

Quick Tips to Avoid Distorted Audio
Fixing bad audio is great, but avoiding distortion in the first place will save you time and headaches. Here’s how to keep things clean from the start.
Keep Your Input Levels in Check
Before you hit record, check your levels. If it’s hitting the red, it’s too much. Stay below 0 dB to avoid clipping.
Always Wear Headphones
Monitoring live audio helps you catch weird peaks or distortion as they happen, way better than finding out later.
Pick a Quiet Spot
Background noise and echo make things worse. Record in a quiet room or throw up some blankets if you have to.
Use a Mic That Can Handle It
Some mics clip easily when things get loud. Go for something designed for clarity and strong signals.
Record a Backup Take
If it’s important, don’t risk it. Do a second take just in case. Clean audio is always worth the extra few minutes.
Conclusion
Distorted audio doesn’t always mean you’ve ruined the whole thing. The tools we covered can bring your sound back to life, but don’t rely on fixes forever. The real game-changer is learning to spot bad levels early and knowing when to hit stop and try again.
And always record in a controlled space with gear you trust. You don’t need to be an audio engineer, just someone who pays attention. That alone can take your content from average to sharp and pro-level.
FAQs
- Can headphones cause audio distortion during recording?
Yes, using low-quality or wireless headphones with latency can mess with your monitoring, making you unknowingly record distorted or clipped audio.
- What’s the difference between distortion and background noise?
Distortion usually comes from recording levels that are too high, while background noise is unwanted ambient sound. They require different fixes.
- Is it better to record in mono or stereo to avoid distortion?
Mono is often safer for voice recordings since it keeps levels more consistent. Stereo can cause peaks if not monitored carefully.


