.png)
Thousands of creators go live on YouTube every single day. This constant flow makes visibility difficult for new or growing channels. A scheduled stream removes confusion and supports steady audience engagement online. It also keeps the creator free from last-minute technical stress. At the same time, proper planning strengthens each session and improves overall content quality.
This article explains how to schedule a smooth YouTube streaming video easily. It covers simple steps that you can follow using your smartphone or laptop.
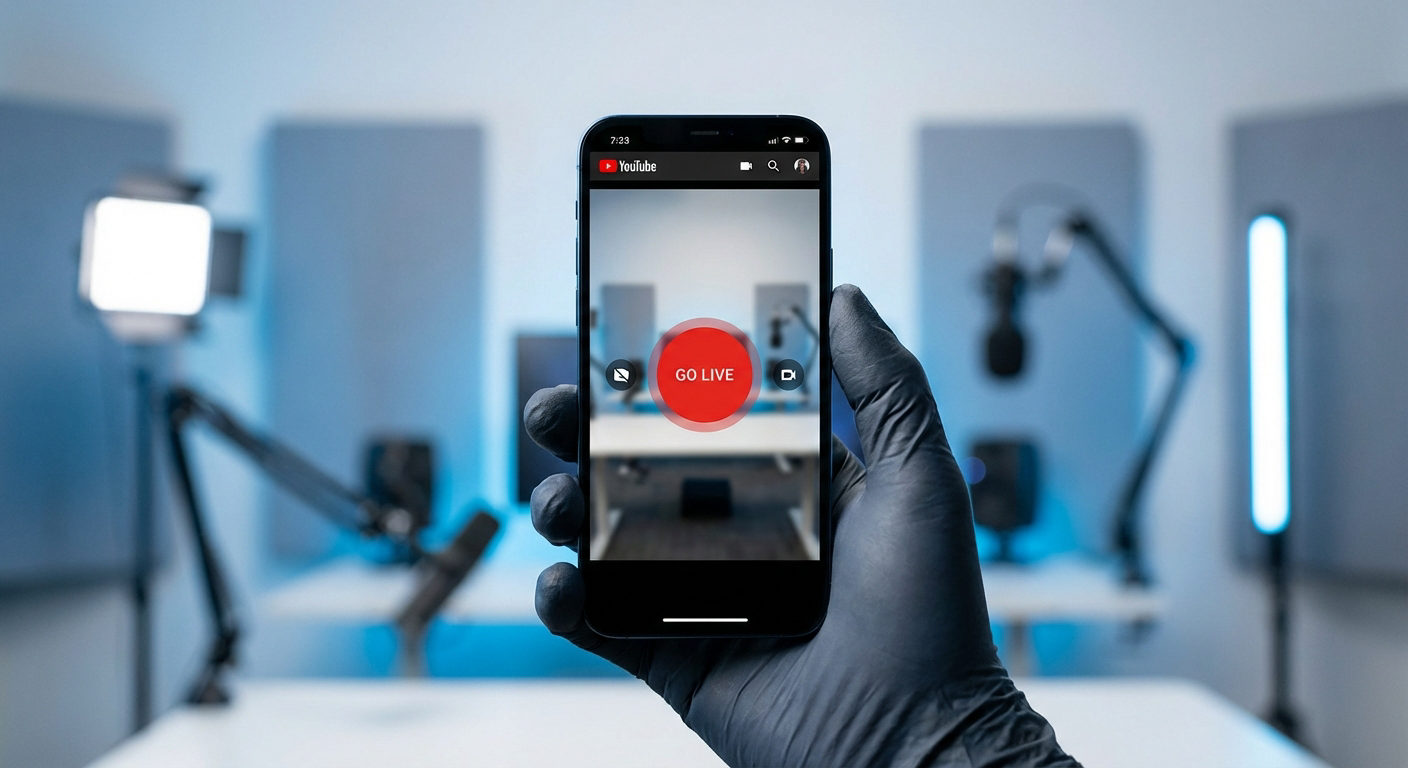
Method 1: Schedule Your YouTube Streaming Video via Smartphone
- Launch the YouTube app on your Android mobile or iPhone.

- Sign in to you’re account.
- Tap the “+” button at the bottom of the app’s screen.

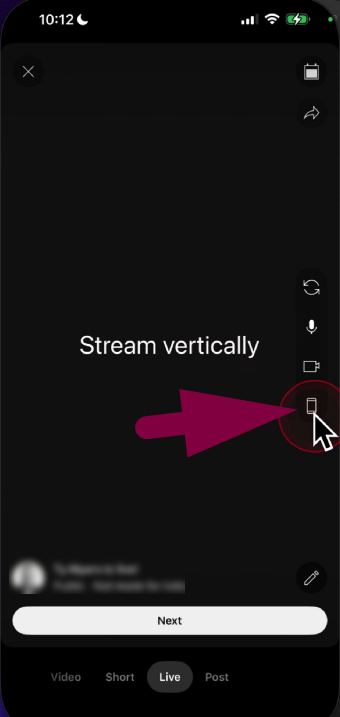
By default, the “Live” option should be highlighted when the next screen appears. If not, make sure to select it by tapping once.

- Before scheduling the time and date, tap on the mobile icon in the right area of the screen. And choose your preferred streaming mode (vertically or horizontally).
- Tap on the ‘Calendar” icon in the top-right corner.

As you haven’t scheduled any upcoming livestreams, the screen should appear blank.

- After this confirmation, go back to the “Live” option and tap on the small “pencil-like” icon at the bottom-right area of the screen to edit details of your upcoming stream.


- Write a suitable title and tap on the “Visibility” option.

- Choose your preferred visibility setting from the available options – Public, Members only, and Unlisted.

- After it’s done, return to the main edit screen, scroll down to the “Schedule for later” option, and tap it to enable the toggle.

- Set the “Date” on which you want to schedule your streaming video and tap “OK.”

- Then, select the “Time” and tap the “OK” option again.

- Tap the “Next” button.

- Select your “Audience” from the given options, and tap the “Next” button again.

- A confirmation screen will appear with the scheduled date and time. You can edit it by tapping the “Pencil” icon, or simply tap “Done” if you don’t want to make any changes.

- To re-check, tap on the “Calendar” icon, and the scheduled livestream should show up.

You can leave it be or tap the “Bin” icon if you want to delete it.

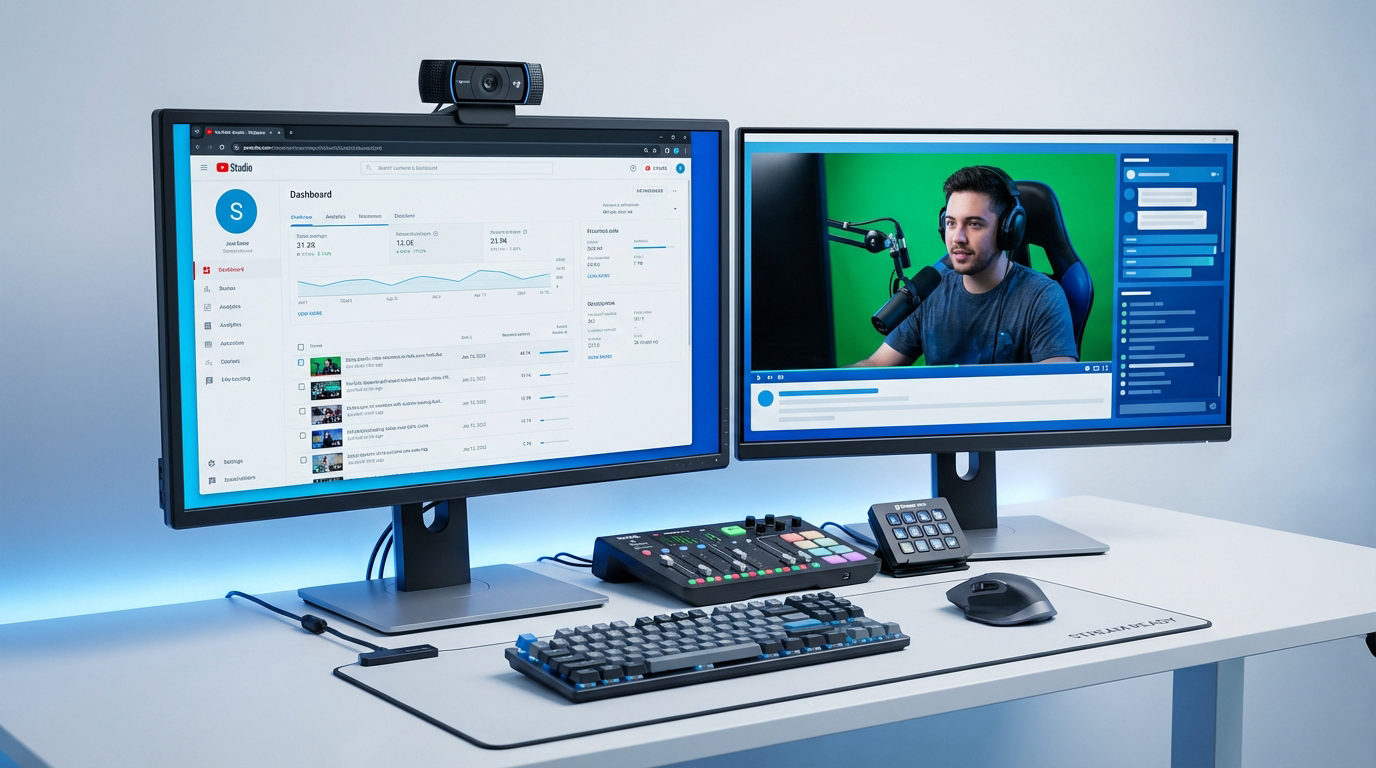
Method 2: Schedule Your YouTube Streaming Video using a Computer
- Go to YouTube.com and sign in to your account.
- Click on your profile image and choose YouTube Studio.
You will be taken to your “Channel Dashboard.”

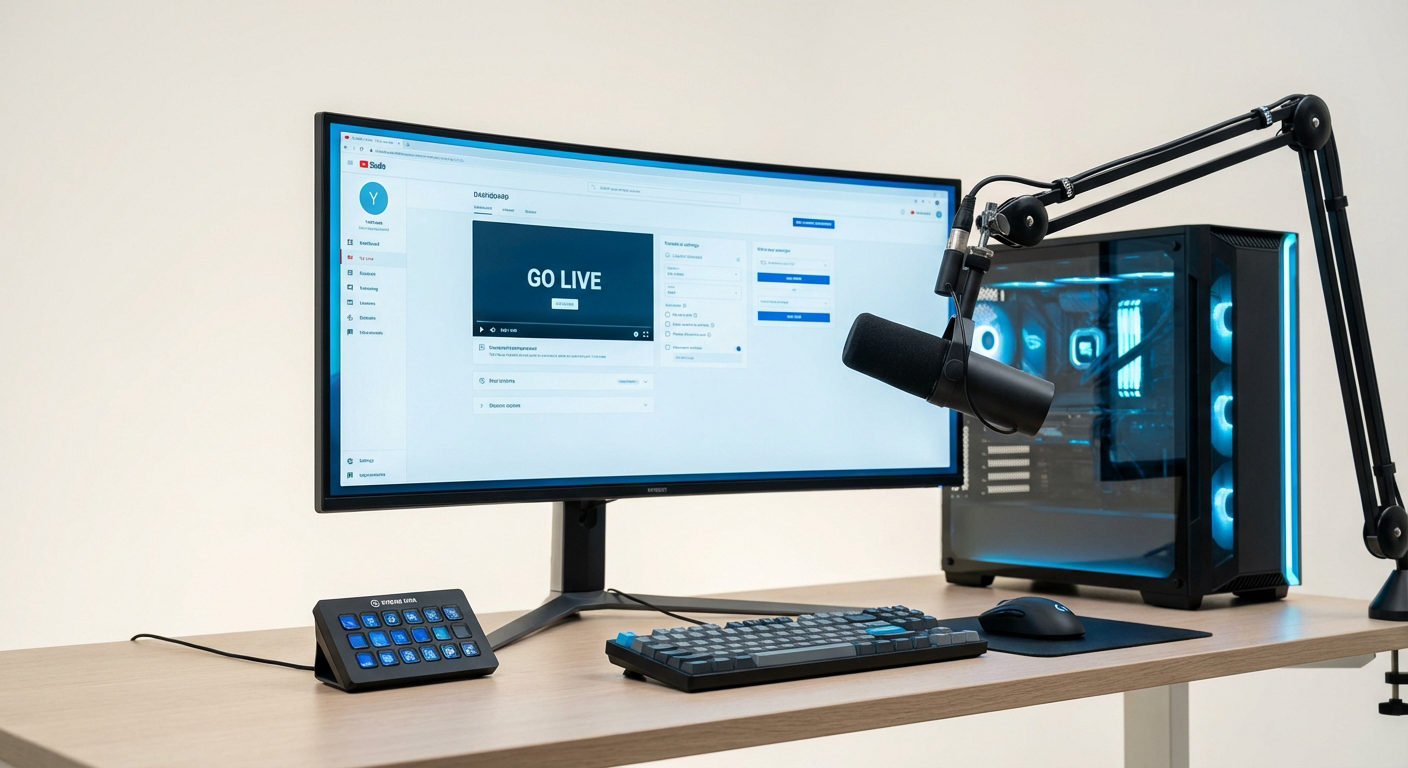
- Click on the “Go Live” icon in the top-right corner of the screen.

- On the next page, click on the “Schedule Stream” button next to the Manage streams tab.

- Choose the “Create new” option.

Important: You can use the “Reuse settings” option after scheduling and going live on your first stream. This option saves you time and effort, as it automatically applies the same settings of your previous livestreams to the newly scheduled ones.
- Now, enter the title and description, and scroll down to configure other details, such as thumbnail and category. Then, click “Next.”


- Fill in the monetization details (if required) and click “Next.”
- In the “Customization” section, you can enable or disable options, like Live Chat, Participant modes, and Reactions. Once done, click the “Next” button to set Visibility.

- Choose who can see your stream by selecting options, like Private, Unlisted, Members only, or Public.
- Then, set a future date and time you want to schedule the video streaming on YouTube, and click “Done.”

At this stage, you have successfully scheduled your upcoming stream. To reconfirm:
- Click the “YouTube Studio” logo at the top of the screen.

- Select “Content” from the options on the left side of the screen.

- Click on the “Live” tab.

All your scheduled streams will appear in the “Upcoming” section.

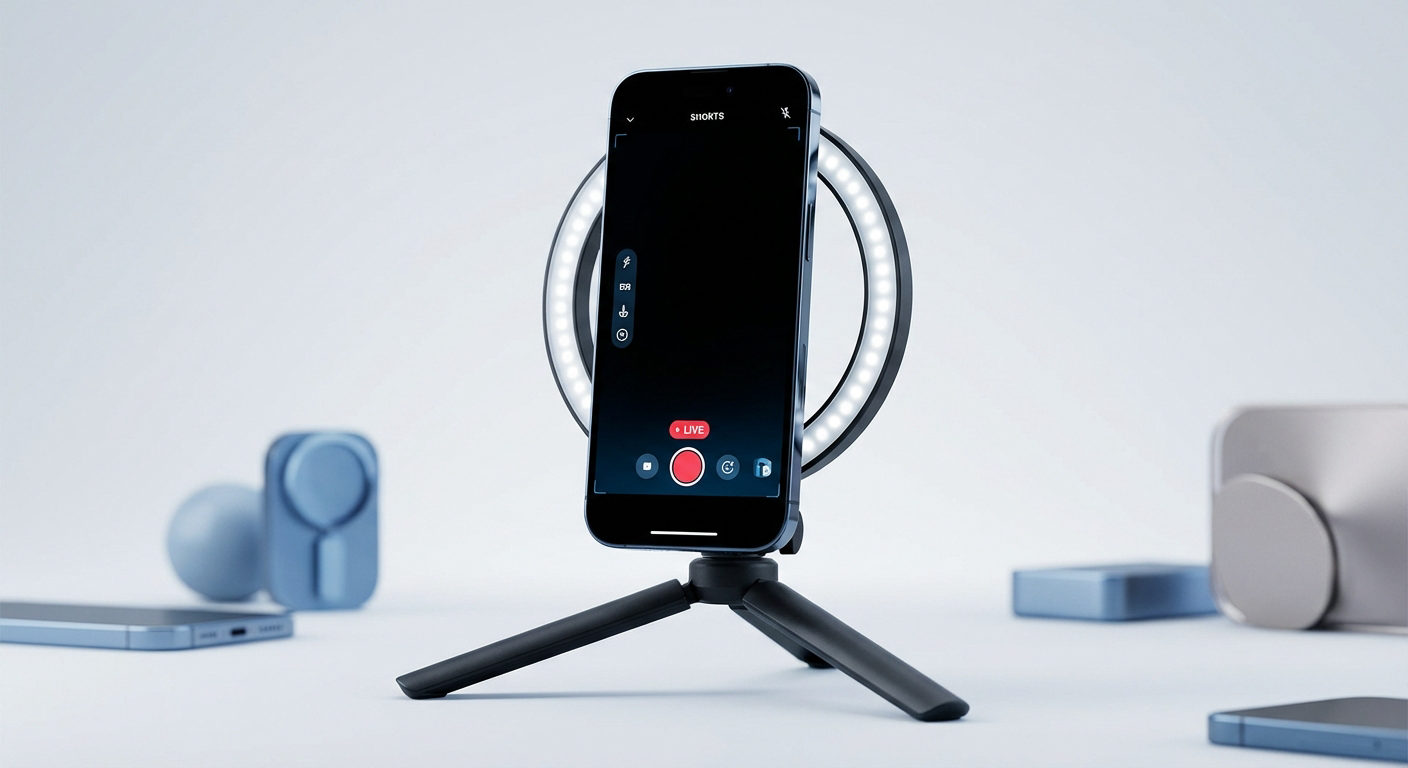
- When you’re about to go live on YouTube on your scheduled date and time, make sure you have your streaming equipment tested and ready. A streaming camera like the Hollyland VenusLiv Air can help you overcome technical obstacles. It’s a plug-and-play device with an AI-Tuning feature and 24/7 live streaming capability without getting heated.
Wrap Up
Scheduling a YouTube stream can start on iPhones, Androids, or tablets. Desktop or laptop scheduling is simple too, with no extra steps needed. However, Mac or Windows systems give a magnified and detailed view of the YouTube Studio dashboard. This makes adjusting settings easier and safer. But phones still work well for fast scheduling on the go.
FAQs
1. Can you pre-record lives on YouTube?
Yes, YouTube allows streaming pre-recorded videos as live events. This helps creators share polished content while keeping viewers engaged. Tools like Gyre or Castr make it easy to broadcast pre-recorded videos smoothly without appearing offline.
2. How to run a 24/7 live stream on YouTube?
Streaming software like OBS or Streamlabs can loop videos automatically. Services such as Restream.io’s “Always On” feature keep streams running nonstop. This allows channels to stay live around the clock without needing constant attention or manual control.
3. What are the requirements for scheduling a YouTube streaming video?
Your channel needs at least 50 subscribers and no recent live restrictions. Verification and live streaming must be enabled. First-time streams may require waiting 24 hours before starting, ensuring everything is ready for smooth streaming.